Multi Material Print on Prusa Mini+ - Wrong Filament Temparature?
Dear all
I would like to test mutli material prints on my prusa mini, but something is wrong adopting the filament tempereature settings . The idea is, first print PETG and then TPU on top. I have changed the following settings:
- Printer Settings > General > Extruders: 2
- Printer Settings > General > Single Extruder Mulit Material: true
- Printer Settings > Multiple Extruders > Wipe Tower: true
- Plater > Set first extruder to PETG, second to TPU
- In the middle of the shape i added an extruder change
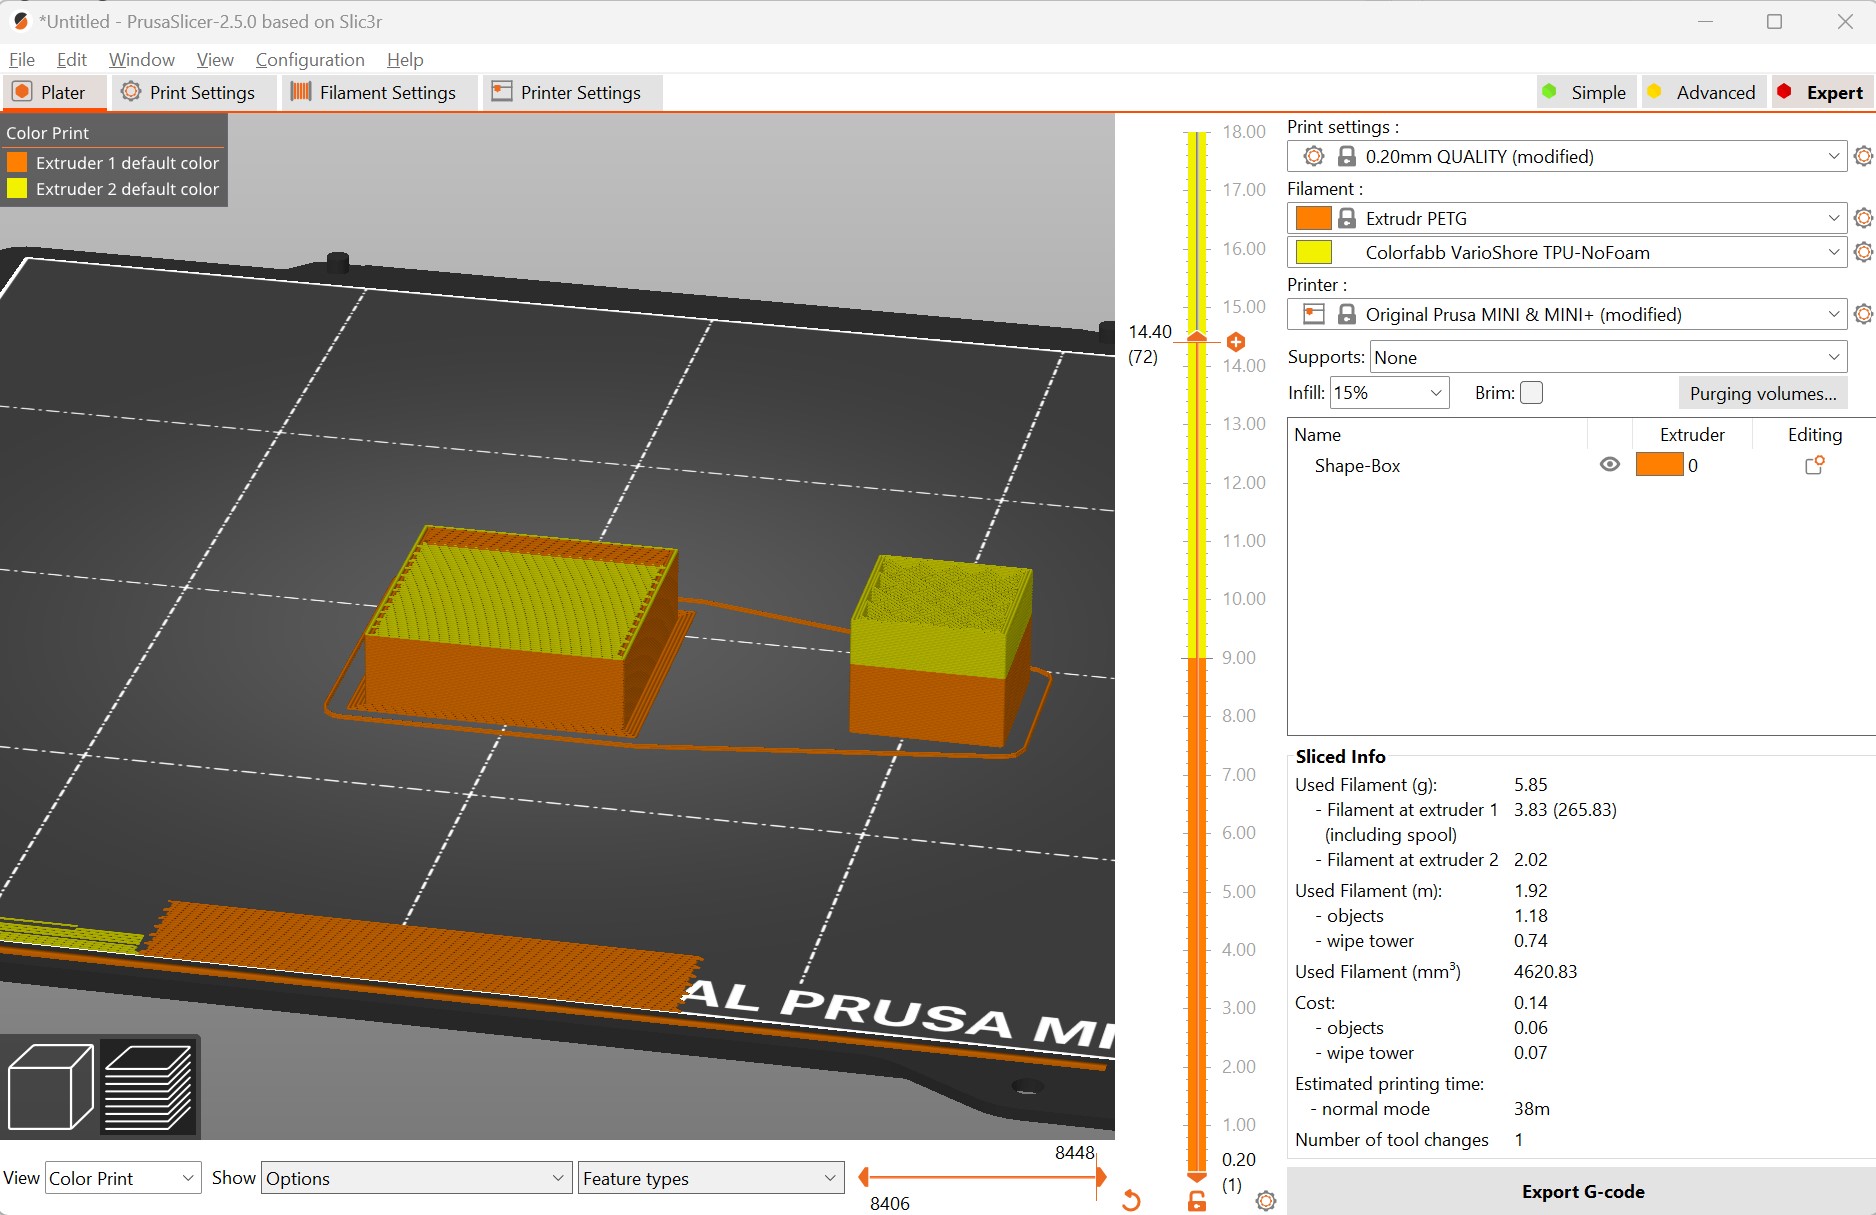
The slicer shows up the extruder change when select Plater > Tool or Color Change in the bottom of Prusa Slicer. But when i change the view to "Temparature" the slicer seem to pick the temparature from the wrong filament. First printing PETG on 210C and on top the TPU with 190C should whow the lower temp. on top.
When i print this, the Mini tries to print the first layers of PETG with 190C, which will not work.
Any ideas??
Many thanks in advance!


Best Answer by Martin:
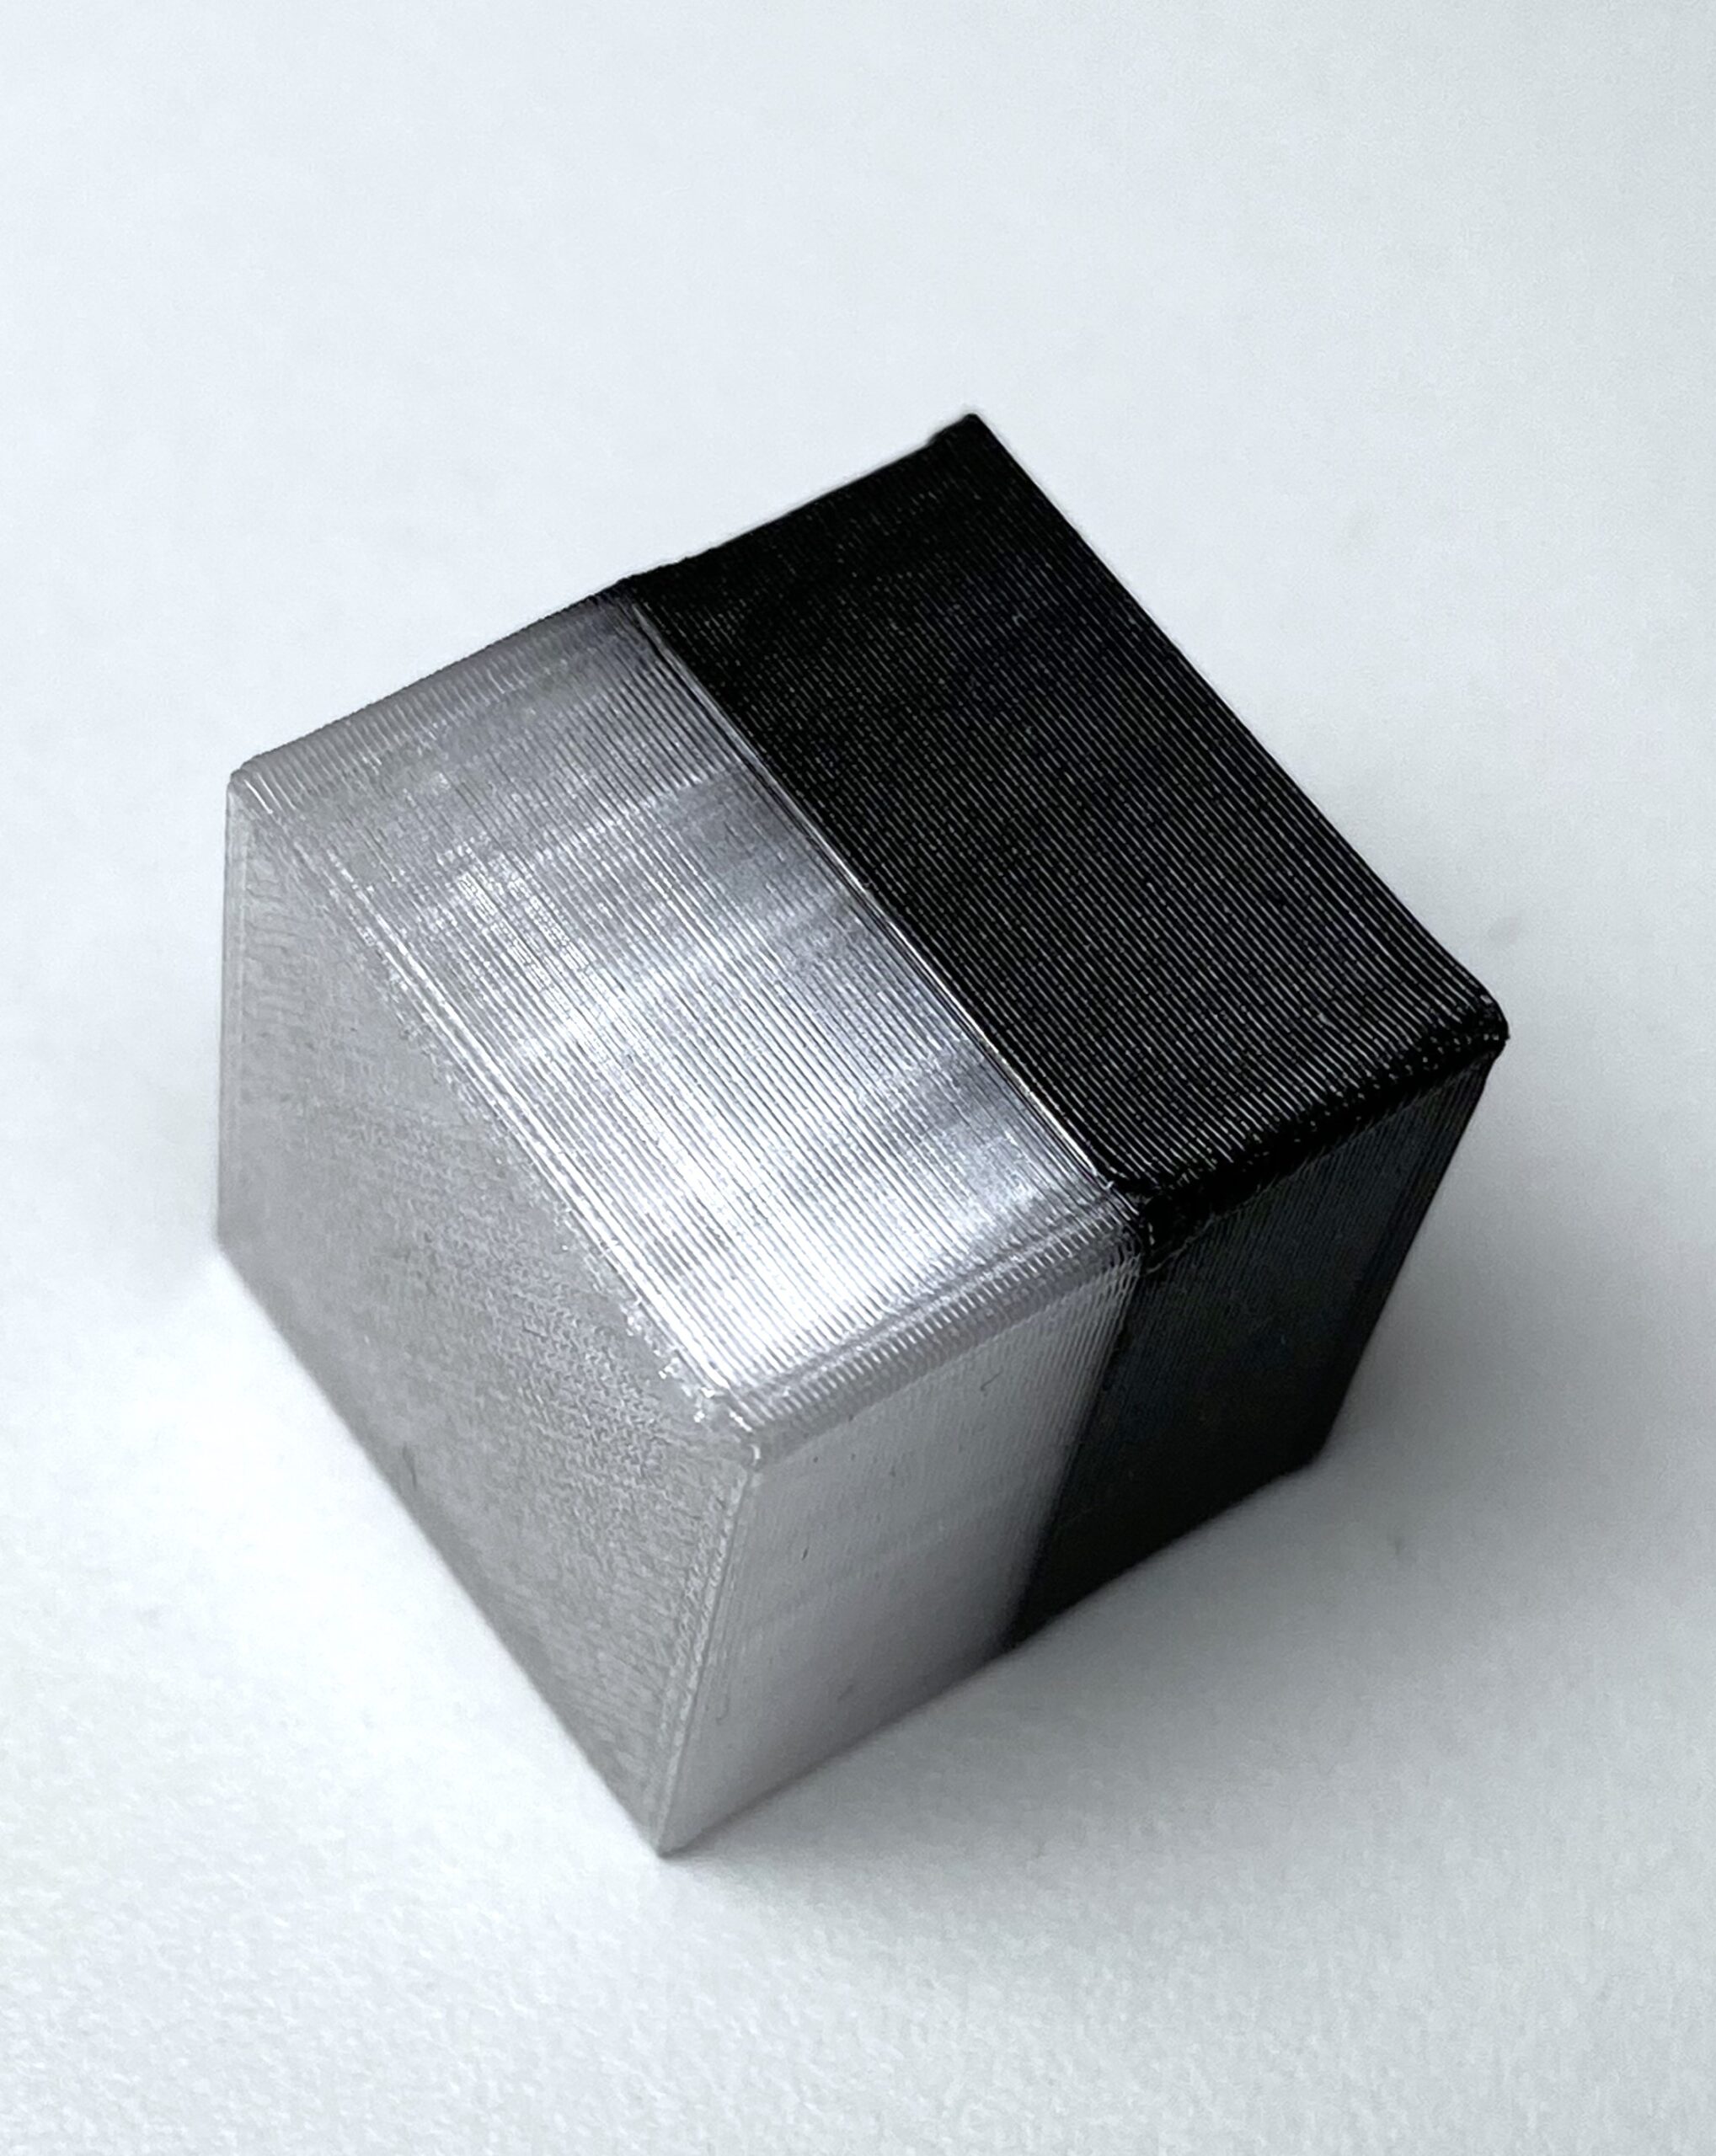
Finally i got a MM-Print with PETG and TPU on top including the wipe tower. The wipe tower is needed, because with only M600 (color change) the print head is returning to the same position as it left off wich is causing an ugly blob on the part. I have tweaked and tested a few things, this setup was working for me:
- Printer Settings >
- Capabilities > "Extruders" = 2
- Capabilities > "Single Extruder Multi Material" = true
- Custom G-code > "Tool change G-Code" add the code below
; Tool change sequence start
M104 R[temperature] ; cool down or..
M104 S[temperature] ; heat up
M600 ; color change
; Tool change sequence end
- Print Settings > Mutliple Extruders
- Enable = true
- Wipe tower brim with = 0
- Prime all printing extruders = false
- Plater
- Choose the Filaments for Extruder 1 and 2
- On the vertical bar, click + and add "Change Extruder" set to Extruder 2 (the extruder which is not active on the underlying layer can be selected)
- Right to the infill percentage hit the button "Purging volumes" and drastically reduce the values (i have set 5-10). This long purges are not needed having only one extruder, because it's already purged after M600 filament change. This will also reduce the size of the wiping tower and filament waste.
- Slice it (and adjust the position of the wipe tower close to the part)
- Open the .gcode file an remove the first M600 filament/color change sequence (look for the code block added above). It's not needed as the first filament is already in
With some more research, there might be a way whithout the need of editing the .gcode file. I don't know, why PrusaSlicer injects a tool change right after the intro line...
RE:
Without the 3mf file uploaded I'm guessing but this is not how the multi-extruder setup works. In the parts list you see that the whole model is printed with extruder 1, so no temperature change. Yes, the printer stops to prompt for a filament change but that's not the same as switching to another extruder. Why the temp is 190 and not 210, I don't know (again, the 3mf would help).
Two suggestions:
1. Like for a real two extruder print, for a "pseudo" multi-extruder setup you'd have to break the model into two parts, each one gets assigned to a different extruder. So the lower half would be one part, assigned to extruder 1, upper part would be assigned to extruder 2. You also don't have to insert a manual color swap.
2. Or instead of going down the pseudo-multiple-extruder route, simply right-click in the preview on the vertical slider and instead of choosing color change, choose custom g-code and insert a filament change and a temperature increase:
M600
M104 S190
M109 S190
Formerly known on this forum as @fuchsr -- https://foxrun3d.com/
RE: Multi Material Print on Prusa Mini+ - Wrong Filament Temparature?
One more minor but irritating detail. With a multiple extruder configuration, Prusaslicer will insert an extra M600 at the very beginning of the print. So it does the mesh bed leveling, then immediately prompts for a filament change. I usually use a text editor to remove this extra M600 from the gcode file.
Formerly known on this forum as @fuchsr -- https://foxrun3d.com/
RE:
Sorry, i forgot t attach the 3mf file, here it is...
RE: Multi Material Print on Prusa Mini+ - Wrong Filament Temparature?
Didn't get attached.
Formerly known on this forum as @fuchsr -- https://foxrun3d.com/
RE: Multi Material Print on Prusa Mini+ - Wrong Filament Temparature?
Attaching a file seems not to work at the moment, Second try with another browser...
RE: Multi Material Print on Prusa Mini+ - Wrong Filament Temparature?
Make sure it's Zip compressed. Forum sw doesn't allow native 3mf, for reasons unknown to mankind.
Formerly known on this forum as @fuchsr -- https://foxrun3d.com/
RE: Multi Material Print on Prusa Mini+ - Wrong Filament Temparature?
Thanks for your help @fuchsr. Another try as zip..
RE: Multi Material Print on Prusa Mini+ - Wrong Filament Temparature?
BTW: I used this feature on the veritcal bar. It shouldn't be simple color change:

RE: Multi Material Print on Prusa Mini+ - Wrong Filament Temparature?
Yeah, that's why the 3MF is important; it wasn't apparent from the screenshots.
Okay, I admit, I'm a bit stumped. It does look like the wrong temperatures. However, I noticed when I disable the wipe tower, it looks fine. I have never used a wipe tower with this kind of pseudo multi-extruder setup, so I'm not sure if this is expected behavior or not. It has always worked fine for me without a wipe tower, and without it the slicer preview looks okay.
Formerly known on this forum as @fuchsr -- https://foxrun3d.com/
RE: Multi Material Print on Prusa Mini+ - Wrong Filament Temparature?
Yeah, that's it, many thanks! Although this doesn't make sense to me, it's maybe a bug.
RE: Multi Material Print on Prusa Mini+ - Wrong Filament Temparature?
Hm, that wasn't working, there are no filament changes withing the GCode. I'm just coming back to your second suggestion. The Problem: Besides of temparature i have to inject other filament specific settings for speeds and retraction. What is the easiest way to do this?
[...] 2. Or instead of going down the pseudo-multiple-extruder route, simply right-click in the preview on the vertical slider and instead of choosing color change, choose custom g-code and insert a filament change and a temperature increase:
M600
M104 S190
M109 S190
RE: Multi Material Print on Prusa Mini+ - Wrong Filament Temparature?
With the wipe tower off you get your change of temperature and all the other changes for a different filament like a different K value etc..
In the gcode there is the following section
T1
M104 S240 ; set temperature
M900 K0 ; Filament gcode
So you have your T1 which is tool change. However PS is expecting it to have 2 extruders so the T1 is the command to change between the 2. A machine with 2 real ones would act on the T1. As you don't have 2 in reality you should just insert a filament change command after that block. Either manually or post process it.
RE:
Finally i got a MM-Print with PETG and TPU on top including the wipe tower. The wipe tower is needed, because with only M600 (color change) the print head is returning to the same position as it left off wich is causing an ugly blob on the part. I have tweaked and tested a few things, this setup was working for me:
- Printer Settings >
- Capabilities > "Extruders" = 2
- Capabilities > "Single Extruder Multi Material" = true
- Custom G-code > "Tool change G-Code" add the code below
; Tool change sequence start
M104 R[temperature] ; cool down or..
M104 S[temperature] ; heat up
M600 ; color change
; Tool change sequence end
- Print Settings > Mutliple Extruders
- Enable = true
- Wipe tower brim with = 0
- Prime all printing extruders = false
- Plater
- Choose the Filaments for Extruder 1 and 2
- On the vertical bar, click + and add "Change Extruder" set to Extruder 2 (the extruder which is not active on the underlying layer can be selected)
- Right to the infill percentage hit the button "Purging volumes" and drastically reduce the values (i have set 5-10). This long purges are not needed having only one extruder, because it's already purged after M600 filament change. This will also reduce the size of the wiping tower and filament waste.
- Slice it (and adjust the position of the wipe tower close to the part)
- Open the .gcode file an remove the first M600 filament/color change sequence (look for the code block added above). It's not needed as the first filament is already in
With some more research, there might be a way whithout the need of editing the .gcode file. I don't know, why PrusaSlicer injects a tool change right after the intro line...