How to eliminate this ghosting?
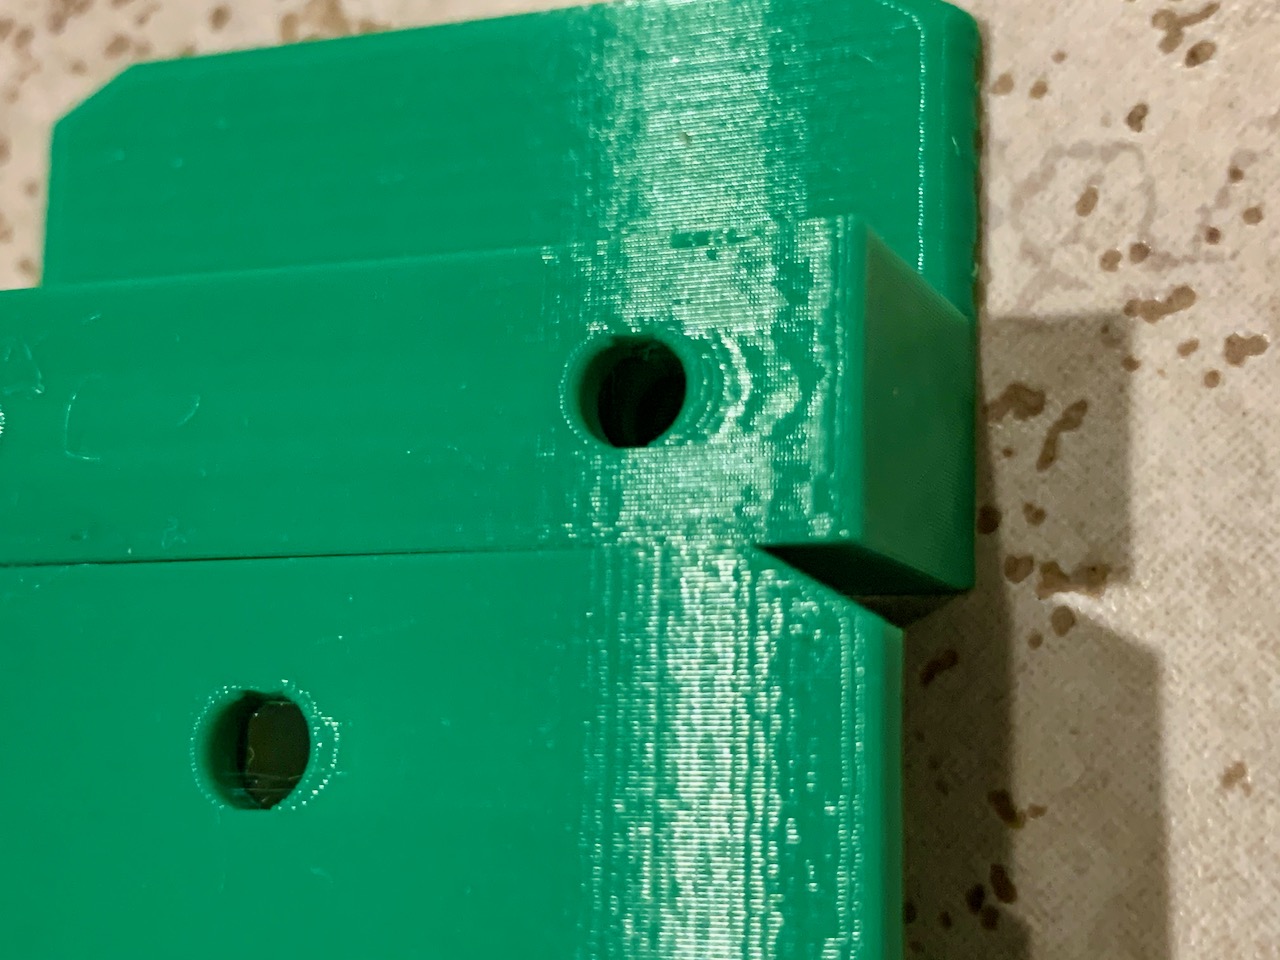
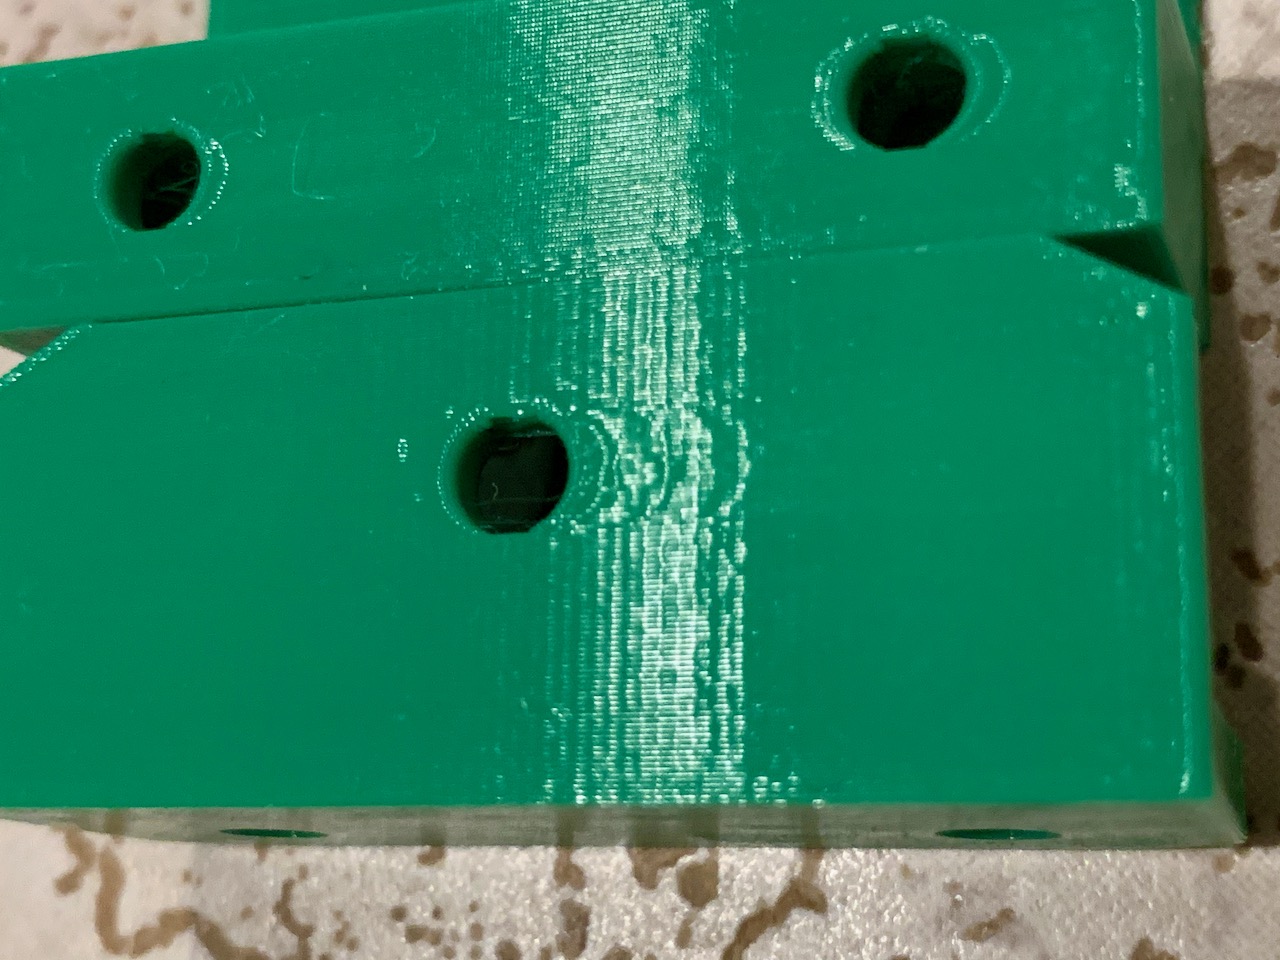
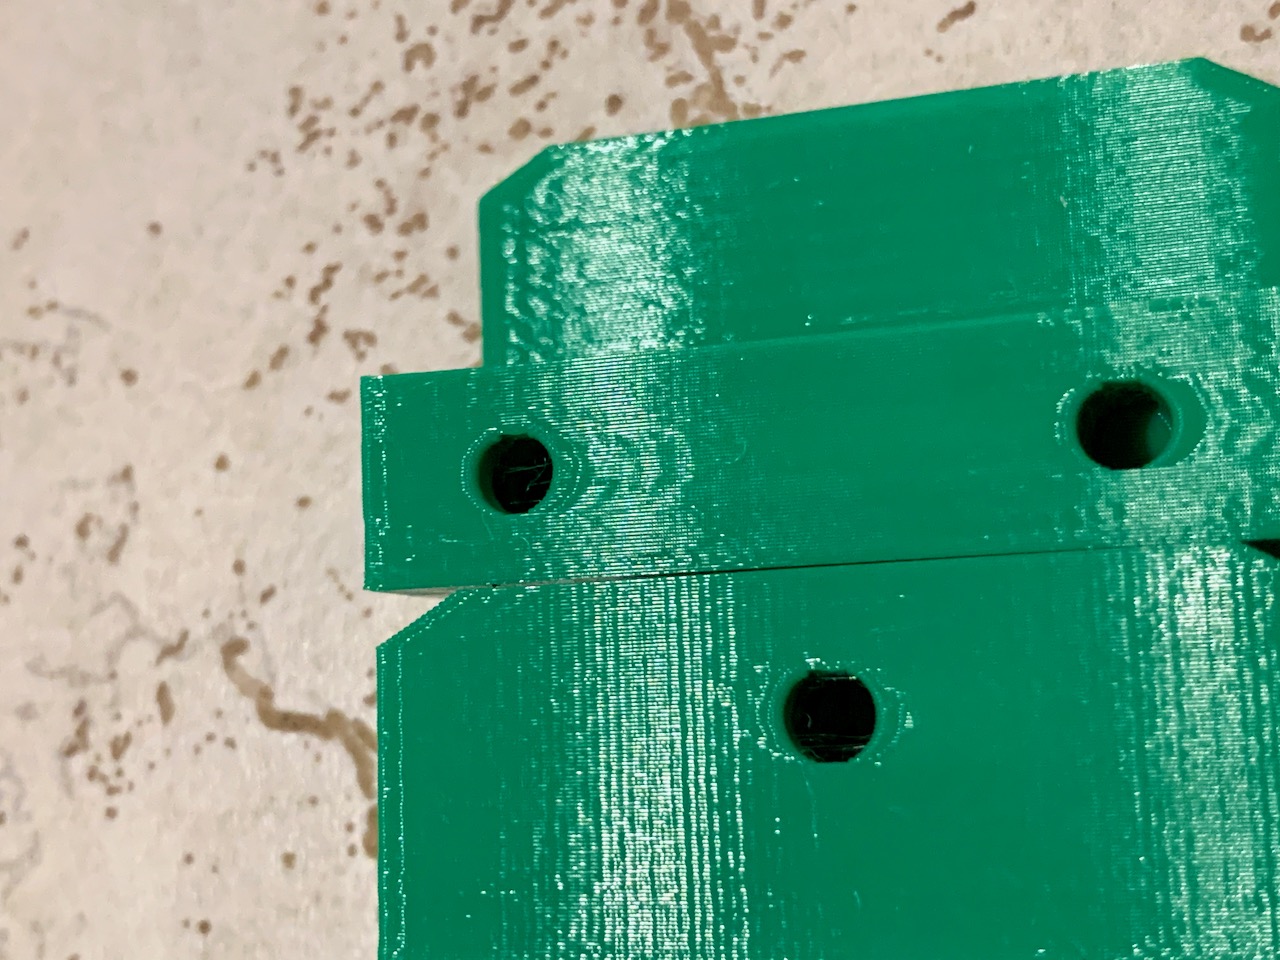
I've printing parts for the enclosure I've ordered and they have circular screw holes. Overall the holes come out ok but all of them have a slight ghosting on both x and y axis.
I've followed the knowledgeable article on tightening the x-axis belt a while ago so I guess I'm down to vibration of the machine in general?
The hole in the top part is on x-axis. The bottom part is facing the y-axis.
Best Answer by bobstro:
I notice the part seems to be aligned with the hole on the Y axis. This is the most prone to such effects due to the added weight of the bed being moved back and forth. Try rotating the part 90 degrees on the Z axis so the hole faces the front and see if the ringing is reduced. If so, you know you're on the right trail.
It may be difficult to completely remove it, but you can try tweaking the values under Printer Settings->Machine Limits->Maximum accelerations and Jerk limits. A quick and dirty test would be to halve the Max X & Y acceleration and Max jerk X & Y and see if it helps. If so, try increasing them in small increments to see how fast you can go without issue. Note that X & Y may have different maximums as the Y moves have to shove the heavy bed around. On my Prusa Mk3, I can use the same values, but on another printer, I have to reduce the Y values a bit extra to maintain quality.
Of course, this may slow down your prints a bit, so as with everything, it's a trade-off.
RE: How to eliminate this ghosting?
You can try reducing acceleration and jerk values. Reducing external perimeter speeds can also help.
If you'd care to save your part and settings in a 3MF project file, zip it and attach it to a response here, more suggestions may be forthcoming.
and miscellaneous other tech projects
He is intelligent, but not experienced. His pattern indicates two dimensional thinking. -- Spock in Star Trek: The Wrath of Khan Unfortunately,…
RE: How to eliminate this ghosting?
The printer settings in the 3mf files are based on the Prusa Mini preset. I modified it for connection to Octoprint and some custom G-code for post print.
RE: How to eliminate this ghosting?
I notice the part seems to be aligned with the hole on the Y axis. This is the most prone to such effects due to the added weight of the bed being moved back and forth. Try rotating the part 90 degrees on the Z axis so the hole faces the front and see if the ringing is reduced. If so, you know you're on the right trail.
It may be difficult to completely remove it, but you can try tweaking the values under Printer Settings->Machine Limits->Maximum accelerations and Jerk limits. A quick and dirty test would be to halve the Max X & Y acceleration and Max jerk X & Y and see if it helps. If so, try increasing them in small increments to see how fast you can go without issue. Note that X & Y may have different maximums as the Y moves have to shove the heavy bed around. On my Prusa Mk3, I can use the same values, but on another printer, I have to reduce the Y values a bit extra to maintain quality.
Of course, this may slow down your prints a bit, so as with everything, it's a trade-off.
and miscellaneous other tech projects
He is intelligent, but not experienced. His pattern indicates two dimensional thinking. -- Spock in Star Trek: The Wrath of Khan Unfortunately,…
RE: How to eliminate this ghosting?
@bobstro
There are two 3mf files in the zip. One with hole facing Y and the other with holes facing X axis. I included pictures of both parts in original post to show it isn’t necessary related to only one axis.
I’ll play around with acceleration and jerk values as you suggest and see what result I get.
Thanks for the suggestion!
RE: How to eliminate this ghosting?
Ah, sorry. Missed the note about your pics showing X & Y. Do be sure to test X & Y results independently in any case.
The Prusa default settings yield generally good results for most cases, but if you're after a particularly fine finish and are willing to live with the time tradeoff, you can definitely improve results.
and miscellaneous other tech projects
He is intelligent, but not experienced. His pattern indicates two dimensional thinking. -- Spock in Star Trek: The Wrath of Khan Unfortunately,…
RE: How to eliminate this ghosting?
I've noticed belt tension can also play a part in this extruder rubber banding. Acceleration settings attempts to solve something similar to a Band-Aid over a cut: it is better to not be cut in the first place. Unless you have measured the belt tension, - all bets are off (an no - the LCD belt tension numbers are not telling you anything useful about the belts).
RE: How to eliminate this ghosting?
@bobstro
I just finished printing the last part that has holes in it. I re-sliced the model with lowered acceleration and jerk for both x and y axis. I only lowered them by 25% though (didn't feel like going crazy with 50%). The result is, kinda disappointing, in that no discernible difference in the ghosting.
I will experiment more but this is hardly a deal breaker, more like the last 2% of quality. Probably not worth the effort and may be hitting the limits of the MINI.
RE: How to eliminate this ghosting?
@tim-m30
The belt tension values that the knowledge base article refers to doesn't seem to exist on the MINI. If it exists, someone should point that out to me (and others)!
I've tightened the x-axis belt soon after I assembled the printer as it was noticeably looser than the y-axis. Not sure what else I can do at this point, re belt tension, to be honest.