First layer badly
My Prusa Mini + prints the first layer badly.
I changed the nozzle (E3D V6 0.4) ==> the problem persists
I changed filament (new Prusa Black PLA) ==> the problem persists
I re-ran the nozzle leveling ==> the problem persists

I always clean the plate with IPA 99.9%, I tried with acetone ==> the problem persists
Some advice ?
RISPONDI: First layer badly
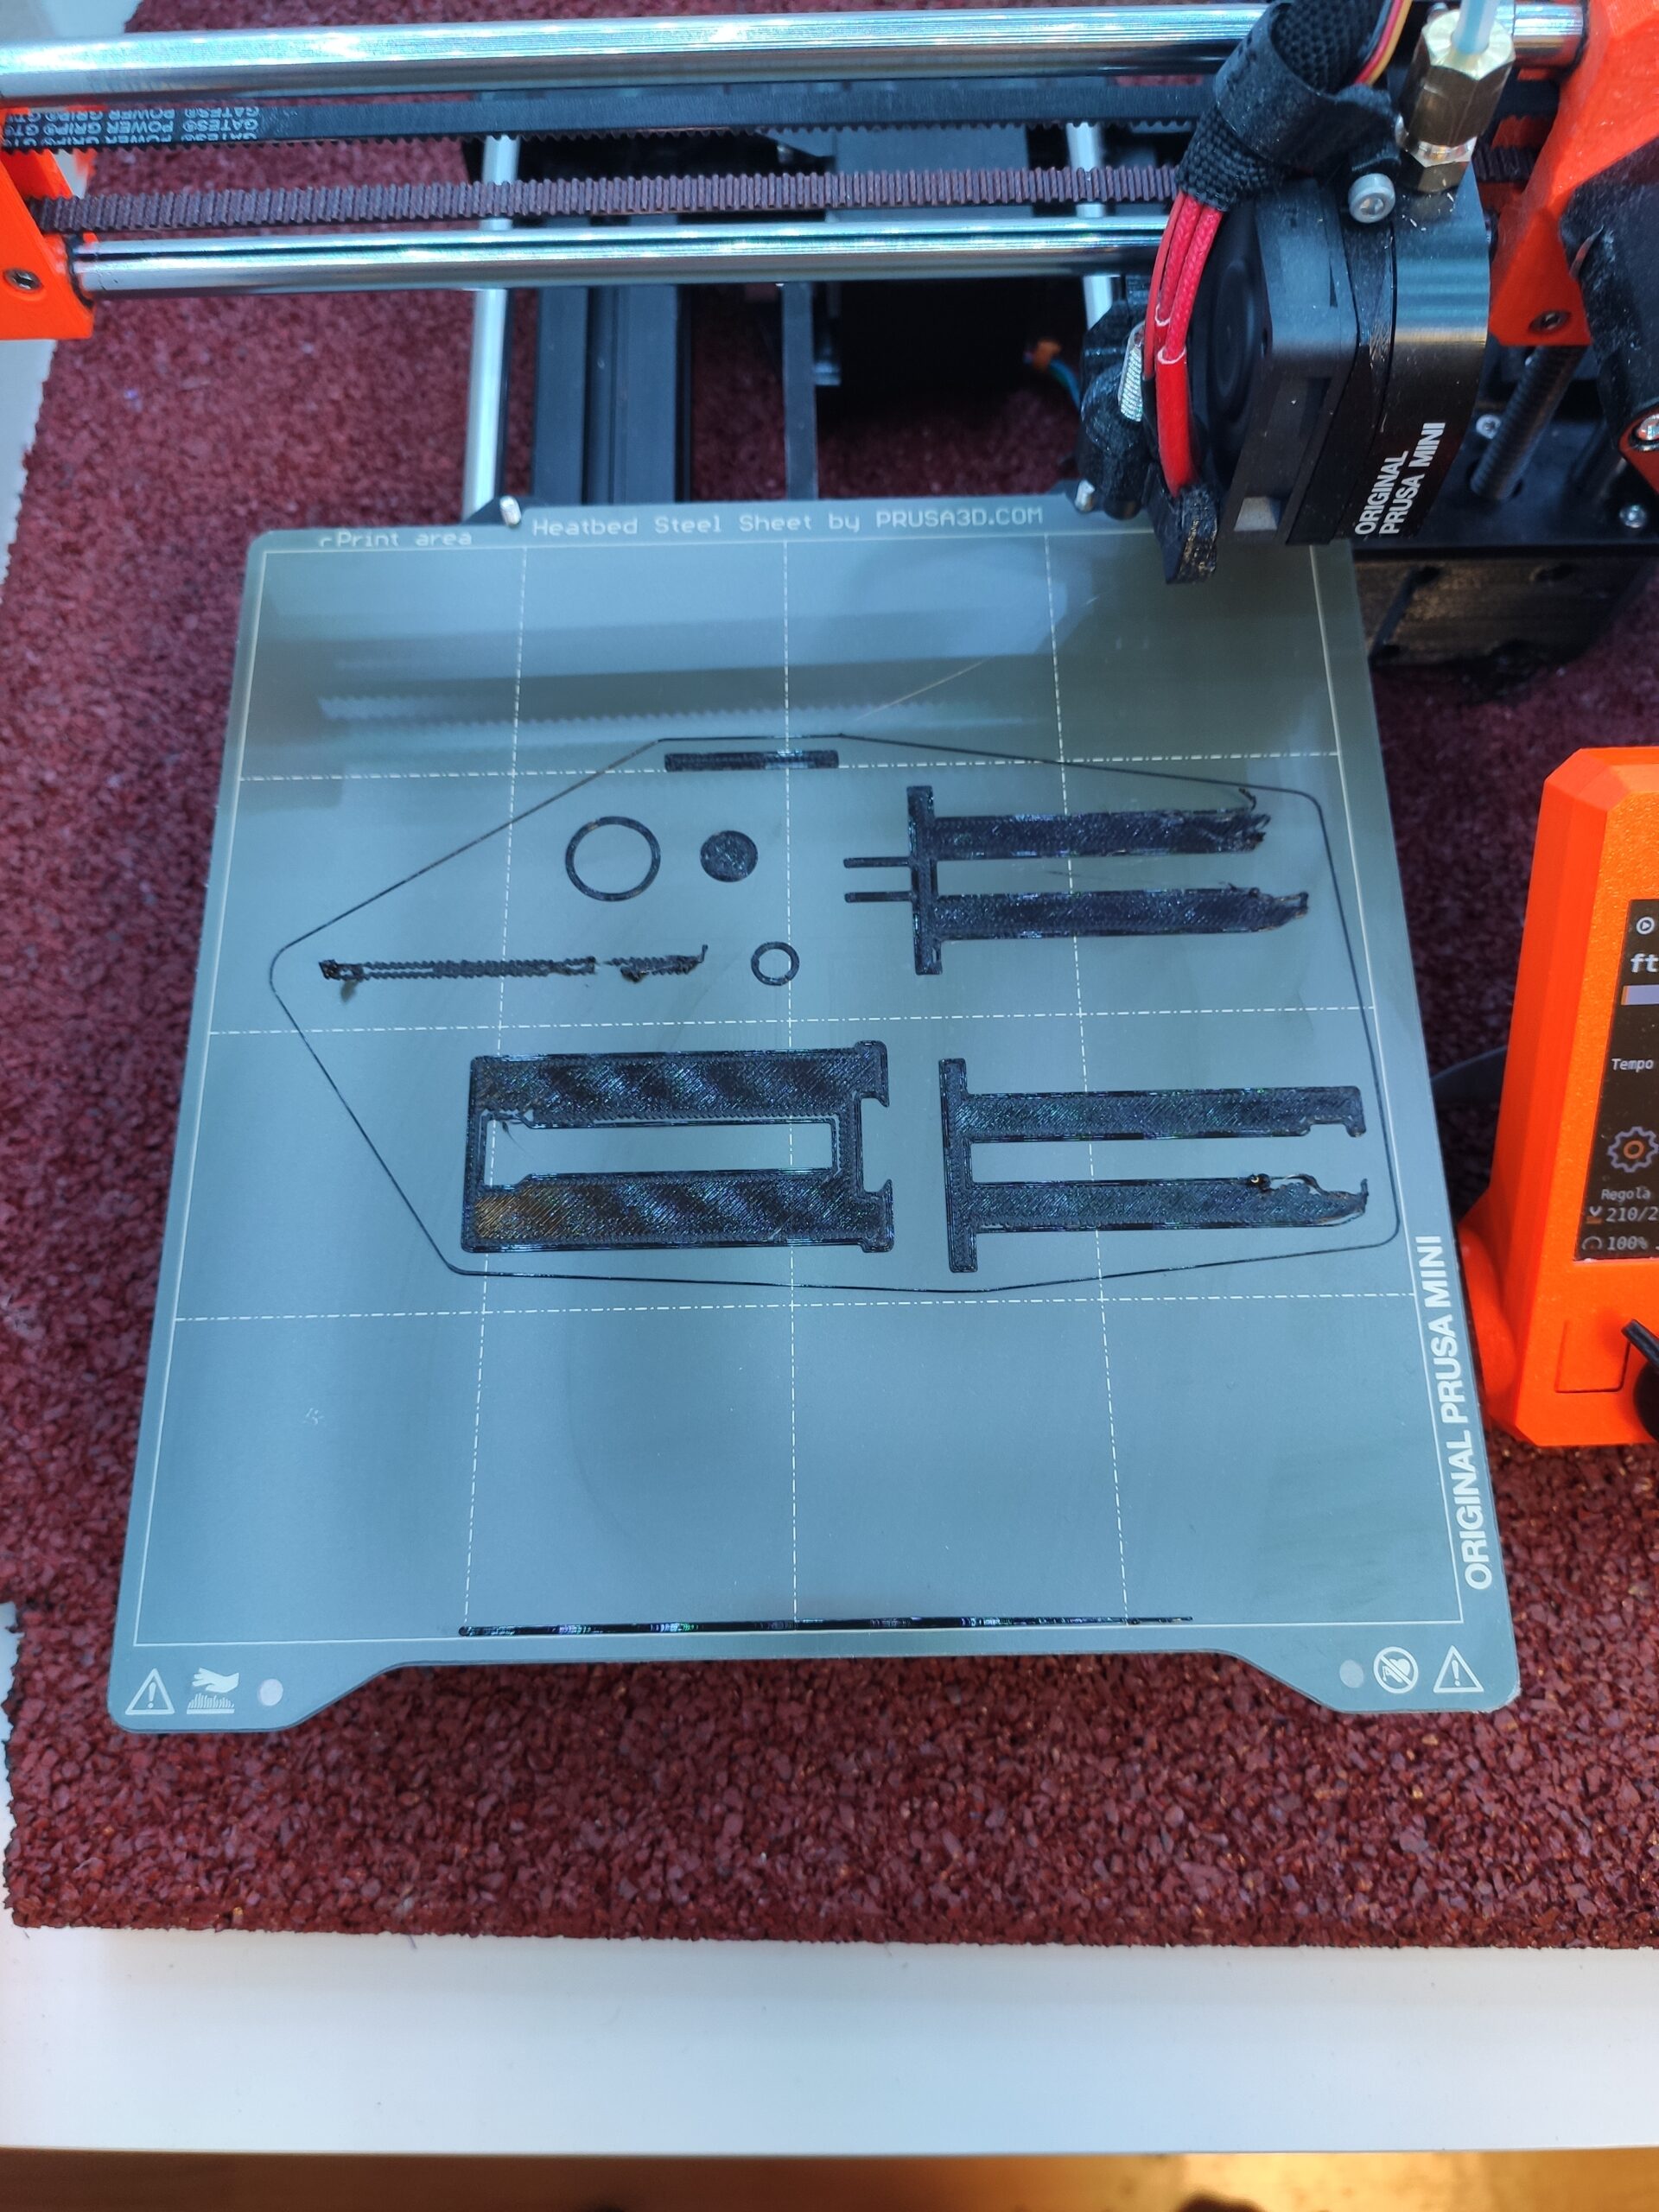
I tried again, bad results.
Possible problems?
- Problem with the filament (new Prusa vacuum spool)
- Plate temperature?- Problem with the extruder?
- Height of the nozzle?- Problem with the Y axis?
I don't understand the cause of the problem.
RE: First layer badly
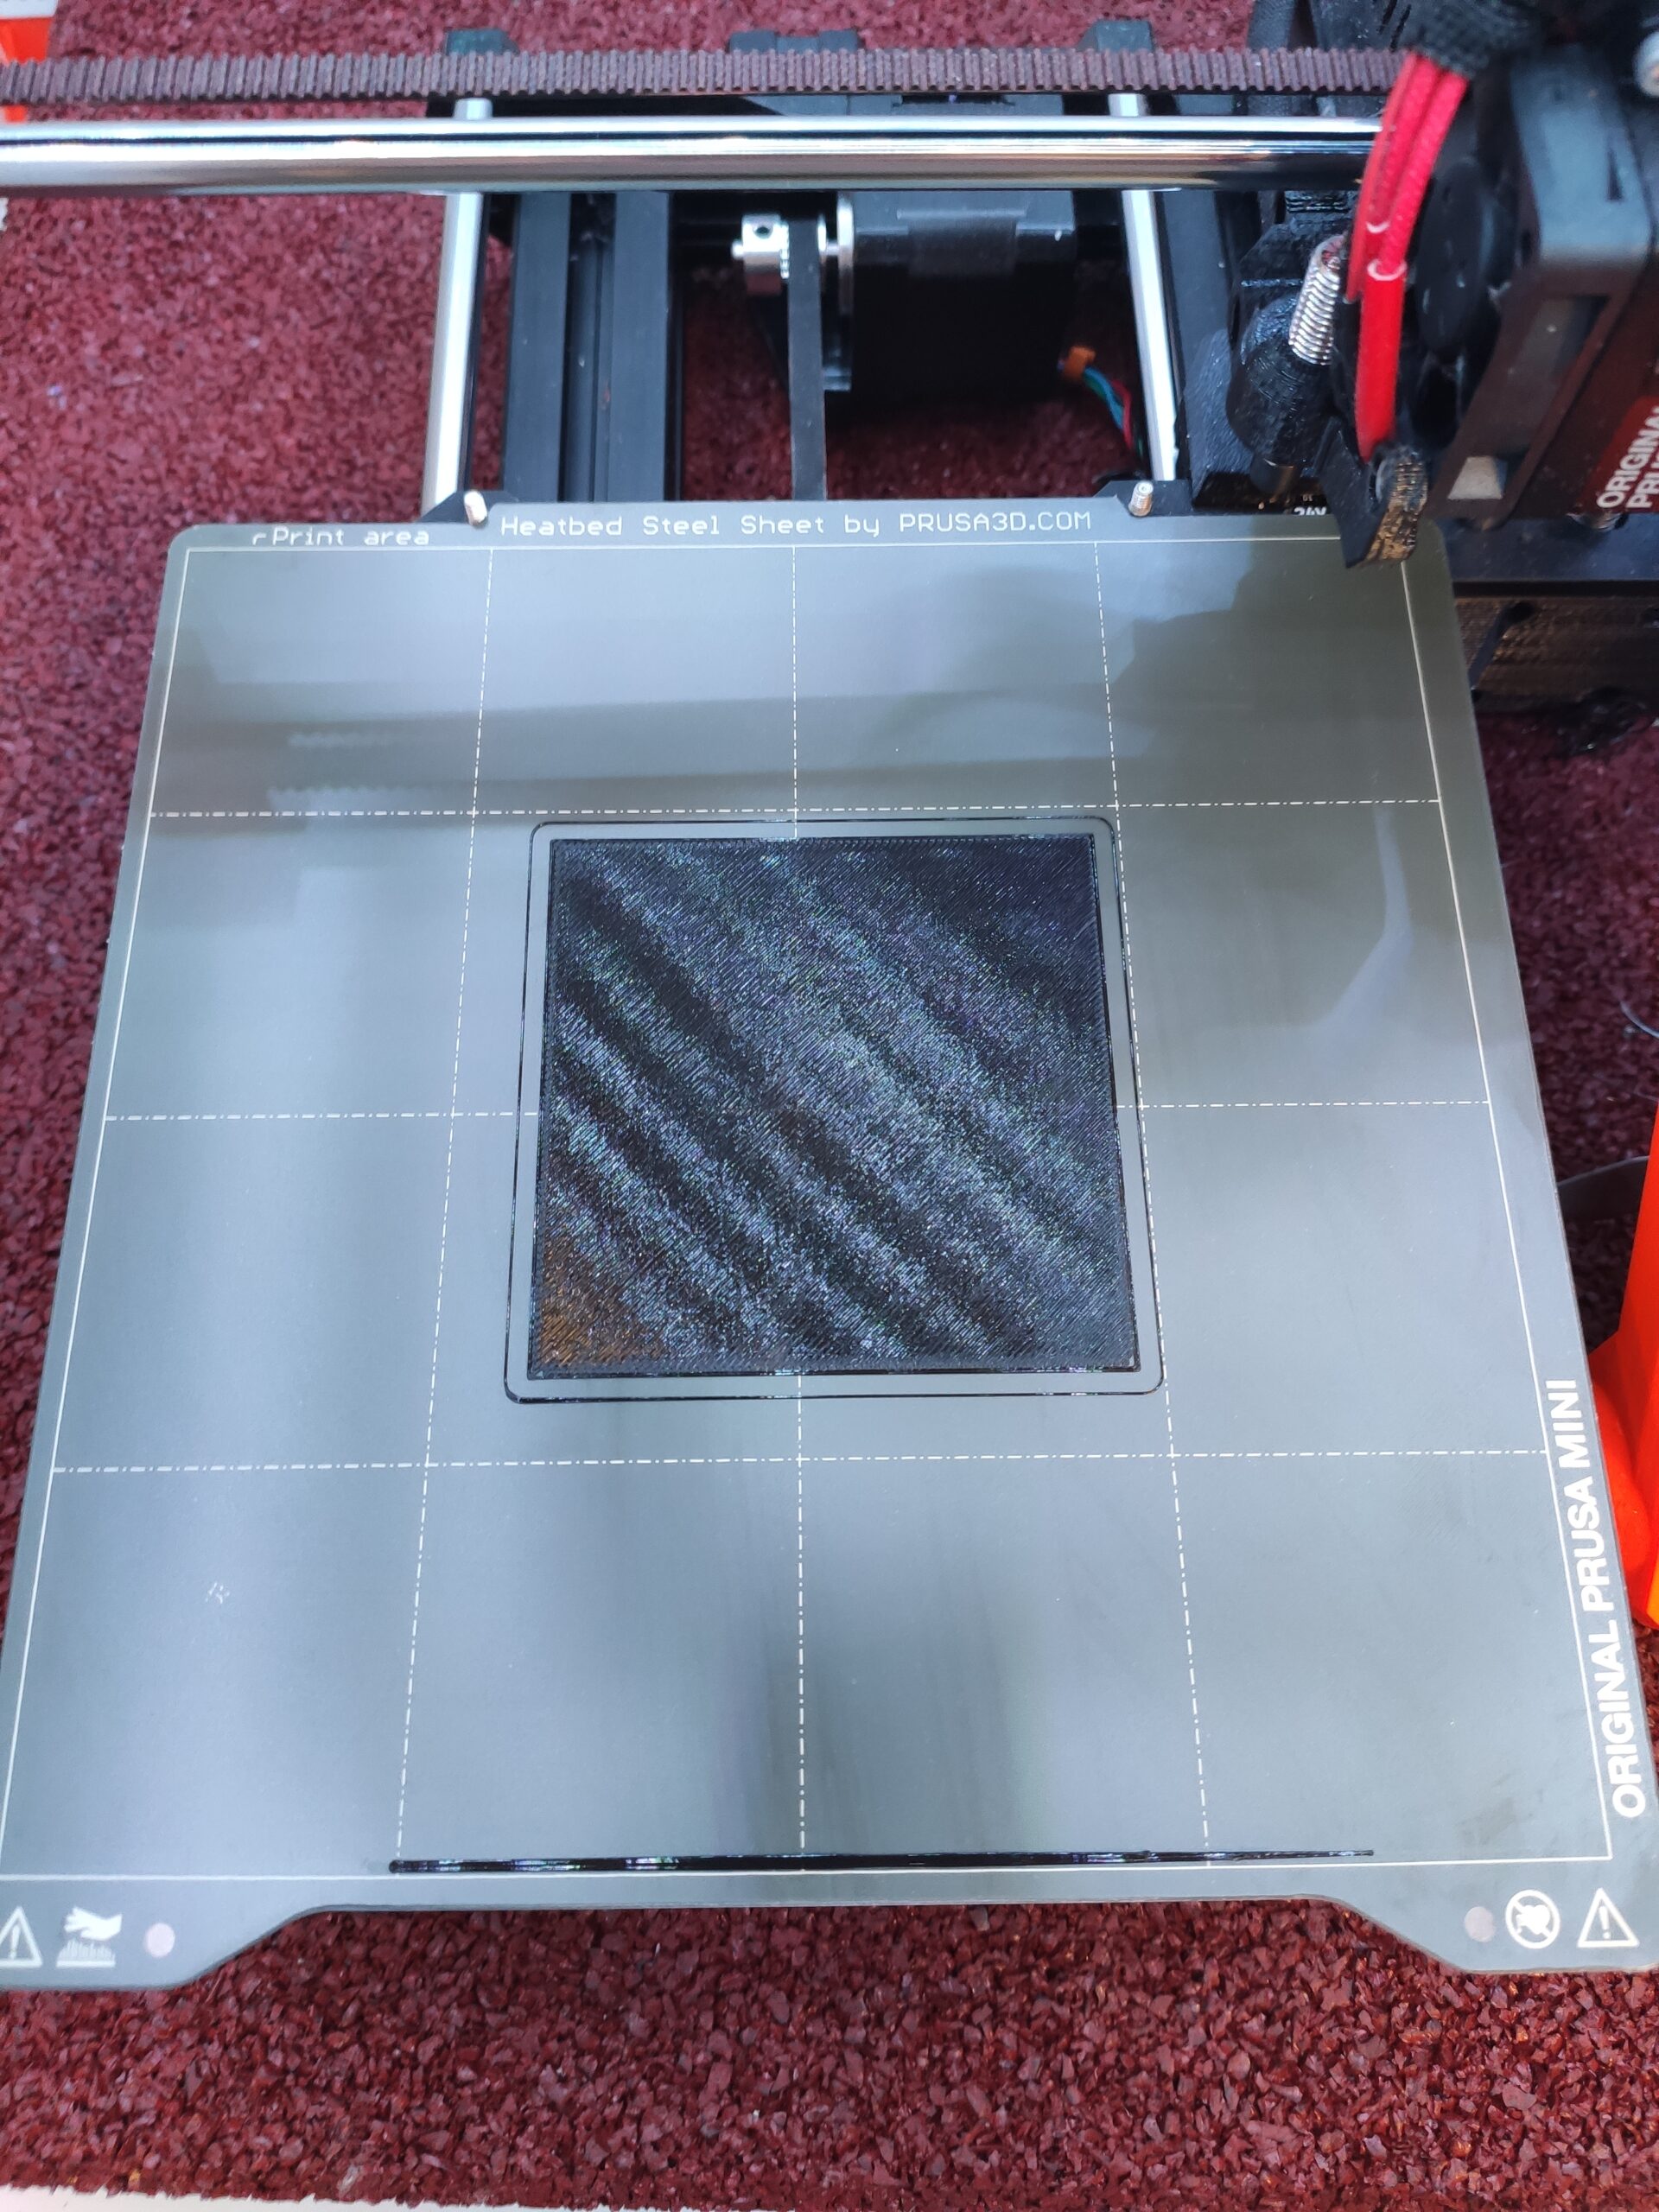
Were you adjusting the Z-height during that print, or is that the result of one, continous print without any adjustment?
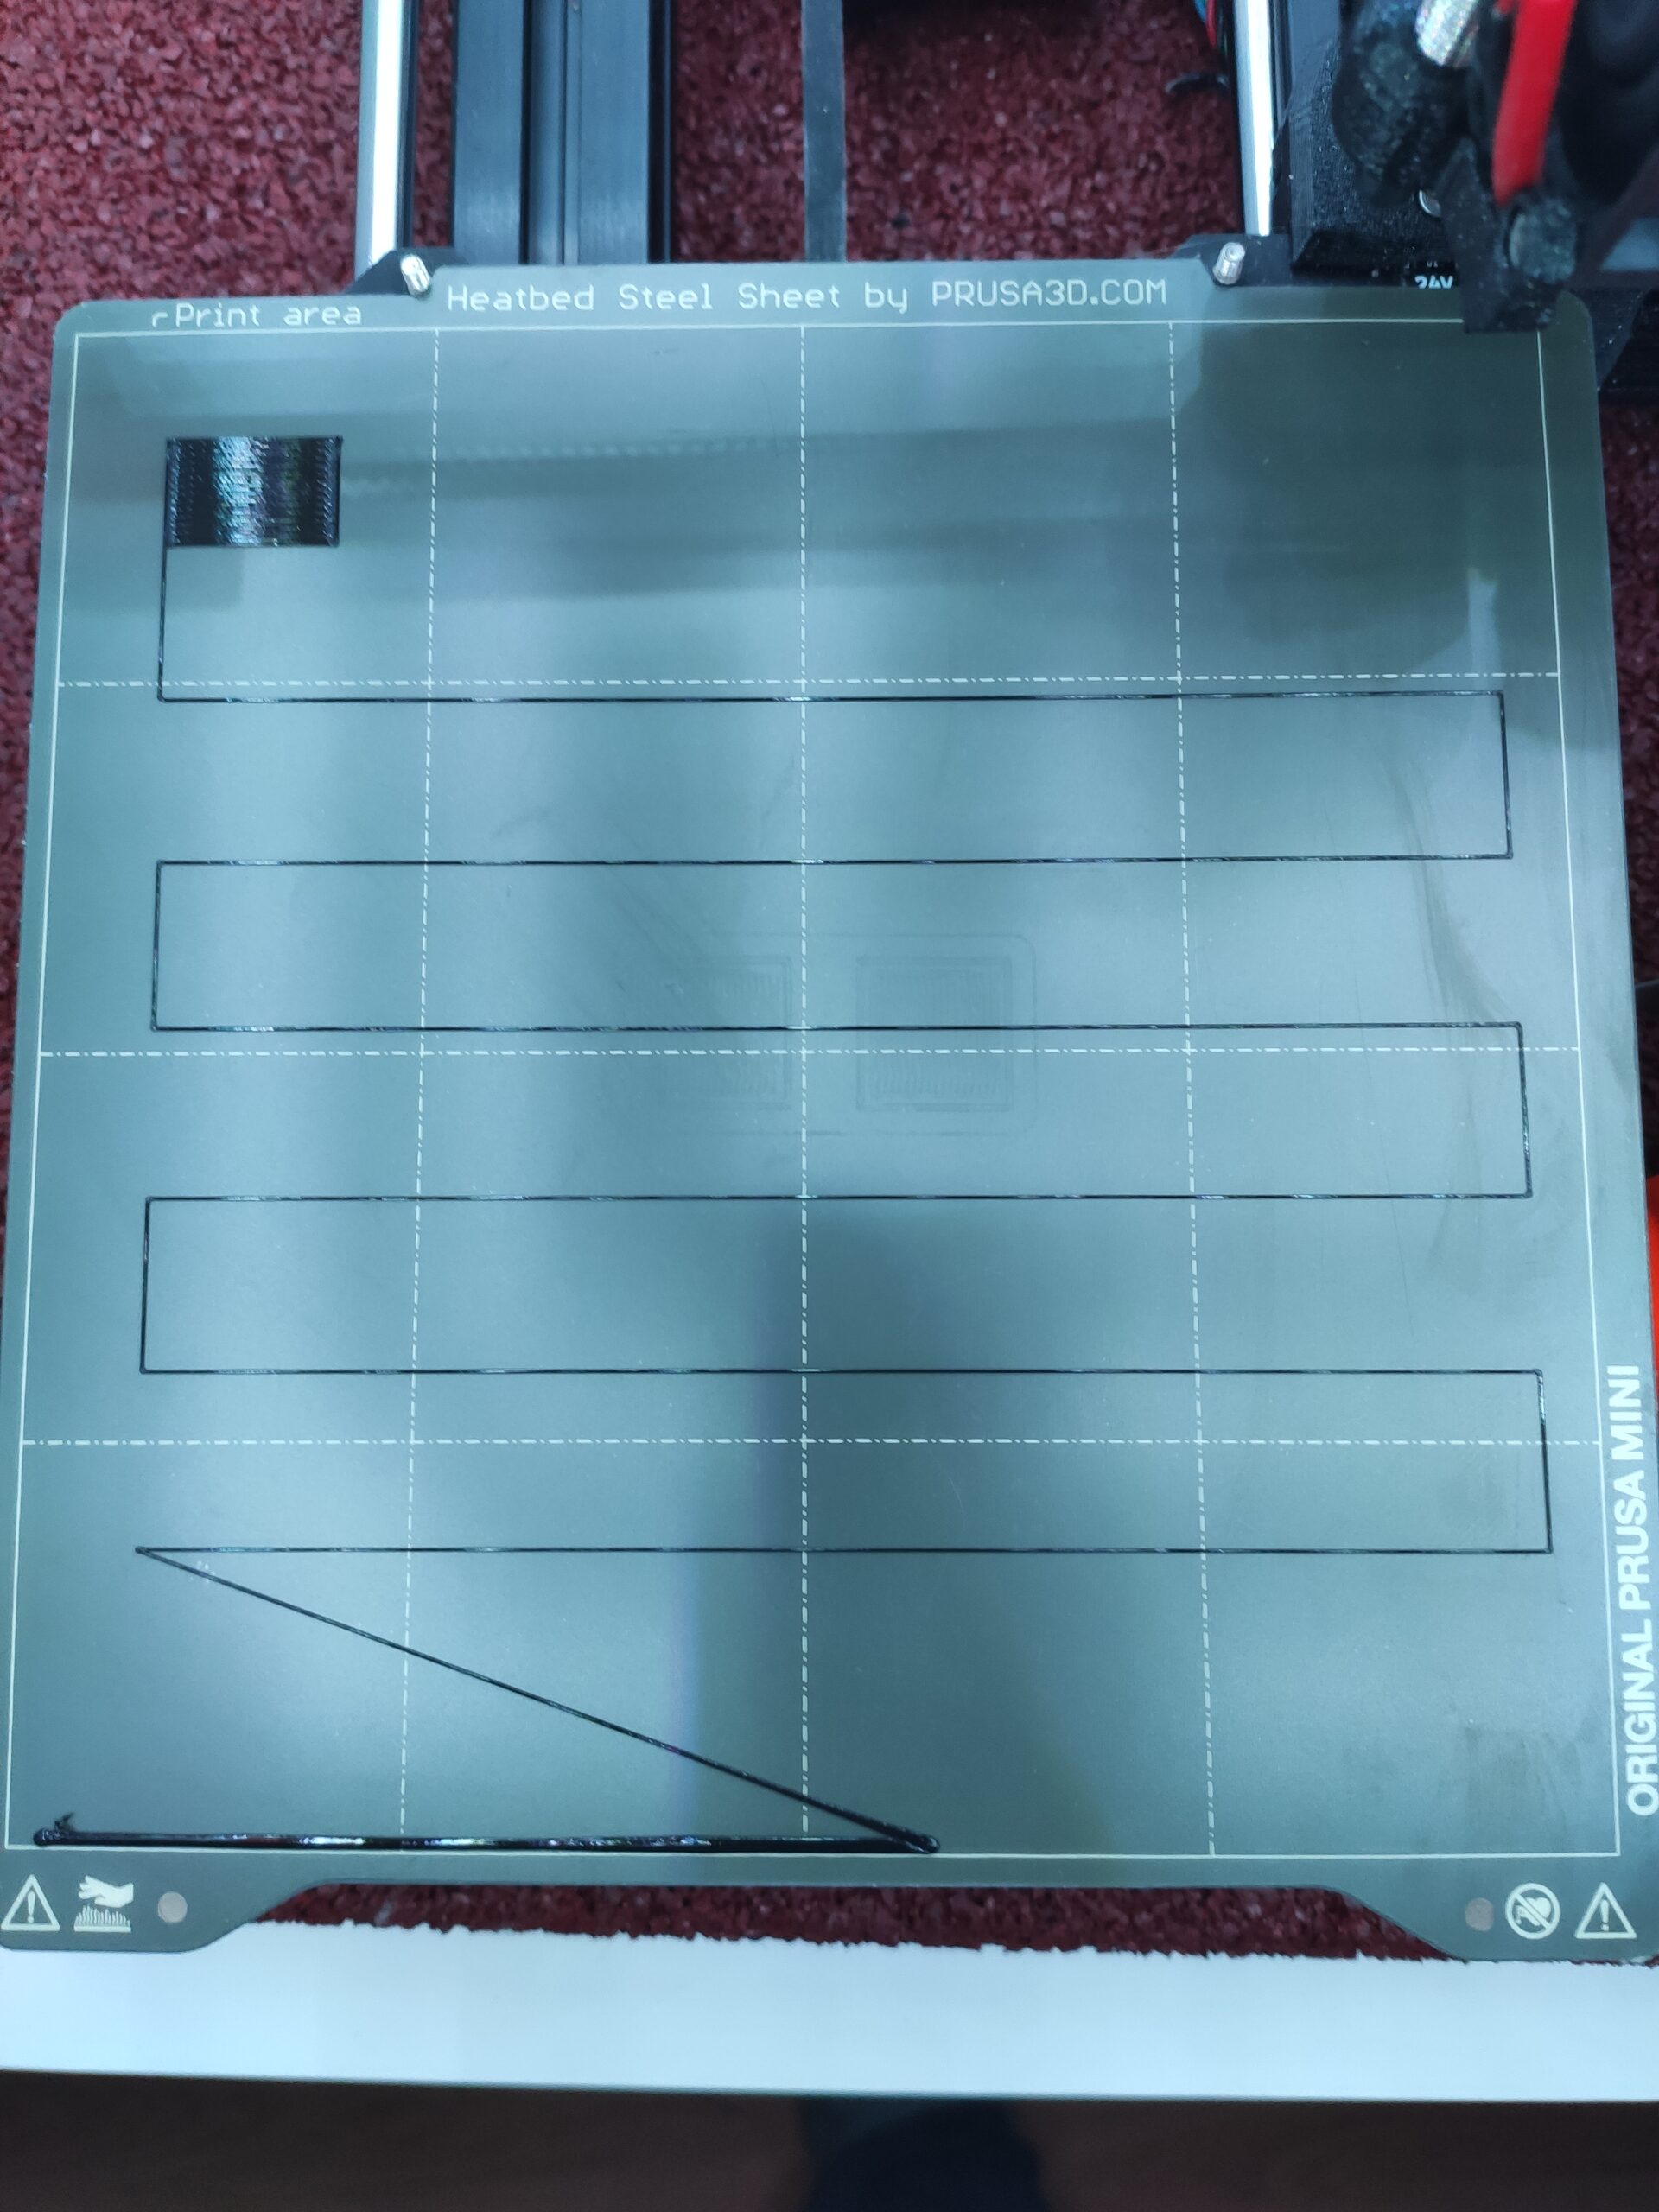
In your previous post, the square with -1.622 looks better; what height are you using now?
RE: First layer badly
Without adjustment.
Were you adjusting the Z-height during that print, or is that the result of one, continous print without any adjustment?
In your previous post, the square with -1.622 looks better; what height are you using now?
RE:
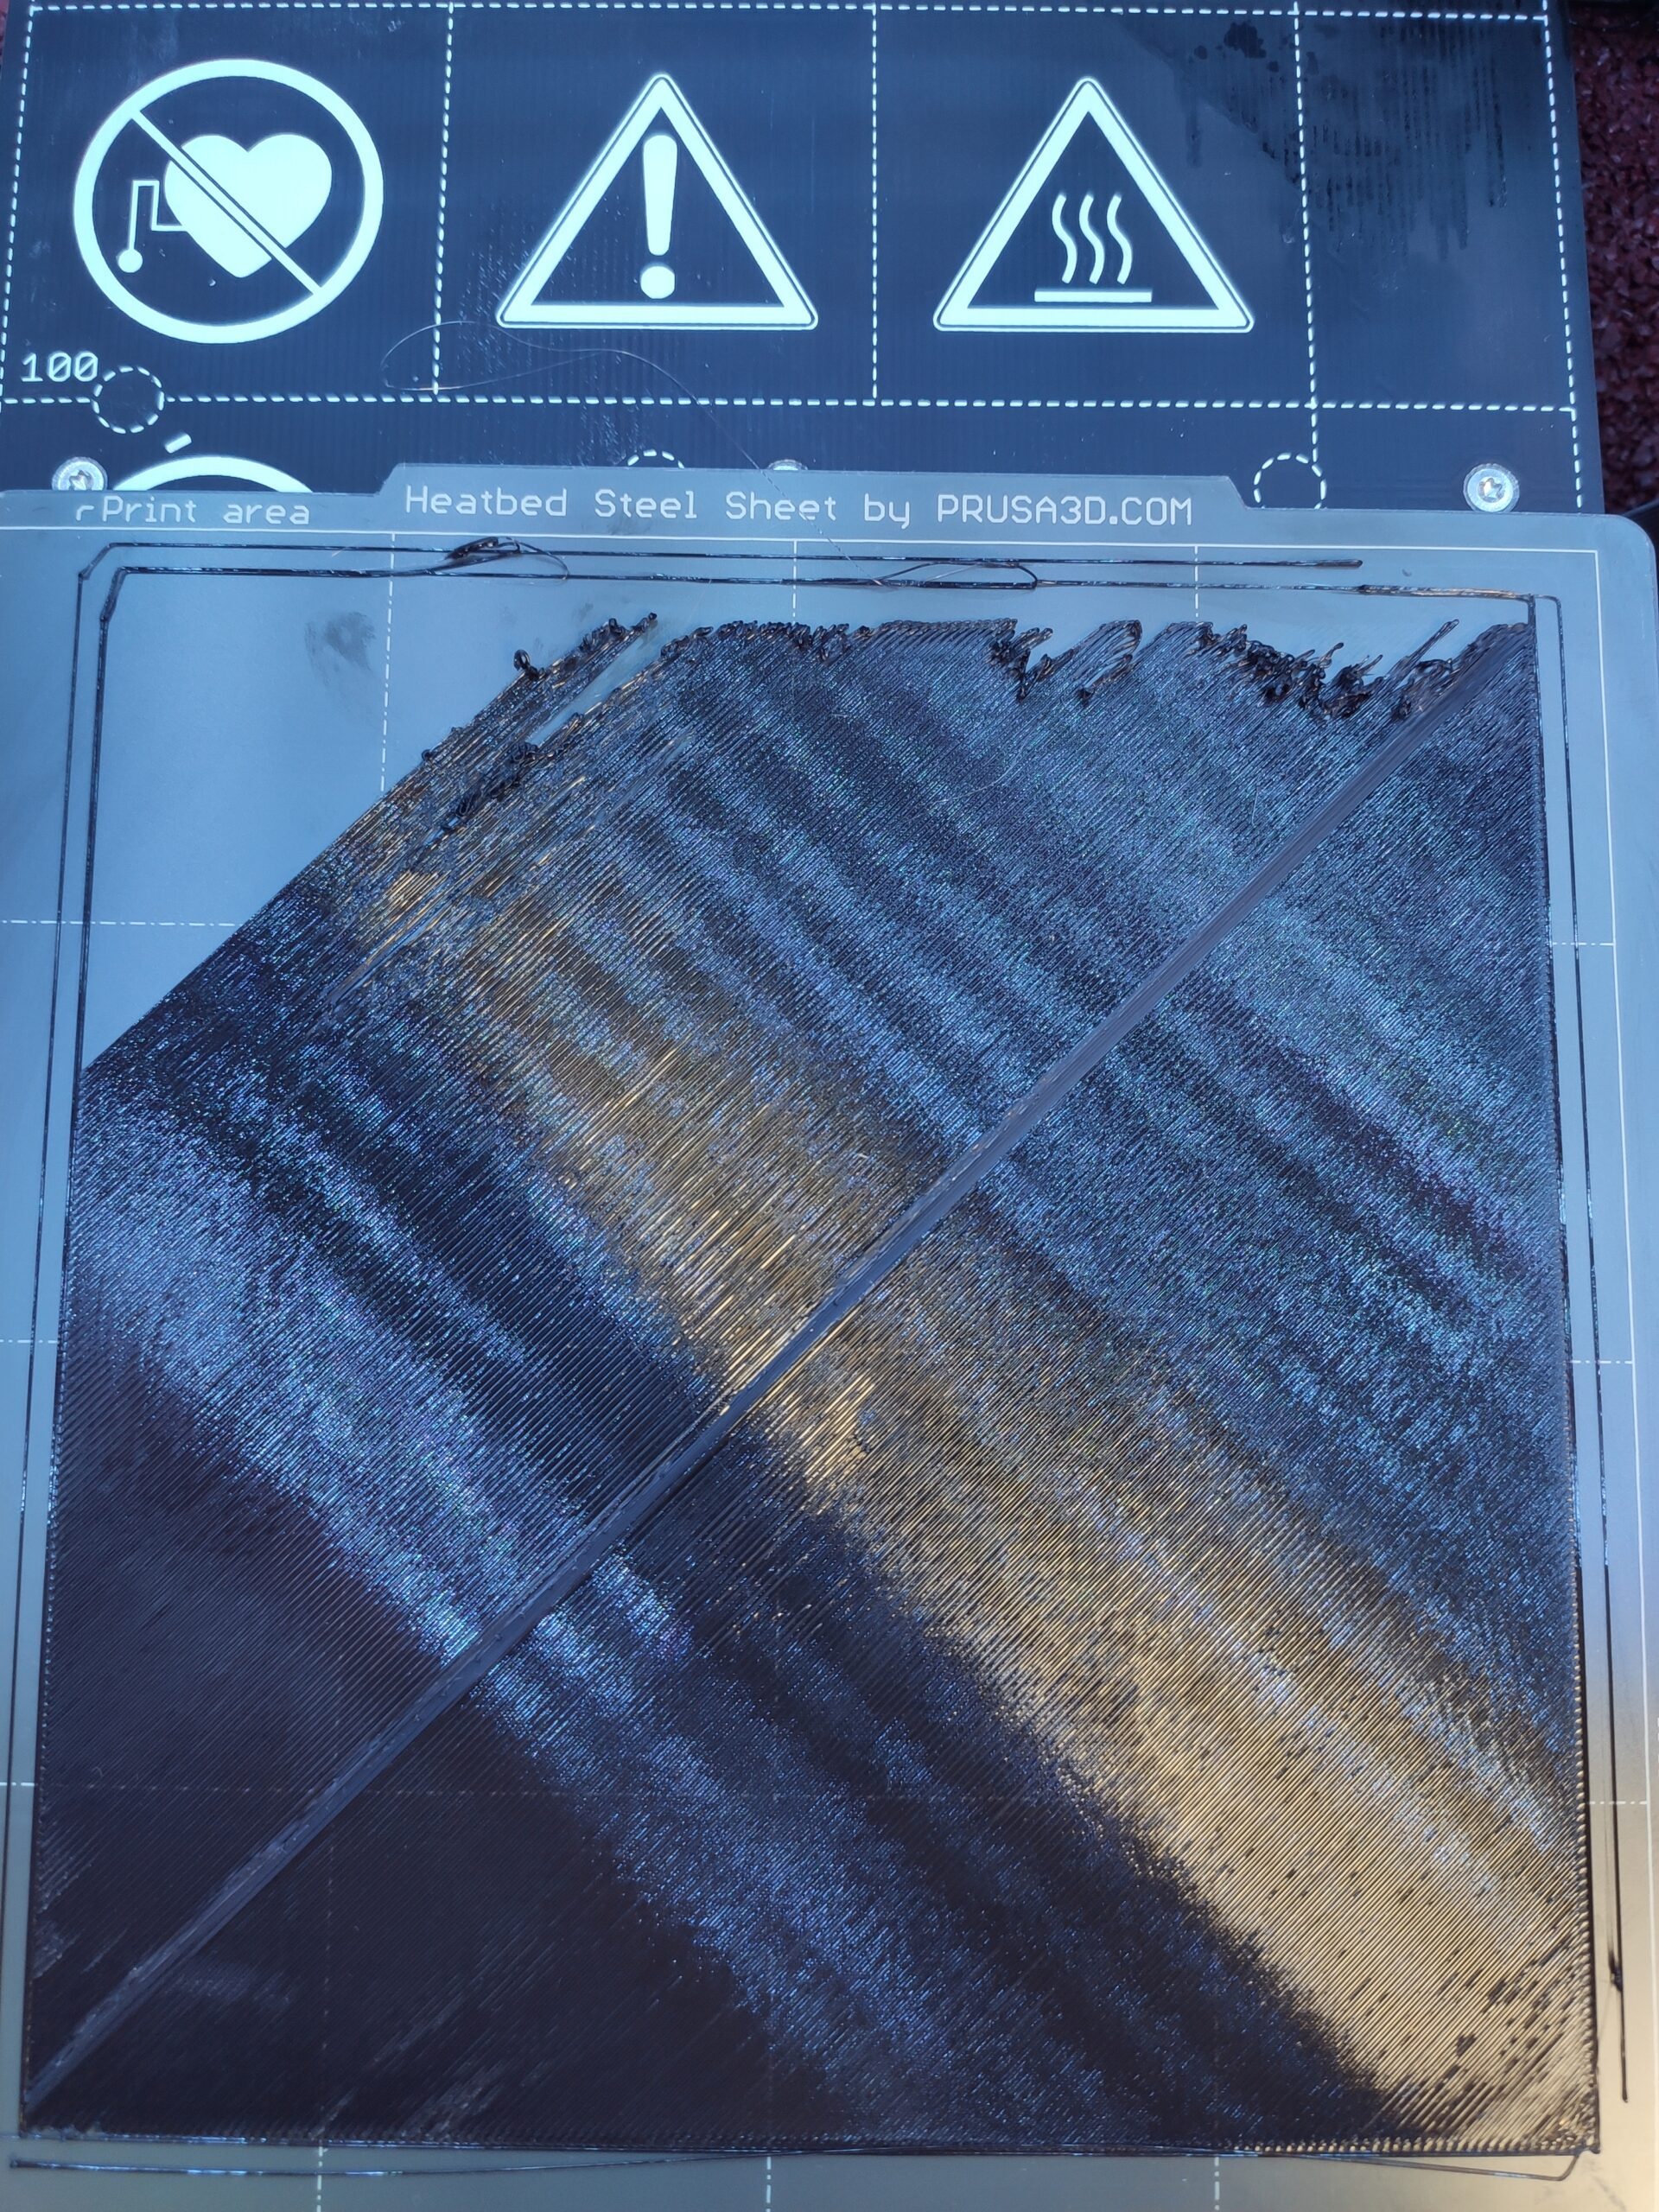
With the 75mm it is meant that you change the Z height while printing.You have more time than with the small rectangle for prusa calibration.Watch what happens. Change the value and print a few strips. When there are waves you go a little higher again until the surface is smooth.Clean your bed with dish soap and warm water and the hard side of a sponge. Then with IPA.Post the results here with better pictures if possible. Sharp and not so much surroundings.It looks like you might have a problem with the extrusion too. Coldpull and extruder cleaning are recommended.Are you sure that you put the hotend together really tight?
-Hotend to disassemble. Use the original replacement nozzle if possible.
-Clean heat sink well (thermal paste)
-Screw in nozzle then open 1/2 turn, screw heatbreak against it.
- Screw in the bowden fastening and loosen 1/4 turn.
- Lubricate the heat break with thermal paste, put in PTFE and insert. By turning a little and moving up and down, distribute it well.
-Press the heat break slightly upwards while tightening the 3 screws.
-Tighten the bowden fastening 1/4 turn.
-Heat up and tighten nozzle. Before tightening, turn off the heater !!!! Risk of short circuit !!!!!
- Check the bowden fastening at the top
- Set Pinda height and do first layer calibration.
RE: First layer badly
The fact that no adjustment was taking place while the pictured square was being printed suggests that factors other than z-height are at work here...
Was this a kit build, or partially assembled?
RE: First layer badly
I just recently had this same issue and it turned out being underextrusion. My issue was isolated by disassembly of the hot end then clean and reassemble. Make sure when reassembling you push up hard on the heartbreak when tightening the 3 grub screws. Let us know how it turns out
RE:
The related (de-) assembly manual you can found here https://help.prusa3d.com/en/guide/how-to-replace-a-heaterblock-heatbreak-mini-mini_122769/
Please read CARFULLY!