From perfect prints -> underextrusion, chewed up filament, Purge hangs
So i got my Mini in early March and was really excited about it, its my first printer and i decided to get a Prusa as i knew this would be a good choice.
I got the Mini, unpacked it, set it up and calibrated it. all good, first benchy looked stunning.
Perfect first layer, no issues in print.
I carried on printing for 2 more weeks without an issue all using my prusament galaxy silver.
All the issues then started when i tried to unload the filament, unload failed.. ok try again, same thing. I then purged some filament thinking maybe the filament needs to be more "fluid", didnt work, on the third try the extruder chewed through the filament and half of it came out. i then removed the bowden tube and got the other bit out.
Not thinking anything of it i loaded my new prusament black pla and tried a new print.
massive underextrusion, to the point that no more filament was being printed at times, ok maybe its the black PLA.
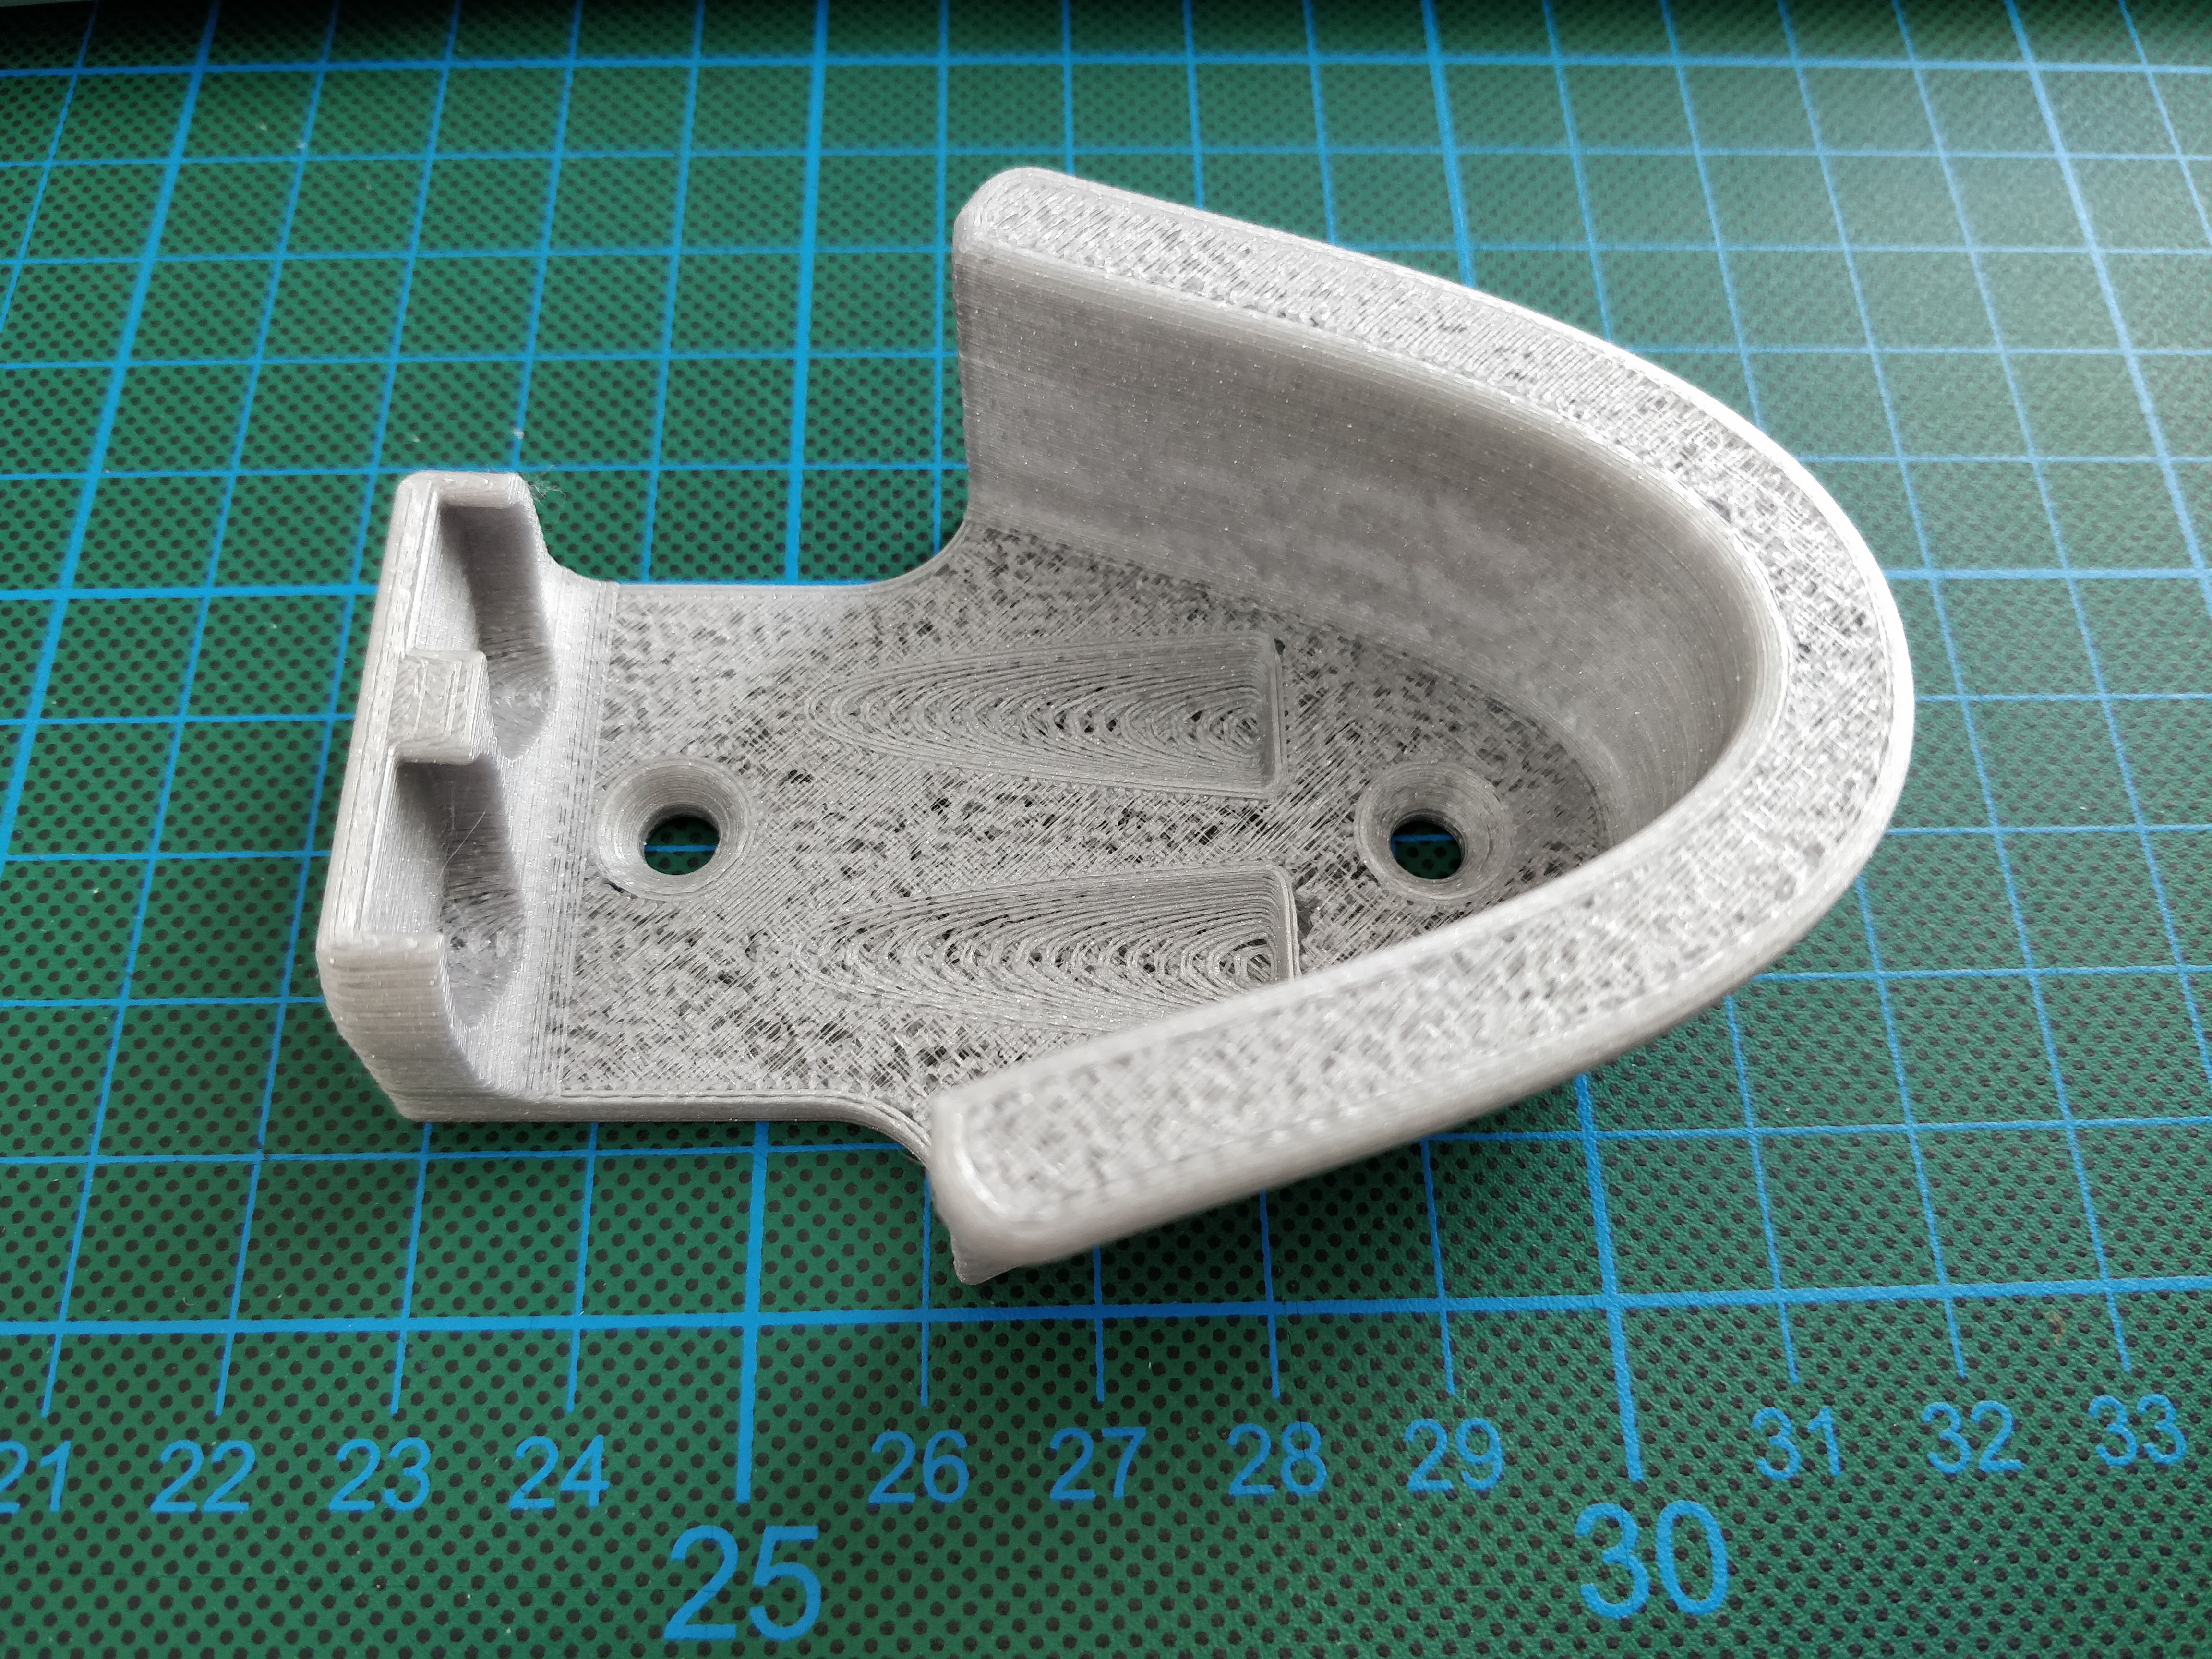
So i put my galaxy silver back in and tried to print a wall mount i had found on thingiverse and sliced with prusa slicer 2.1
The print finished but its a mess (see image)
During the print the extruder was clicking and and showing all the signs that ive seen on many other threads.
I then went to: https://help.prusa3d.com/en/article/clicking-extruder-under-extrusion-and-clogging-mini_112011/
and followed all the instructions:
Reset extruder idler (it was way too tight form the factory!)
Changed hotend PTFE tube and did a 3 cold pulls.
The final cold pull looked good (from the explainers ive seen on other threads).
Cleaned out the plastic from the extruder with compressed air
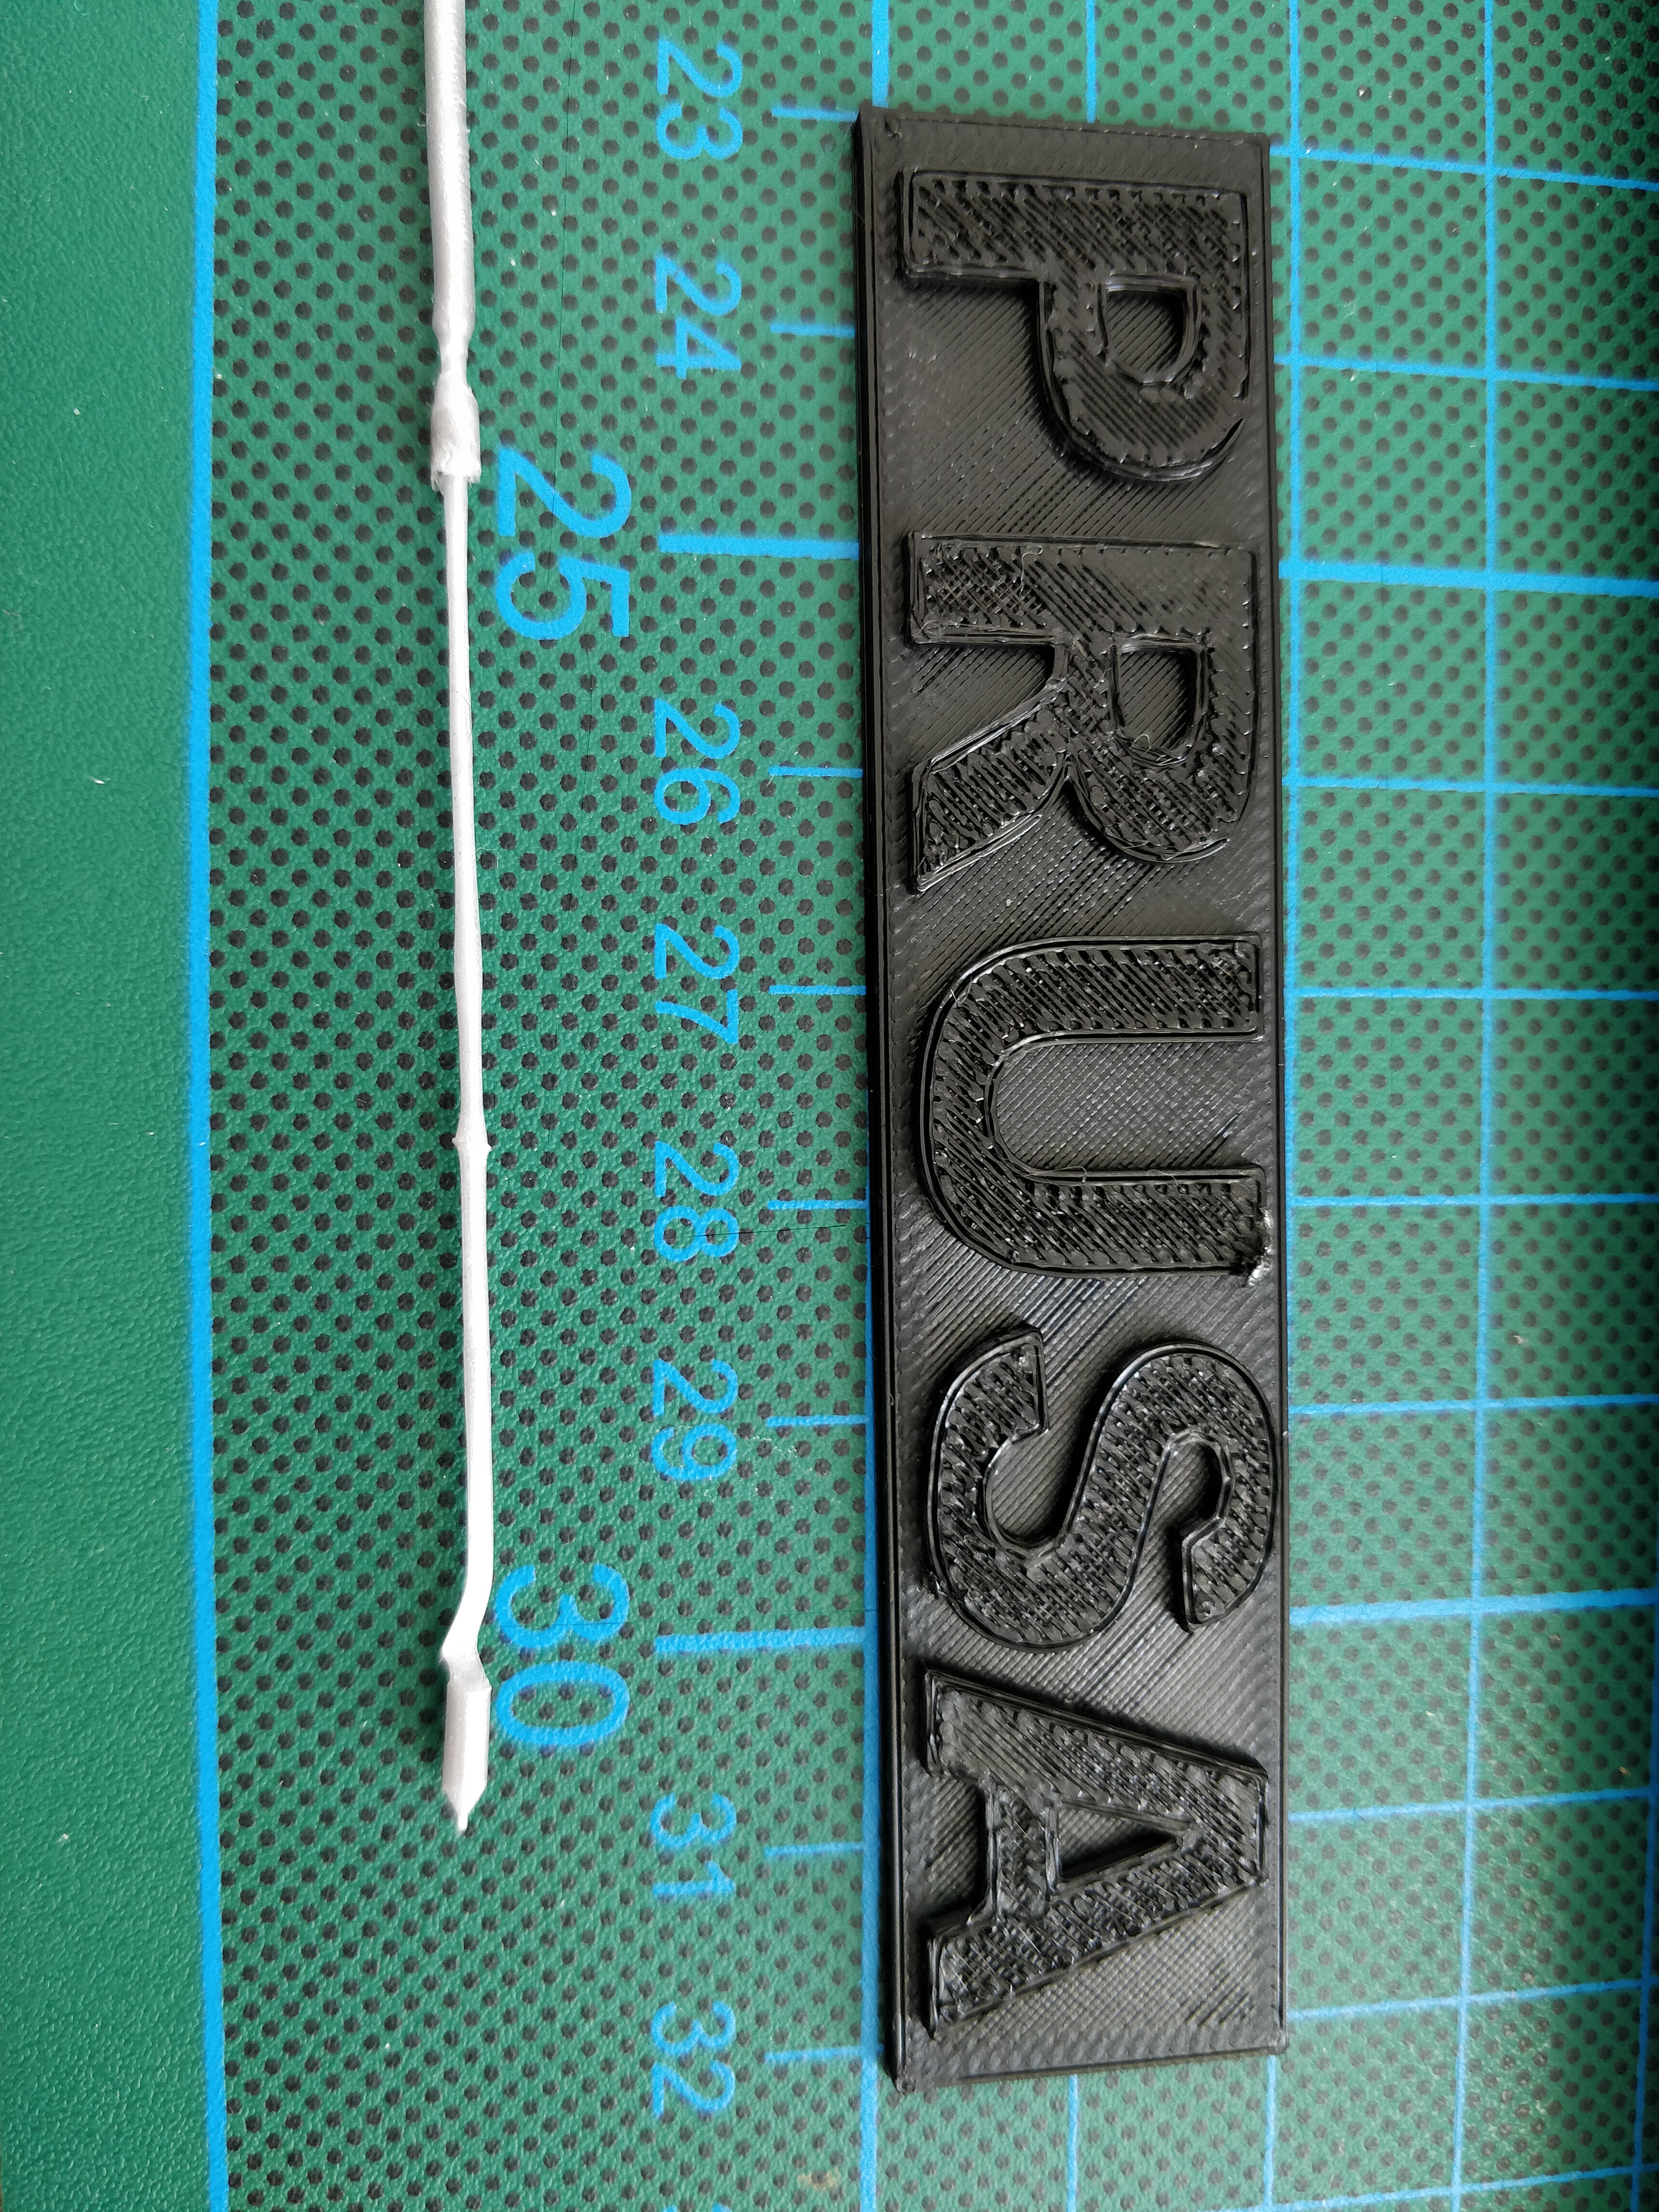
So thinking i had no more issues i put in my Prusament PLA black again, did a bed level and did a test print of the prusa logo.
First layer, looked ok, not amazing like before but fine, second layer, which is significantly faster, same problem as before massive under-extrusion.. i then changed the temp from 215 up in steps to 230 during print and saw some improvement, i finished the print with 225°C. The final prusa letts are badly under-extruded.
In addition to this now all my "change filament" actions fail with the standard settings. I need to set it to 230, purge and then quickly unload, then if im lucky on the second time it works.
However ever 2-3 times my Purge programme fails. it stops at 95 or 99% and does nothing, so im forced to restart.
Now i have contacted support, they told me to do exactly what ive done.
Im all out of ideas now and as im new to this hobby and I appreciate that I cant expect a printer that works flawlessly all the time. I had expected some fiddling, but at the moment this is just a waste of time and filament, ive spent 2 days diagnosing this issues, and its not getting better.
Further info:
Printer is on version 4.0.4
Slicer on 2.1 (now 2.2)
Room temp constant 22°C humidity is between 38-45% so i dont think its a filament issue.
Nozzle to heatsink distance is 4.9 mm after PTFE change.
I hope somebody has some further ideas otherwise im going to RMA this mini and see what other options i have
Photos:
RE: From perfect prints -> underextrusion, chewed up filament, Purge hangs
I went to 260 degrees of temperature, then my prints were perfect again.
I think so shown temperature is wrong. I will test it with an extra thermosensor next week.
I had the same behavior after two weeks of printing...
Wasn't able to find a solution too.
Changed the temperature sensor yesterday - no change
I did not test ASA until now.
RE: From perfect prints -> underextrusion, chewed up filament, Purge hangs
Im getting closer to the solution of the problem. My prints have now improved dramatically, its not perfect and the unload is still being a bit twitchy, i havent seen any hanging unload yet but i have only tried it once since the first post.
What i did to improve the prints:
As far as i can tell it seems to be a combination of a few factors.
1. the PTFE tube in the original build was not long enough -> Replaced with spare tube in the spare kit in the box.
2. the manual for replacement of the new longer tube by Prusa( https://manual.prusa3d.com/Guide/How+to+change+a+hotend+PTFE+tube+-+MINI/1505)
tells you to put pressure on your extruder, while screwing the brass fitting in, then finally making the brass fitting snug.
I found now that the opposite works better. -> set the extruder at ca 4.8mm from the bottom of the heatsink (the recommended distance) then tighten all 3 screws. Only then did i place the PTFE tube in and reattach the brass fitting (small note here: the fitting has one end for the brass connector for the bowden tube and one end for the heatsink, dont mix these up!)
Important here, reseat your MINDA probe! and redo your first layer calibration i used a ca. 800um thick card.
3. When the filament was unloaded, i turned the extruder idler screw all the way out so it was flush with the plastic and then turned it out 1 more turn. The extruder still seems to be able to load filament fine! (make sure you clean the gears with compressed air!)
4. I installed the 4.0.5RC1 -> this is supposed to make up for the under-extrusion by adding higher estep level
After all of these changes i finally made sure that my filament runs through all ptfe tubes without any major tension.
Test print --> Prusa logo, first layer was back to being buttery smooth as i had seen on my initial prints.
Second layer and higher -> no more underextrusion!
Top of the print last 3 layers show some issues probably due to temp and flow rate balance but i can now print at 210°C without any major issues!
Images to follow tomorrow
A final tip:
for anybody having the unload issues is start a purge first and make sure the filament runs, if it has to be use the PETG programme for PLA. then unload, this decreases the chance of the blob at the end of the PLA gettig stuck in the PTFE in the extruder, the tolerance in the PTF and the brass filament here is tight and a smallish blob will lead to a jam!
I will run some more test prints tomorrow and report back again.
I will also try more load/unloads to see if the unload crash/hanging of the system happens again.
I hope this helps anybody having the same issues!
I think we’re the same person
 Hello there!
I realize this happened a fairly long time ago for you, but I just received my first 3D printer (the mini+ as well) a couple weeks ago and have found myself in a similar situation. I paid the extra $50 to have it pre-built by Prusa, because I was worried that my lack of experience may compromise the final build quality. I was able to assemble and print a few of the preloaded items that came on the jump drive. I even downloaded an STL called “drippy bucket” and printed it using 3 different filaments from 3 different brands, and didn’t seem to have any real issues. Great quality on everything, even the non-Prusa filaments.
After finishing the Drippy Bucket print, I went to unload the generic filament I had last used and nothing would happen. The gears would spin like hell, but no movement of the filament occurred. I tried this a few times, as well as running a few purges to no avail. I then tried to run the unload procedure while slightly tugging on the filament back by the spoil and it snapped in half at the extruder pulley. I then removed the 2 large brass nuts on the PTFE tube and opened the viewing door on the extruder and immediately saw all kinds of filament chewed up in there.
I then followed the instructions on how to take this piece apart and clean it properly. It was a pain and I had some real difficulty getting the little strips of filament out of the tiny “teeth.” I had to completely ruin the “acupuncture needle” that the printer came with in order to scrape this crap out. I cleaned everything with compressed air, used a steel brush to clean the main gears and these little tiny teeth (just as instructed in the guide) and put it all back together, being sure to back out the tension screw until it was slightly protruding from the orange casing around it. Everything looked good.
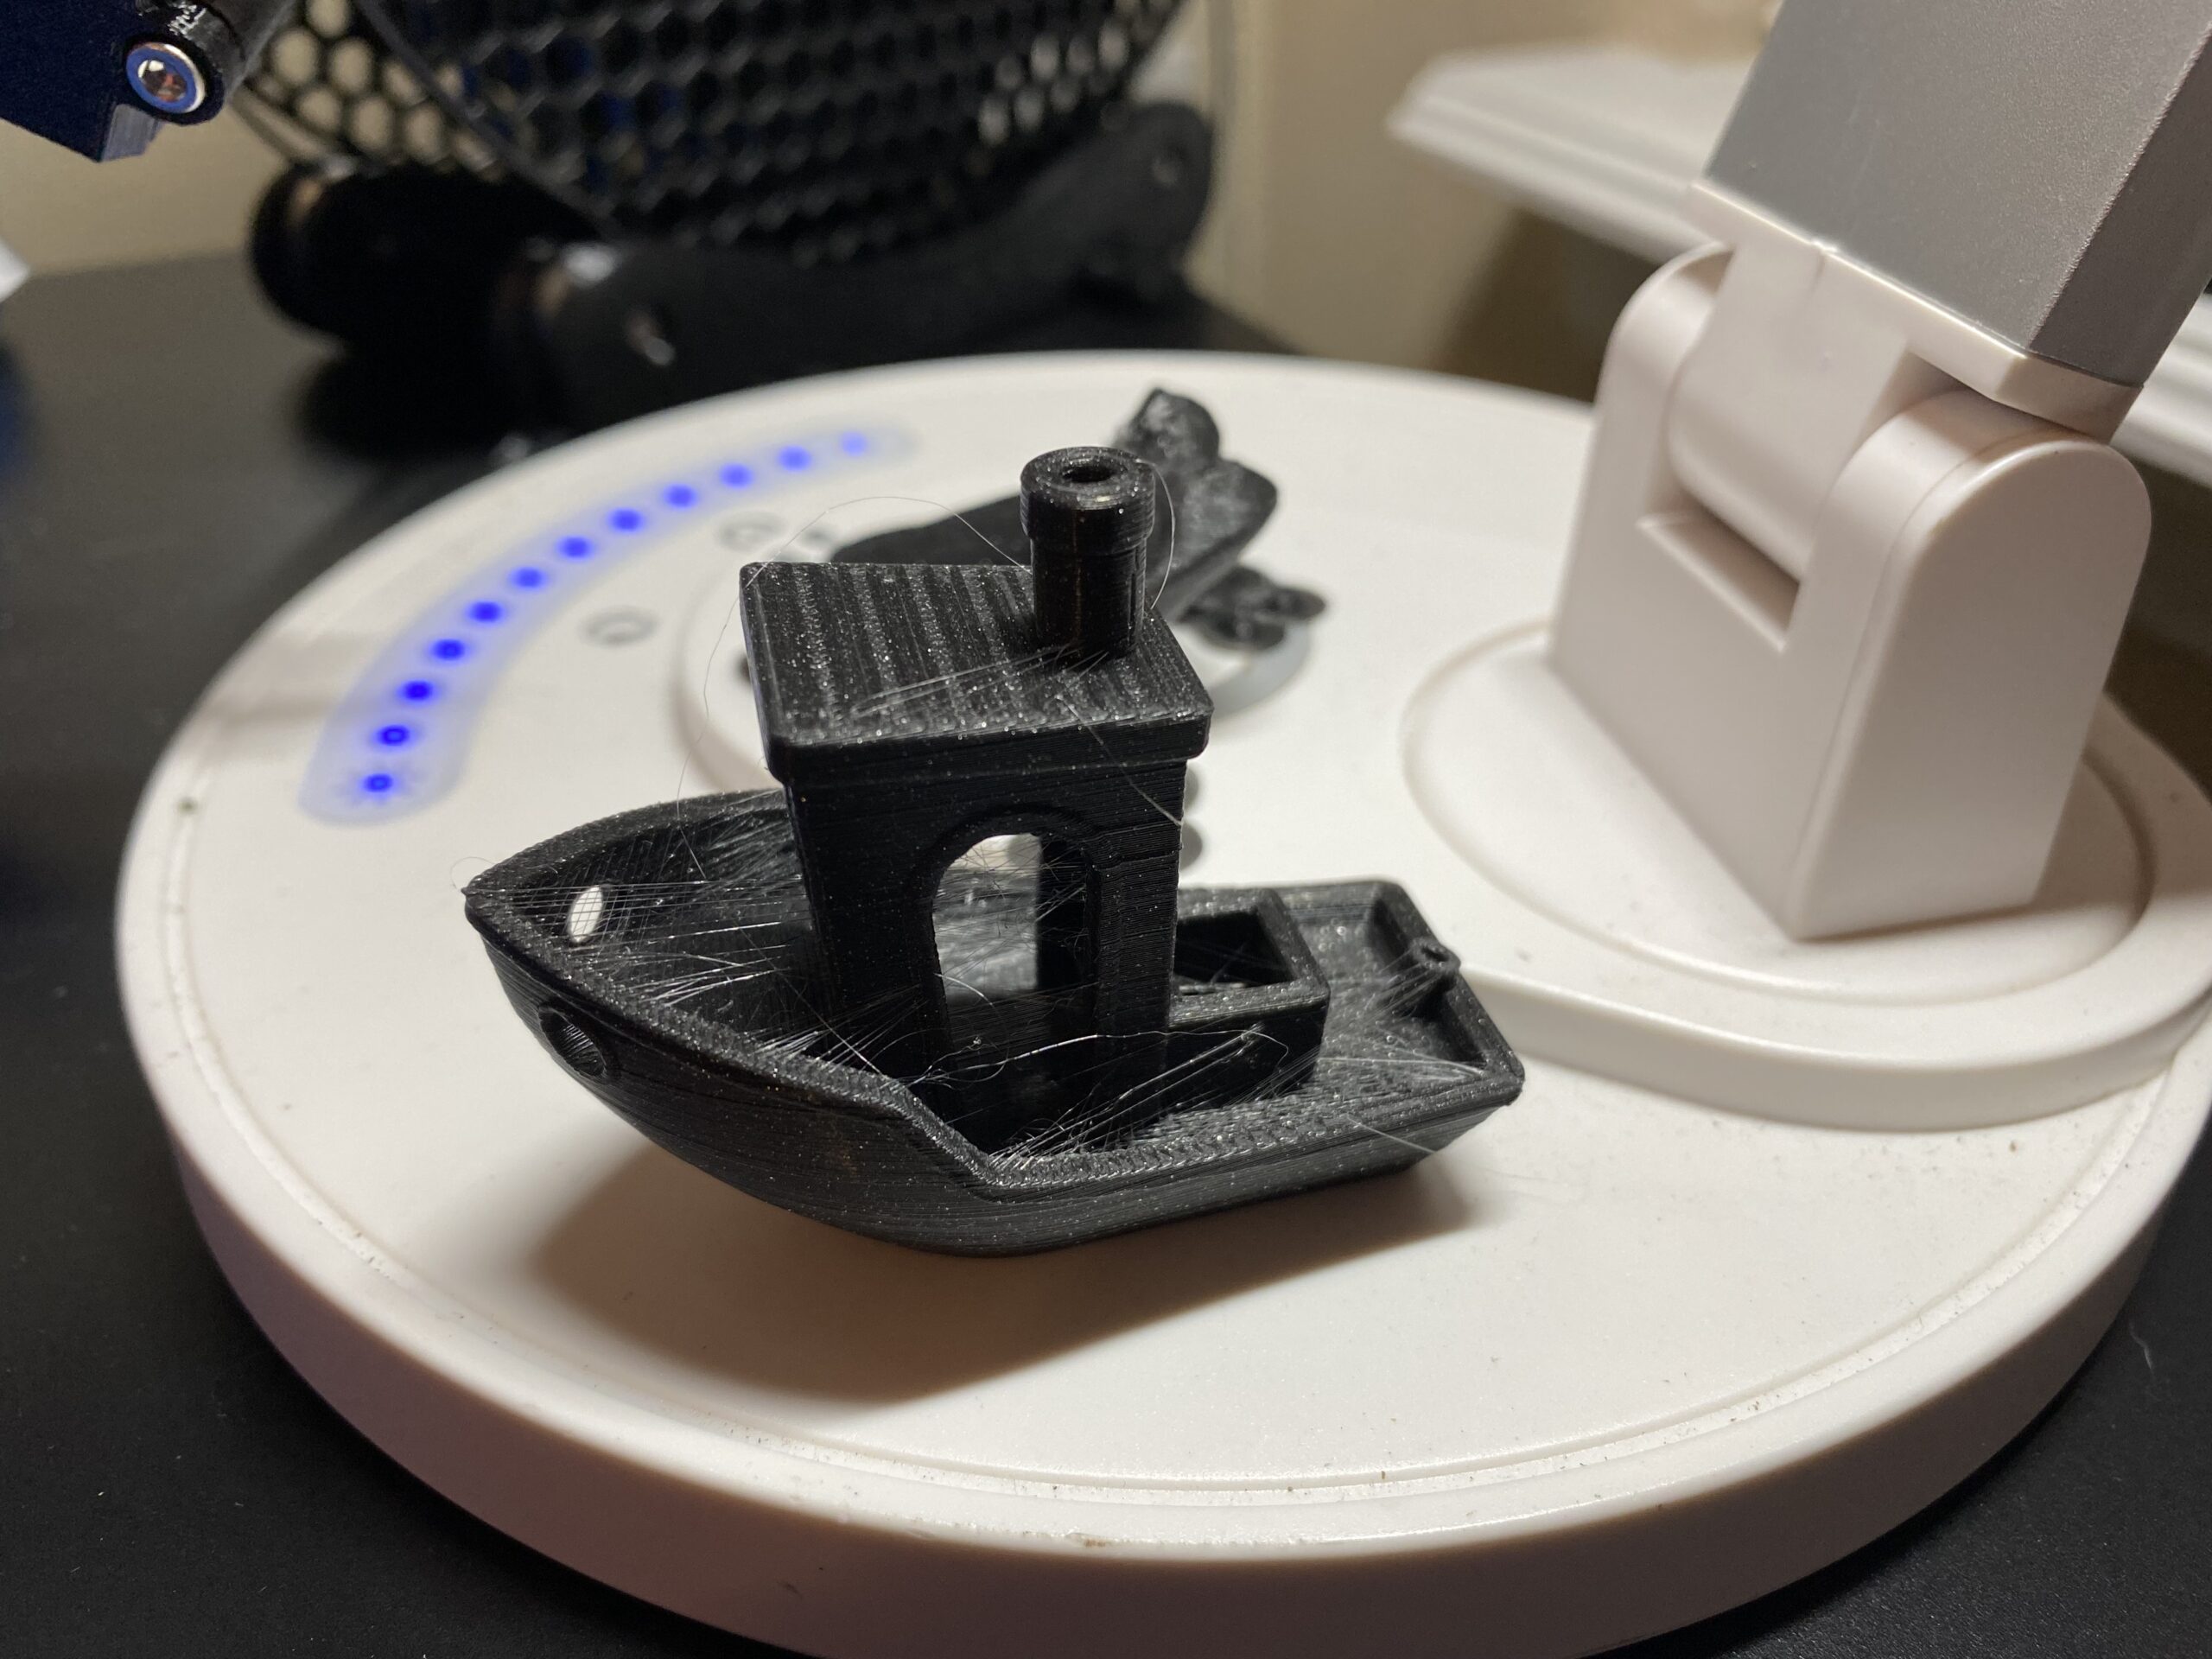
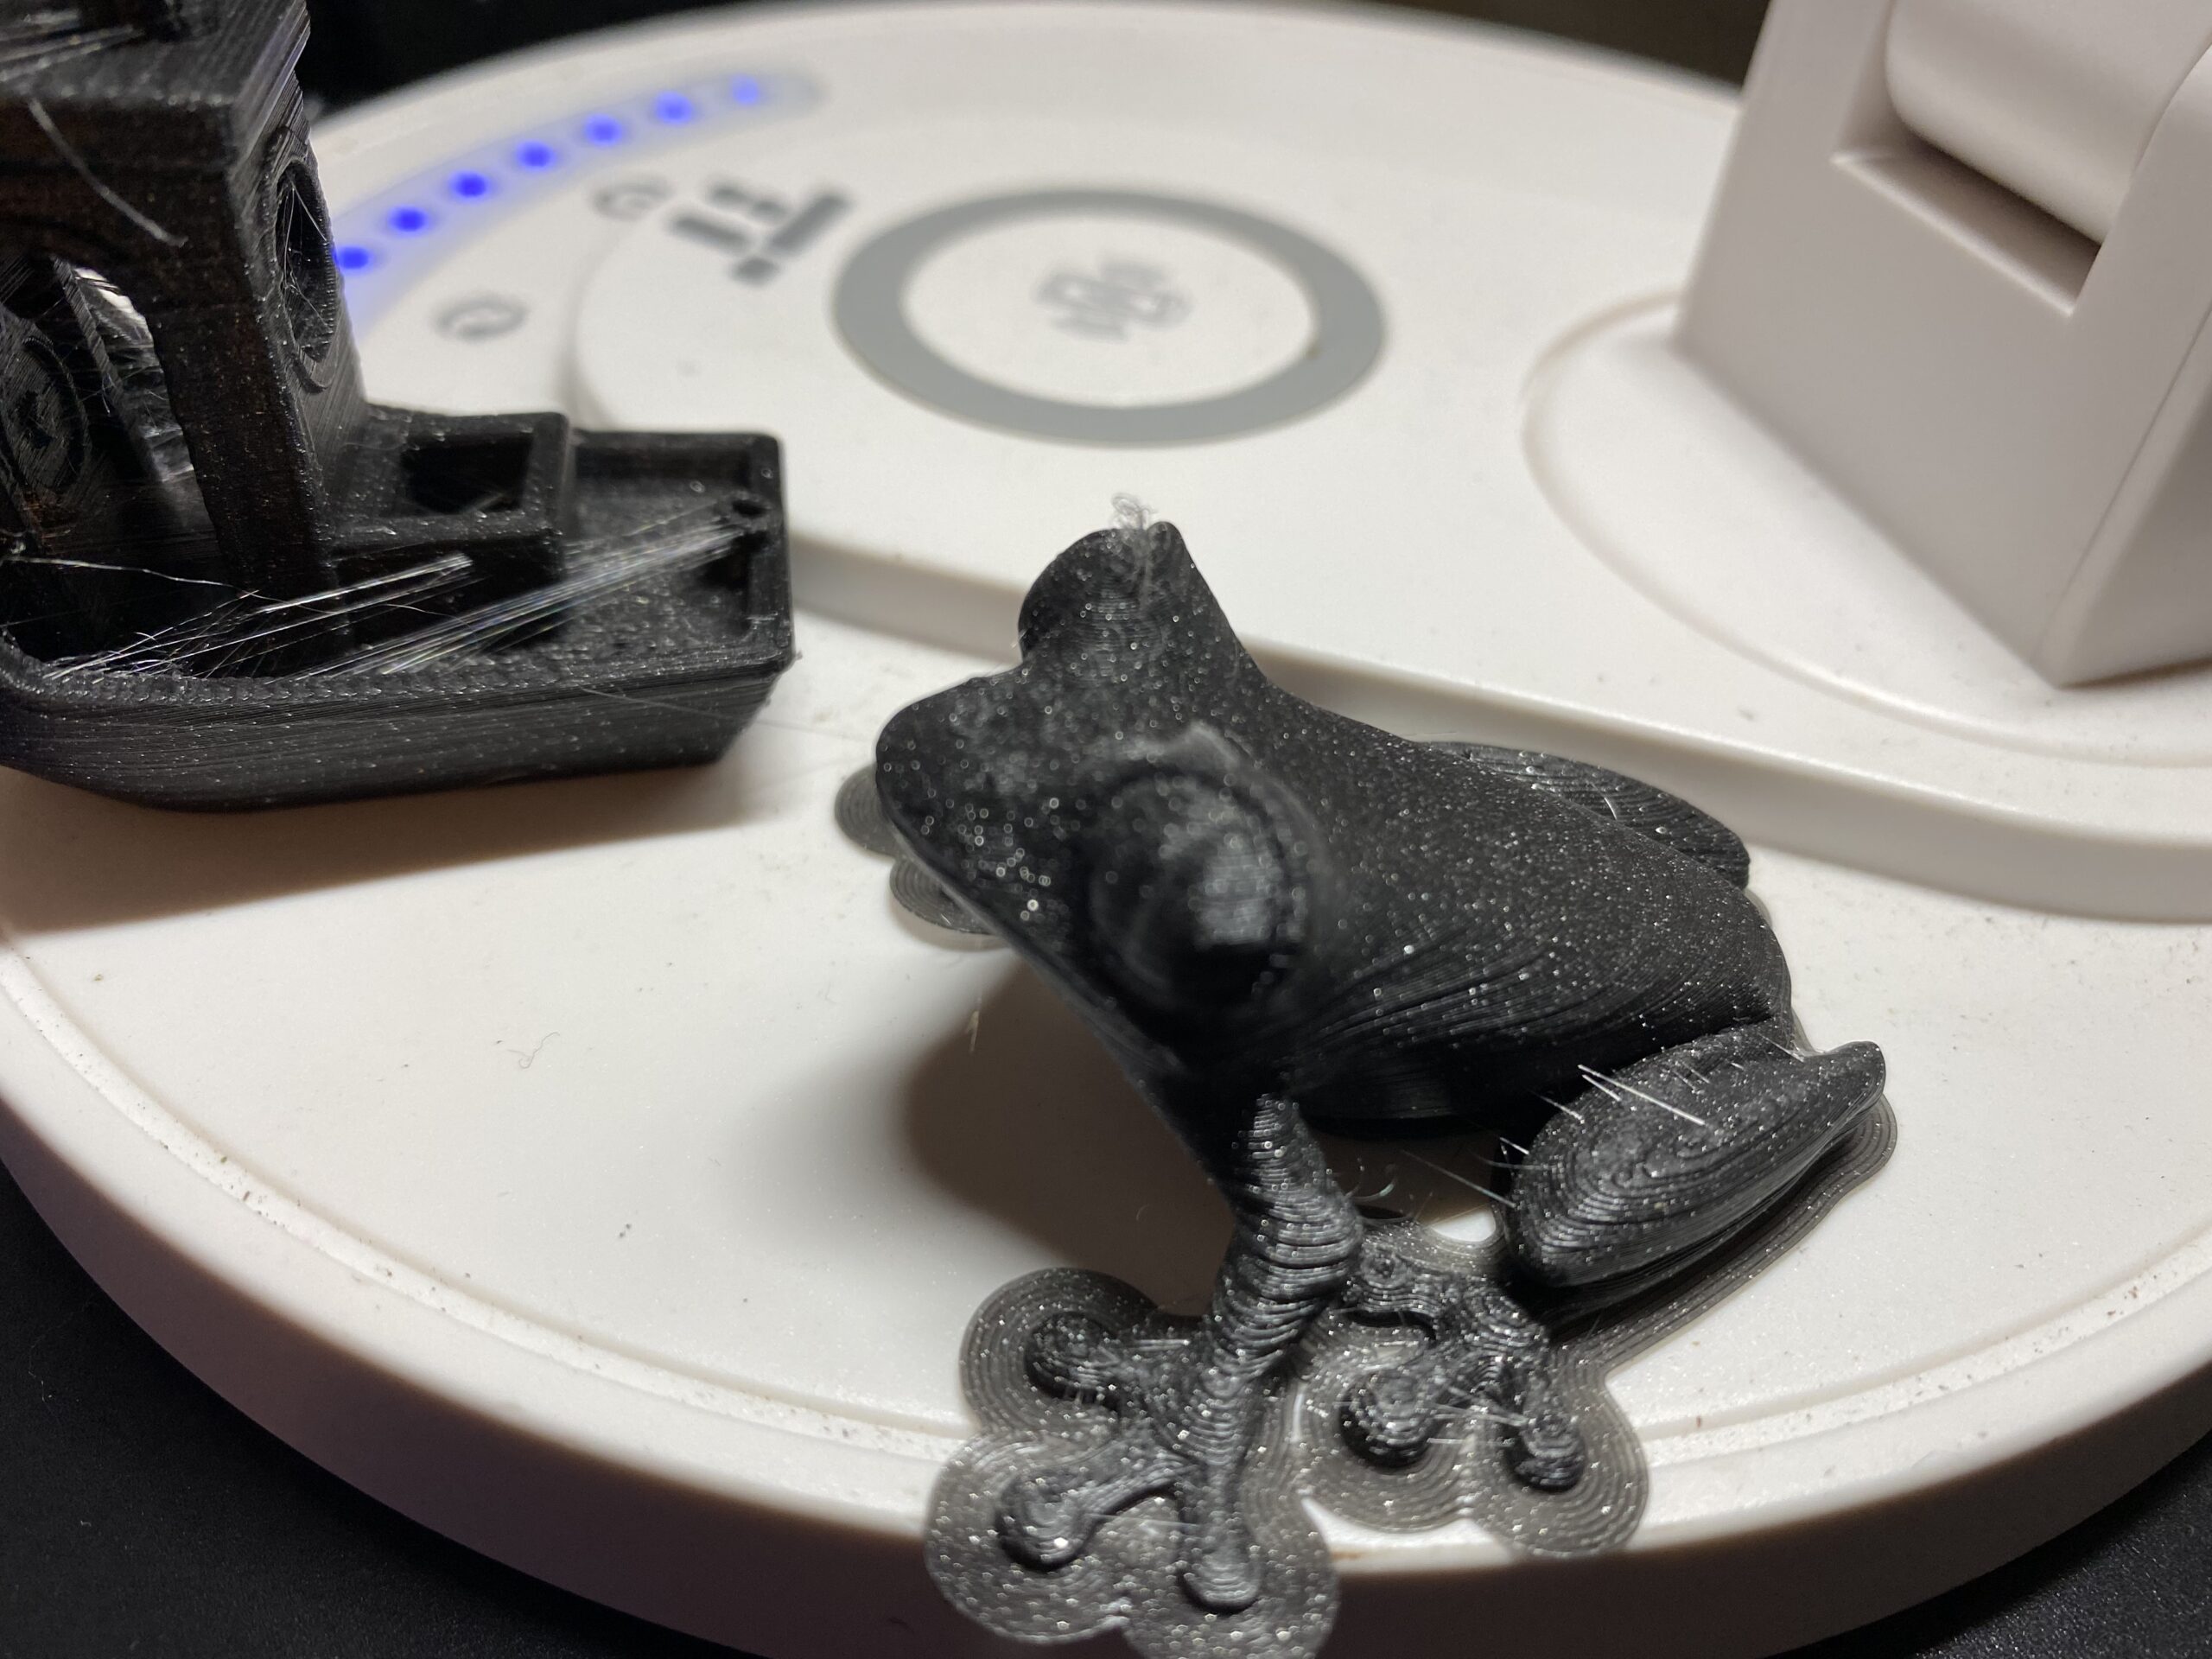
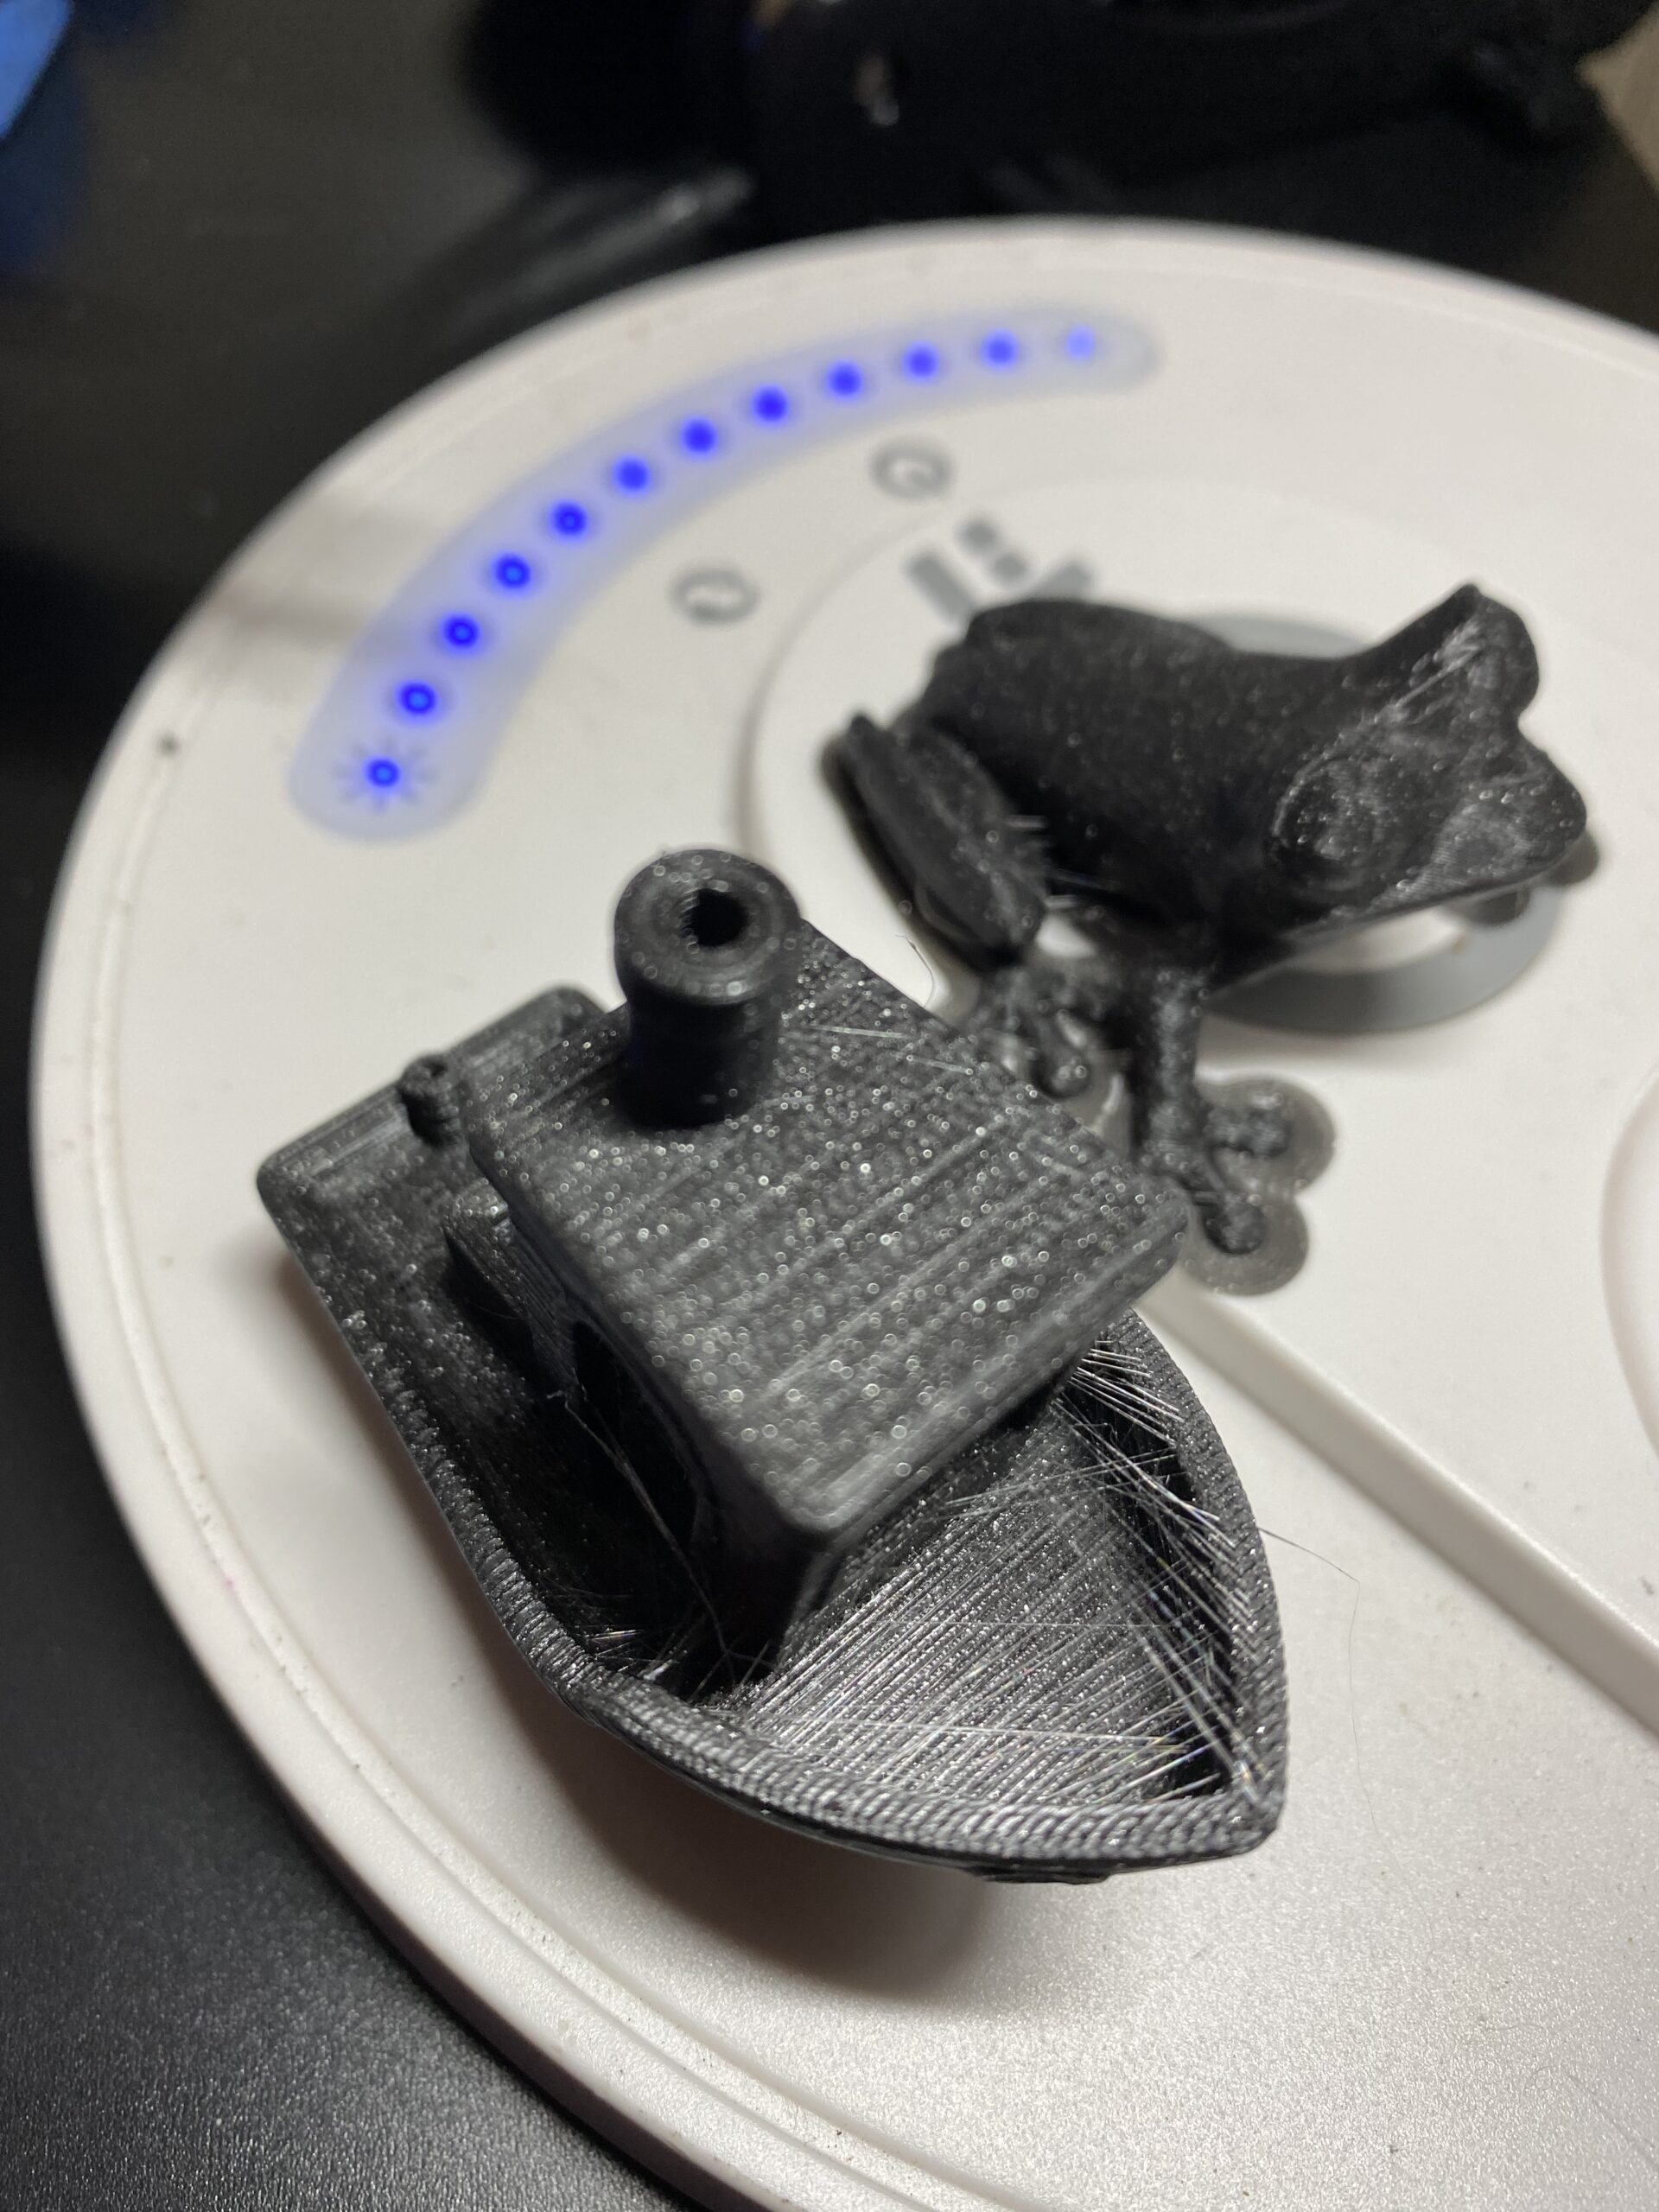
I loaded up the black galaxy Prusament again and ran two pre-loaded test prints (the frog and the whistle). The frog came out with strings completely covering it (I hadn’t had any issues with stringing before) and the top layer of the whistle came out looking like lattice. I then loaded my own prusaslicer-ed Benchy, and got the same results when I printed it. I’m assuming this was caused by under-extrusion because I opened the pulley door again and visually saw more ground up filament dust all over the gears. I tried to purge… nothing. I tried to unload… nothing.
At that point I decided to take a break, and start doing some research on what I should troubleshoot. It’s been 3 days now, and I’ve read many different things from other users and Prusa staff alike, but still don’t know which steps to take. I just now found your post, and it seems very similar to what I’ve experienced, so I wanted to see how things held up for you after your corrections.
I spent $400+ on this tiny printer instead of a couple hundred on something like an Ender because I wanted something that was less of a PITA, but at this point I’ve spent way more time fiddling with parts and reading posts online trying to solve things. I’m trying to decide whether to return the thing and move on to something better from a different brand, or keep wasting my time, likely having to correct errors made at the factory by whatever “expert” I paid $50 to for installation.