Live Adjust Z
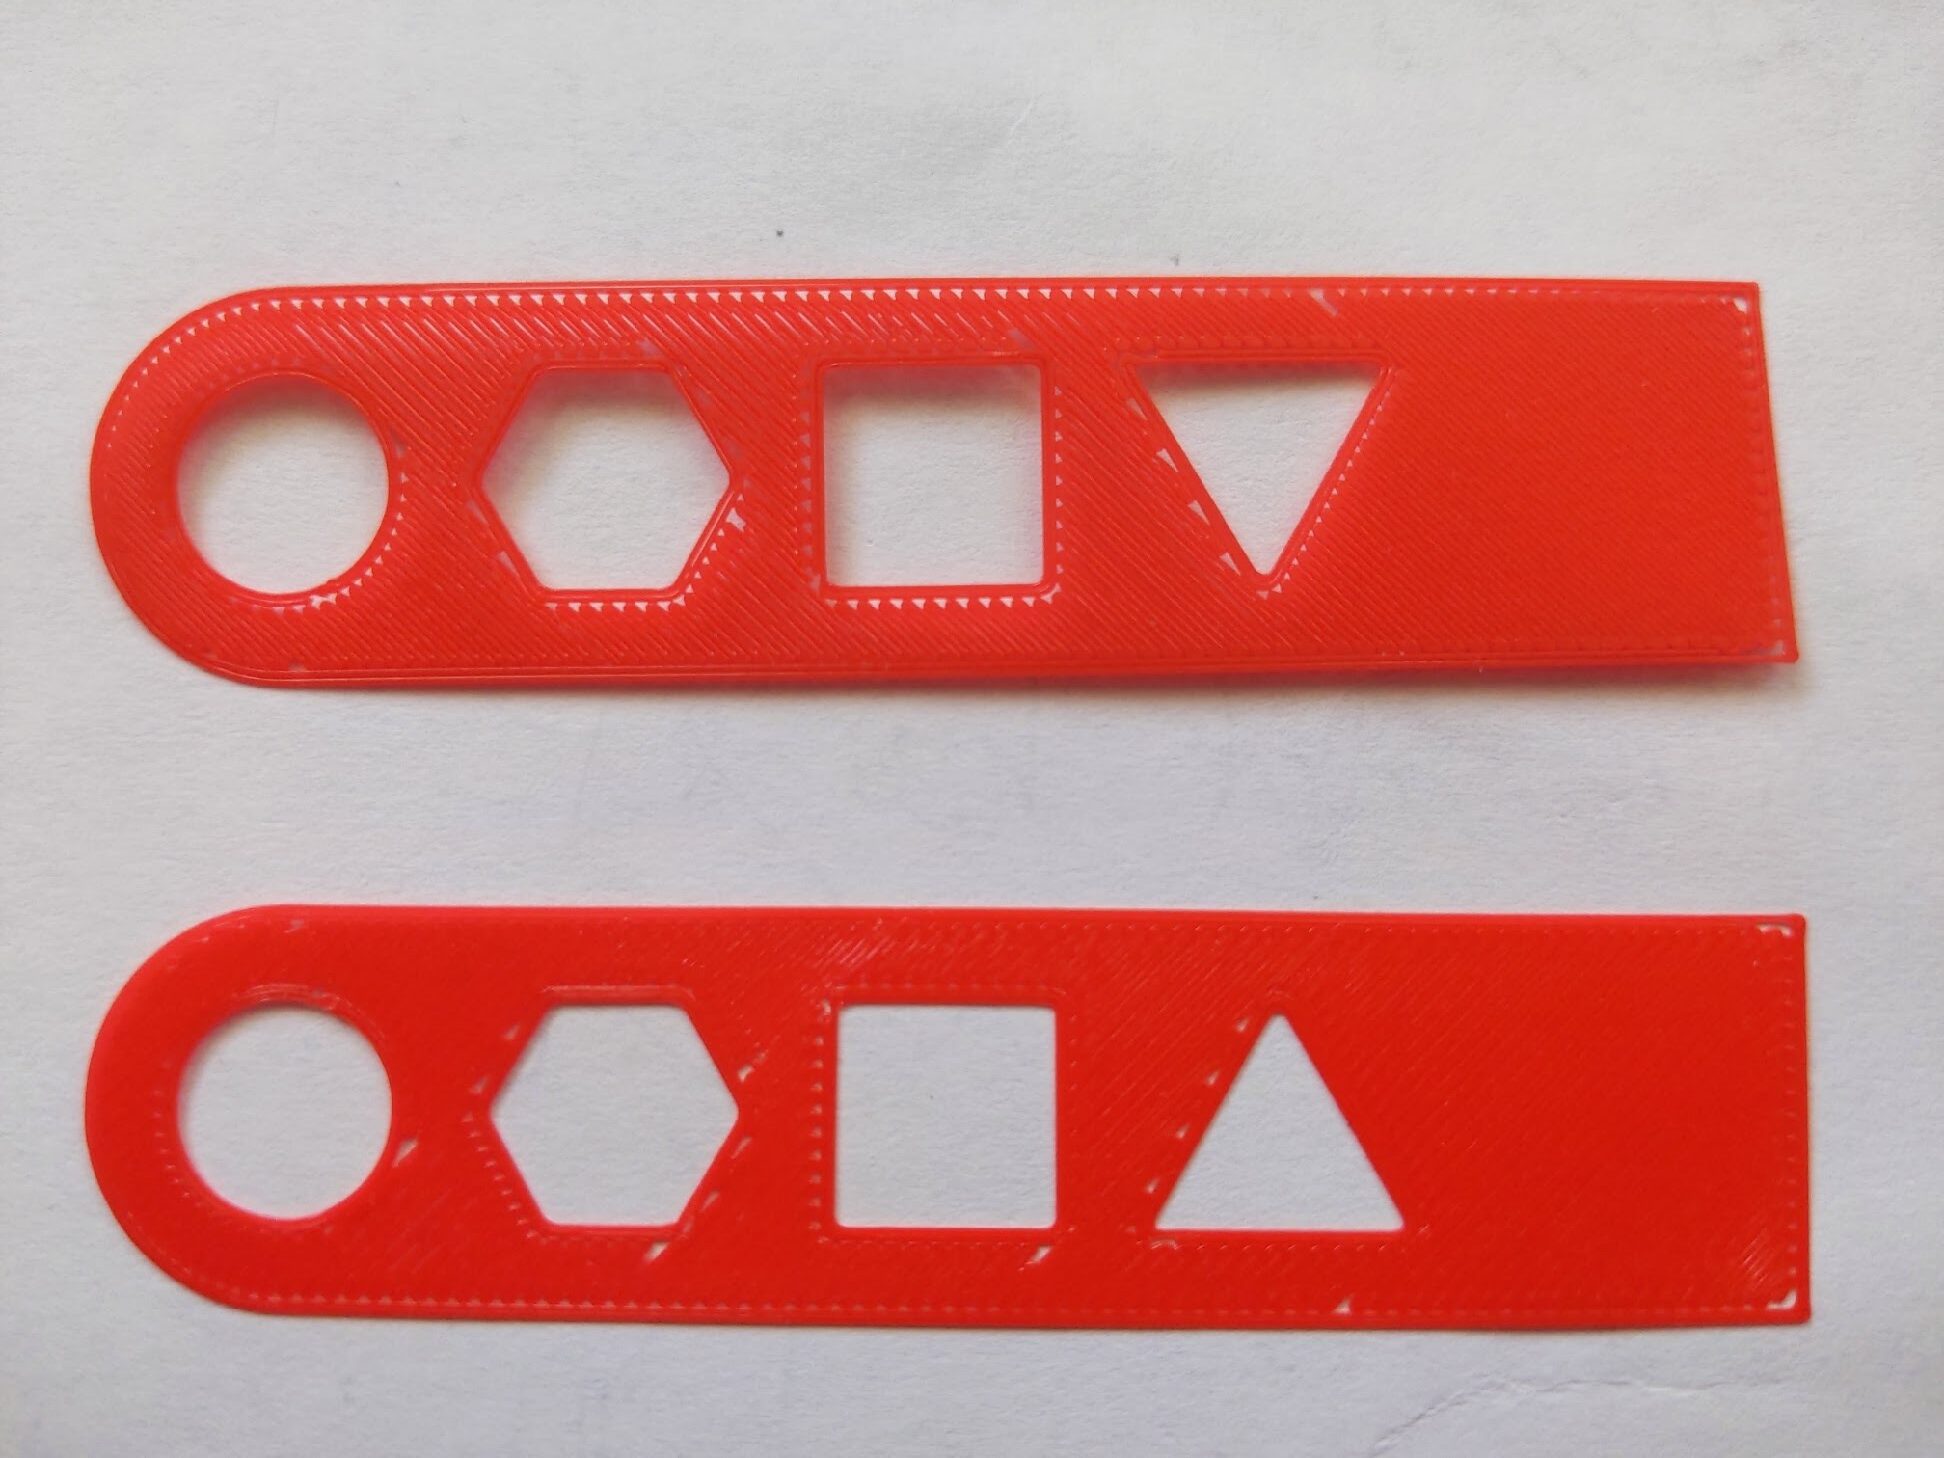
While watching the first layer of a recent single layer test print being laid down, I observed tiny gaps between some of the solid infill lines (top image). I went into Tune>Live Adjust Z to attempt to correct the problem. However, I was already at -1.980mm and there appears to be a -2.000mm limit to the adjustment. On my E3V2, my Z Offset is typically around -2.90mm.
Am I doing something wrong or is -2.000mm to a hard limit? I ran Calibration>First Layer Calibration once again and the gaps are almost completely gone (bottom image), but again I bottomed out at -2.000mm.
Any suggestions?
RE: Live Adjust Z
Readjust the height sensor:
https://help.prusa3d.com/guide/height-adjustment-of-m-i-n-d-a-superpinda-sensor-mini-_154547
Then redo the live Z and you should get numbers in a more reasonable range.
Regards,
Mark
Yes, there is a -2mm limit. Take a look at:
https://help.prusa3d.com/guide/height-adjustment-of-m-i-n-d-a-superpinda-sensor-mini-_154547
BUT you don't have to do the credit card bit - you need to move the sensor down by ONE thread, it's a mm thread so that should take you to roughly -1mm adjustment, the middle of the range.
Cheerio,
RE: Live Adjust Z
Sounds like you need to adjust the position of your PINDA/MINDA sensor?
Prusa has a guide page describing Height adjustment of M.I.N.D.A./SuperPINDA sensor (MINI/+).
RE: Live Adjust Z
to reduce the negative live Z value required for good printing, you need to move the Pinda UP... please re adjust live Z to a much lower value (Smaller negative value), before you adjust the Pinda/minda height, otherwise you risk scratching your build plate
I try to make safe suggestions,You should understand the context and ensure you are happy that they are safe before attempting to apply my suggestions, what you do, is YOUR responsibility.Location Halifax UK
@joantabb is right, I should have said UP - there are too many negatives in this calculation ...
Cheerio,
RE:
To answer your question: The hard limit is defined by the distance the sensor has to the surface when it triggers. So it depends on the sensor, that's why it can be different on other printers. Think about it this way: The limit is the sensor being mounted flush with the tip of your nozzle, that results in the maximum z-offset, being exactly the triggering distance of your probe. If you mount it any lower, the probe would hit the bed before the nozzle does, when lowering the nozzle for printing.
To complete the limit thing: If you move the probe up from being flush with the nozzle by exactly the triggering distance you would need 0 z-correction but you risk hitting the bed with the nozzle when trying to find that "perfect" position, that's the reason you have z-offset in the first place. You mount the probe somewhere in-between these two limits and correct via z-offset (aka first layer calibration), it is completely irrelevant where you are with your personal offset. It just has to compensate for the offset from the "perfect" position of your specific probe....
If at first you don't succeed, skydiving is not for you.
Find out why this is pinned in the general section!
RE: Live Adjust Z
Further clarification, the sensor, senses the surface of the core metal sheet, not the print surface,
Textured and Silk build plates have a thin layer of powder coat, the smooth sheet has a layer of double sided adhesive and a layer of PEI, these layers take up more space than the powder coat, so typically this means that the Live Z value for smooth Build plates, is less negative than the live Z for powder coated build plates.
regards joan
I try to make safe suggestions,You should understand the context and ensure you are happy that they are safe before attempting to apply my suggestions, what you do, is YOUR responsibility.Location Halifax UK
RE: Live Adjust Z
I checked the Original Prusa MINI+ semi-assembled 1.10 Manual which states the gap should be 0.8-1.0mm. I found the SuperPINDA set at about 0.8mm. I raised it to 1.0mm and ran First Layer Calibration. The Live Adjust Z sweet spot is now at -1.550mm.
Thanks to all for the help!