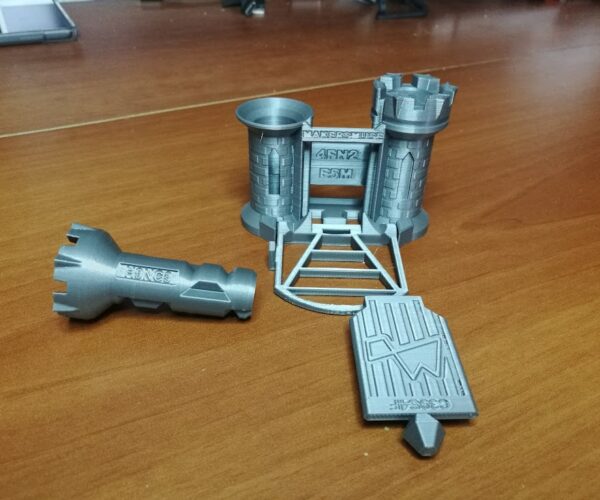
Maker's Muse Clearance Castle
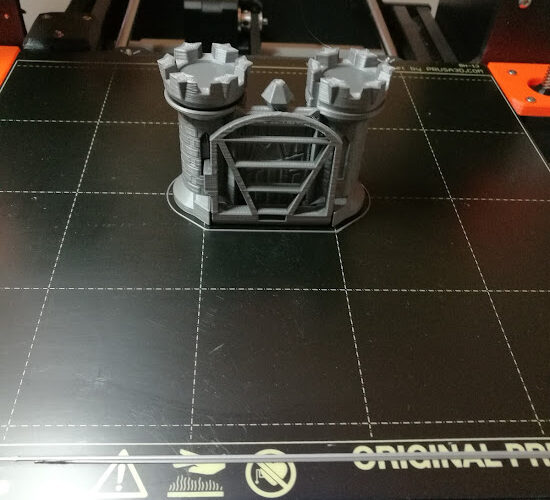
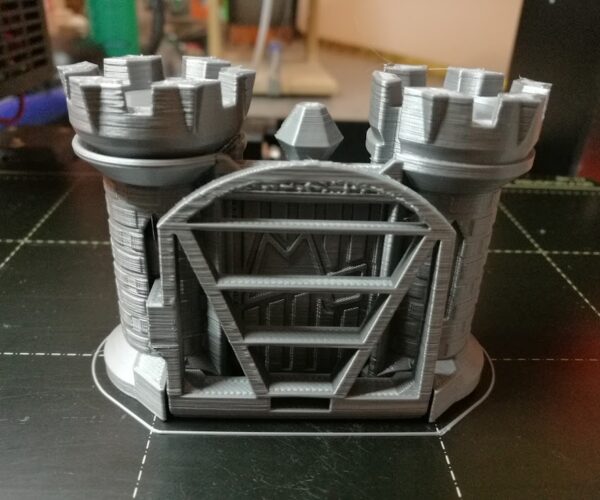
I was challenged to try the Maker's Muse Clearance Castle accuracy test on my PRUSA MK3. This is a mechanical test puzzle.
The printer printed it perfectly. This is a very trick object Design by Maker's Muse that requires a very calibrated 3D printer.
This is the video of how it worked my printed object:
I printed also the other two objects of the test.
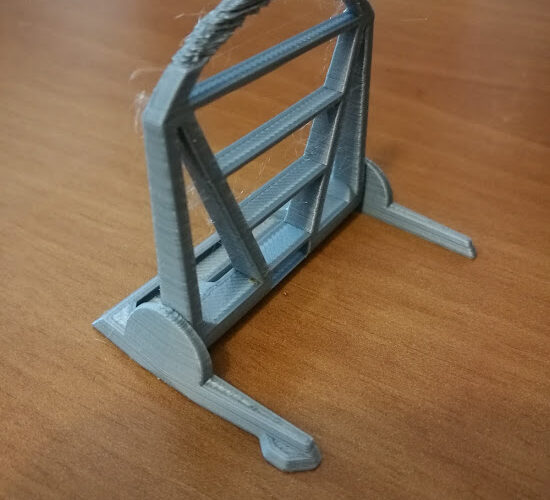
The Clearance Drawbridge: that has a tough bridge at the limit of the 3D printer and all on one mechanics.
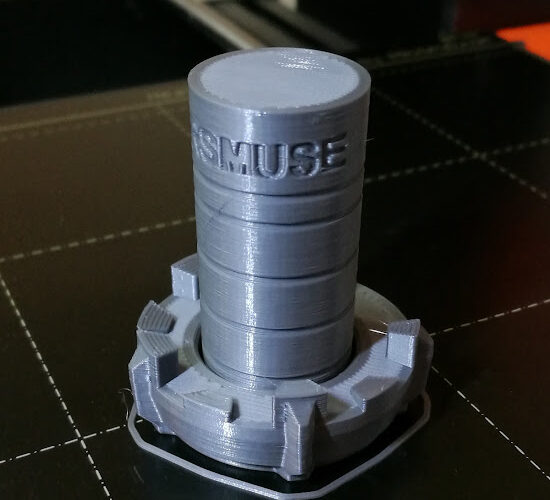
The Clearance Tower:
This is the puzzle solved.
You can find here the Maker's Muse presentation of the test:
The 3D model design is sold by Maker's Muse at a symbolic cost (see links on his video).
Try it on your printer if you want.
Regards
RE: Maker's Muse Clearance Castle
Good job! What did you slice it with? I'm having a terrible time getting the cooling settings in PrusaSlicer to give me a good print... I can get perfect bridges but it is causing the uprights to be very fragile and the top of the puzzle-turret to delaminate easily.
RE: Maker's Muse Clearance Castle
Hi, I sliced it with PrusaSlicer 2.3.
I used all default PRUSA values for 0.15mm QUALITY, and then I changed the parameters as suggested by MakerMuse in the video (e.g. perimeters, TOP, ans so on.) and I lower the speed %. The real tricky things was to avoid to use the hairspray on the plate while printing with PLA.
BACKGROUND
I always used to print with bed temp at around 60° for 1st layer, and 50° for the others, and set PLA at around 195°C for 1st and 190° for the others. There were several historical reasons, like better bridges or less attitude to clog the nozzle. However low PLA temp always forced me to use hair spray with some filaments (not with Prusament ! 😊 ) , otherwise the PLA detached from the bed. I know that the original Prusa smooth steel sheet has a good adherence with Prusament and I do not need hair spray, so I used it only with others brands (e.g. Sunlu, or other unbranded PLA from Amazon).
THE CHALLENGE
When I had to print the Castle, I decided that printing without hair spray was part of the challenge, so I started to experiment new things. Basically I realized that if I raised the PLA temp to 210°C for the first layer, and 203° for the others, and set the bed temp to 70° for the first and 50° for the others, then even the unbranded PLA stick well on the standard Prusa smooth sheet without any spray or glue.
But it was not enough. I set the print speed to 40% for the first 4 layers and then to 55% in order to increase the precision and tolerance of the print.
And then... THE PRINT FAILED ! 😒 At around 50 layers due to the small amount of surface in contact with the bed (no brims allowed 😉 ) and thermal stress, I heard like a "crack" and the tower detached from the bed.
This event highlighted how wrong was my "old school" habit to have different bed temperature for different layers. With a printer as the MK3s that has a good power supply and bed, there is no need to change the bed temperature. Changing bed temperature after 1st layer, adds mechanical stress from thermic deformation between the bed and the subsequent layers due the great difference of temperature, and this will cause a detachment. Probably this matter would require its own topic here in the forum.
So I reprinted just having a fixed 70°C bed temperature during all the print, and I got the perfect Castle with no detachment.
I was surprised for the quality of the bridges, since I would have expected that raising the PLA temp to 203° would have caused very poor bridges, but it was not the case.
Regards
Overhang curling
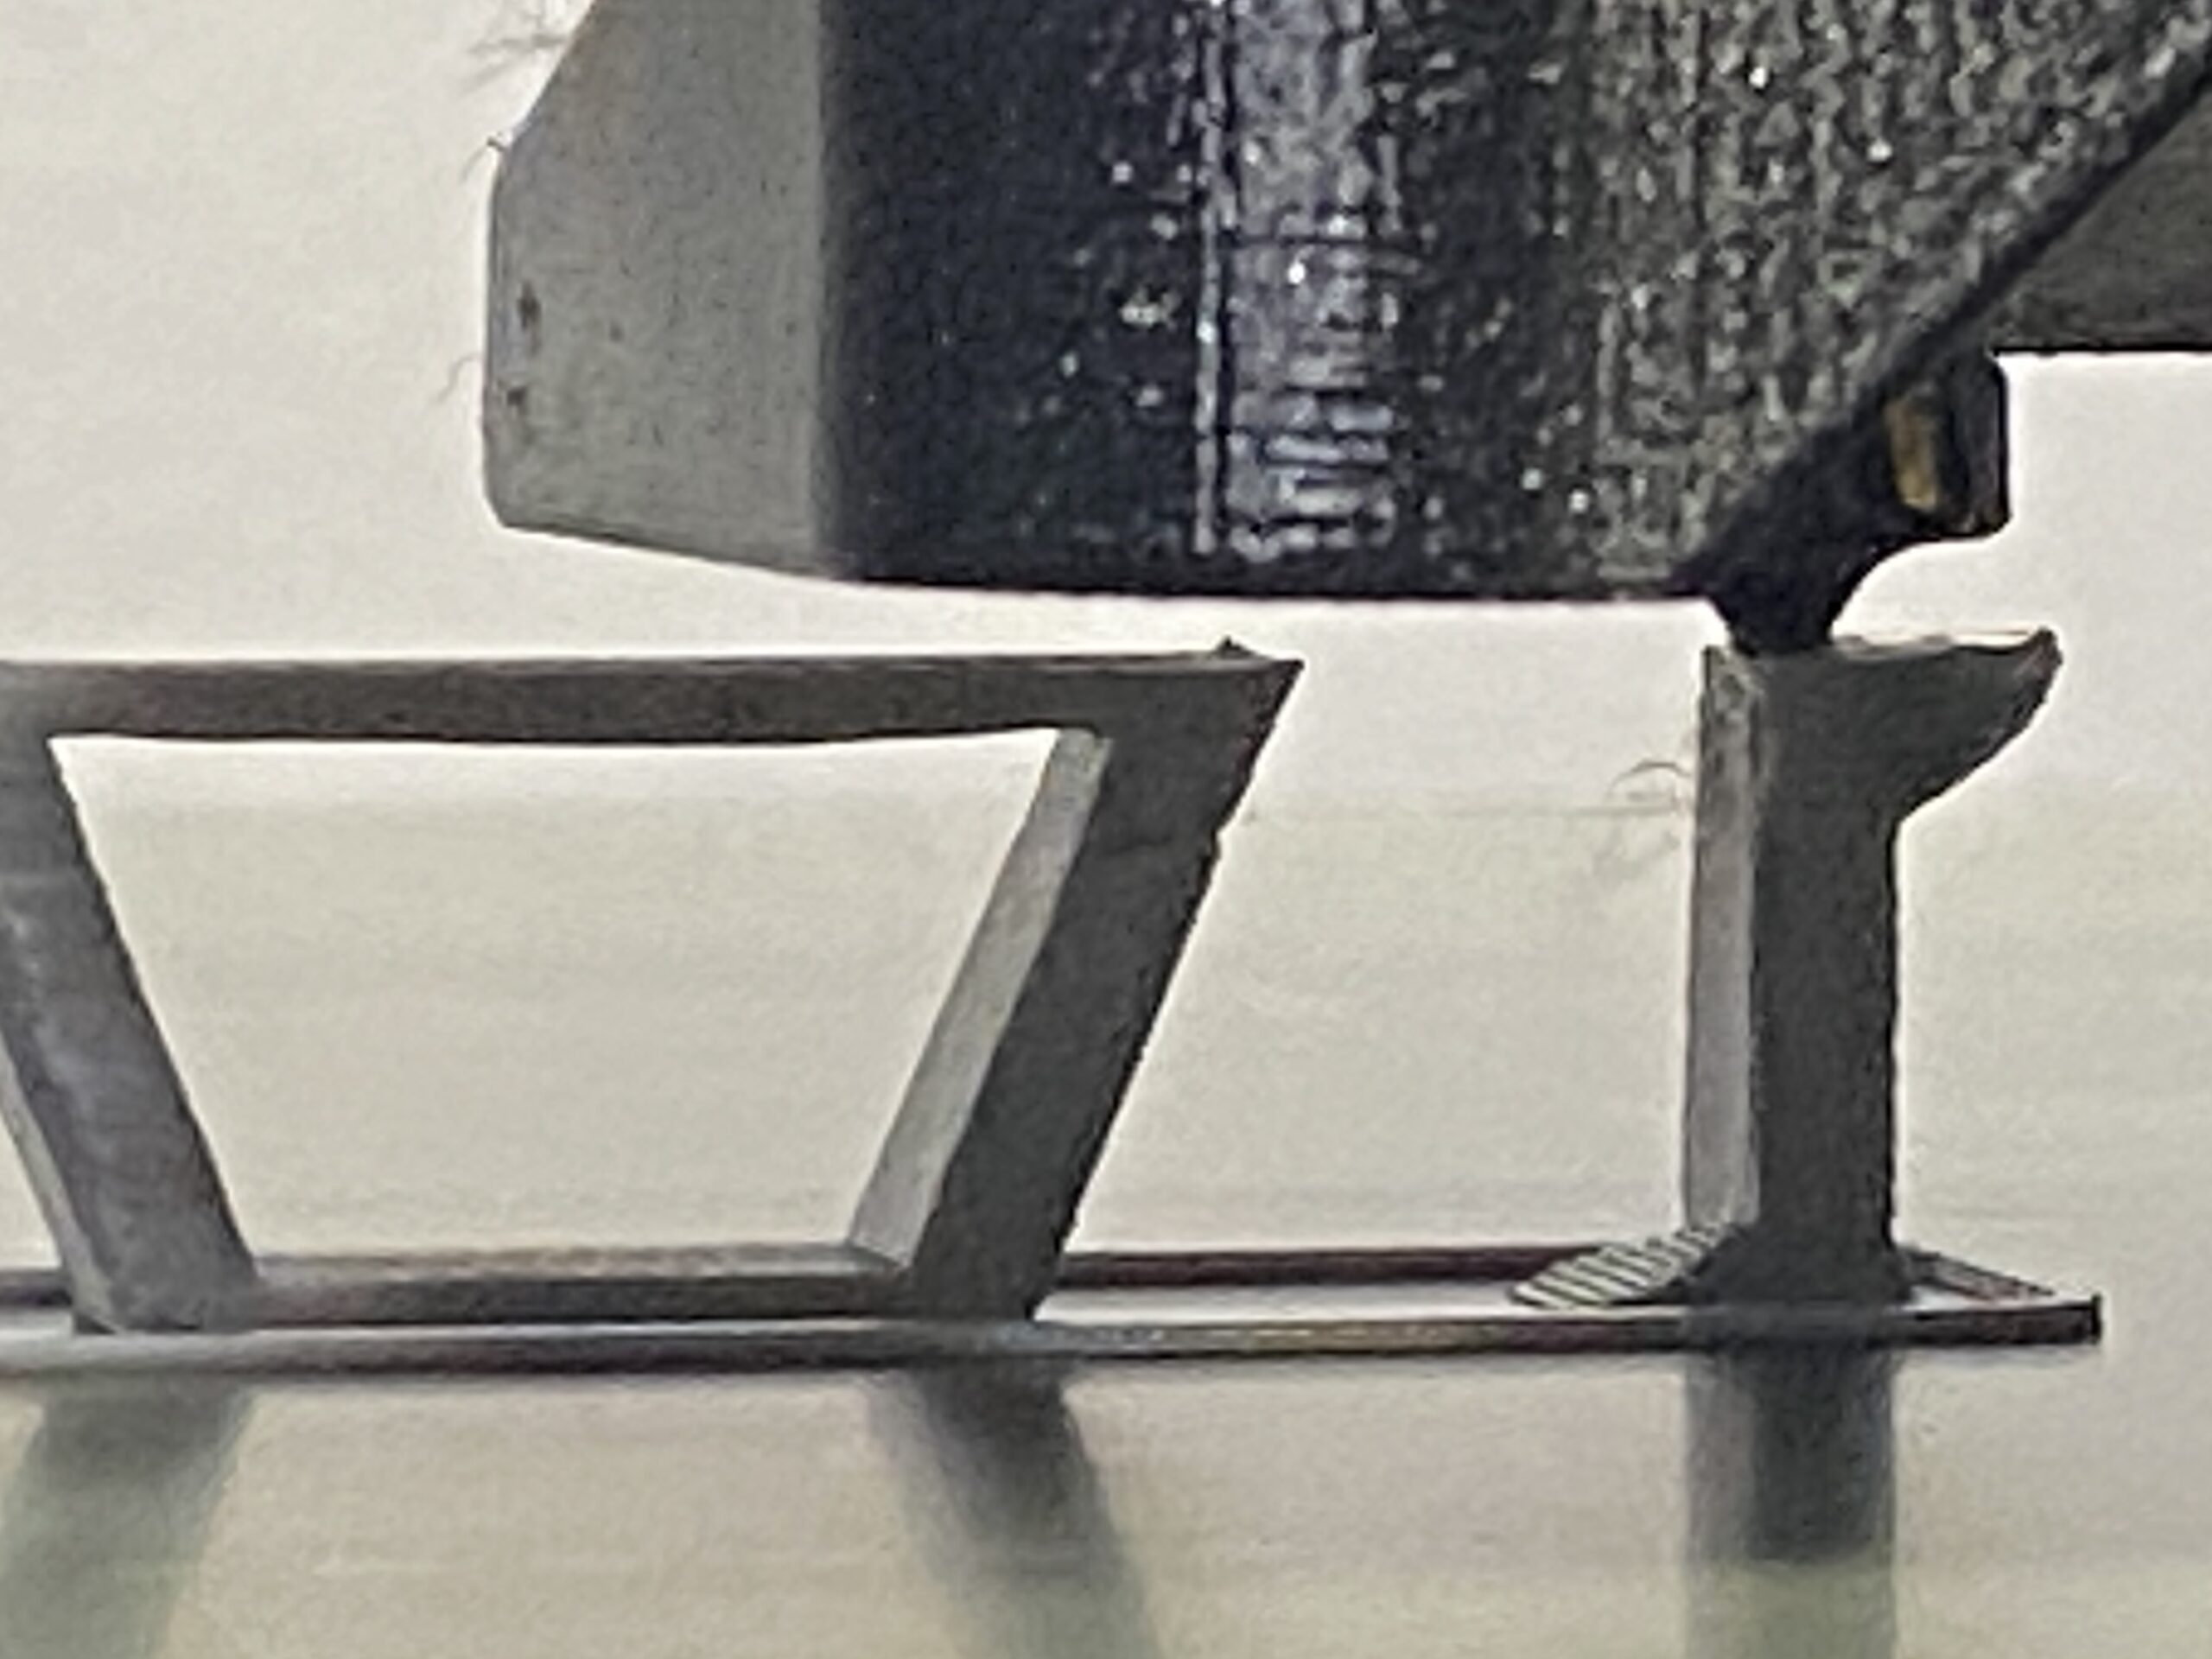
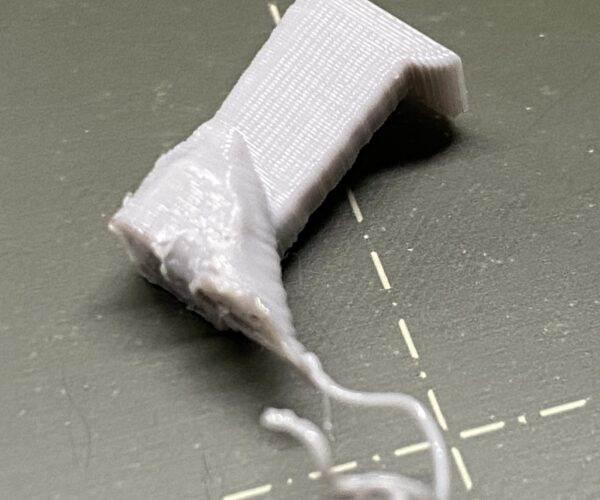
@antimix Did you have any issues with the overhangs on the gate’s left side feature that goes into the castle? I keep getting curling that ends up knocking the gate off the print bed (first layer is dialed in and the rest of the print is nearly perfect). I can print the standalone gate no problem, but it doesn’t have that feature.
Here’s a video showing the curling and eventual failure. I’ve cut the bottom of the gate to save testing time.
RE:
Hello,
here is the original GCODE and the PrusaSlice 3MF project I used (with all settings)
Regards
RE: Maker's Muse Clearance Castle
I just printed the Clearance Tower portion on my relatively (but not perfectly) tuned MK3S+ using Inland PLA, using the standard, unmodified 0.15mm-Quality profile.
The tower ring cleared the tower all the way without any effort.
According to Angus in his video, he suggests that this is actually a bad sign, signaling under-extrusion but I don't see any obvious signs of under-extrusion. For example, the surface finish is as good as I have ever seen. No blobs or holes. My XYZ-cube is within 0.05mm of 20mm in all dimensions.
Any ideas on what I might be doing wrong?
RE: Maker's Muse Clearance Castle
@antimix Did you have any issues with the overhangs on the gate’s left side feature that goes into the castle? I keep getting curling that ends up knocking the gate off the print bed (first layer is dialed in and the rest of the print is nearly perfect). I can print the standalone gate no problem, but it doesn’t have that feature.
Here’s a video showing the curling and eventual failure. I’ve cut the bottom of the gate to save testing time.
Hi @gizmogoody it sounds me like the bed sheet is curling up in the area of the hit.
Try this:
Heat the bed to 50° and leave it for 4 minutes. Then start to print.
As result the print will start with a bed calibration in a stable thermic metal expansion of the sheet. The temperature sensor of the bed is in the bed and not in the metal sheet so the REAL metal PEI sheet temperature may be some degree lower, and not yet well distributed in all the areas of the sheet immediately after the print (this could be seen using an IR camera as the FLIR) giving to the PINDA calibration wrong info. Giving more time to heat the plate ensure that all the heat is transmitted well to the PEI sheet, and the alignment with PINDA is done on a stable thermic expansion situation.
Regards
RE:
I printed mine using a MK3S+ with Enclosure and satin Plate, using 0.4 mm hardened steel nozzle, and standard Prusa Slicer filament profile for PC Blend CF filament.
I made adjustment to the printer settings for perimeters etc suggested by the author.
My goal was to test just how well the filament handled such detailed work.
The castle print, tower and drawbridge all came out swell. The only small aberration being some small amount of stray filament under the drawbridge cross-members, that I am not going to worry about.
RE: Maker's Muse Clearance Castle
Wonderfull castle
