RE: Show your enclosures
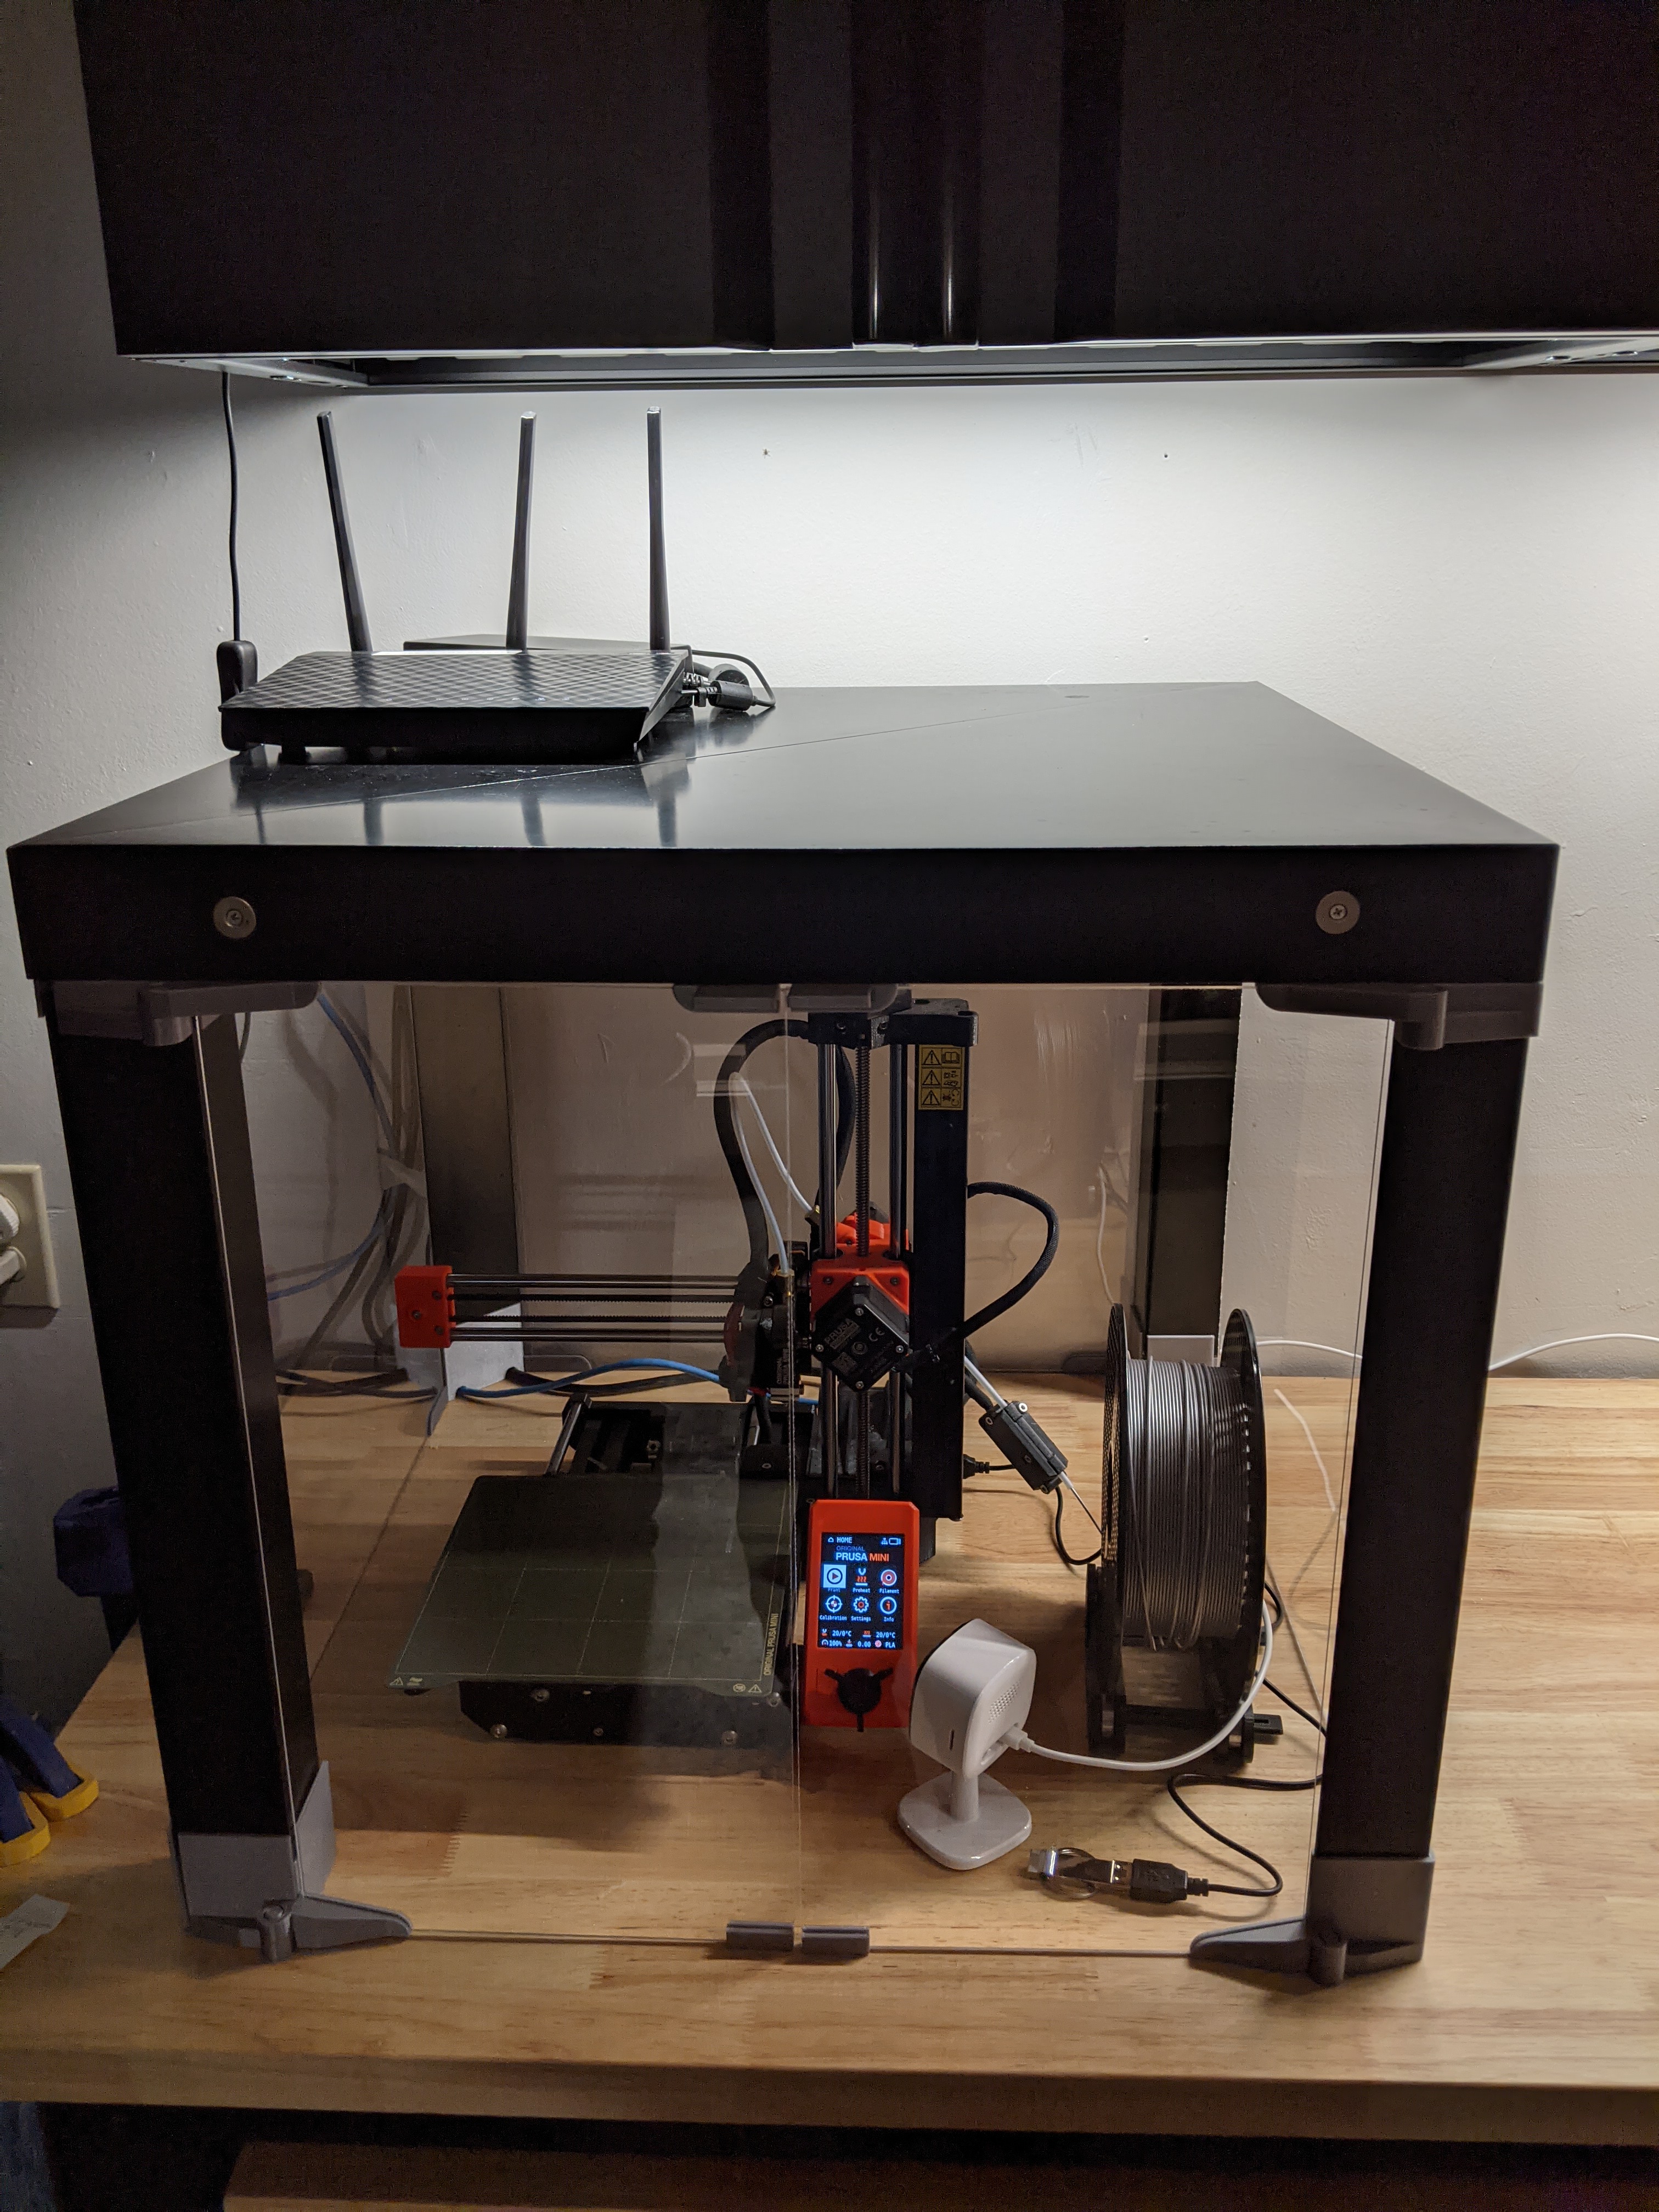
Recycled a couple of old triangle Lack tables as enclosure. Used standard Lack V1 acrylic panels, but have to customized for the brackets for the triangle table legs. Added a Wifi bridge to ethernet (hoping Prusa will release the print via ethernet firmware soon...)
RE: Show your enclosures
@ticktock
This looks pretty close to what I want for now. How well does it work out for you?
RE: Show your enclosures
@alexhung
I went with an (almost) no screw bracket design. The brackets just slip over the Lack legs, and held together by friction mostly. Things that I noticed:
1. Unlike the side/back, the front panel door are not connected. That means the left and right legs will spread a little at the bottom (another couple of mm).
2. I used PLA, and that is too brittle for the hinge. I snapped off a couple before redesigning to give the hinge pivot more space. Now that I have an enclosure, I will probably start playing with using PETG or ABS (at least for the hinge).
RE: Show your enclosures
Interesting to see how many people adapted the Lack design and how many did their own thing...
I don't live in an Ikea delivery area (and it's a long drive for some tables), so while I wait on a quote for 5 17" square pre-drilled acrylic sheets, I started modeling the parts I'll be printing for my own DIY enclosure:

Some rambling notes:
- * All the panel trim is purposely short and in 2 parts so they can be repositioned as necessary.
- * The corner parts are slotted to allow the trim to slide to the edges of the panels if needed.
- * The bottom trim adds 1/4" height to allow access for ethernet, power and filament feed tube (from dry box.)
- * I have an abundance of the self-taping screws for mounting PC fans--They will secure the panels to the corner blocks and hopefully clamp the trim.
- * I'm mulling over the door design; trying to keep it from being an overwrought mess while still containing heat & fumes.
- * I intend to have a traditional hinge & pin design to mount the door, but I haven't decided print the pin or use a nail.
- * I have a small roll of adhesive-backed felt that I'll try on the base and around the door for a soft seal & surface protector.
- * There's about 4" of dead space along the top, down the center and left that would be above the print bed; working out a way to have an adjustable frame to suspend a pc fan and recirculate air up into/through a carbon filter.
- * I like the idea of not having to open the door to reach the controls; the existing ribbon cable should be long enough to make it through the center trim gap on the right side. I also ordered panel-mount usb extension for both ports (links at the end)
- * Still undecided on led lighting.
My first PETG print was a test print of the a trim piece--quite pleased with the results.
I'll try to provide updates as the design & build progresses...
https://www.amazon.com/gp/product/B08DX1V6MY/
https://tinkersphere.com/cables-wires/1516-panel-mount-usb-cable-a-male-to-a-female.html
https://tinkersphere.com/cables-wires/3102-panel-mount-micro-usb-male-to-female-cable.html
Prusa MINI w/Bondtech IFS extruder, Slice Copperhead groovemount, bed-leveling mod, rerouted heatbed wires, Z brace, MINI Enclosure with relocated displayLDO Voron v2.4 rev 2 C 350…
RE: Show your enclosures
@maj-error
I like the design. I was considering something similar from 4 mm PC sheets (may be known under Lexan trademark) as those are pretty cheap and isolate well, but went with Lack.
BTW if you will want to lift it, I recommend some handles, even if just very simple bumps on upper rails. It will make it easier to lift and you won't leave fingerprints on acrylic sheets. Also careful with self-tapping screws, acrylic may not like it and may crack if you try to screw them in with force, surprisingly small amount of force is needed to damage it. I'd go with pre-drilled holes and screws.
RE: Show your enclosures
Just an idea... just asking if someone had already tried to replace one Ikea Lack foot with a construction to host there filaments (like on the picture). Usual filament has cca 20-22cn diameter, so two could fit there, if we remove/replace the foot and still have plenty of space. Picture below is in cca scale of Ikea Lack and filaments. Printer not.
RE: Show your enclosures
@kiwo
That looks like a lot of printing & (possibly) glued parts. There would also be structural concerns if the enclosure isn't on the top of the stack. Changing the filament on a MINI in an enclosure will probably always be a chore, but right now, I prefer having my spool in a separate drybox.
@crawlerin
...I think perhaps you overlooked that I mentioned the quote I'm waiting on is for predrilled acrylic panels? I have zero confidence in doing the drilling myself, so I would gladly leave it to a professional! 😉 The self-taping business is strictly for gaining purchase in the printed support parts. I've done my due-diligence with a tape measure, and worst-case I spend some time with a round file. As for handles, the length of the screws makes the corner parts pretty chonky, so I'm not overly concerned.
In the meantime, I've pressed the Pi3B+ I normally use in brewing to the new role of print server. OctoPrint is a wonderful thing from an IT perspective--it also added a wrinkle to my plans. I grabbed the STL files for the MINI--while I had originally intended to build a relocation mount for the display, I'll also be bashing out a design that would include a Pi3B+ enclosure that attaches to the back of the Prusa-printed display shell (bring your own usb micro-to-A jumper!)
As far as the printer enclosure is concerned, the framework is done. I just need to finish up the truss/slider arrangement to support the internal recirculation/filter fan.
I started printing some of the parts, and the Ultramarine Blue PETG Prusament really is a quite nice color. The trim pieces for the door came out perfectly--so shiny...

Prusa MINI w/Bondtech IFS extruder, Slice Copperhead groovemount, bed-leveling mod, rerouted heatbed wires, Z brace, MINI Enclosure with relocated displayLDO Voron v2.4 rev 2 C 350…
RE: Show your enclosures


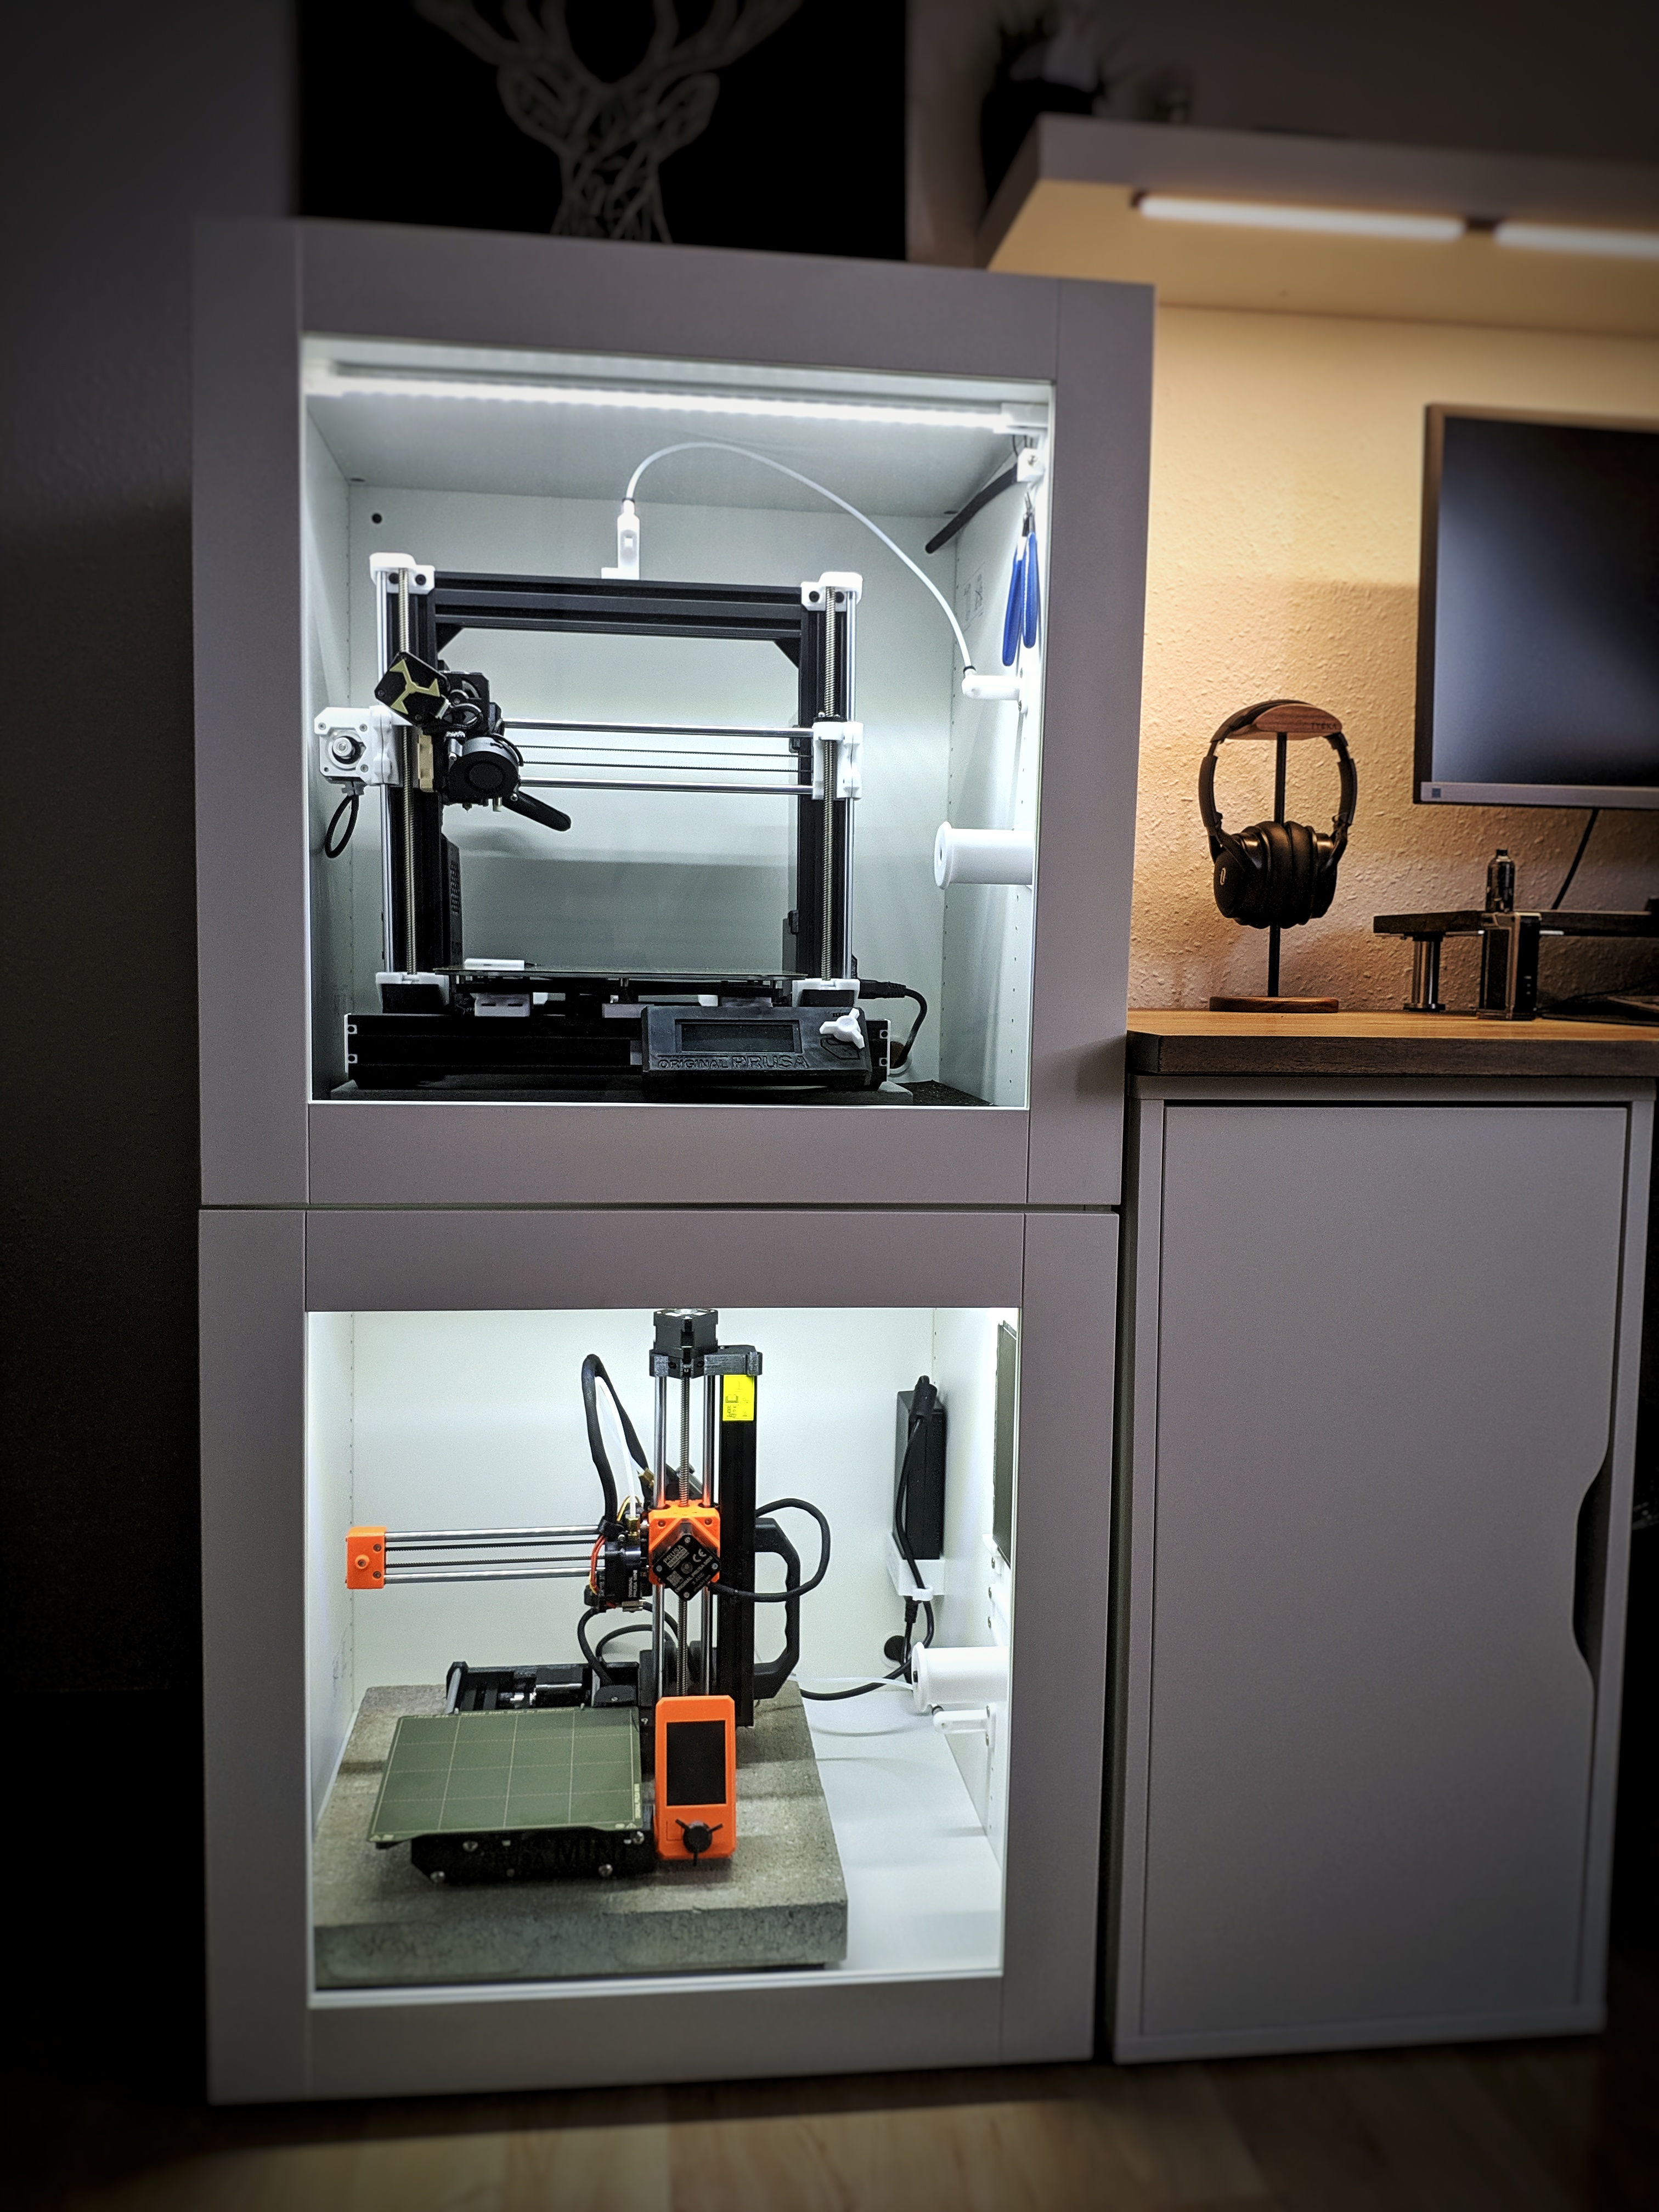
 Used an existing IKEA besta unit.
mini only fits in sideways so had to move the screen.
Added and extraction system with a RAM filter.
Need to add some intake filters next and seal all gaps around the doors.
RE: Show your enclosures
This is my platsa Enclosure. Will be finished tomorrow with another stone for the mini and some more tools inside. I'll share the pictures. If anybody wanna know how to rebuilt this, I've opened a project on prusaprinters with BOM and printable parts 🙂
https://www.prusaprinters.org/de/prints/51298-ikea-platsa-modular-dual-prusa-enclosure-minimk3sb
It’s better to give than to receive. Especially advice.
RE: Show your enclosures
@adam_pres
Have you thought about a longer PTFE tube and a USB extension cord? Would allow you to turn the printer 180° and have easier bed access.
@padigree
Nice combo!
RE: Show your enclosures
My setup:
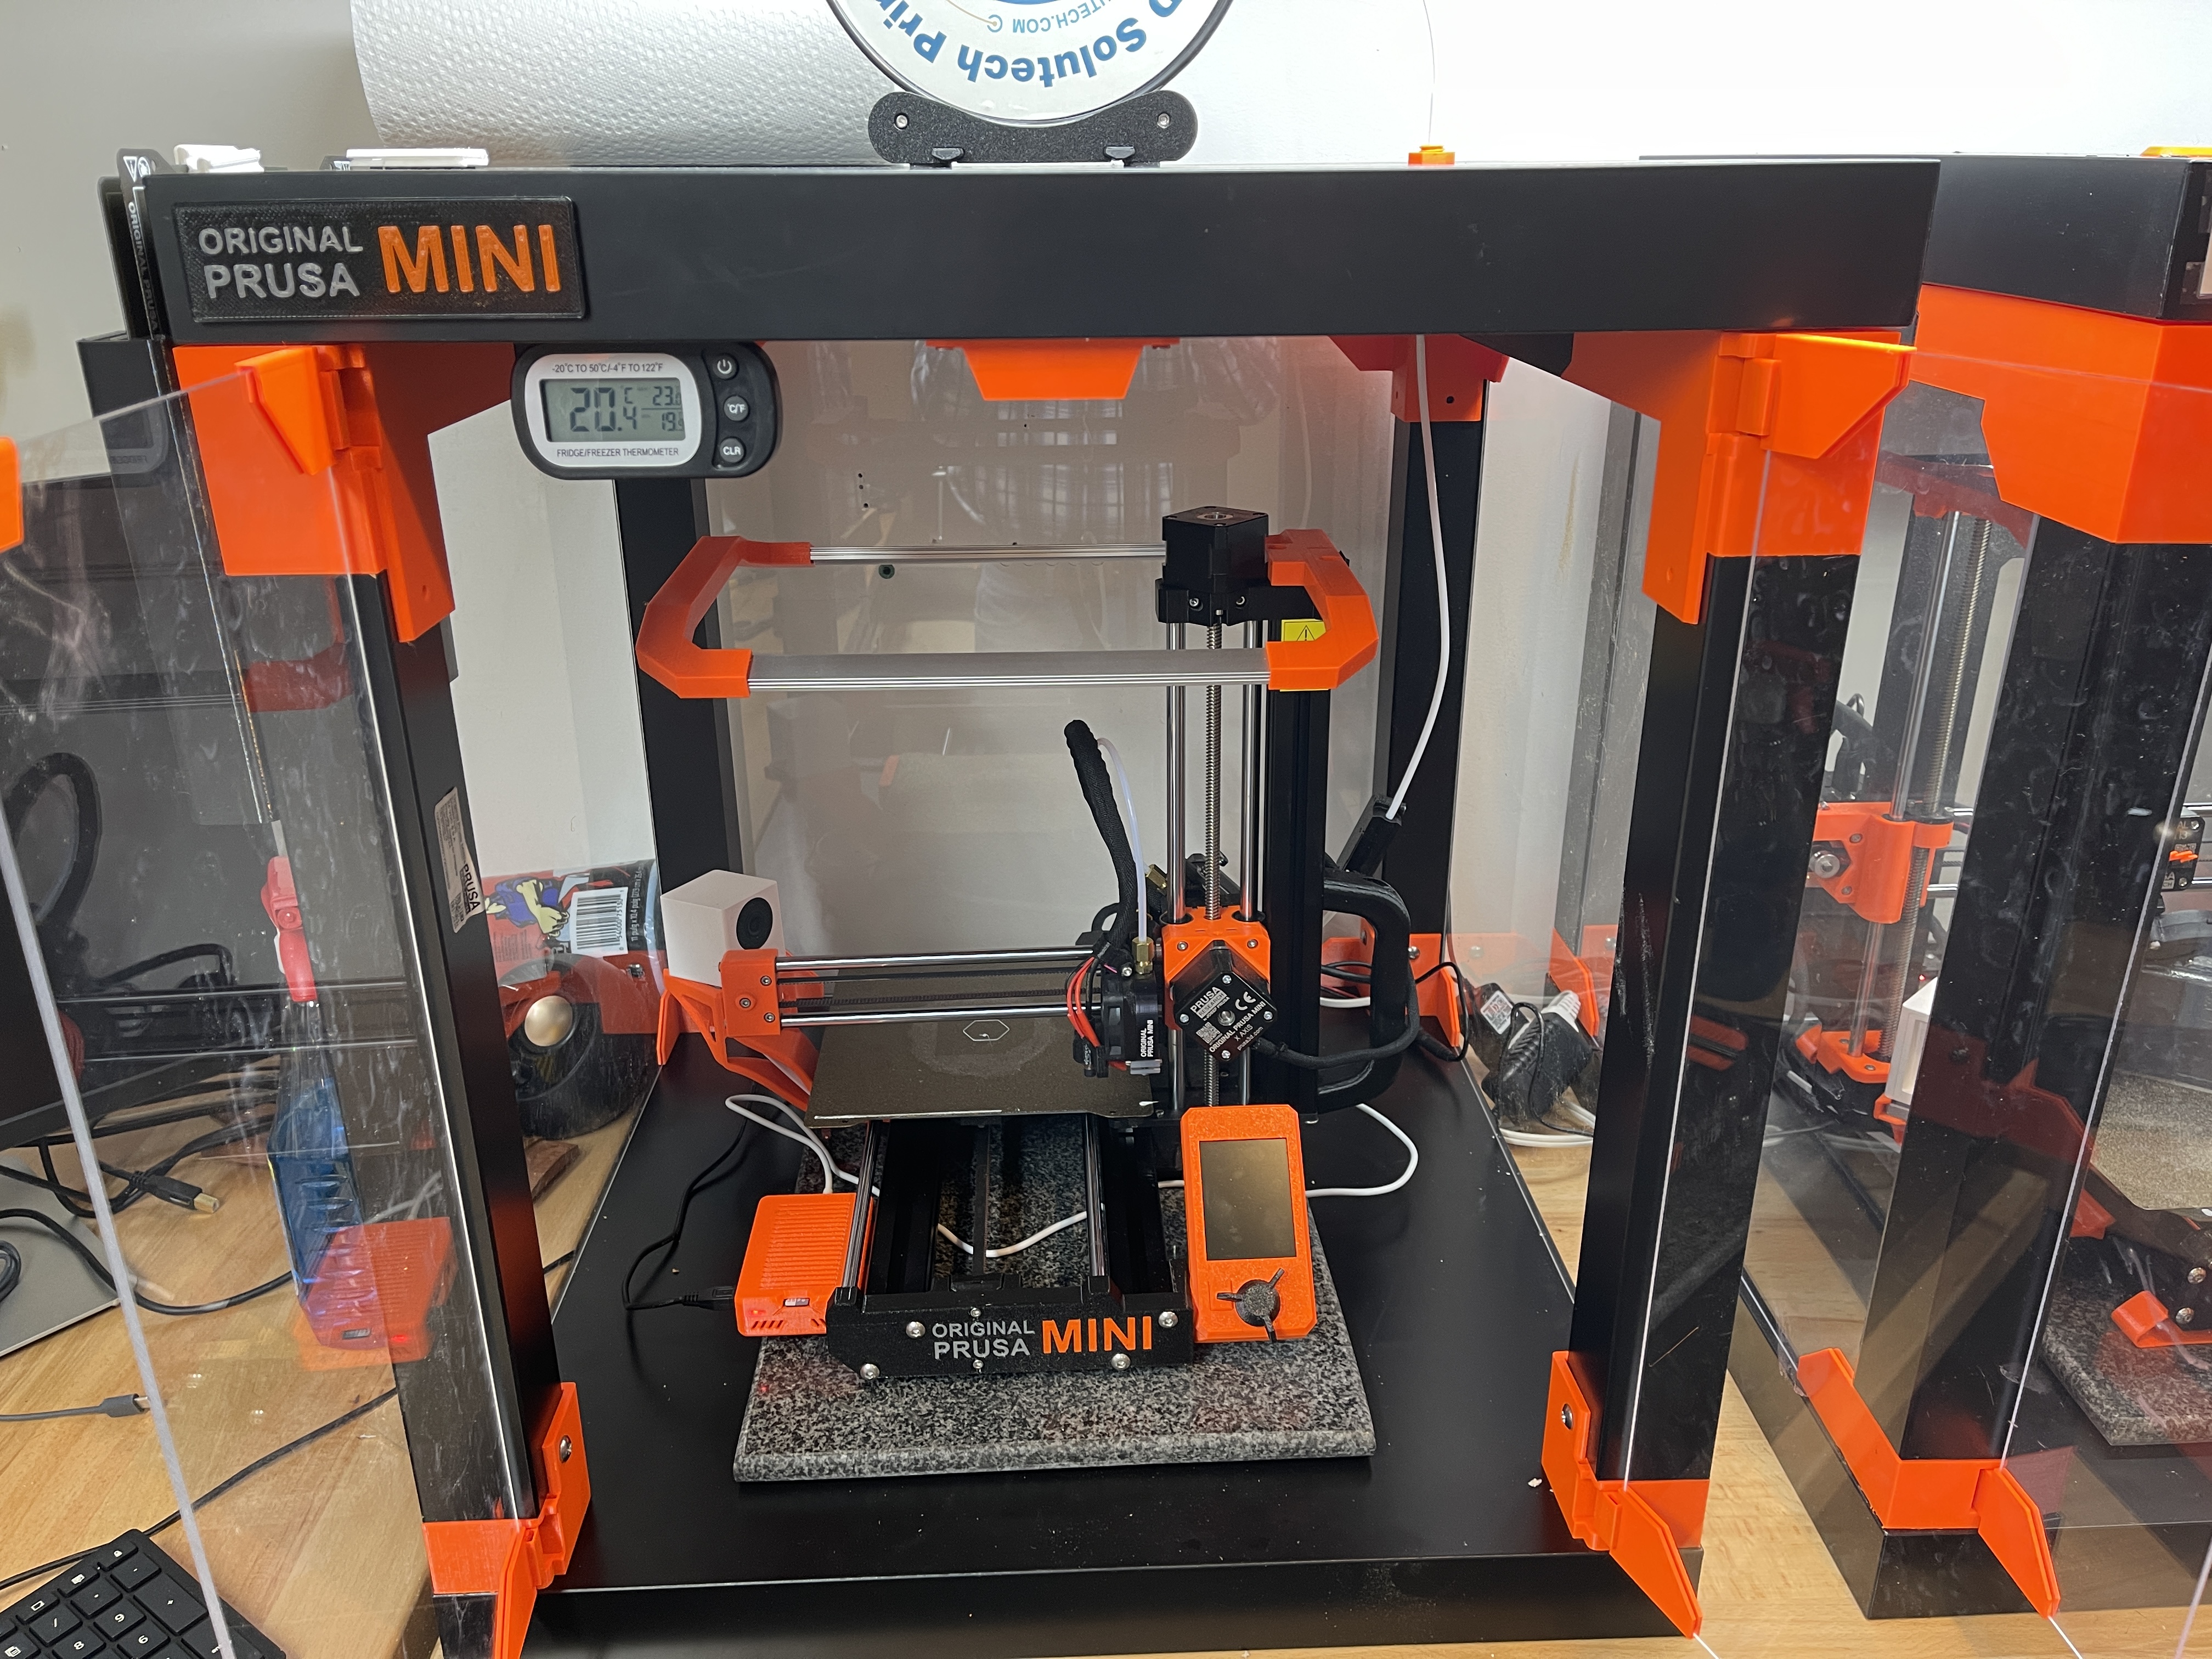
Standard LACK v2 enclosure (without the MMU2 cutout in the lid).
LED lights: https://www.prusaprinters.org/prints/39453
Wyze Camera mount: https://www.prusaprinters.org/prints/32687
Multicolor Front Y-plate: https://www.prusaprinters.org/prints/15346
Multicolor Prusa Sign: https://www.prusaprinters.org/prints/50534
Raspberry Pi case: https://www.prusaprinters.org/prints/51023
PTFE Filament Conduit: https://www.prusaprinters.org/prints/51457
Side-mounted steel sheet holder: https://www.prusaprinters.org/prints/50539
Thermometer mount: https://www.prusaprinters.org/prints/42562
Granite board 12 x 16: https://smile.amazon.com/gp/product/B00M343KW6
Formerly known on this forum as @fuchsr -- https://foxrun3d.com/
RE: Show your enclosures
@fuchsr
Excellent work and excellent writeup with links!
I just recently picked up a Sunlu filament dryer and your post has encouraged me to put it on top of my Lack enclosure and use the same PTFE tube setup you have.
Austin, Texas, USA
RE: Show your enclosures
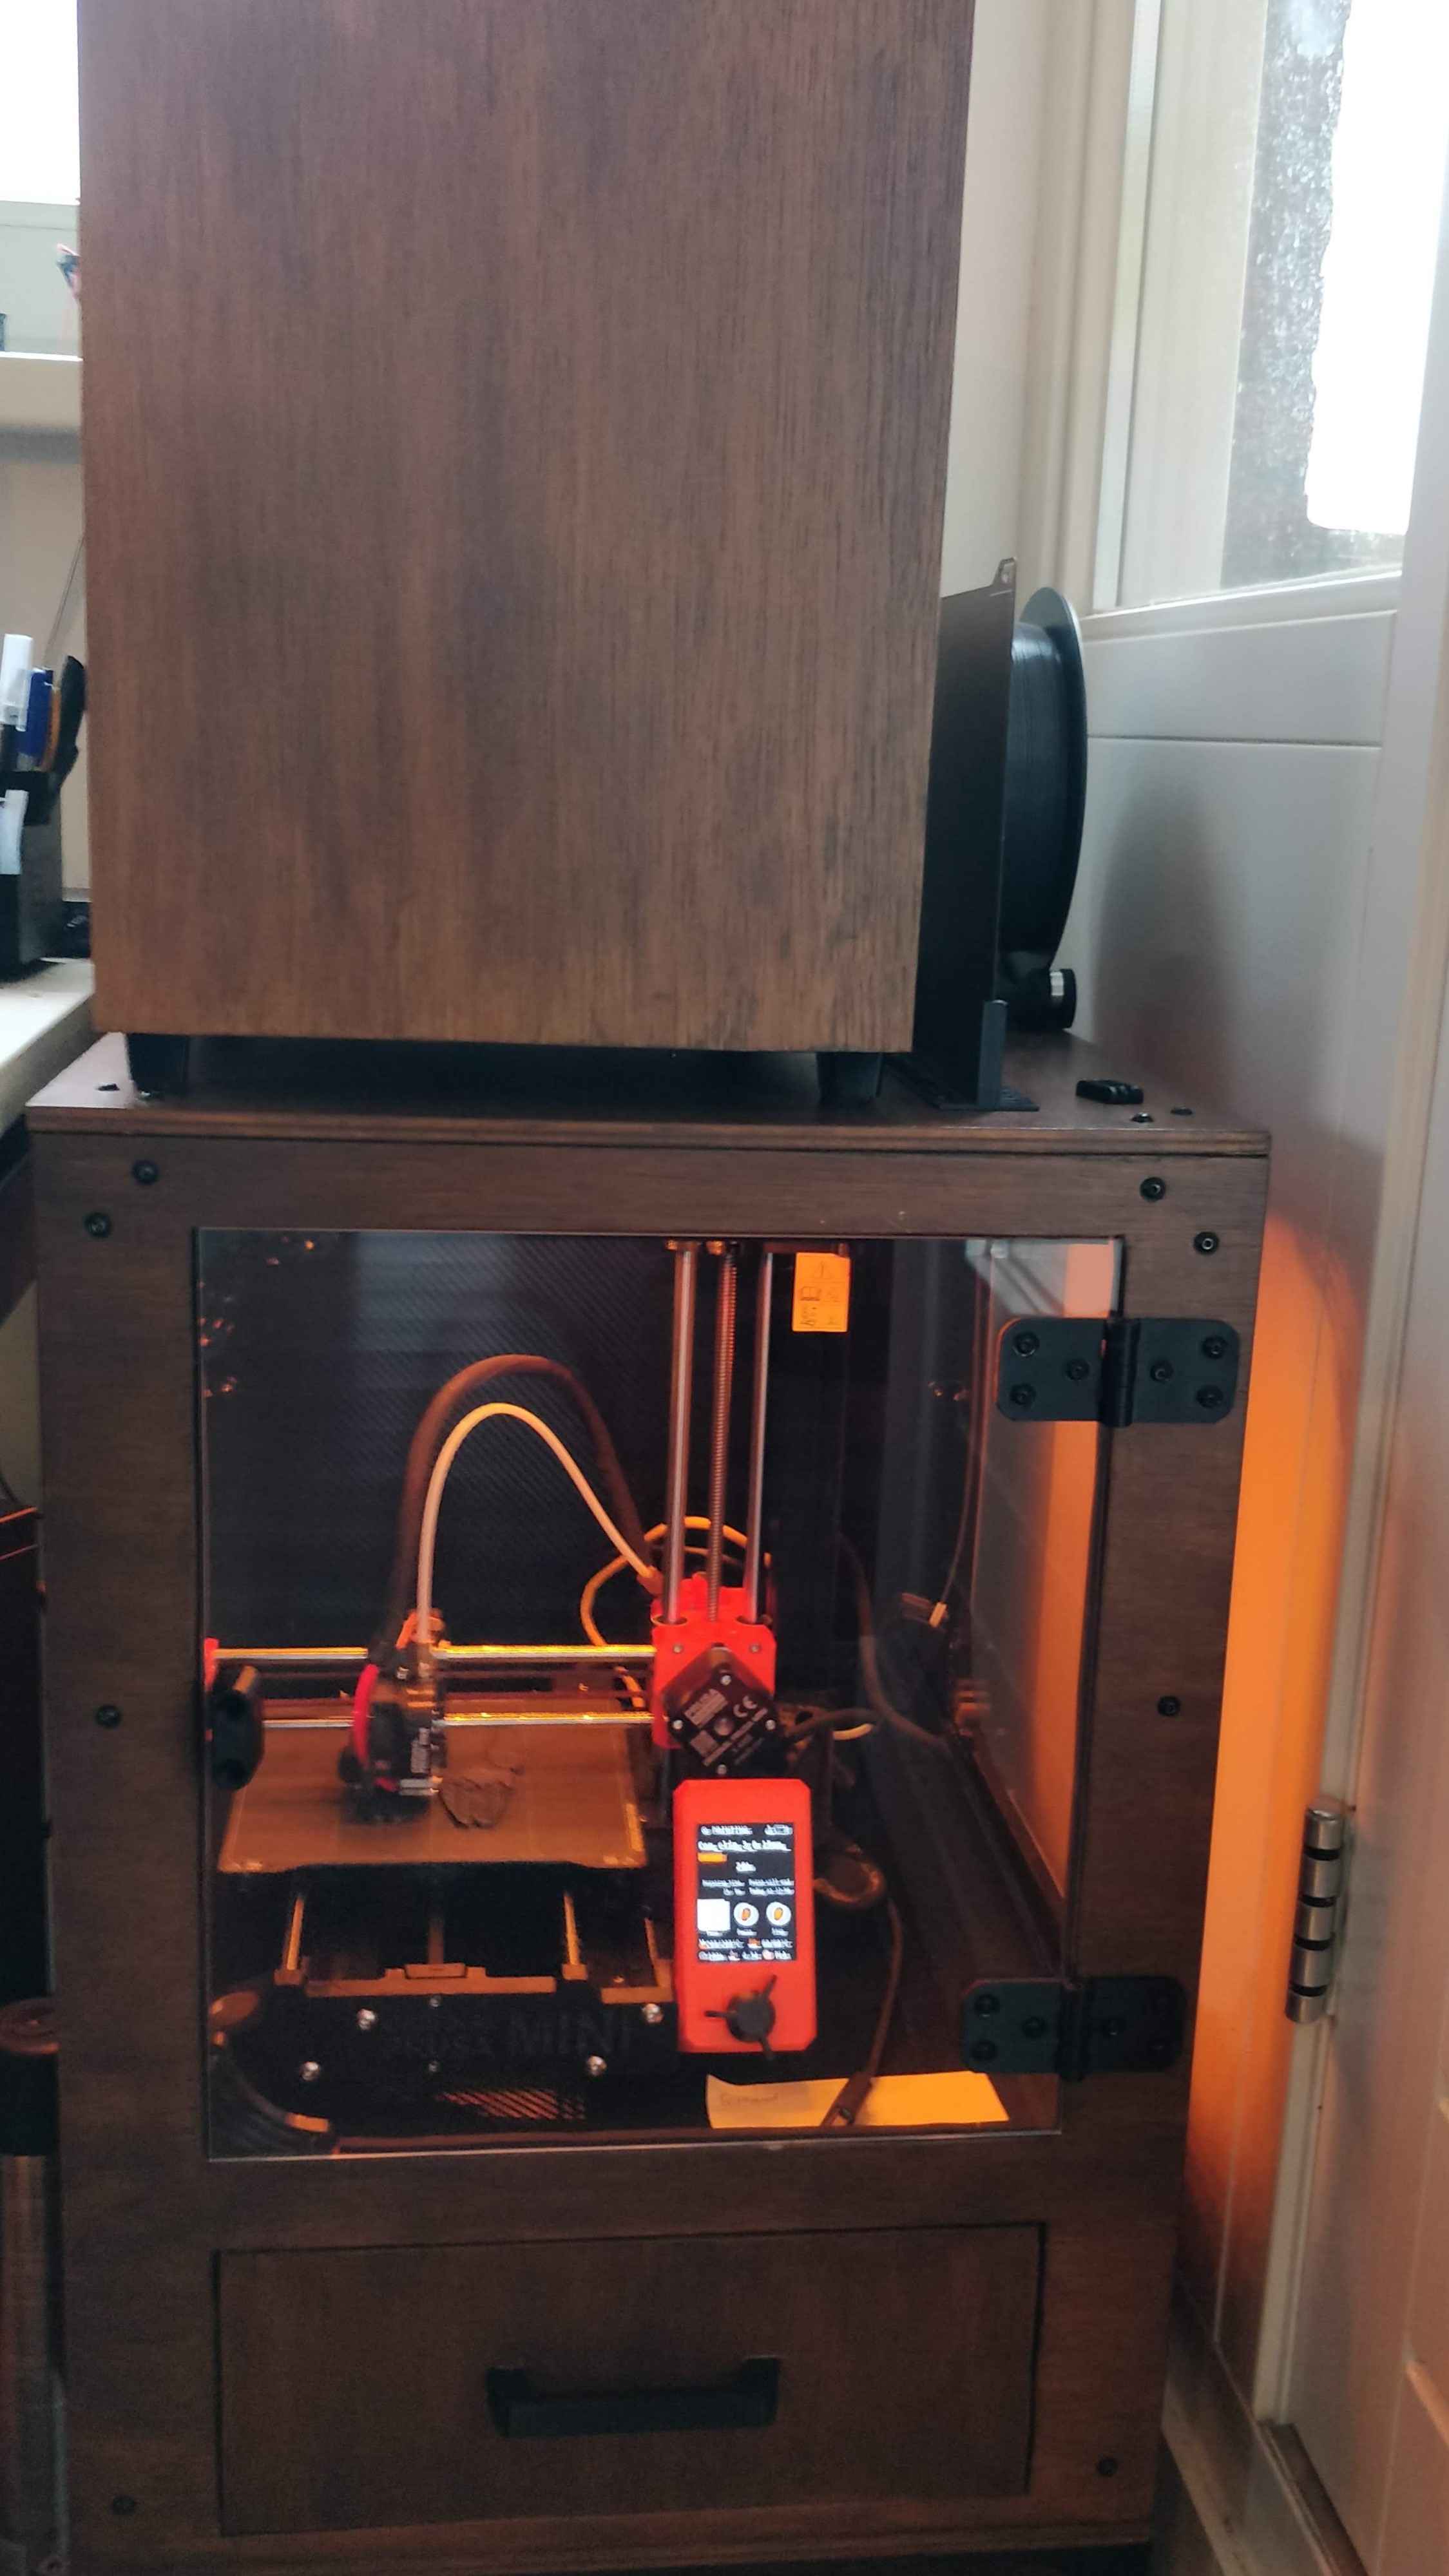
In October 2020 I decided to order my first 3D-printer: the Prusa Mini. Last December, it arrived. Since I currently live in a small apartment, and my desk, PC and printer are all standing in the living room, I decided to design and fabricate both a PC-case and printer cabinet out of wood. I designed most small components, like the hand-holds, stand-offs and hinges, myself, and they became one of the first things to be printed on the Mini. I think it turned out great, especially for a first time project like this!

RE: Show your enclosures
PTFE Filament Conduit: https://www.prusaprinters.org/prints/51457
That conduit is golden. Thanks.
--------------------
Chuck H
3D Printer Review Blog
RE: Show your enclosures
The pins & sockets I needed finally arrived so I could cut & solder the LED strips and properly mount them. All that's really left is a camera mount, a mounting plate for the vertically-oriented LED strip, and a stabilizing piece across the front inside the door.
(Please ignore the PETG haze) https://photos.app.goo.gl/zUHRRNptr1NzakaG7

Prusa MINI w/Bondtech IFS extruder, Slice Copperhead groovemount, bed-leveling mod, rerouted heatbed wires, Z brace, MINI Enclosure with relocated displayLDO Voron v2.4 rev 2 C 350…
RE: Show your enclosures
@adam_pres
Would you mind sharing more details about your air filtering system? I was looking at using a Noctua fan and a cylindrical HEPA filter but don't know what kind of controller and power source to get for the fan. Searching for 12V PWM controller seems to point to computer PSU powered devices, I'd rather use a 2 amps USB controller if such a thing exists.
RE: Show your enclosures
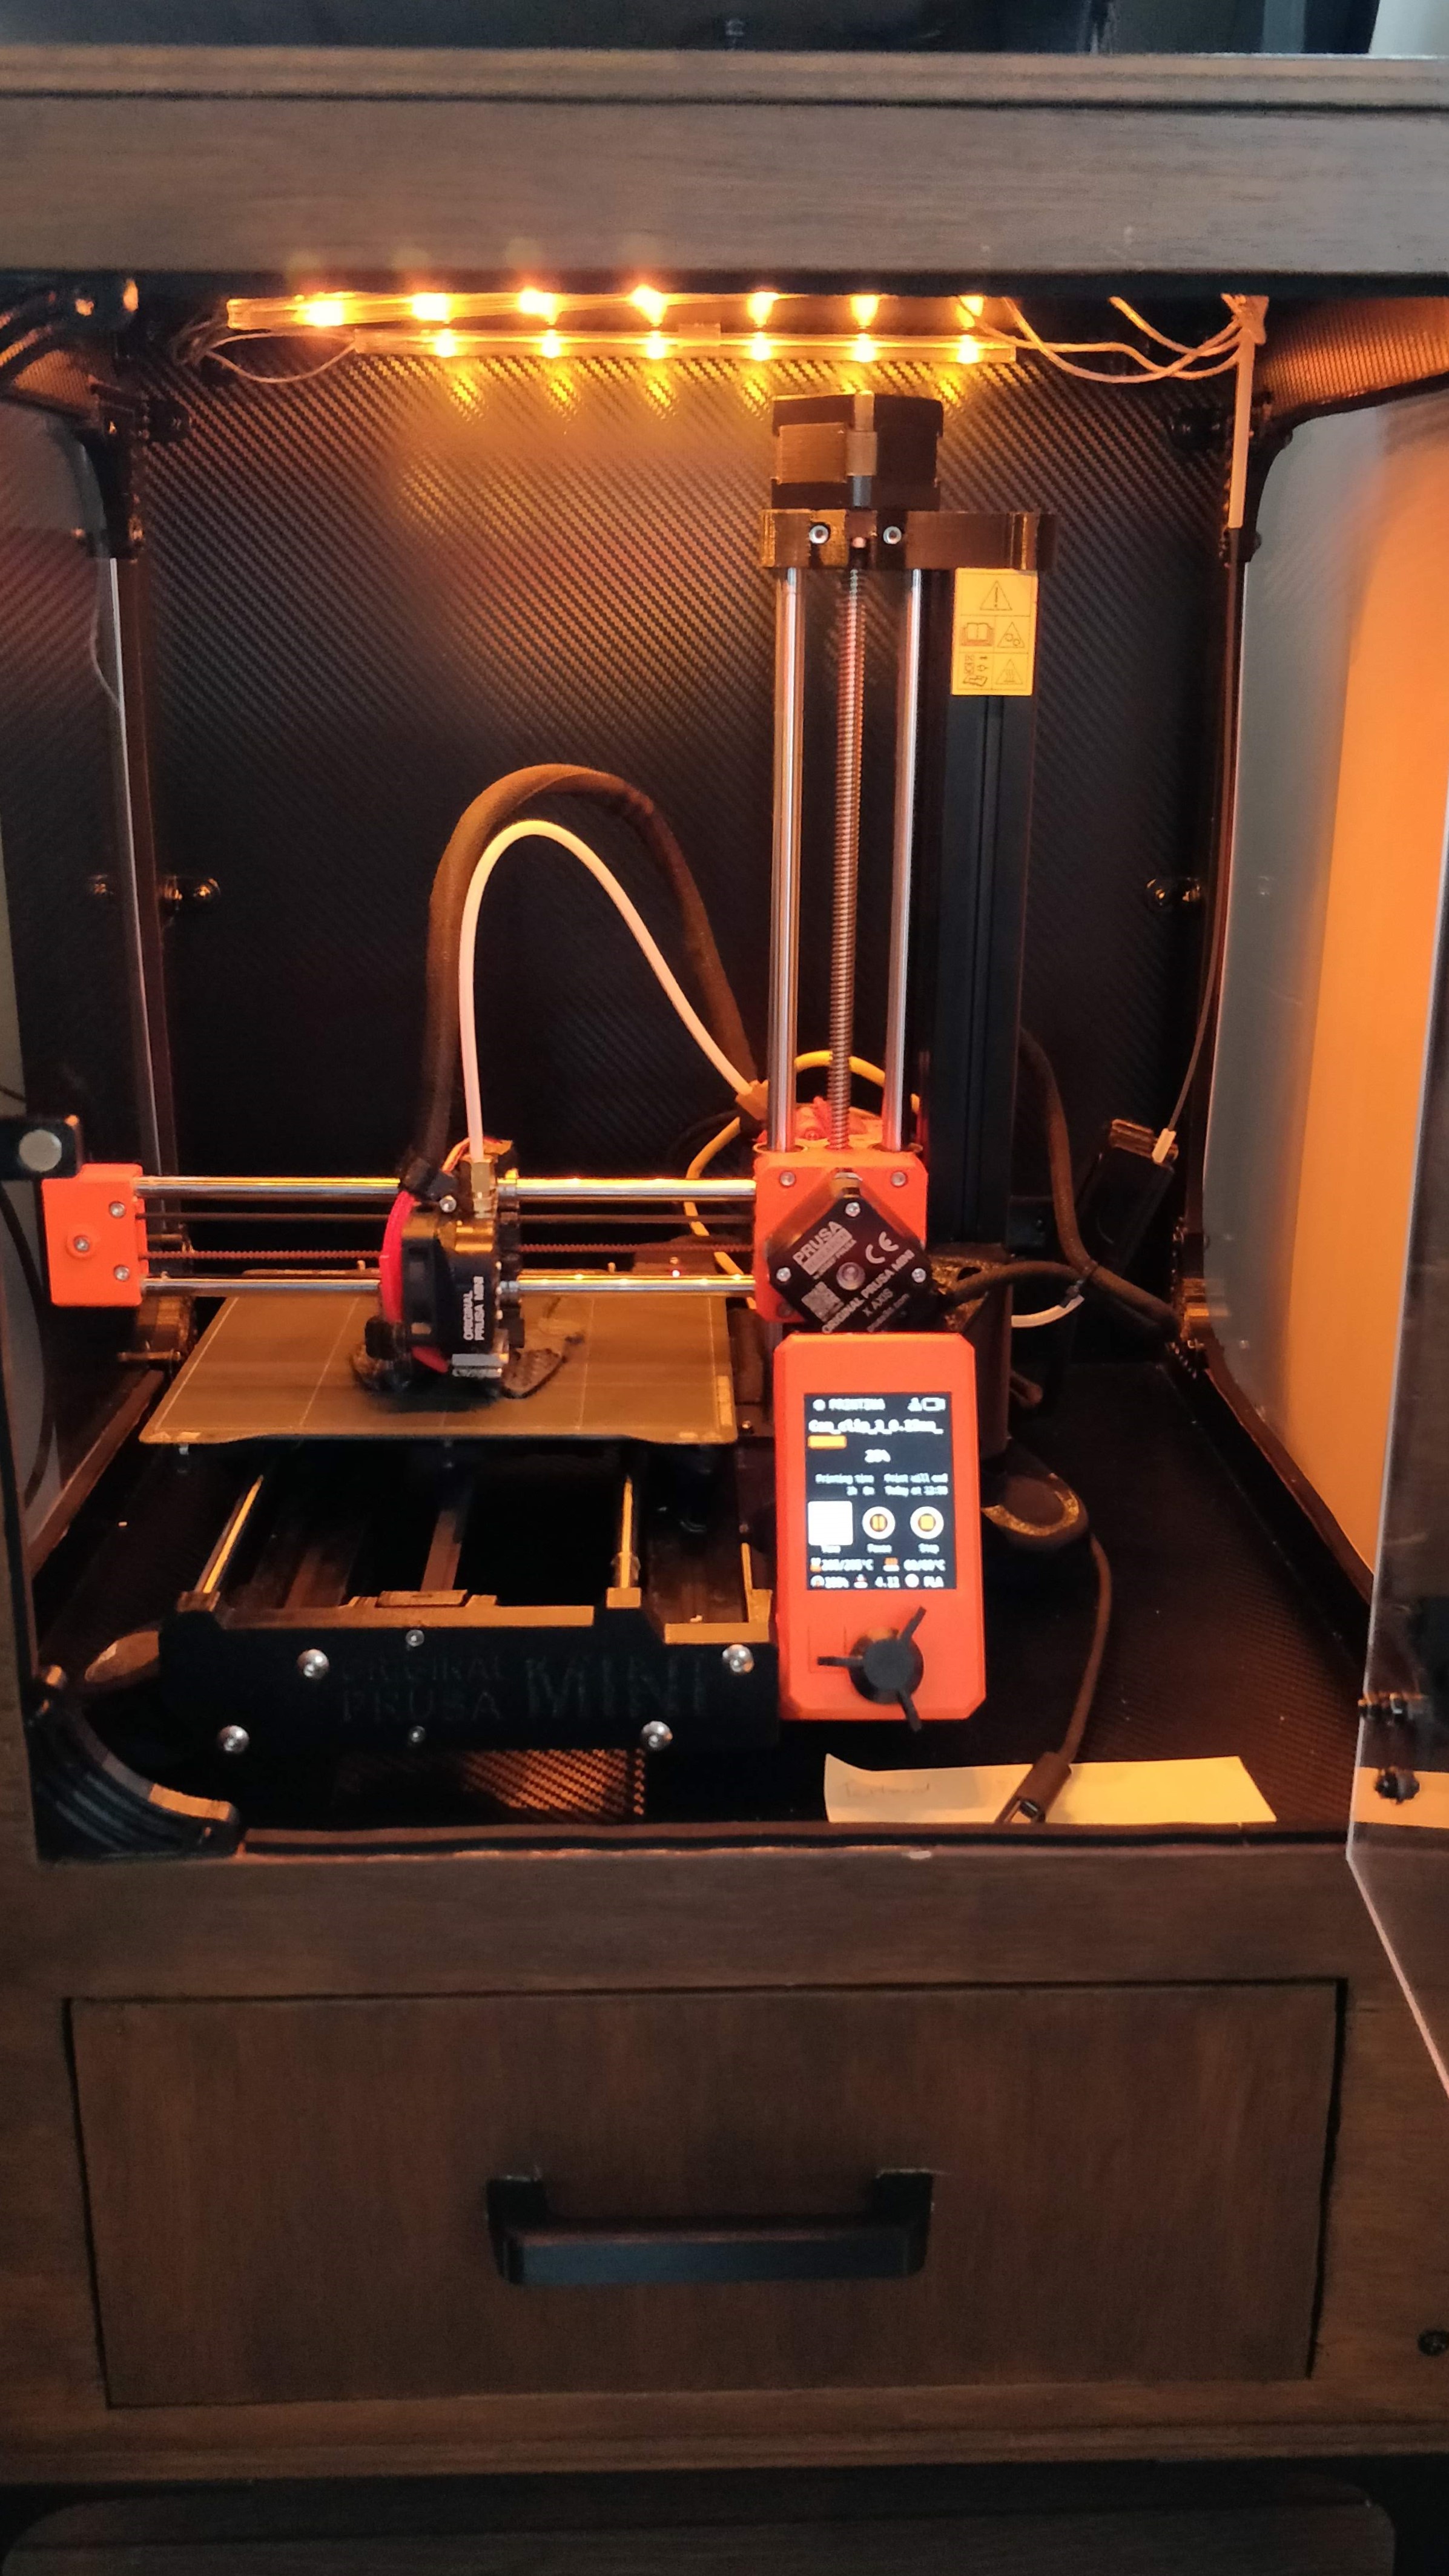
Still a work in progress, update by moving the controller to the outside of enclosure, installed printable rubber mouse pads stick side down and a paver also added a 7 watt reptile heater mat inside the polymaker box to help with drying.

RE: Show your enclosures
My setup:
Does your Pi not get too hot inside the enclosure? I'm looking into one at the moment and assumed i'd need to keep it outside.
I built mine enclosure yesterday. It isn't perfect as some of the printed brackets wouldn't screw tightly against the table top, no idea why. Also, move the printer into the enclosure managed to mess up my axes so i had to adjust for xz skew and then relevel the pinda too, but it works now so it was worth it. It's so much quieter now it's amazing.

RE: Show your enclosures
I have a thermometer in each of my enclosures, and even after hours of printing ABS the temperature inside never crossed 38 degrees celsius in any of them. I don’t believe for a second that that’s too much for the Pi. Never had any issues with any Pis, or any other components such as PSU for that matter (on my Mk3S the PSUs are inside the enclosure too).
Of course, I’m sure I just jinxed myself and all electronics will go to hell the next time I close the doors on the enclosure…
Formerly known on this forum as @fuchsr -- https://foxrun3d.com/
RE: Show your enclosures
@fuchsr
I concur. I have 2 printed that print ABS. Neither has reached 40 Celcius.
--------------------
Chuck H
3D Printer Review Blog