RE: Show your enclosures
These enclosures look awesome, I can't wait to get mine finished.
Question to all the Prusa Mini owners using OctoPrint: Did you notice that the print quality is bad compared to direct prints via USB?
I heard the Mini has lots of issues with OctoPrint, resulting in visible bad print quality. Your experiences (or configurations)?
RE: Show your enclosures
I found a free server rack locally... Would the following inner dimensions work?
22" wide
36" deep
76" high
It's obviously tall and deep enough, I'm just concerned that it's a little too narrow. From what I've read, I need at least 21.5" width (sorry for the lack of metric, I'm in the US)
It's plenty if the filament is outside the enclosure. If you try to get the filament in that enclosure the path may not be direct enough. A Lack table enclosure is about that wide inside, but i have a grommet in the wall and the filament outside.
Regards,
Mark
RE: Show your enclosures - a couple of ideas
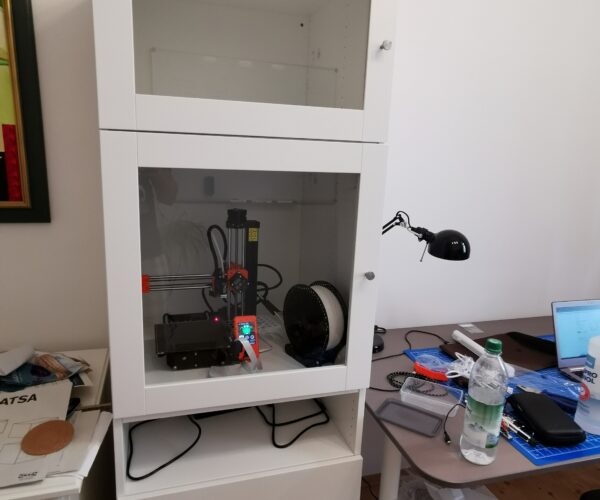
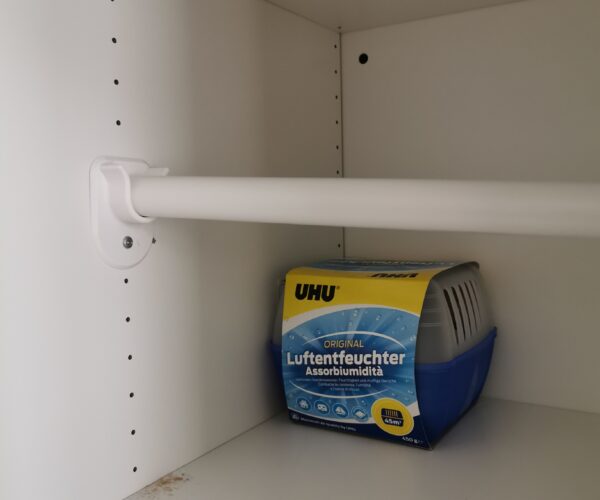
My enclosure is similar to several others in this post. But there are a few features that might be of interest to others:
- Filament feeds from below
- I designed and printed a fixture to hold the end of a USB extension cable so the USB thumb drive could be mounted beside the control box
- I designed and printed some brackets so I could install two TROFAST storage boxes as drawers to store tools, etc.
- I designed and printed some rub pads to install on the edge of the table below the door hinges so the hinges wouldn't scar the table
RE: Show your enclosures
@japu
Regarding quality loss due to OctoPrint I had the same concerns. I can confidently say at this point that I haven't seen any loss in quality (I even reprinted many of the same models just to compare). The only thing that seemed to cause issues for me was the built-in Timelapse software (with OctoPi). It's so much better.
Now I just need to build an enclosure like all the cool kids are doing.
RE: Show your enclosures
Question to all the Prusa Mini owners using OctoPrint: Did you notice that the print quality is bad compared to direct prints via USB?
I heard the Mini has lots of issues with OctoPrint, resulting in visible bad print quality. Your experiences (or configurations)?
RE: Show your enclosures
Regarding quality loss due to OctoPrint I had the same concerns. I can confidently say at this point that I haven't seen any loss in quality (I even reprinted many of the same models just to compare). The only thing that seemed to cause issues for me was the built-in Timelapse software (with OctoPi). It's so much better.
So you just disabled TimeLapse in OctoPrint - and now you can get the same quality results with OctoPrint compared to printing directly from USB?
RE: Show your enclosures
4. I designed and printed some rub pads to install on the edge of the table below the door hinges so the hinges wouldn't scar the table
Do you have the STL files to these door hinges rub pads?
RE: Show your enclosures
@japu
Yes, certainly. The only way I could figure out how to give you access was to create a github repository. The three parts I referenced in my post are in https://github.com/tealbert1943/3D-Prints
RE: Show your enclosures
@tealbert
Thank you!
RE: Show your enclosures
@tealbert
Thank you!
RE: Show your enclosures
@robee
Hi robee, this is very well done. I like the full acrylic build. I have specific questions about the air filtering system. Could you provide more detail on this system? I am fairly new to printing so my questions are somewhat general as to 1) Why are you actively filtering the air? 2) What does the air filter system look like? 3) If you are pushing air out, I assume you are pulling air into you enclosure from somewhere? 4) I see you have a temp/humidity monitor built in, is this system actively dehumidifying your enclosure?
Thanks for sharing this build!
RE: Show your enclosures
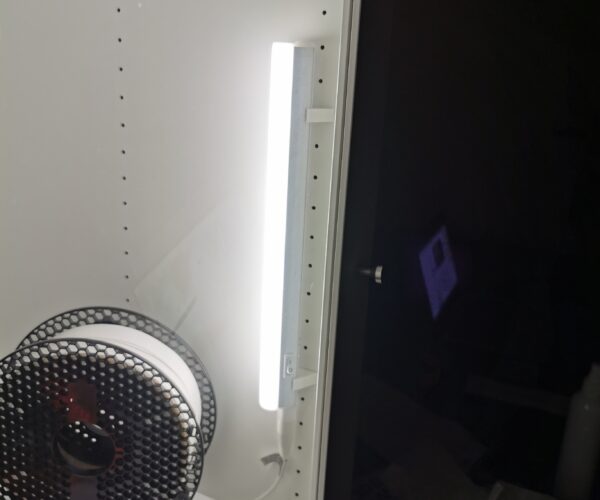
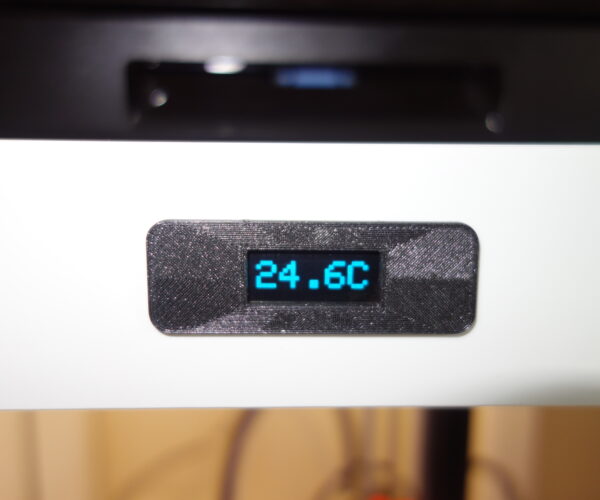
Mine is still work in progress, spent yesterday adding the lighting and Thermometer.
Just posted up details on how to make the Thermometer I have inserted into the LACK table.
The sides are on order, and the print in progress is some of the parts.
RE: Show your enclosures
@robee
Hi robee, this is very well done. I like the full acrylic build. I have specific questions about the air filtering system. Could you provide more detail on this system? I am fairly new to printing so my questions are somewhat general as to 1) Why are you actively filtering the air? 2) What does the air filter system look like? 3) If you are pushing air out, I assume you are pulling air into you enclosure from somewhere? 4) I see you have a temp/humidity monitor built in, is this system actively dehumidifying your enclosure?
Thanks for sharing this build!
Thank you! Hopefully I can answer your questions...
1) I wanted to print ABS without having to worry about the toxic smells, and the fumes from PLA whilst not dangerous were irritating my nose (probably allergies as I do get hayfever).
2) I have a small 50mm fan that pulls air at the enclosure end through a hose and pushes it to the active carbon filter (Ram 100/200 4-inch 170m³/ hr Filter), the assembly has room for an additional hepa filter but I haven't had to use that as the Ram works really well. Joints between the hose ends are sealed with hot glue.
3) There are enough gaps around the enclosure to suck air in naturally as it's sucked out. I did have to add draft excluder around the door otherwise there was too much of a gap and air did escape. I used a fog machine to test it so I'm pretty sure it's working as I expected. 🙂 https://twitter.com/RobeeShepherd/status/1273707395534016514
4) No, it's just a monitor unfortunately. Maybe one day!
RE: Show your enclosures
@robee
Thanks for the reply. Again, very well done. The pictures on twitter showing the fog machine are really cool.
RE: Show your enclosures
I used lack tables and build two types: Plexiglass on all sides and foam board with a plexiglass door.
--------------------
Chuck H
3D Printer Review Blog
RE: Show your enclosures
@charles-h13
Due to the high cost of the acrylic, I have opted to just fit doors and the one side. As my LACK is against a cupboard on one side and a wall to the rear.
I am not intending to print high temperature or styrene, the enclosure is more about reducing the dust. The plan is to add a filtered fan.
RE: Show your enclosures
@chillygeo
That is why I shifted my enclosures design to use only one side with clear windows. .
--------------------
Chuck H
3D Printer Review Blog
RE: Show your enclosures
I built my MK3 enclosure from aluminum profiles with sealed transparent PC windows. And some more little things...
The Mini still stands there naked ... 😒
Statt zu klagen, dass wir nicht alles haben, was wir wollen, sollten wir lieber dankbar sein, dass wir nicht alles bekommen, was wir verdienen.


