RE: Revo Micro installation on my Mini+
@robee-shepherd and @sp4rkr4t - thank you so much. It can be a bit disheartening for a newbie to be faced with a problem like this.
To re-cap: the issues I have been seeing and the solutions that worked for me are as follows:
- Heat creep with PLA. This was solved for me by the E3D version 2 mount. My view is that an unobstructed side to side airflow is the key to this change - although the stock fan does provide a stronger airflow as well. Also, this helped my OCD problem with the Revo fan failing the self test 😉
- Hot end over reporting temperature when cooling flow is high - so PLA again. This was identified by Stefan of CNC Kitchen I found that increasing the Prusament PLA print temperature from 210C to 220C gave me nice smooth surfaces. Given Stefan's findings, I think that means I am actually printing at 210C-215C, which is spot on for Prusament PLA (according to the side of the spool).
- "Wonky" pillars on the 3D Benchy with PLA. @robee-shepherd hit the nail on the head here, and @sp4rkr4t provided the Prusa Slicer filament setting changes needed (from Prusament PLA profile). For me these were: a) "Min Print Speed" from 15 to 20 mm/s. b) "Slow down if layer time is below " from 15 to 5 seconds. and c) "Retraction length" from default (2.0) to 1.8 mm.
- Not a problem, but a confusing factor: With any filament that does not have high cooling flow, so basically PETG, ASA and ABS for me, the standard Prusa Slicer provided defaults just work.
With the settings in 3), the head is moving noticeably faster on the small pillar areas of the benchy, and that appears to make the difference, I don't know why reducing the retraction length also helps, perhaps there is an explanation out there.
I now have a PLA benchy printed that is as good as the first benchy I did on a brand new machine with the Prusa provided gcode. A result 😊
I'm hoping this thread can help others who try the Revo micro out on the Mini+. We are in early adopter territory with this system, so I would expect there to be issues. It's nice to have a community of helpful folk to reach out to. I, personally, have learned a lot.
RE: Revo Micro installation on my Mini+
I've posted a few things on this thread and it certainly is confusing. I think my issue was a partially clogged nozzle from switching from a higher temp filament (PETG) to a lower one (PLA) . I found a thread somewhere that mentioned loading the new filament at the higher temp, extruding some waste to clear the nozzle and then unload/reload the PLA at the correct temperature. I've been following this process since and have not had any issues with clogs.
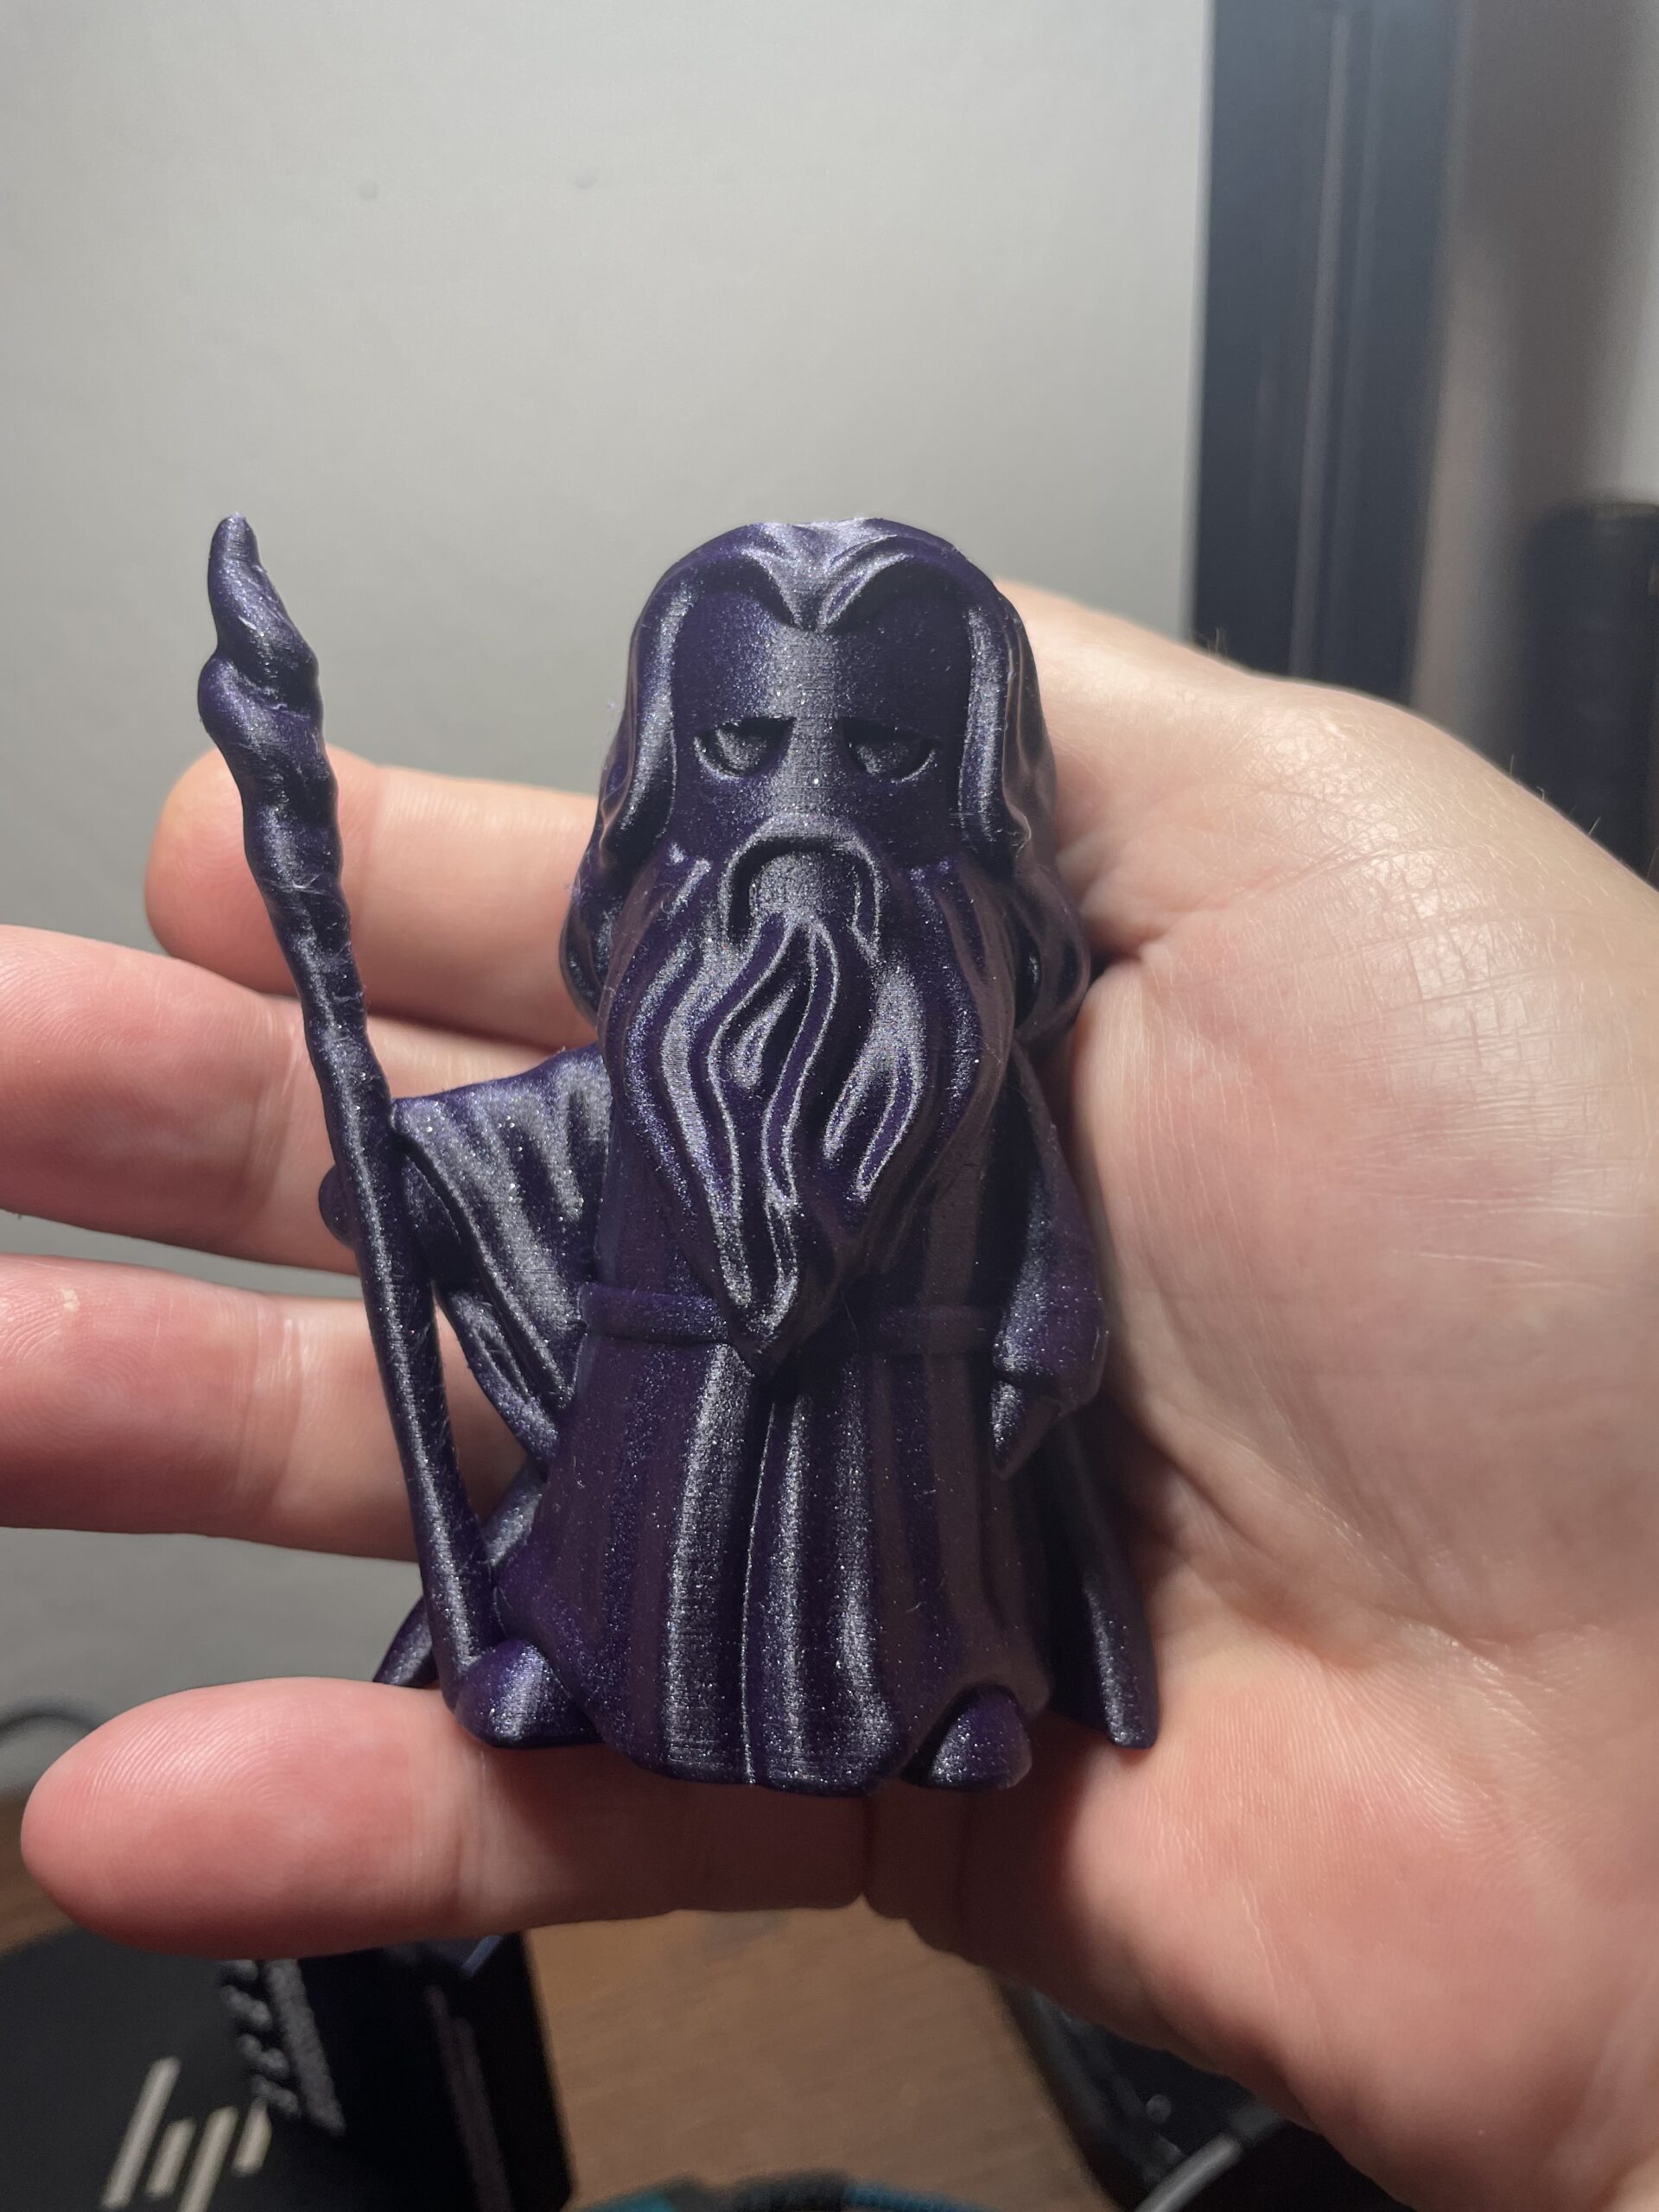
I have not used filament overrides (have them turned off in prusaslicer along with the advanced speed controls.) and only use retraction on the extruder. I looked on the Prusa website and found both 2mm and 3.2mm as the 'default' retraction settings for the Bowden setup on the Mini+. I've played around a bit back and forth and 3.2 seems to work best for me, but it really depends on the filament from what I've encountered. I also set the amount to wipe before retracting to 0%. I tend to print Prusament PLA at 215/60 and it has always worked great. My print speed is pretty modest, 45mm/s. Fan speeds is something that I followed here and changed, how and when I used them specifically. The mini below was a 7+ hour print that just finished, 0.10 mm layer height, Proto-pasta. Had some super fine wispy hairs on the staff top but otherwise, came out pretty good.
RE:
Great recap pickworthi! I'm fortunate enough to have an MK3s+ and a Mini+, so I decided when I bought the Mini that it was going to be my modded unit. I have pretty much regretted that decision ever since. With these updated settings I feel like I am back on track. I was literally planning to go back to stock on my Mini today, but work got the better of me... Now I am back to tinkering!
RE: Revo Micro installation on my Mini+
I'm thinking about getting the revo micro for my prusa mini and just wanted to thank you @pickworthi for the great writeup, really appreciate it!
RE: Revo Micro installation on my Mini+
Using the v2 mount my PETG temp tower (with teaching tech's tool) looks abysmal.
I think it's the cooling duct, and I was kind of hoping to gind a good design here, but it sounds like most of you are finding out what doesn't work...
RE:
@pickworthi, I was wondering how your changes are working for you. I have installed the Revo Micro in my Mini+. I also have the bondtech and have adjusted the steps as needed. The nozzle works fine for a couple of prints, but then it clogs. I heat it up, easily clear the jam and start printing again, only to have it clog again after 1-2 hours of printing.
I am using the E3D V2 mount as pictured. Printing at 220 and then down to 215, but have not adjusted flow rate. Wondering if you could share your settings and if adjusting the flow rate has helped.
Regards, Cort

RE: Revo Micro installation on my Mini+
Omg. It’s about time. Left is V6 AMH and right Revo Micro 0.4 with Fiberlogy PLA. Under closer inspection the quality with the Revo is better; granted not much in it but I’m finally satisfied that this is an upgrade. Now to move over the the Revo Six on my Bear21 and I’m already thinking the fan duct needs work. 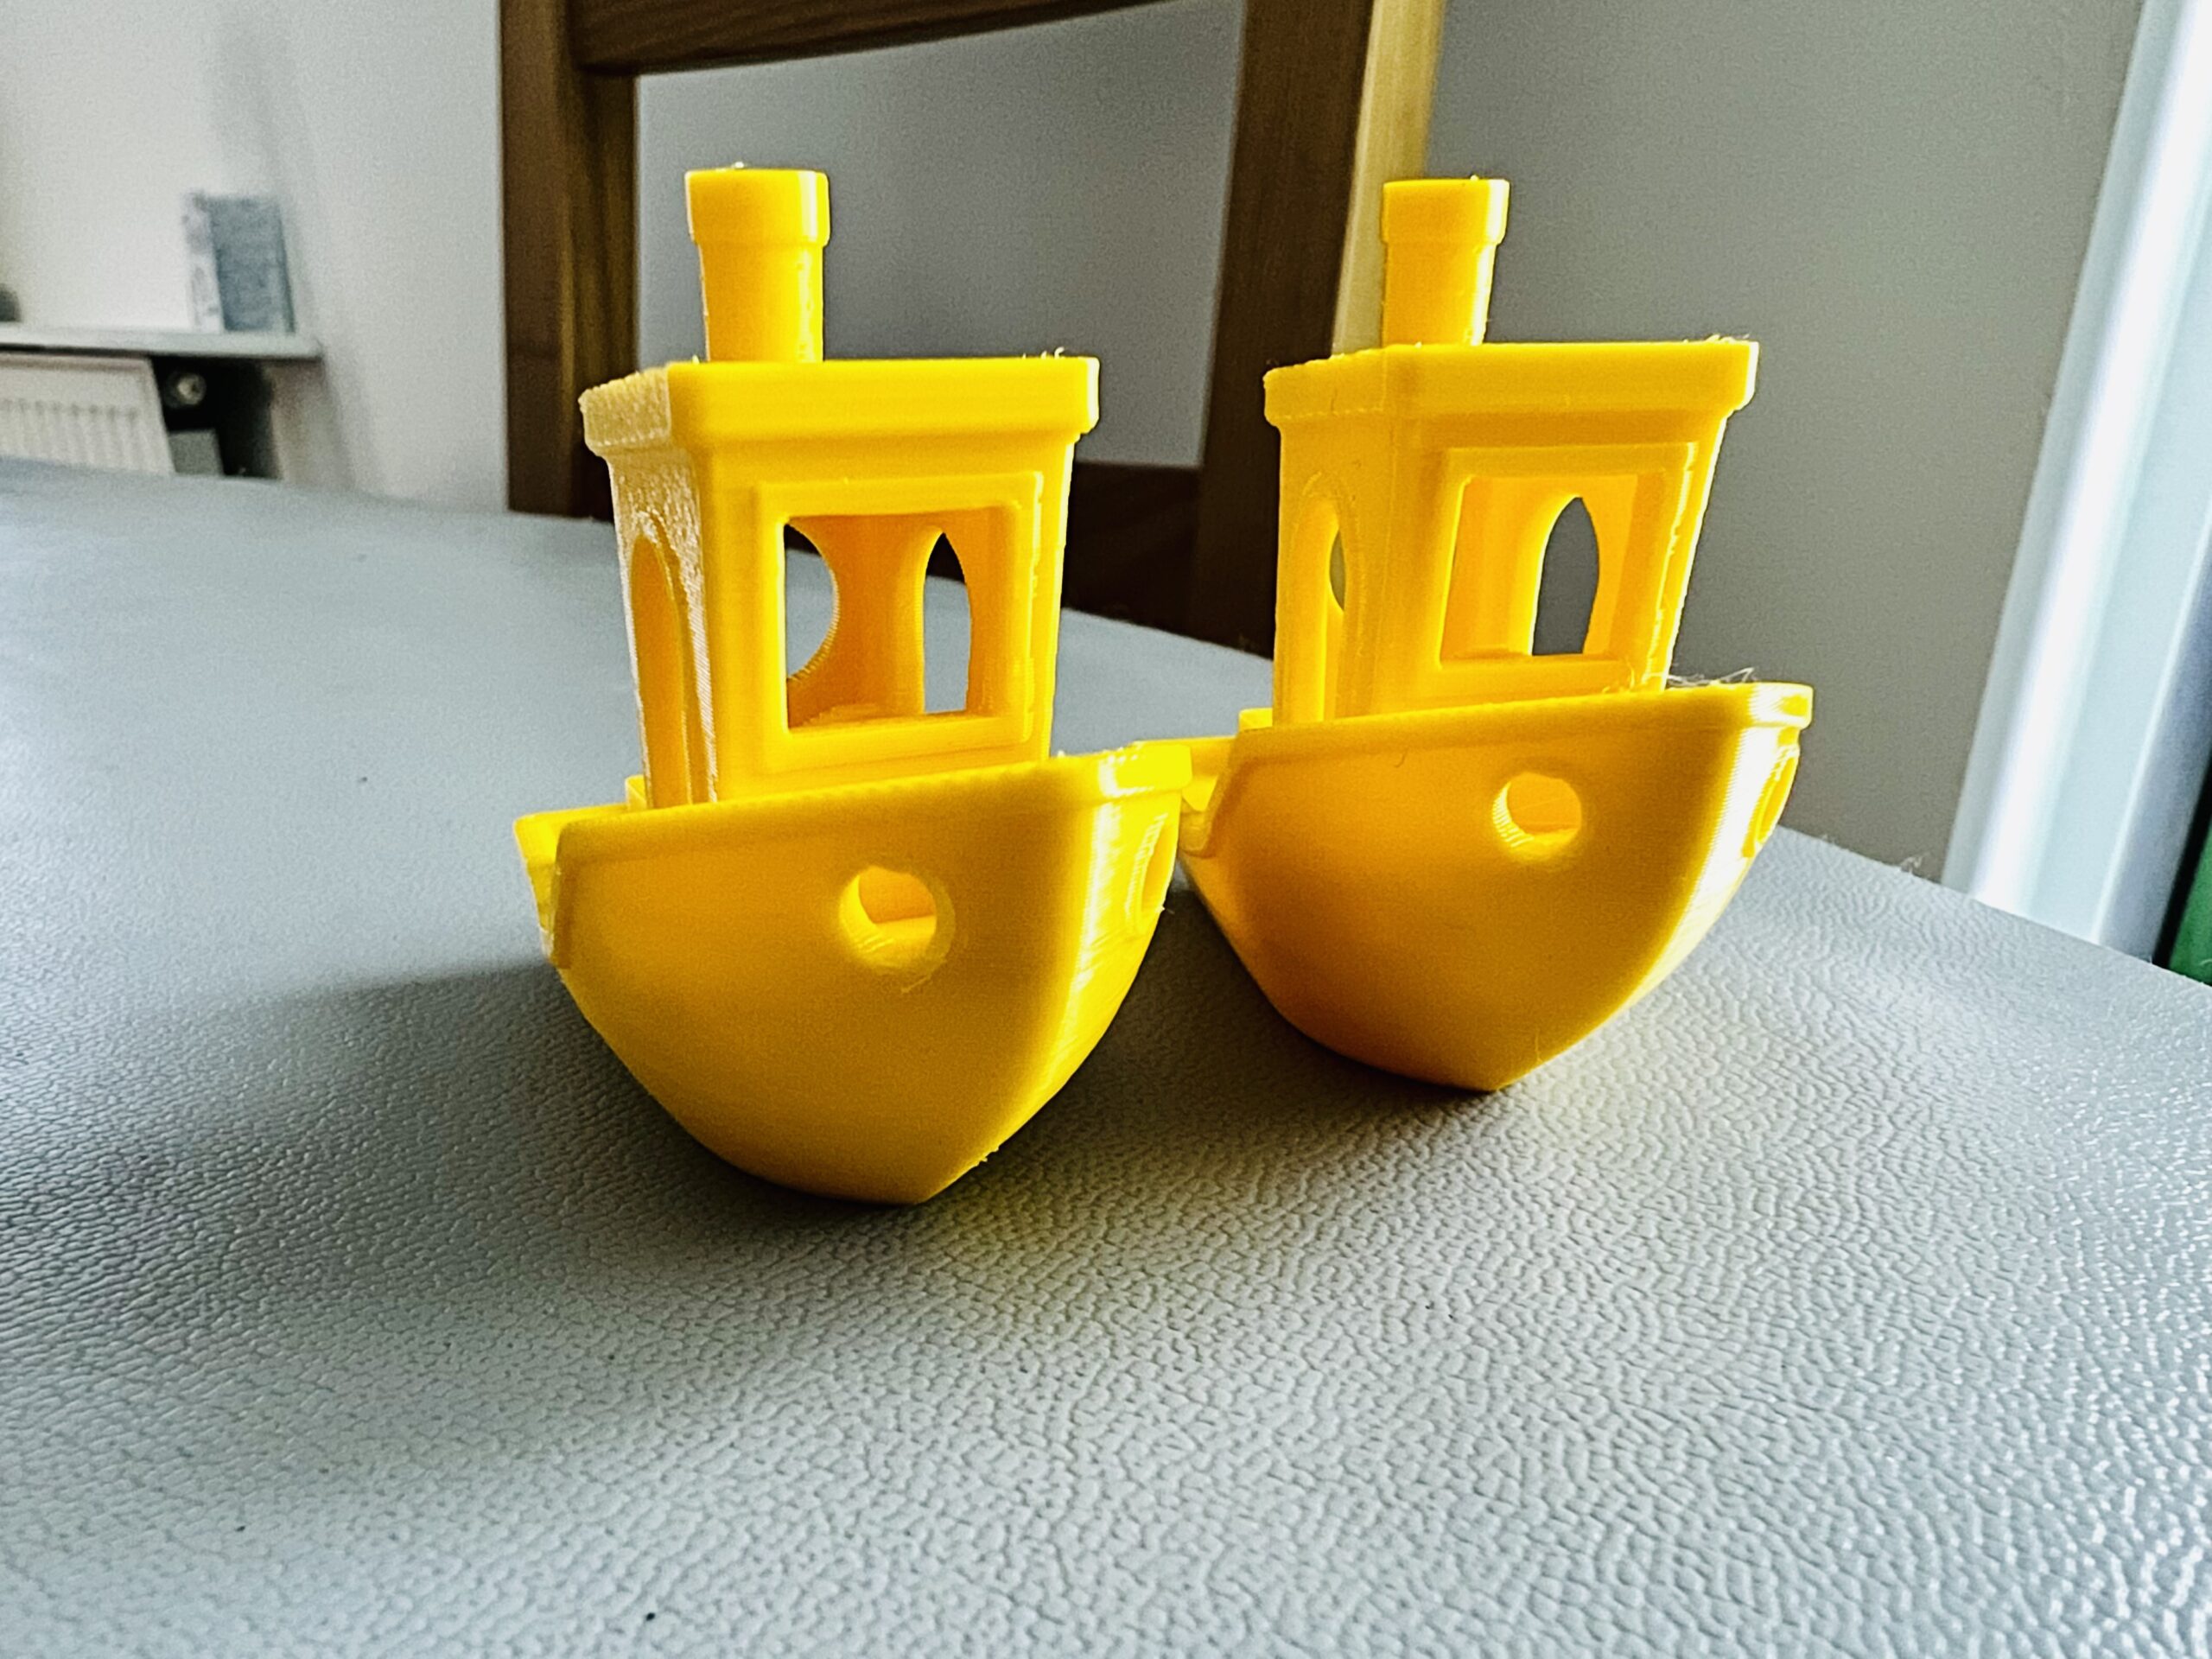
RE: Revo Micro installation on my Mini+
I am using the E3D V2 mount as pictured. Printing at 220 and then down to 215, but have not adjusted flow rate. Wondering if you could share your settings and if adjusting the flow rate has helped.
According to CNC Kitchen's tests, you are most likely actually printing at 210 and down to 205, I'd try 10C hotter.
RE: Revo Micro installation on my Mini+
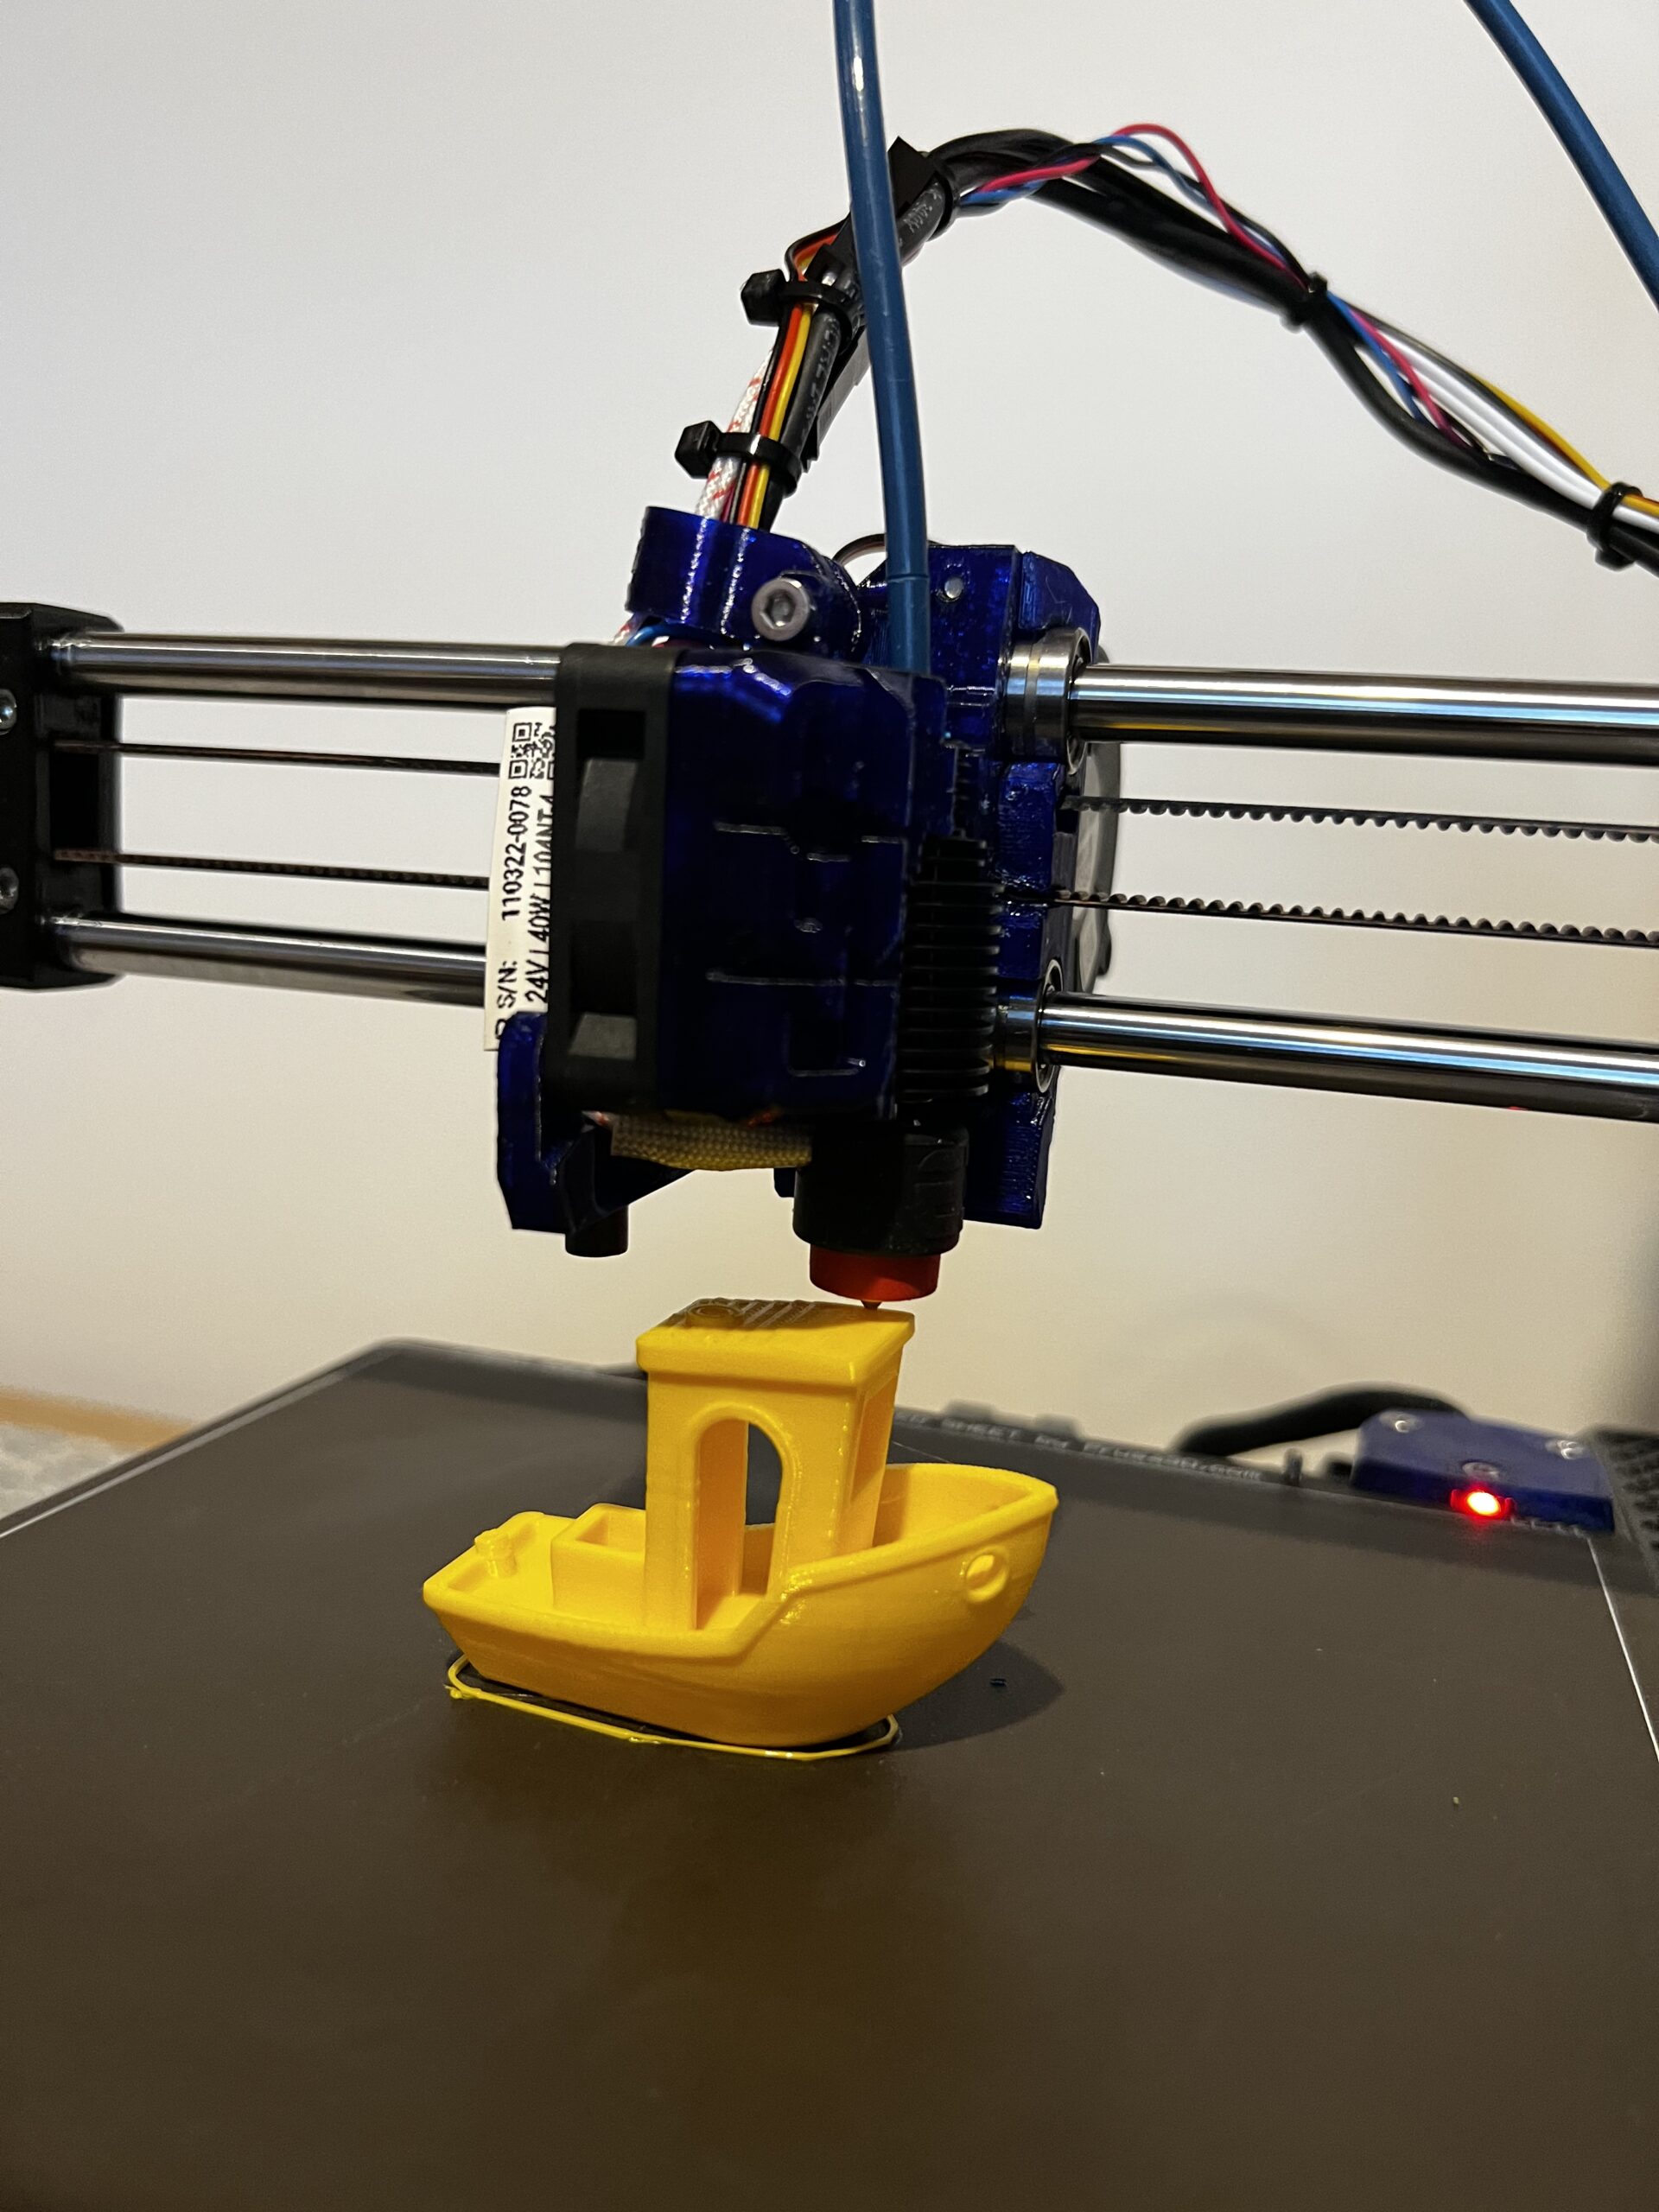
So, I upped my temp to 225 based on some of the discussions and watching the video on CNCKitchen. I also reduce the retraction down to 1.8. However, the further it got into the print you could see it was starting to under extrude. I have attached a picture. I am still new to printing and not sure if and how to adjust the flow rate on the prusa slicer. Guidance is desired. Really want the revo to work but thinking I need to pull it out so I have the printer back in operation. This is beginning to feel as bad as an experience as the Mosaic P3P ("The Brick"). Oh, wait....nothing is as frustrating as the machine.
 Looks like Revo is not under extruding
RE:
Posted by: @coghillc
I am using the E3D V2 mount as pictured. Printing at 220 and then down to 215, but have not adjusted flow rate. Wondering if you could share your settings and if adjusting the flow rate has helped.
According to CNC Kitchen's tests, you are most likely actually printing at 210 and down to 205, I'd try 10C hotter.
I second that - the thermister is overreporting by between 5C and 10C is what Stefan found when cooling flow is high.
I would just add that for me, PLA starts at 215C and then increases to 220C. The reasoning is: Prusa Slicer PLA profile starts at 215C, and for the first layer the cooling flow is off - so hot end likely reporting correct temperature. After that, Prusa Slicer lowers the temp to 210C, and to actually get that, the set temperature would have to be 215C - 220C due to cooling flow over reporting. For me, 220C is where the smooth PLA surface is at.
I have not changed flow rates at all.
RE: Revo Micro installation on my Mini+
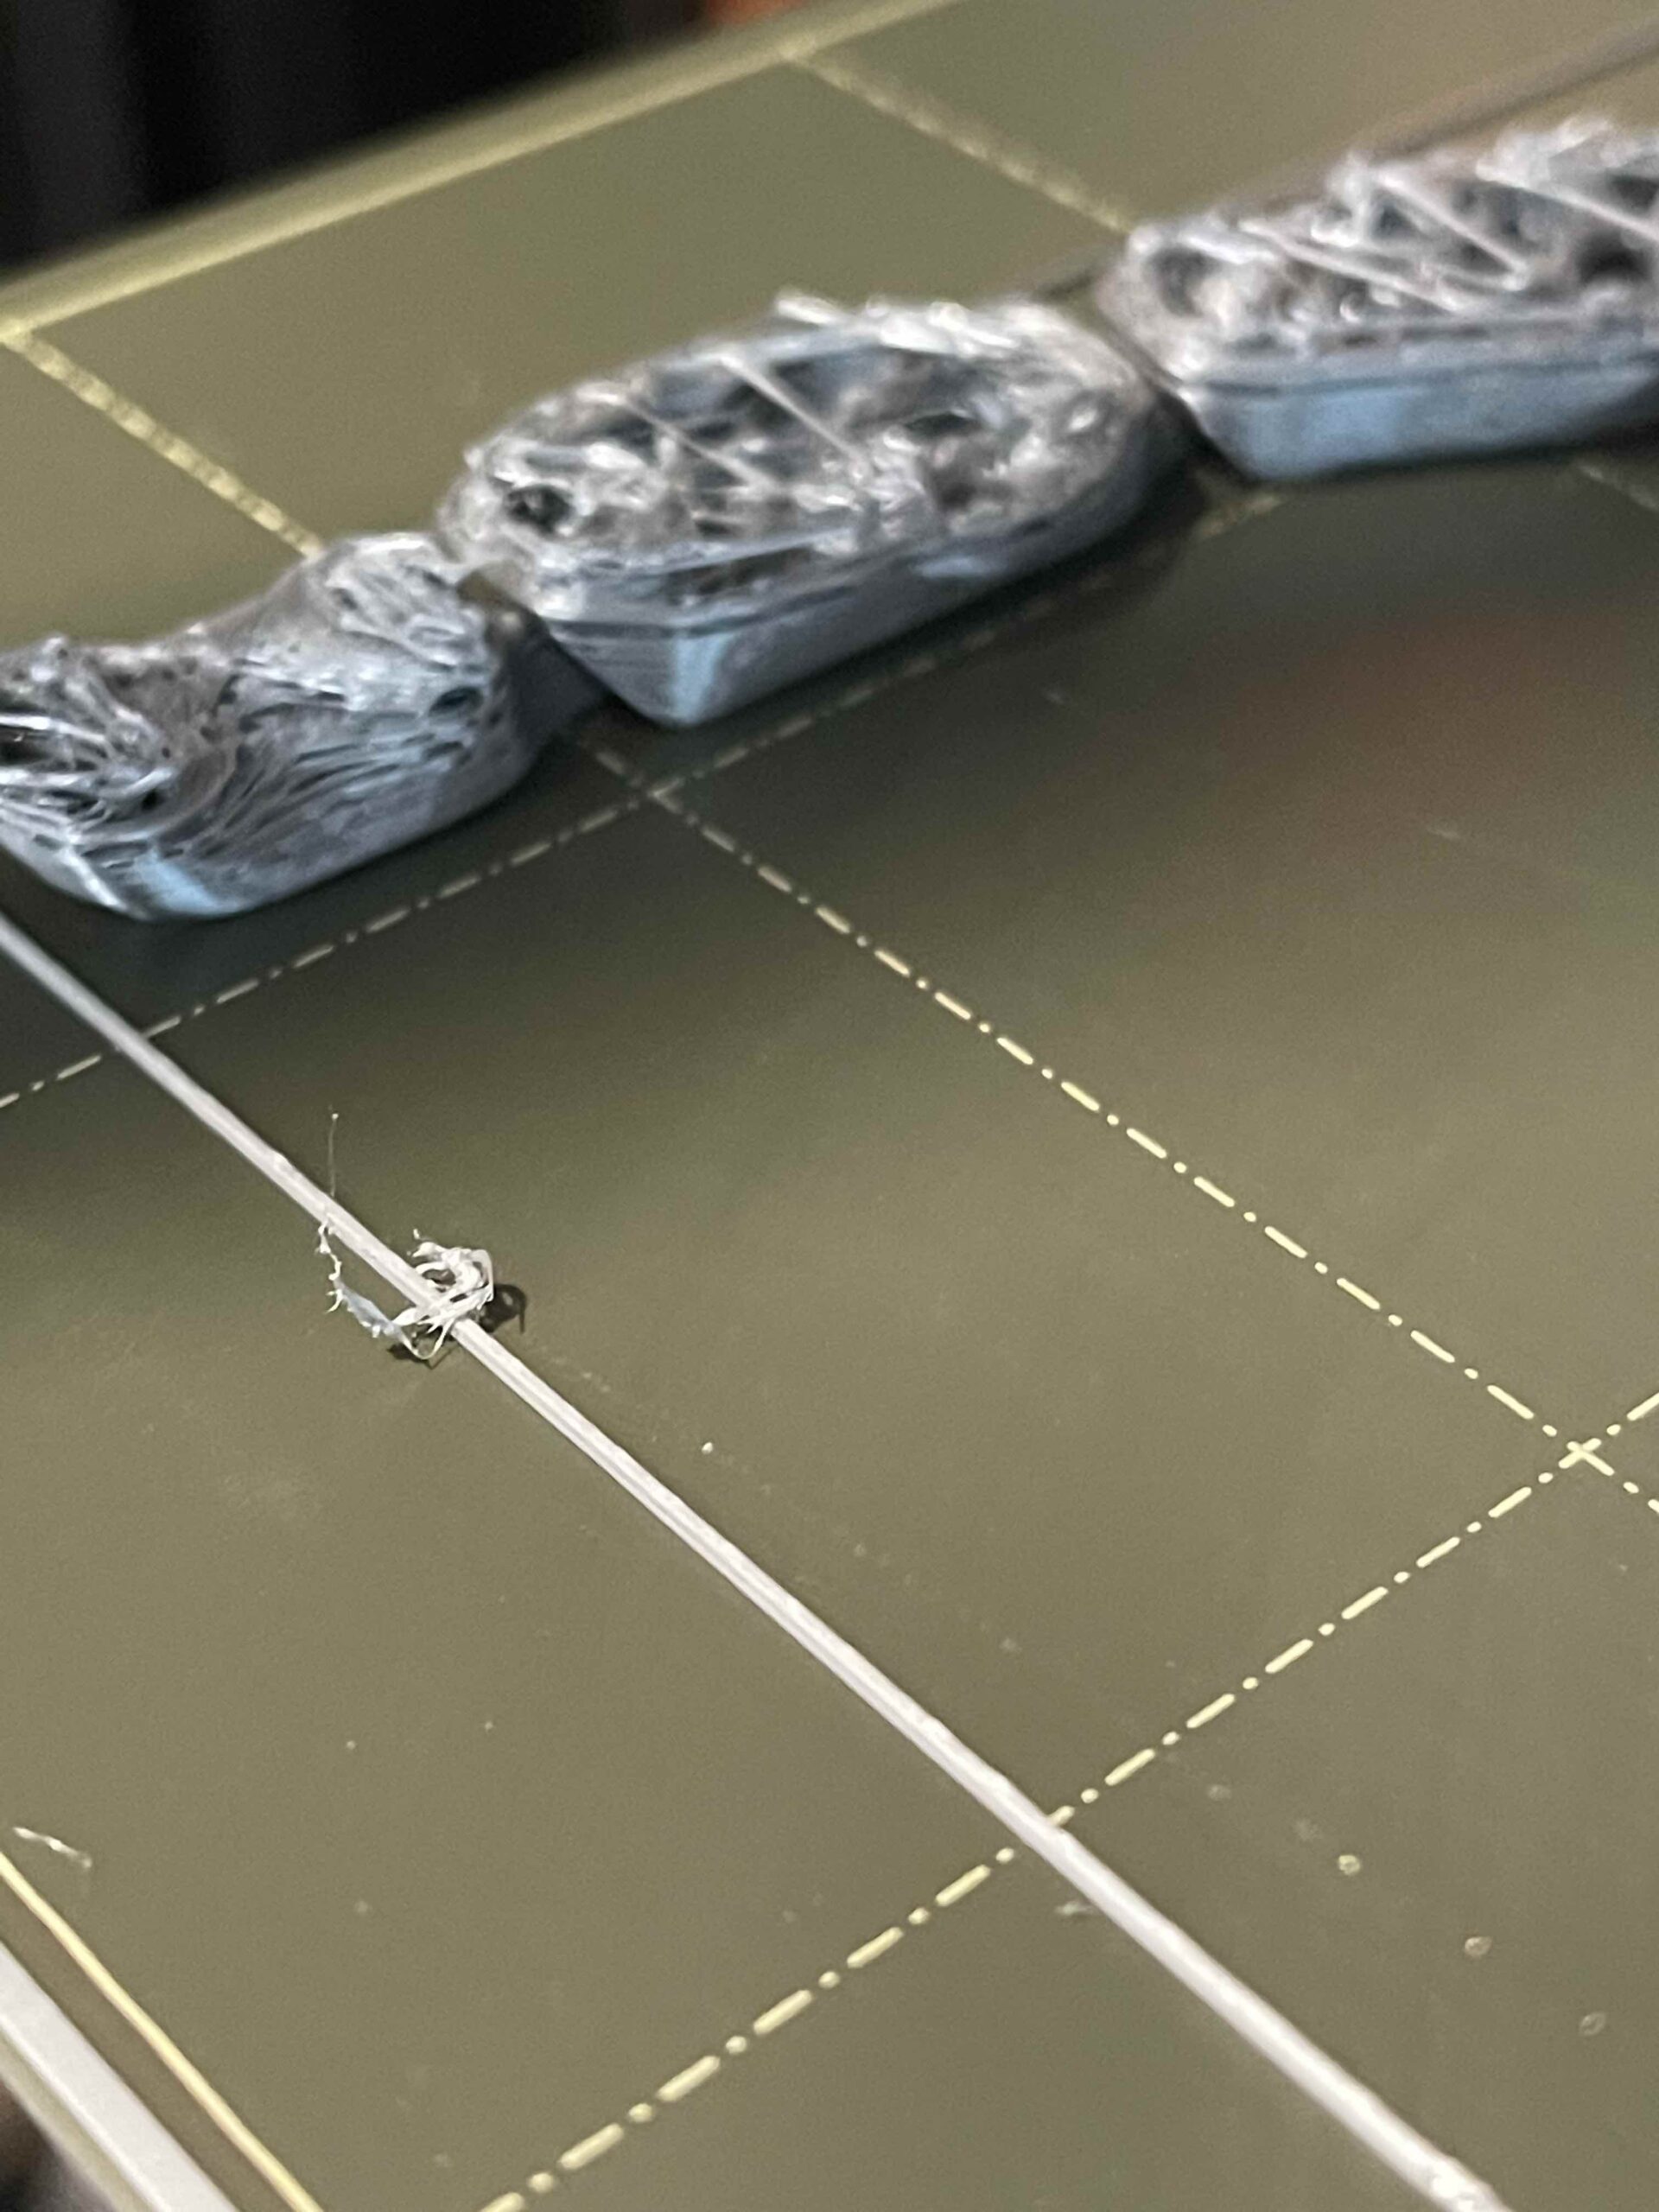
Thanks, I did another print at 225 and the retraction down to 1.8 but got the following results in the picture below. Should I try 230 then so I am closer to 220? What about retraction? Appreciate your thoughts.
Latest fail with Revo Micro (.6) Nozzle
RE: Revo Micro installation on my Mini+
Okay, just to follow up. I took the collective wisdom and turned my temp up to 225 and reduced retraction to 1.8. I got several really good prints. However, I notice that there is a need for yet another upward temperature adjustment and now I am up to 230 to get this thing working again. Waiting for a response from E3D. I am certainly holding off on installing the V6 version I also purchased for fear of "losing" another printer. Wondering if anyone else is seeing a steady need to increase temperature.
RE: Revo Micro installation on my Mini+
I have never printed with a 0.25mm nozzle before. Since I got one with the Revo Micro kit, I thought I'd give it a go. Changed out the 0.4mm for the 0.25mm, sliced a Bency for 0.25mm nozzle and 0.10mm layer height, and set it off.
About 10 layers in it detached from the bed 😥 Bottom was not super smooth like previous prints, so I figured I needed to tune the z-axis. That is where the fun started. To cut a long story short - here are my results using this calibration strip from Printables.com :
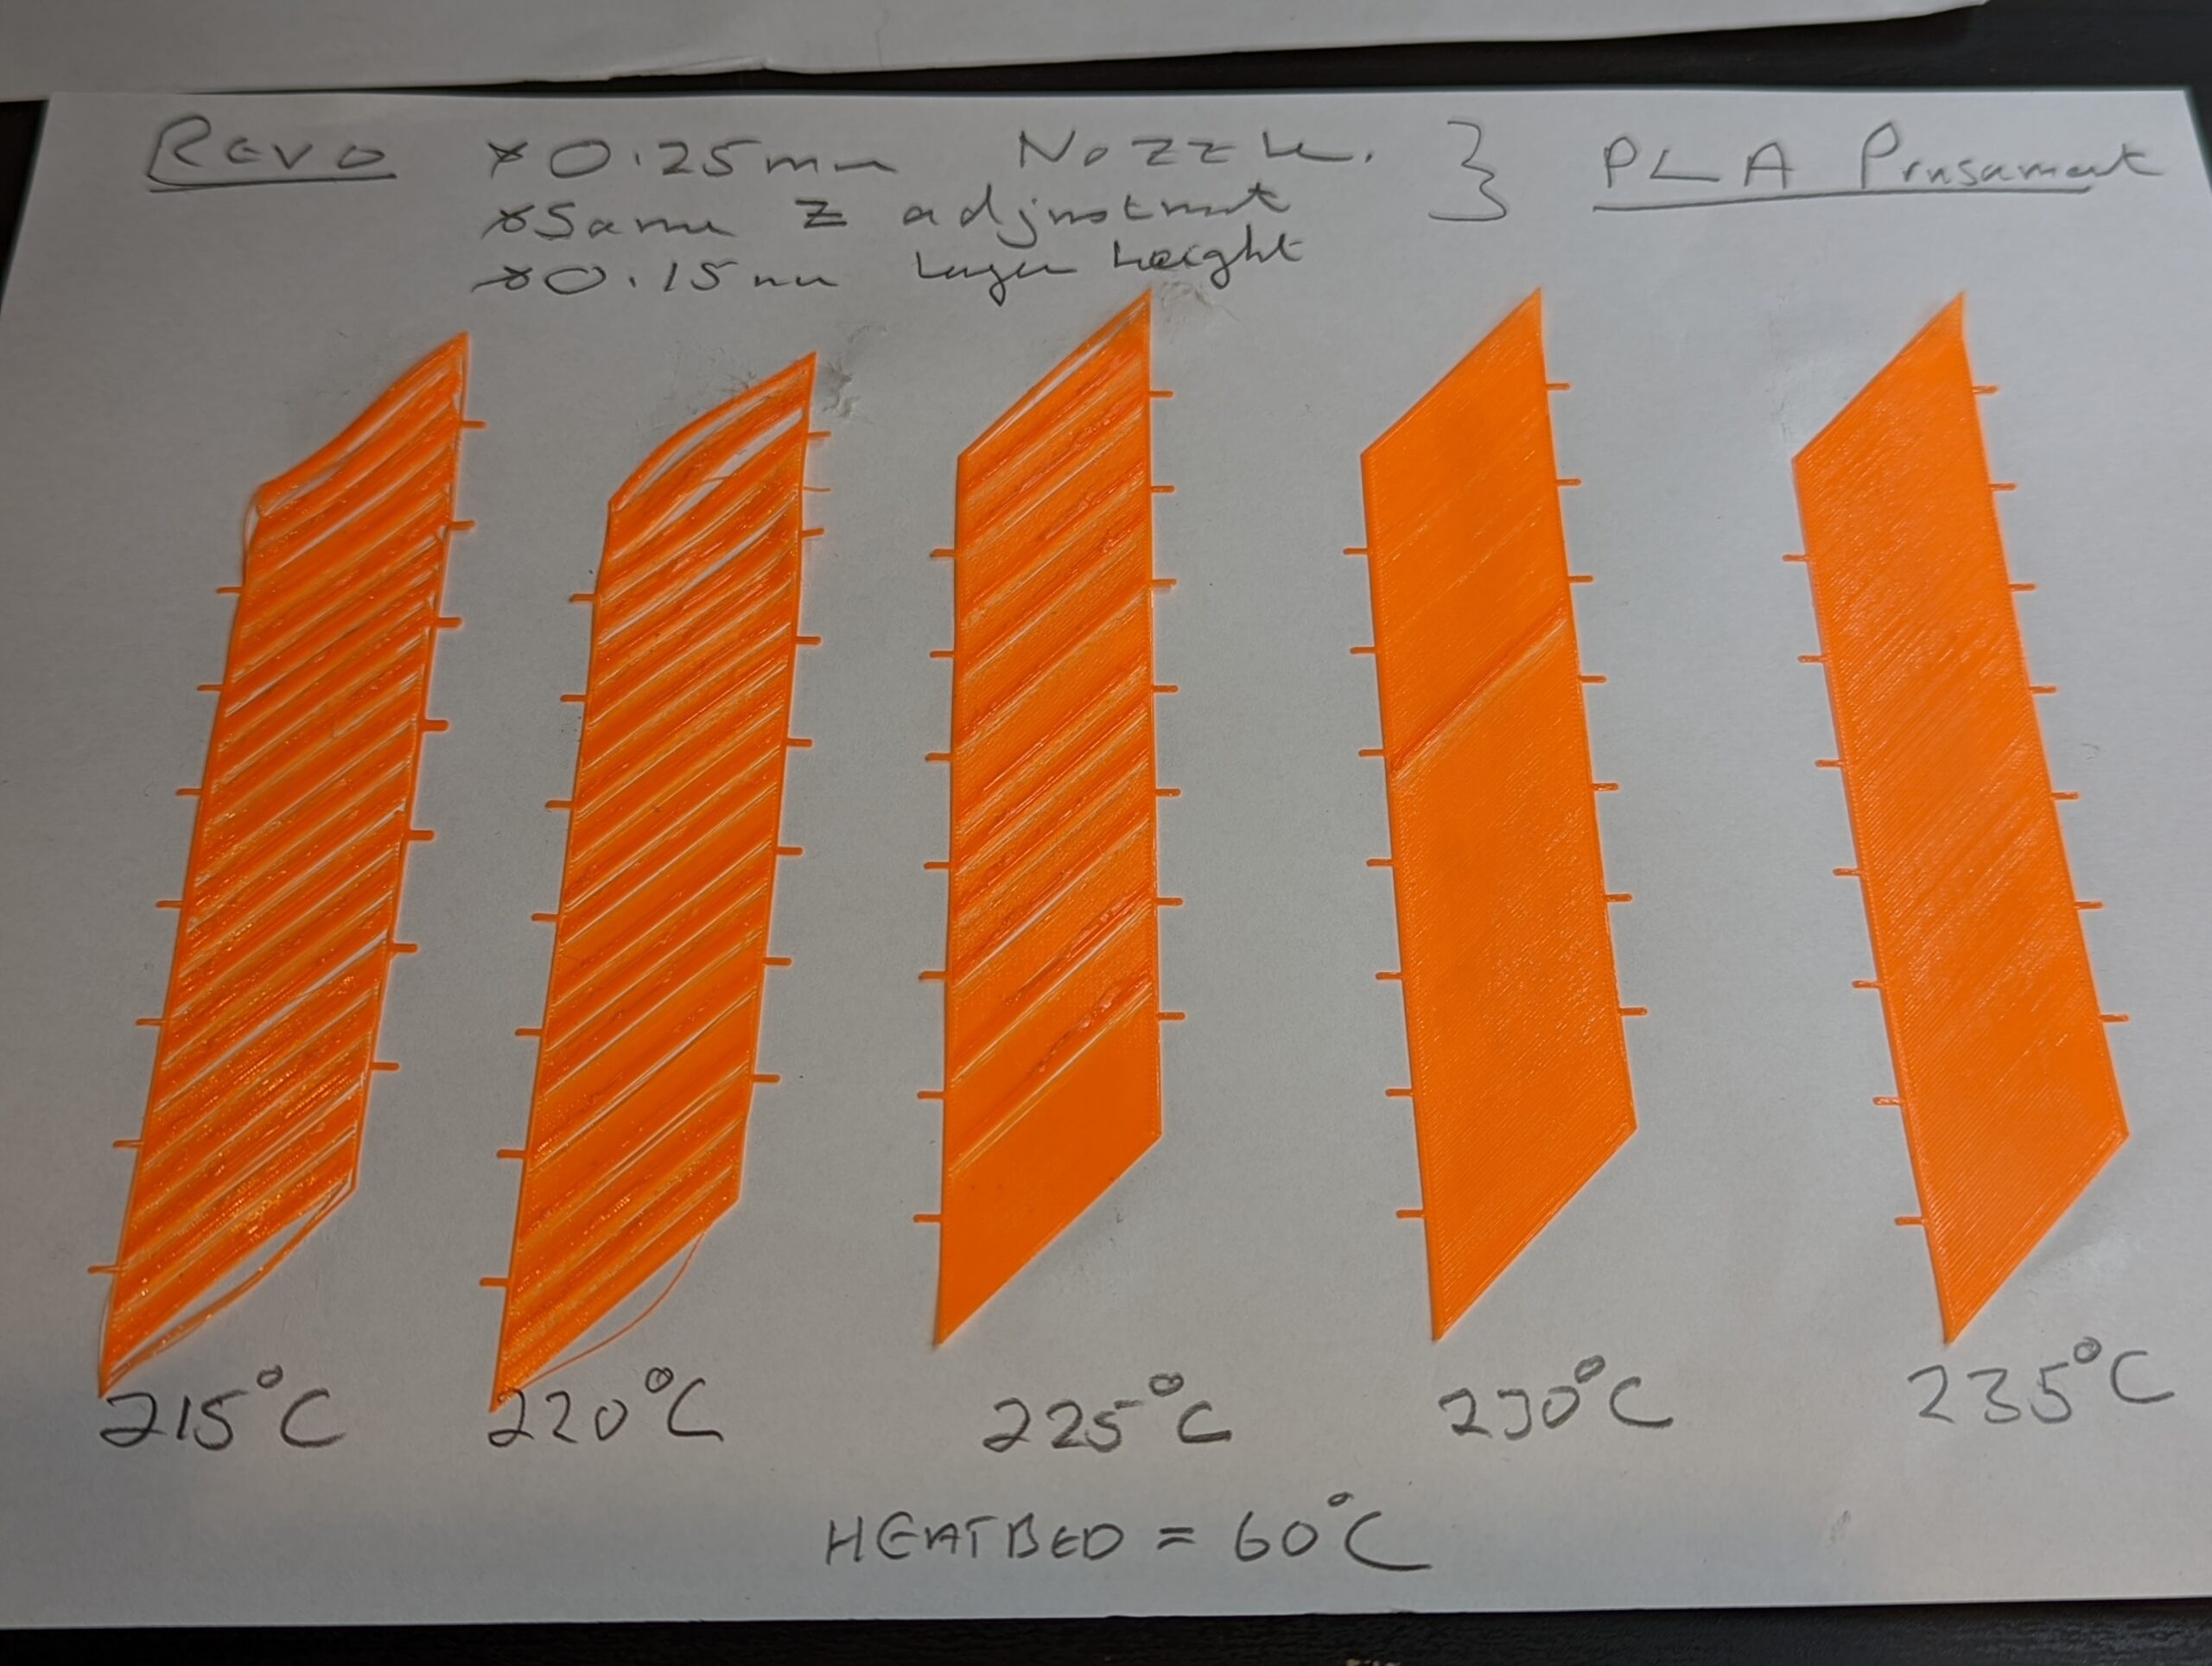
I found that the first layer had to be 235C (default is 215C) to be able to get a good (as in nice and smooth both sides) Z-axis adjustment print.
I figured that, if the first layer needed to increase by 20C, I should also increase the rest of the print temperature. So, I went with 230C for the rest of the print.
Whilst this yielded an OK benchy, there was a lot of stringing, and a few lines on the pillars. So, my gut instinct on the print temperature was wrong, but the benchy stuck nicely to the print bed, and the bottom was nice and smooth - so 235C for the first layer is correct for my setup.
I shan't be trying this again for a while - a 0.1mm layer benchy takes 5 hours to print
I have no idea what processes in the nozzle are causing the Z-strip behaviour I got. However, if someone is having a go with the 0.25mm nozzle this may help.
(Aside: I went back to the 0.4mm nozzle and tested if the 235C first layer would also work there - it doesn't - just a blobby mess. So, 0.25mm nozzle needs specific filament settings.)
RE:
Very nice work. So, being less rigorous in my approach and sticking with the .4mm nozzle I have also decided on the 235 temp for all layers and have had some good prints. I also added the start gcode that E3D recommended but is similar what Joan was already recommending in another thread. Here is the link to E3D if you have not already seen it ( https://e3d-online.zendesk.com/hc/en-us/articles/4406857421213-Start-and-End-G-code-for-faster-nozzle-changes). The change in the code did improve my ability to both start and stop a print or when changing out filaments so far. However, what I am finding is that the nozzle appears to be much more picky about the quality of filament. Polymaker and Overture work well, but CC3d has been a miss on two different prints.
So, my summary of profile settings for the Revo .6mm nozzle for me have been:
1.8 Retraction
Addition of the custom start code recommended by E3D
235 for all layers.
Thank you (and the community) for helping me narrow the range of issues and get something up and working. I wouldn't call it trusty worthy as it was with the standard setup but I am not just staring it with the sense of dismay and hatred as I do the Mosaic Palette 3 (aka The Brick).
RE: Revo Micro installation on my Mini+
@pickworthi - just curious how you are getting on with your revo. First, thanks for all of the tips. I've followed along (posted a few times in this thread) and am back running full time. Switching to the Edition 2 of the mount and running 5c hotter seem to have resolved any issues I was having with heat creep. My only remaining question(confusion) centers around the retraction settings. I'm using a value of 3.2mm for my retraction and I get no stringing with PETG/ABS and very minor stringing with PLA. My confusion lies around the 2mm setting everyone seems to be using as a default value and moving in the opposite direction of what I have found to be useful on my mini. I'm probably also running a lot slower speeds than most folks too but I'm okay with that. Thanks again for all the work. Really helped.
@robee-shepherd and @sp4rkr4t - thank you so much. It can be a bit disheartening for a newbie to be faced with a problem like this.
To re-cap: the issues I have been seeing and the solutions that worked for me are as follows:
- Heat creep with PLA. This was solved for me by the E3D version 2 mount. My view is that an unobstructed side to side airflow is the key to this change - although the stock fan does provide a stronger airflow as well. Also, this helped my OCD problem with the Revo fan failing the self test 😉
- Hot end over reporting temperature when cooling flow is high - so PLA again. This was identified by Stefan of CNC Kitchen I found that increasing the Prusament PLA print temperature from 210C to 220C gave me nice smooth surfaces. Given Stefan's findings, I think that means I am actually printing at 210C-215C, which is spot on for Prusament PLA (according to the side of the spool).
- "Wonky" pillars on the 3D Benchy with PLA. @robee-shepherd hit the nail on the head here, and @sp4rkr4t provided the Prusa Slicer filament setting changes needed (from Prusament PLA profile). For me these were: a) "Min Print Speed" from 15 to 20 mm/s. b) "Slow down if layer time is below " from 15 to 5 seconds. and c) "Retraction length" from default (2.0) to 1.8 mm.
- Not a problem, but a confusing factor: With any filament that does not have high cooling flow, so basically PETG, ASA and ABS for me, the standard Prusa Slicer provided defaults just work.
With the settings in 3), the head is moving noticeably faster on the small pillar areas of the benchy, and that appears to make the difference, I don't know why reducing the retraction length also helps, perhaps there is an explanation out there.
I now have a PLA benchy printed that is as good as the first benchy I did on a brand new machine with the Prusa provided gcode. A result 😊
I'm hoping this thread can help others who try the Revo micro out on the Mini+. We are in early adopter territory with this system, so I would expect there to be issues. It's nice to have a community of helpful folk to reach out to. I, personally, have learned a lot.
RE: Revo Micro installation on my Mini+
That’s a dead link for me? I looked around the E3D site and didn’t see it? Got a new link or can you post it?
Very nice work. So, being less rigorous in my approach and sticking with the .4mm nozzle I have also decided on the 235 temp for all layers and have had some good prints. I also added the start gcode that E3D recommended but is similar what Joan was already recommending in another thread. Here is the link to E3D if you have not already seen it ( https://e3d-online.zendesk.com/hc/en-us/articles/4406857421213-Start-and-End-G-code-for-faster-nozzle-changes). The change in the code did improve my ability to both start and stop a print or when changing out filaments so far. However, what I am finding is that the nozzle appears to be much more picky about the quality of filament. Polymaker and Overture work well, but CC3d has been a miss on two different prints.
So, my summary of profile settings for the Revo .6mm nozzle for me have been:
1.8 Retraction
Addition of the custom start code recommended by E3D
235 for all layers.
Thank you (and the community) for helping me narrow the range of issues and get something up and working. I wouldn't call it trusty worthy as it was with the standard setup but I am not just staring it with the sense of dismay and hatred as I do the Mosaic Palette 3 (aka The Brick).
RE: Revo Micro installation on my Mini+
RE: Revo Micro installation on my Mini+
... My confusion lies around the 2mm setting everyone seems to be using as a default value and moving in the opposite direction of what I have found to be useful on my mini. ...
The retraction setting is a puzzle for me as well. The 2.0 value comes from Prusa Slicer's default setting. I did a test where I kept the other changes and left the retraction as default, and the 3D Bency print showed significantly worse lines and rings in the wheelhouse pillars. At the 1.8 retraction setting the pillars print clean.
Reducing retraction to 1.8 was the first item on the suggestion provided by @robee-shepherd, and my test showed it to be necessary. But - I have no explanation 😣 Like you - I would have assumed a longer retraction would be needed.
I've been having a good look at the Revo nozzle alongside the stock V6 nozzle that the Mini is provided with. It looks to me like the Revo has a slightly longer section where heat is being applied (i.e. below the heat break) than the stock V6. I don't really understand the processes going on in the hot end (such as supply pressure, nozzle pressure, fluid flows etc) but I am assuming that there is enough of a difference that a lower temperature filament such as PLA will behave a little bit differently at the edge cases - such as frequent fast retractions when printing small areas.
With all that said - my usual printing involves practical parts, such as containers, lids, clips, and the like, that do not present any tricksy printing issues. Actually, just using standard Prusa settings works for my parts - but I get a nicer surface finish with PLA for the higher temperature setting - so that is where I'm at right now.
Given people will post in these forums when they have issues, it can look like there are just issues with the Revo. Actually, I am really pleased I made the change. Overall, the nozzles perform excellently for what I want to do. Printing 3D benchies is not what I usually do 😉
RE: Revo Micro installation on my Mini+
I have the v1 of the small fan mount and I think the hot end is really not that stable. I think I have the nut tighter now, but it still has some wiggle to it. I think the E3D mini needs more bearing surface to keep it more stable. Any thoughts or way to re-enforce the hot end to make it more stable?
RE: Revo Micro installation on my Mini+
personally I’ve given up. The revo six works perfectly on my bear 2.1 modded MK3S using the bear extruder setup. I couldn’t get the micro working on the mini despite all the mods and advice here. It’s just not stable enough for serious usage (unless you print petg exclusively).