RE: Revo Micro installation on my Mini+
Is stepping in printer settings set correctly (415)?
Does g-code contains stepping instruction (M92)?
mini+ [bondtech dual drive, revo, reprinted with PA11-CF and ASA] lives in photo tent.
mk4 upgraded to S with mmu3 and gpio (with some parts reprinted) lives in prusa enclosure.
Voron 0 ldo kit with dragon burner and…
RE: Revo Micro installation on my Mini+
Could it reduce the ringing?Because the ringing is really annoying 😀
The mini is not a direct drive printer, so changing the extruder won't affect the weight of the tool head, so it's effect on ringing will be negligible. What we really need is input shaping in the firmware, which unless they can backport from the Mk4 we are not going to get without installing klipper. 🙁
RE: Revo Micro installation on my Mini+
Input Shaping is coming with the new firmware to the Mini. I get the info from a random guy on ebay that it works out-of-the-box, but i will test it with the final version 😀
RE: Revo Micro installation on my Mini+
Input Shaping is coming with the new firmware to the Mini. I get the info from a random guy on ebay that it works out-of-the-box, but i will test it with the final version 😀
The alpha firmware has been out a few weeks, the PrusaSlicer profiles aren't perfect and only one for 0.4mm nozzles right now but you can try it at least!
RE: Revo Micro installation on my Mini+
I know, but i´m not the alpha guy. I like stable builds. Should work fine, but i will wait ^^
RE:
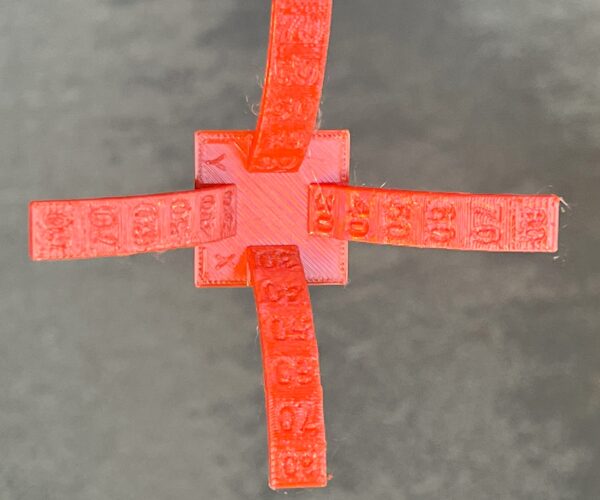
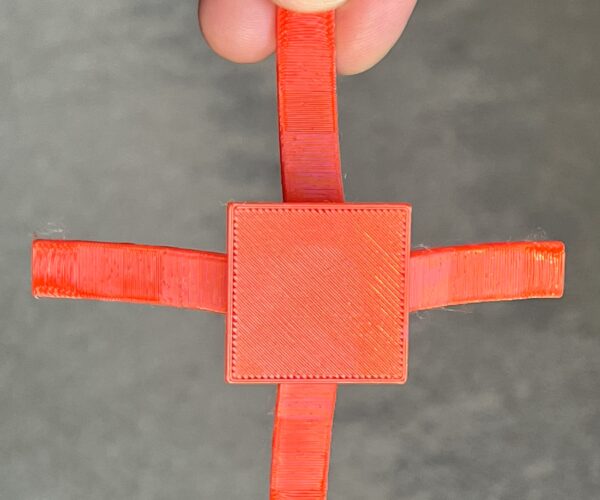
After Prusa Mini Dual-Z CK3D mod ( https://www.printables.com/model/311911-prusa-mini-dual-z-ck3d-mod) and finally installing direct drive (DD) Bondtech LGX Lite extruder the REVO hotend is now usable for huge overhangs up to 80 degree. I also upgraded the print fan with a more powerful one (FYSETC 5015 5800 RPM). Here is the result using "retraction length”=1 mm (which is OK for DD extruder) and “Dynamic overhang speed”=5,5,7,9 (these slow print speeds were impossible for me using original Bowden tube setup with REVO without under extrusion).
RE: Revo Micro installation on my Mini+
I upgrade to the Mini+ and did the REVO Mini at the same time. Used these parts:
https://www.printables.com/model/511818-prusa-mini-x-carriage-with-better-cooling
Assembly went well. Had to clean up the chassis a bit to get the print fan to fit well. I had a hard time getting the bed to level for the first layer. Had sme failures to ‘find’ the bed on the front left. Then I was too high. I also print just on the edge of the front of the bed for the head priming at the start of a print? Gave me a chance to ‘tune’ the belts to use the Alpha Shaper.
First print with standard Mini+, Prusa PETG, 0.20 layer height printed a spare part for my XL very well.
RE: Revo Micro installation on my Mini+
I did have a failed print. Not sure why. I think I had a rough print of the print fan ducts, and it was scrapping the print. Clipped off a 'snaggle tooth' and it printed out stiff fine. It made a bit of a mess, but it was a small print and I caught it early. If it had been bigger, it might have been a lot harder to get to come off the ducts. So maybe the design with the ducts that can be removed and replaced would be good incase your Mini goes crazy. That way you don't have to replace the whole rear piece.
RE: Revo Micro installation on my Mini+
As i always have issues with a clogging mini+ because of the short PTFE tube i am thinking about to upgrade to a Micro Revo. So i have a couple of questions:
1.) What version do i need... 12V oder 24V?
2.) Will this fully solve the issues with the small PTFE tube?
3:) Does it work with the new BETA input shaper firmware?
Many thanks for your answers.
1. The 24V one https://e3d-online.com/products/revo-prusa-mini-kit
2. Yes, it's an all metal hotend
3. Yes, it works great!
RE: Revo Micro installation on my Mini+
Wow, that was a fast one! 🙂 Many thanks!
RE: Revo Micro installation on my Mini+
Hey, i test it on my Mini+ with Revo Micro and it works out of the box after the firmware update.
Test Print Time is cut from 4 hours to 1h and 48min. The edges are better too.
RE: Revo Micro installation on my Mini+
I did the Revo Micro Update on my Mini+ yesterday. At the same time the 5.1 stable got released. 🙂 The update to the Revo hotend is amazing. It maks fun and is so easy to install. This update is every penny worth. Today i did my first nozzel switch from 0.4 to 0.6 within seconds. I even needed to calibrate first layer again. This is the best update for the Mini+
RE: Revo Micro installation on my Mini+
any idea on where to purchase this? I have the original v1 and my printer is offline so I can't print one. and I don't see a place to buy the v2 shroud without buying the whole kit again.
RE: Revo Micro installation on my Mini+
I had been seeing the inconsistent extrusion issues reported by some, and had a little success with the updated parameters quoted below, but still hit problems if there were "small" layers, with little extrusion and lots of retraction. Reducing the minimum layer time also brought in problems with cooling.
I've managed to improve things significantly with two changes:
1. As mentioned by several, getting a new Bowden tube that is the recommended 300mm long. The remaining length of the modified original Bowden tube didn't look overly short, but when comparing the length to the new section, it is a noticeable change - every little helps.
2. I found that there was a lot of resistance when trying to manually feed filament through the Bowden tube into the (cold) hotend - it seemed to be getting snagged on something, I think as it curved slightly on exiting the Bowden tube. I tried removing nozzle and Bowden tube, then reassembling with either nozzle first or Bowden tube first, but still found the resistance. What I found worked was bringing the filament through the Bowden tube before assembly, inserting the filament into hotend, and then assembling the parts around it with the filament guiding everything into the correct alignment.
My theory is that the resistance was enough to start catching the filament when extruding at low rates, or when doing multiple retractions in a short period, eventually leading to a partial clog. Alternatively, perhaps there was a gap between the Bowden tube and the hotend where hot filament could leak during retractions, a common problem between the hotend PTFE tube and the nozzle in the stock setup.
As a TLDR for me, the fixes were:
- Use an updated mount (I used Lichtjaegers - the v2 from E3D may also do the job as well, but I've not tried it personally). Do NOT use the v1 mount or the tiny fan that comes with the Revo
- Ensure you're using the stock fan - especially on PLA which needs the cooling
- Update the profile you use in PrusaSlicer for PLA to incorporate these changes:
- a) "Min Print Speed" from 15 to 20 mm/s. b) "Slow down if layer time is below " from 15 to 5 seconds. and c) "Retraction length" from default (2.0) to 1.8 mm
That's fixed it for me. ABS and PETG printed fine anyway, but if you print a lot of PLA like I do, creating a duplicate Prusament PLA profile with the above has done the trick for me and I've printed a good kilo or two since getting everything fixed.
I hope that helps!
RE: Revo Micro installation on my Mini+
My modified suggestion for a start extrusion sequence would thus be:
G1 E45  F450   ;Feed filament back 45mm. Will cause additional filament to be extruded if already loaded
G1 E-1 F2100    ;Retract to detach any extruded filament
G1 E1 F450       ;Restore filament position in nozzle
I haven't tested this yet. Do you think this will work? The idea is to get the extruded blob to fall away, so as to avoid being dragged by the nozzle.
Did you end up testing this, and if so, what were the results?
RE: Revo Micro installation on my Mini+
How are you seeing this g-code to change the settings for the Bondtech? I can't locate those lines to change the M92 E325 (change to E415)? Thank you.
RE: Revo Micro installation on my Mini+
I had some bad prints and then found these information:
- https://github.com/festion/homelab-gitops/blob/main/claude-resources/skills/prusa-mini-revo-skill/SKILL.md
- https://github.com/festion/homelab-gitops/blob/main/claude-resources/skills/prusa-mini-revo-skill/references/material-profiles.md
- https://github.com/festion/homelab-gitops/blob/main/claude-resources/skills/prusa-mini-revo-skill/references/troubleshooting.md
Interestingly, all the temperatures are 10-30°C lower than the stock profiles and reducing temperature is quite the opposite from what is written here... However, reducing the temperature helped me a lot!
Still, I struggle a bit with the 0.25mm nozzle - but perhaps I need to calibrate z for it separate to the 0.4 and 0.6mm...
RE: Revo Micro installation on my Mini+
If reducing temperature is helping, then you may well have a heatbreak cooling problem. I've been using the Revo since it came out, but with the stock Prusa Mini fan (not the tiny one that comes with it) and a third party cooling duct. I have had no issues since then using stock profiles, or swapping nozzles. 🤷🏼♀️ I did have issues before I did these though, I think the Mini fan is probably the biggest factor in that.
RE: Revo Micro installation on my Mini+
I used this kit: https://www.3djake.at/e3d/revo-prusa-mini-1?sai=17762 which uses the original fan. So idk, maybe it is also just that particular filament I used...

