RE: Replace Hotend fan with noctua
And I was wondering why is that Noctua spins so slowly xD. This makes sense and day after day we see how much Prusa did actually locked Mini!!! We need them to stop avoiding it and give us control over our machines!!! Release FW upgrade and fix this Prusa!!! Not all of us need mk3 etc... Mini is perfectly fine size wise for what I need it and I don't like being crippled like this! Upgrading to Revo micro and no PID tune!. Upgrading to Direct drive and no option to seet motor current etc!!! This should not be acceptable really... You created you company based on DIY and thinkering and now you are cutting us off of that, really!!!???
RE: Replace Hotend fan with noctua
Actually the reason theese functions are missing is Prusa Research does much development and simply need the eeprom. So M500 to store settings is disabled. For example: Motor direction normaly is coded into firmware, not stored in eeprom. To make upgrade to Bondtech BMG simple, it has to be stored in eeprom - wich is not compatible with standard M500...
Exept for coldend fan this is no problem at all, as you can set all the options in start g-code. For example if convering to direct drive you should edit your printer settings anyway (retraction distance and speed), so no problem to edit start-gcolde also.
Also PID Tuning can be done, but you have to set the result in Start-Gcode also.
Advanced Pause Feature (wich includes loading/unloading filament) to my knowlege is not configurable by gcode anyway (but you can set load/unload lengh as parameters to M600). So you have to recompile the firmware source anyway, if you still want to use load/unload and M600 without extra parameters after convering to direct drive. Anyway, as you have to use a reverse bowden with a direct extruder, you need to load the filament most of the way manually anyway. So loading/unloading via menu is not usefull in my opinion.
On the other hand using Revo changes the load/unloading sequence anyway. As you normaly change the nozzle before starting a new print, you should retract the filament out of the Revo nozzle in end-gcode anyway (but still inside the extruder-gears), so you do not need to heat the Nozzle again to remove filament and let it cool down again to change the nozzle.
So standard with revo is retract out of nozzle on the end of the print and do a long priming line in start gcode (so filament will reach the nozzle again somethere in the priming line).
The coldend fan setting are the only real negative point, as there is no gcode to change speed. The hardware-mod by connecting to permanent ground is quite simple - but to find this solution isn't.
My main critique to the Mini is not the missing M600 (and therefore the lack of config options in menu). It is missing autostart gcode and lack of gcode for setting coldend fan. Because with an autostart gcode you could set most parameters directly after power on, not limited to eeprom. A bit like Reprap...
RE: Replace Hotend fan with noctua
It looks that it has changed in new wersion of buddy board. I have version 1.0.7 and there is one more pin for 3.3V. Also when I connect Ground to GND pin it behaves the same as connecting to ground in fan conector - running only 38% and only when the hotend is hot (so I expect 5V is switched).
So I hope it will be possible to change fan speed in next firmware versions.
RE: Replace Hotend fan with noctua
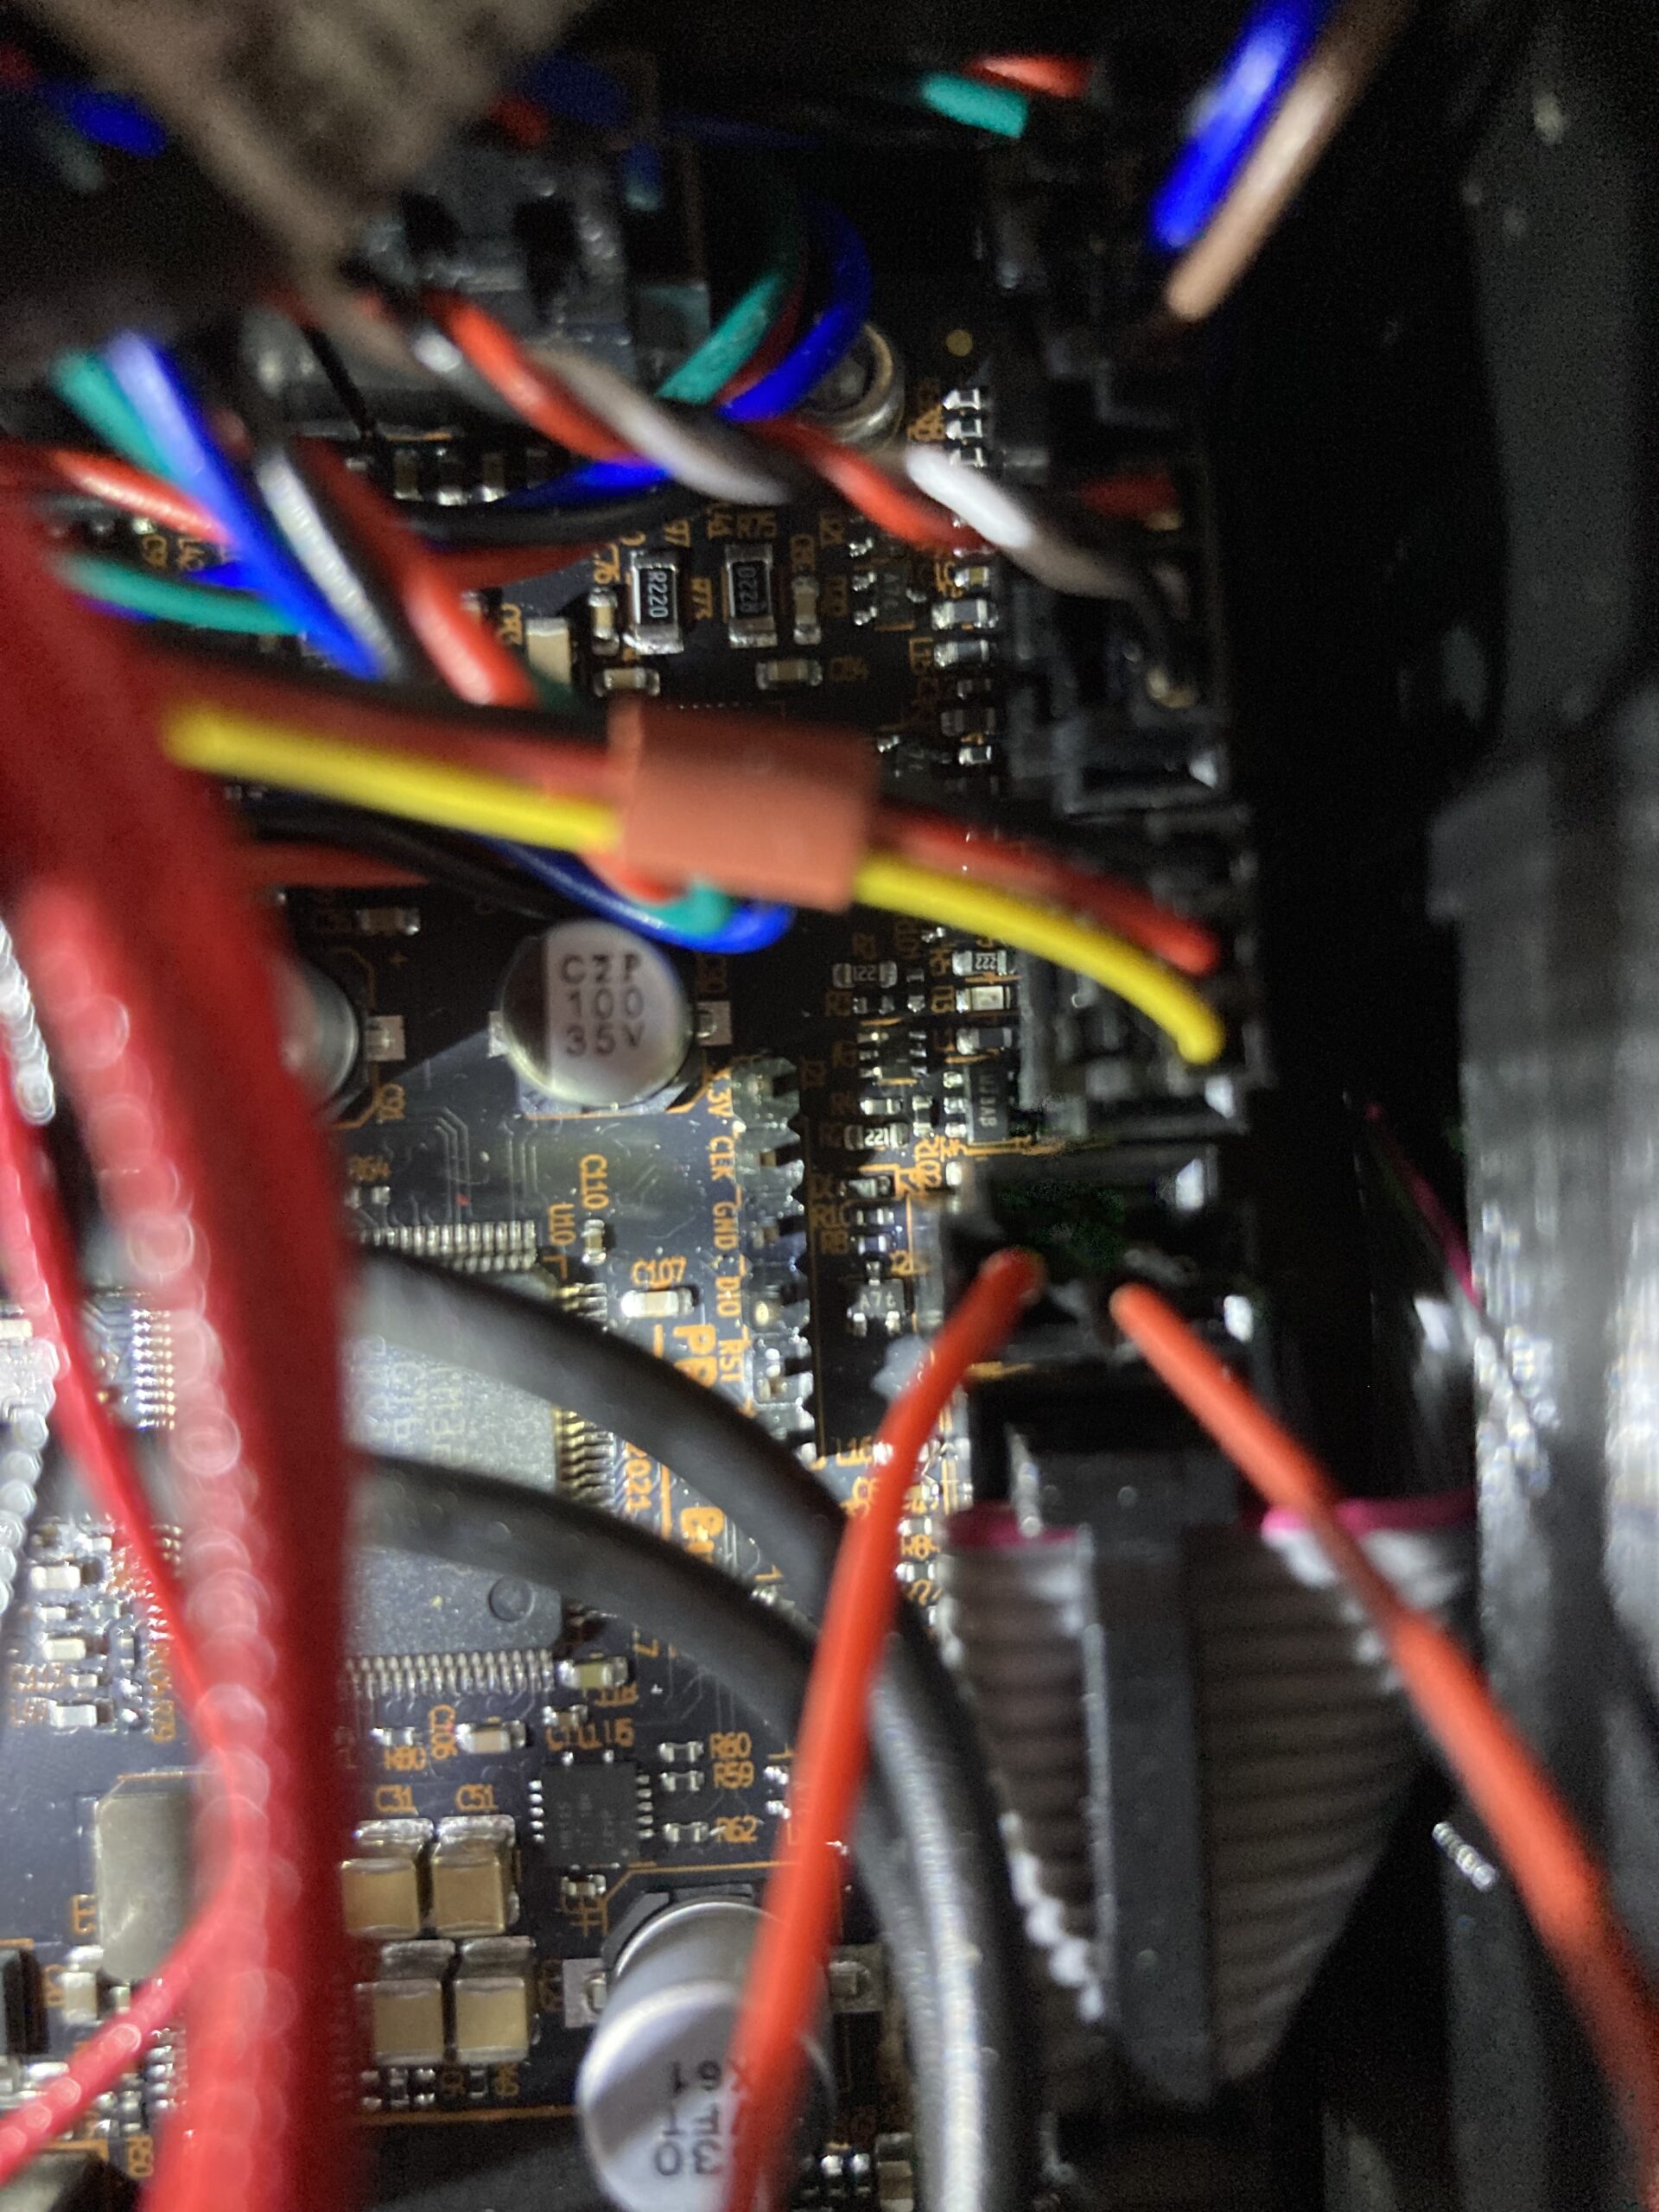
While it is possible, I personally never ever have seen a controller board switching Vcc, so I doubt 5V being switched. If I look at the picture, there is no Mosfet between J21 Pin3 and fan connector as it is on older board between Pin2 and fan connector. Maybe Pin3 is also after the Mosfet. Wouldn't effect JTAG function, as the Mosfet goes to full ground while reset (the reason the fans are so loud while reset).
So we might have to search for another Pin with permanent ground...
or use (one version older) Llama firmware.
RE:
Thank you all very much for the interesting information. I'm also at the point to replace the fan with a "Noctua NF-A4x10 5V" (3 pins) with my hotend to get better cooling.
@Alen: I see it exactly the same way with the mini - unfortunately 🙁
@Oliver-Andre: Thank you very much for the explanation with the pins. How did you "connect" the black cable to the "ground" pin? Did you solder it or how did you solve it so it holds there?
Thank you very much in advance for the help
RE: Replace Hotend fan with noctua
I have switched two of my six MK3S printers, and the Noctua works. Better? Not sure at this stage.
Thank you all very much for the interesting information. I'm also at the point to replace the fan with a "Noctua NF-A4x10 5V" (3 pins) with my hotend to get better cooling.
@Alen: I see it exactly the same way with the mini - unfortunately 🙁
@Oliver-Andre: Thank you very much for the explanation with the pins. How did you "connect" the black cable to the "ground" pin? Did you solder it or how did you solve it so it holds there?
Thank you very much in advance for the help
--------------------
Chuck H
3D Printer Review Blog
RE: Replace Hotend fan with noctua
First I simply just put the black cable into a dupond 1-pin connector housing. This works somehow, but anything than perfect. At the moment it works fine, but it already came loose once (while transport, not while printing). A drop of hotglue would be a solution.
But as I have crimping tools and a box with dupond connectors, my permanent solution will be to use a 5by1 Dupond connector housing, crimp the fitting connector to the black cable and put it into the slot for pin 2 of the connectors housing. Than I simply fill the other 4 slots with empty connectors. So the complete connector holds by the friction of 5 pins instead of only one...
RE:
@cwbullet: At the mini it should be a big improvement if I can have 100% of 8-9m3/h or only 38% of 12m3/h. Therefore I expect that the upgrade will help a lot on a mini 🙂
@Oliver-Andre
Thank you for the input with the dupond holder.
I just did the modification and have a strange behavior
- powering on the mini: Noctua Fan works at fullspeed for some seconds
- Mini is "booted". Fan doesnt work
- Self-test: Fan isn't recognized
- Heating up (Hotend to 100 - 200Degrees): Fan is at a low speed. (I can feel the difference of the airflow between powering on the mini and heating up the hotend).
I wired it like your pictures says (but 2 cables only)
- black = ground
- red = middle pin of the hotend-fan connector
Is the 3rd cable (Noctua: yellow) also needed? Is there anything else I should be aware? At the moment I can't print with this upgrade.
Thank you very much in advance for any hints.
RE:
It looks that it has changed in new wersion of buddy board. I have version 1.0.7 and there is one more pin for 3.3V. Also when I connect Ground to GND pin it behaves the same as connecting to ground in fan conector - running only 38% and only when the hotend is hot (so I expect 5V is switched).
So I hope it will be possible to change fan speed in next firmware versions.
Same for me with revison 1.0.5 board: there is an additional 3.3V pin and the fan behaves the same (no difference if black cable is at GND or in the black connector pin for the hotend fan)
RE: Replace Hotend fan with noctua
I have not tested it yet, but as far as I remember there is a connector for a WiFi module (ESP) on the board; this should have a permanent GND. But male, not femal connector needed to connect fan ground.
So if you do not use an ESP-Module, you might get ground there.
RE: Replace Hotend fan with noctua
Thank you for the hint.
I have ground on the board and connected my fan. It works but only with the 38% speed (like I would connect it to the hotend fan connector).
Just to be sure: Is the hotendfan pin (red) really always 5V? Or is it adjusted (like less voltage) to get the lower RPM? I suspect that there is the issue. At the startup of the printer the Noctua is on full speed. Only after the boot it is regulated (less speed).
RE:
Both fans are regulated via PWM 5V, but the duty cycle is changing so the power spinning the fans is different. When you connect the fun between ground and hard 5V it spins its full speed all the time. But when you look at the datasheets the delta and noctua spin at 5V different speed. What I remeber for delta it was around 8000 rpm and noctua about 5000 rpm.
When you feed the noctua by hard 5V, there is no influence of the fan controller on fan speed so what you see via menu is not a reality.
Even the fan test will fail, because the fan is not connected to the controller.
Yes at the start the fan is fed by the stable 5V.
even an old man can learn new things 🙂
Standard I3 mk3s, MMU2S, Prusa Enclosure, Fusion 360, PrusaSlicer, Windows 10
PRUSA MINI+ Prusalink + Prusa Connect
RE: Replace Hotend fan with noctua
Hi Zoltan, thank you for your input
Is the 5v pin from the "hotend fan connector" a "hard 5V pin" as you refere to that? How I experienced it: no
The delta is regulated with about 38% so it will be much less then the 8000RPM.
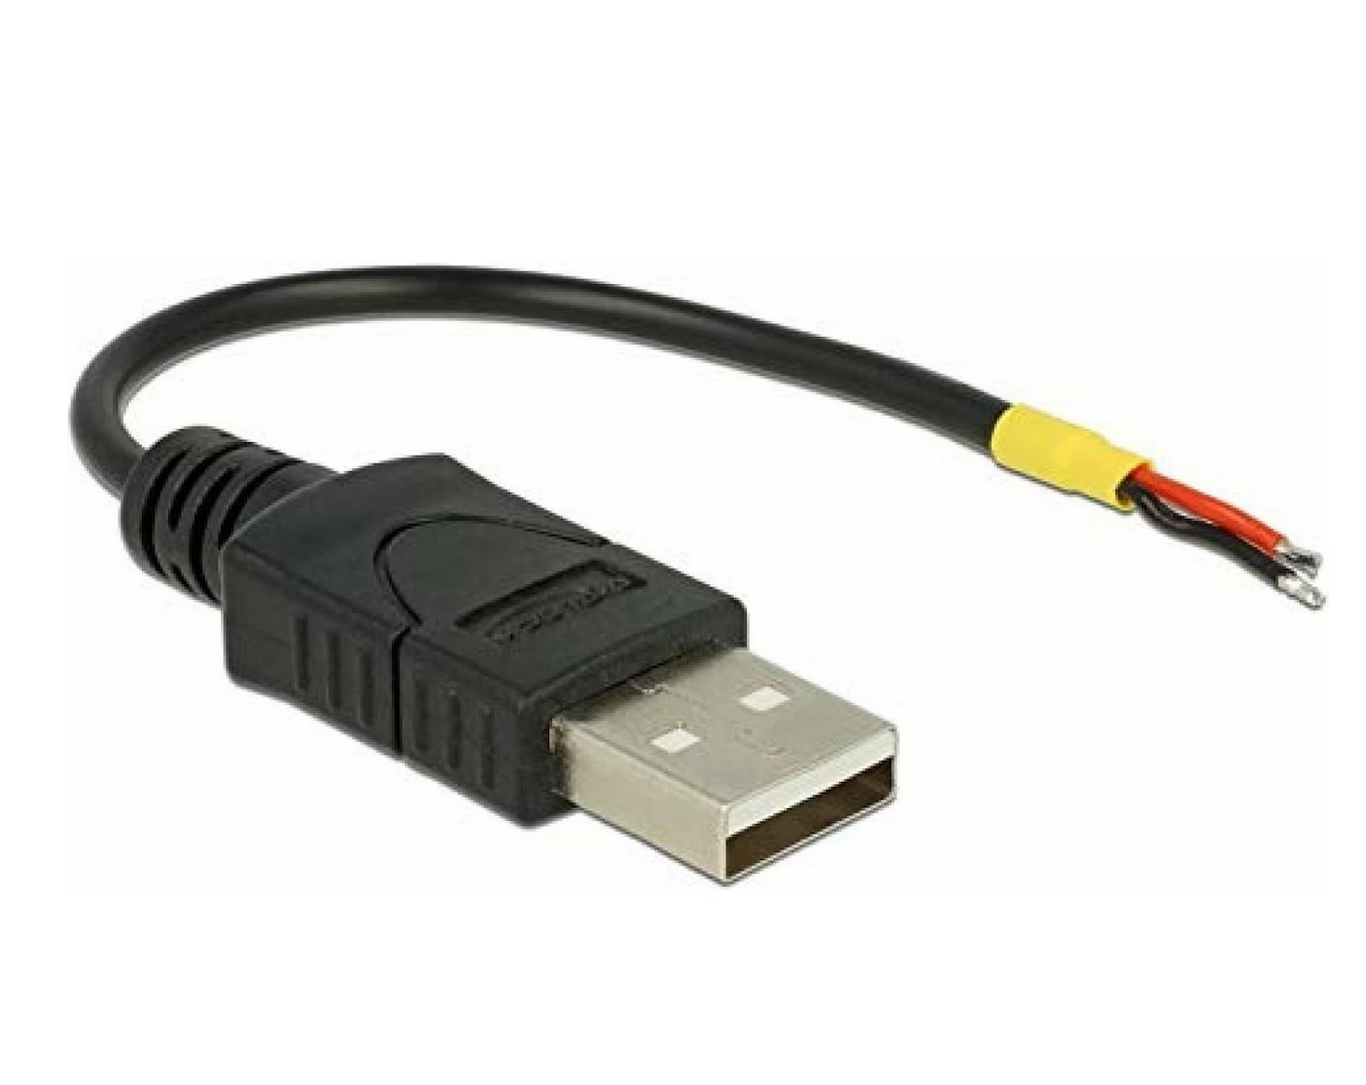
My goal: I want to connect the hotend fan in a way, that it works at 100% speed and is not regulated. At the moment I can't achieve it (nor with the Nocuta or the Delta). Do you know how we can achieve this? The only way I see at the moment is to buy an external power source (or at least a USB-cable with 2 pins) to get it work.
RE:
I just ordered a "USB-to two-pin" adapter and will soldier a cable that is long enough. In the Noctua 5V package is an adapter for 3 pin. The soldering will look like: USB-Adapter + a long cable (2pin) + 3pin adapter (only2 pins used). I have such a thing for another setup (NAS) and it works perfectly. I don't see anything that speaks against it. It should also work with the original fan. Another idea for later: add a LM2596 voltage converter - then I could use the original fan and regulated it (maybe to 50-80%). At least as a workaround until Prusa fix it in the firmware and gives us the possibility to edit.
RE: Replace Hotend fan with noctua
I am just not willing to enter into installing a fan that requires me to edit firmware to keep me up to date. Good luck.
--------------------
Chuck H
3D Printer Review Blog
RE:
neither do I. Therefore I'll solve it with an external 5V current source and the cable I posted above. No firmware changes needed. If the Board needs some RPM Feedback (I guess not) I can let the original fan attached and just mount it at the side as a dummy device (with no function) until the FW upgrade lets use change the RPM %.
Frankly: With the same knowhow from today, I woudln't buy the mini again and just go for the MK3.
I am just not willing to enter into installing a fan that requires me to edit firmware to keep me up to date. Good luck.
RE: Replace Hotend fan with noctua
neither do I. Therefore I'll solve it with an external 5V current source and the cable I posted above. No firmware changes needed. If the Board needs some RPM Feedback (I guess not) I can let the original fan attached and just mount it at the side as a dummy device (with no function) until the FW upgrade lets use change the RPM %.
Frankly: With the same knowhow from today, I woudln't buy the mini again and just go for the MK3.
I am just not willing to enter into installing a fan that requires me to edit firmware to keep me up to date. Good luck.
I disagree. The mini is fine. My printer farm is small and had 6. They do what they are intended to do.
--------------------
Chuck H
3D Printer Review Blog
RE:
The Noctua 5V upgrad with an external power supply (USB ->2Pin cable) seams to work (short test). I will stay on this upgrade. If youhave the same problem to getting it to work with the pins on the board, this could be a solution. I hope this will help others with the same problem
I just ordered a "USB-to two-pin" adapter and will soldier a cable that is long enough. In the Noctua 5V package is an adapter for 3 pin. The soldering will look like: USB-Adapter + a long cable (2pin) + 3pin adapter (only2 pins used). I have such a thing for another setup (NAS) and it works perfectly. I don't see anything that speaks against it. It should also work with the original fan. Another idea for later: add a LM2596 voltage converter - then I could use the original fan and regulated it (maybe to 50-80%). At least as a workaround until Prusa fix it in the firmware and gives us the possibility to edit.
RE: Replace Hotend fan with noctua
I have a very simple solution. I just connect the GND and 5V pin from the fan to a 24v to 5v converter output and connect this converter to the fan GND port on the buddy board and solder the 24 volt pin to the power switch. It now runs at 100% speed and not the low pwm speed which is hard coded into the buddy board. The only disadvantage is that the fan does not stop spinning when the temperature drops below 50 degrees