Shadowing into infill
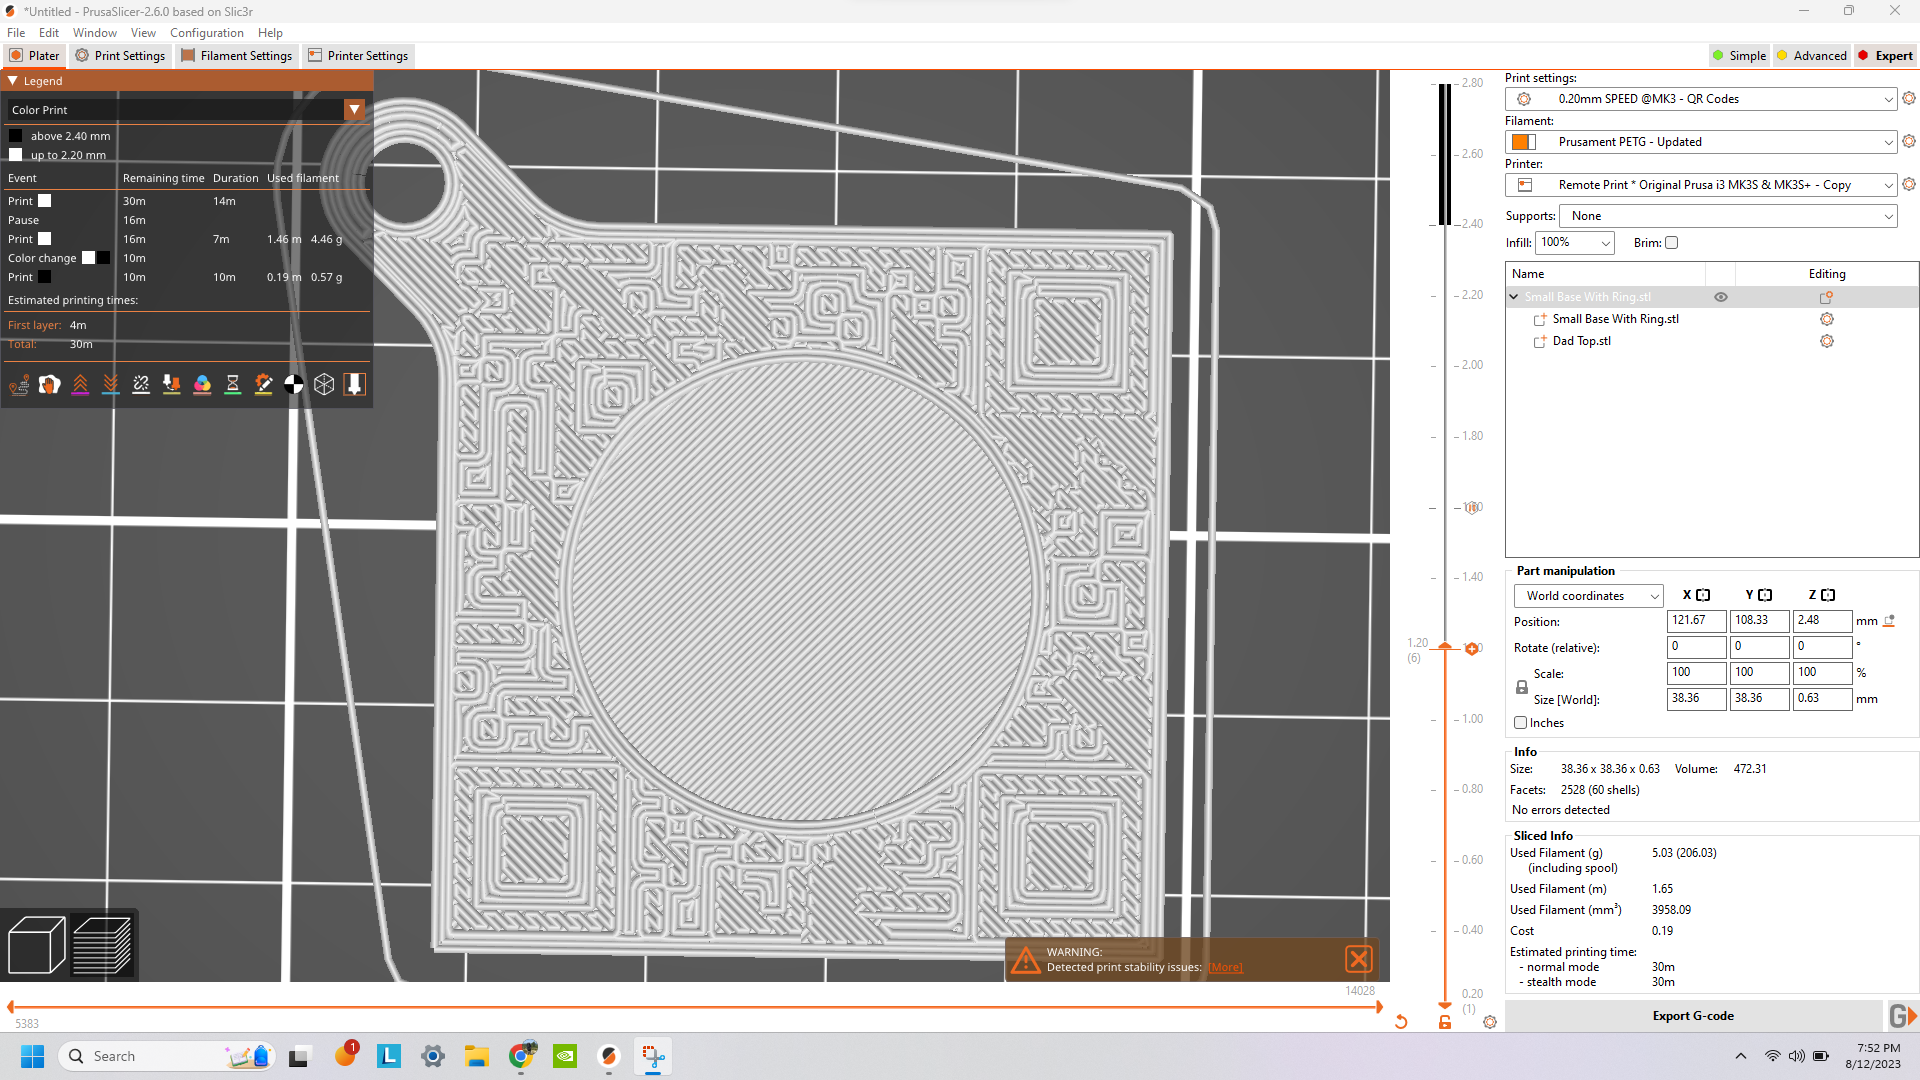
Hi, This is my first post here. I am creating a QR code and have noticed something a bit weird with the infill. It only occurs after I load the second part of the QR code (I model the base which is a keychain, and then the black parts as two separate STL files with the black parts being loaded on top of the keychain.) I have attached an image of the weird infill. It wont affect the print, but I do fine it interesting. I don't believe I have changed any settings since making my last QR code and I don't recall seeing this happening on those either. Any idea what could be causing this? Please let me know if I need to provide any more information.

RE: Shadowing into infill
You have it set to 100% infill, so it’s printing 100% infill. The red is internal infill, which would normally be printed open with only partial fill (grid/cubic/etc). Since you have it set at 100% it will fill it completely.
What do you want it to do?
RE: Shadowing into infill
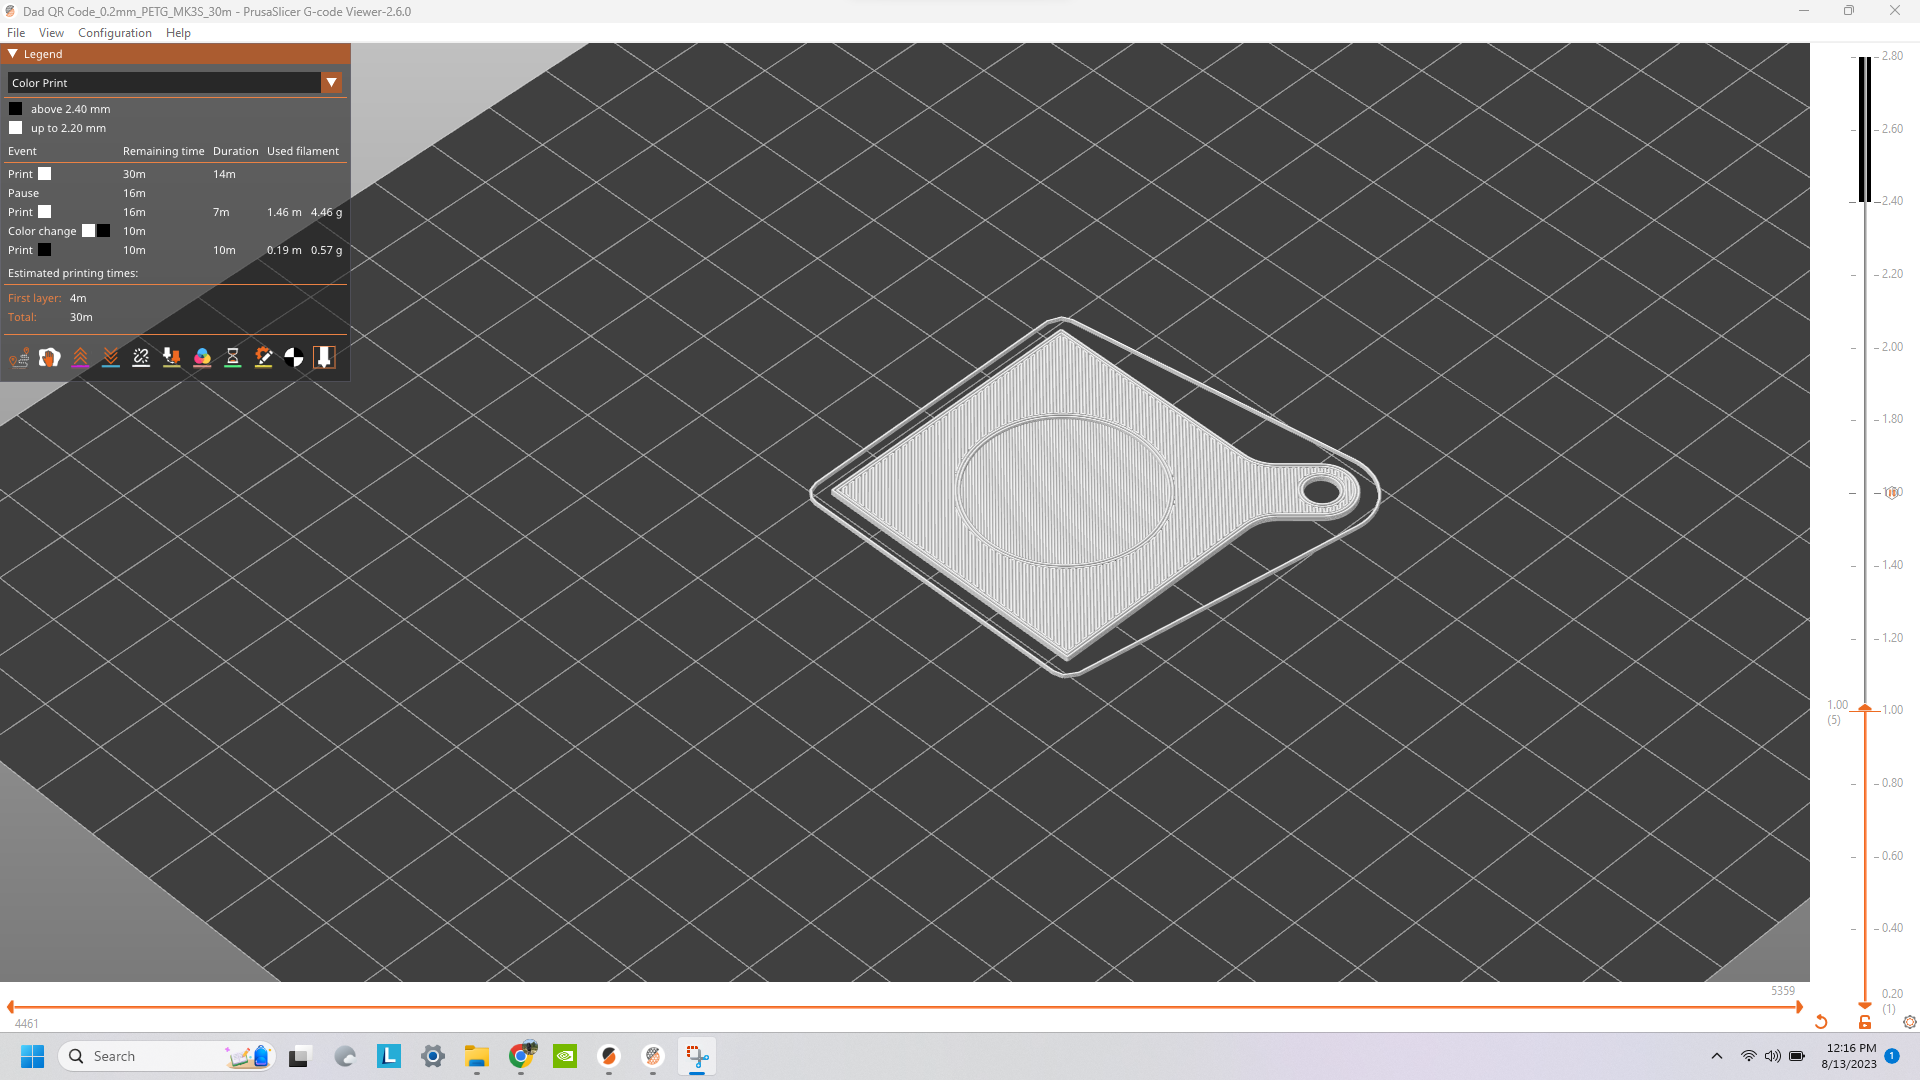
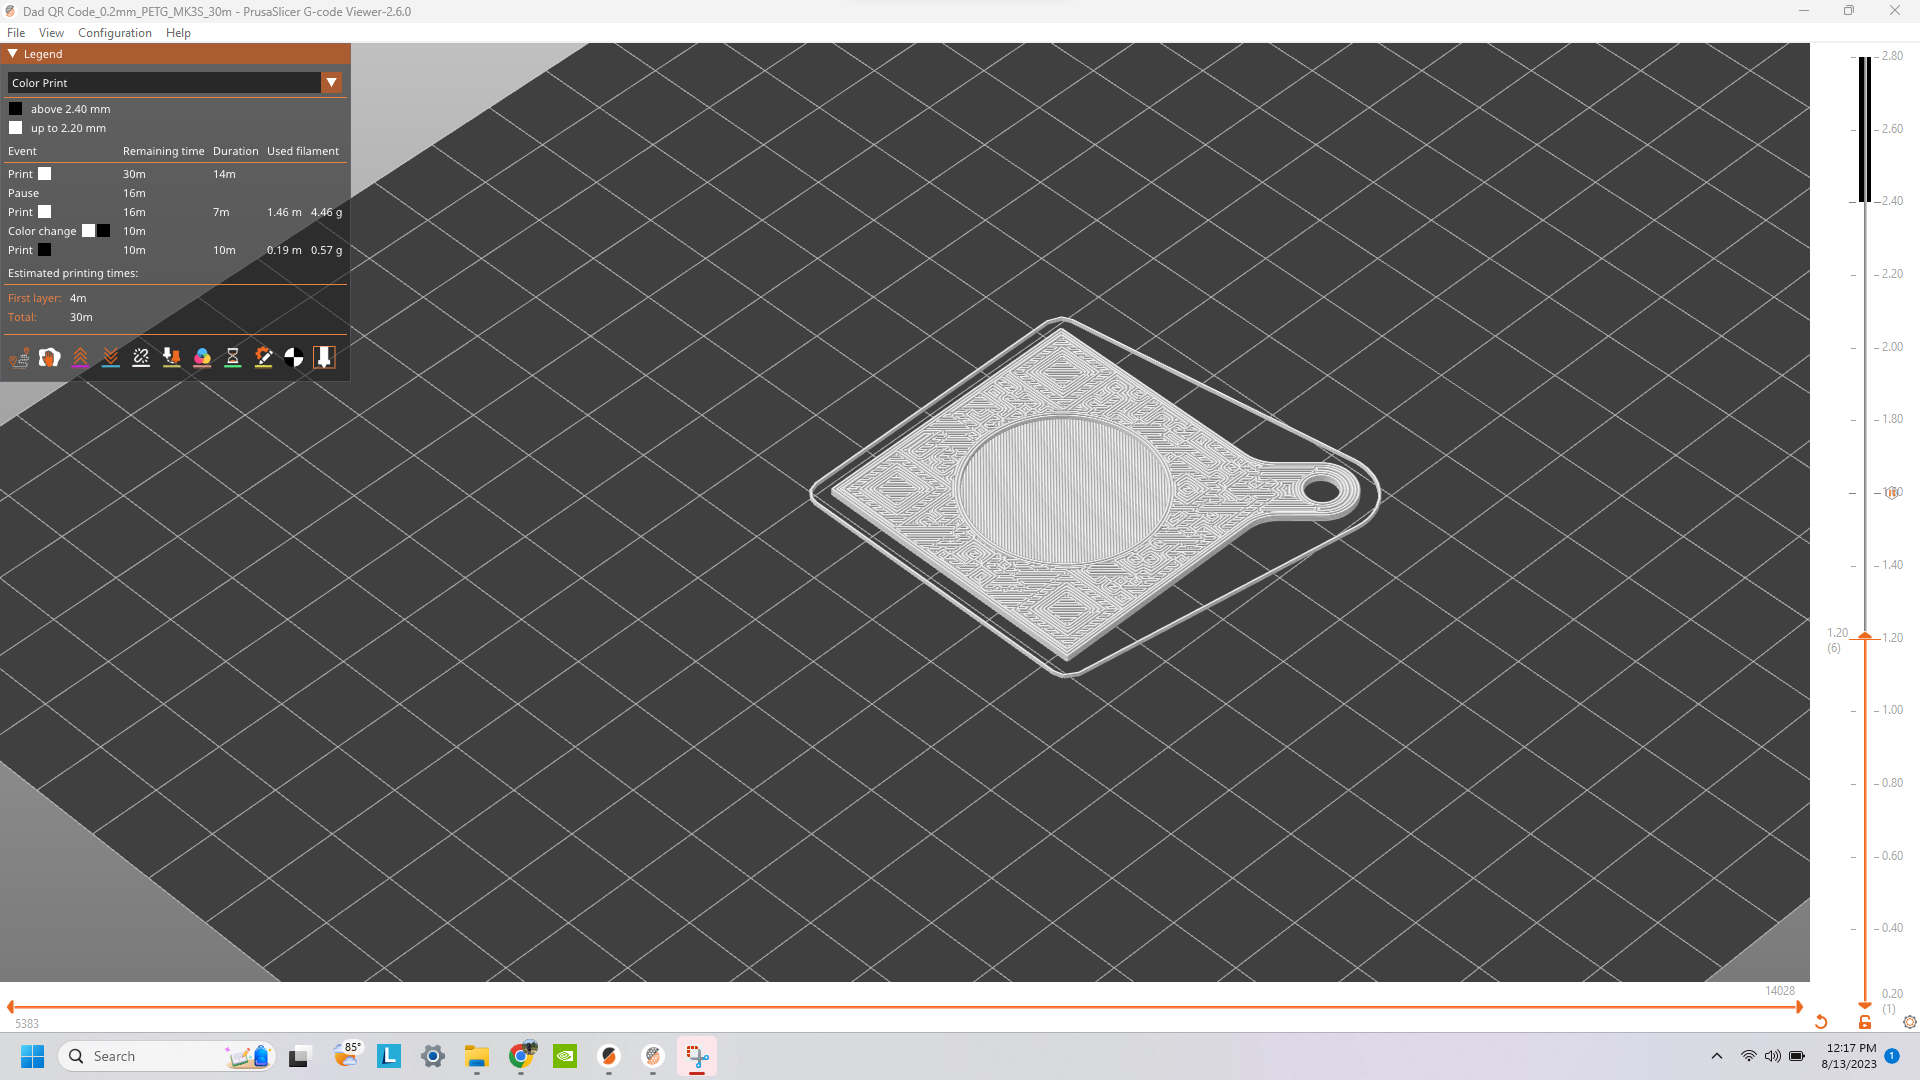
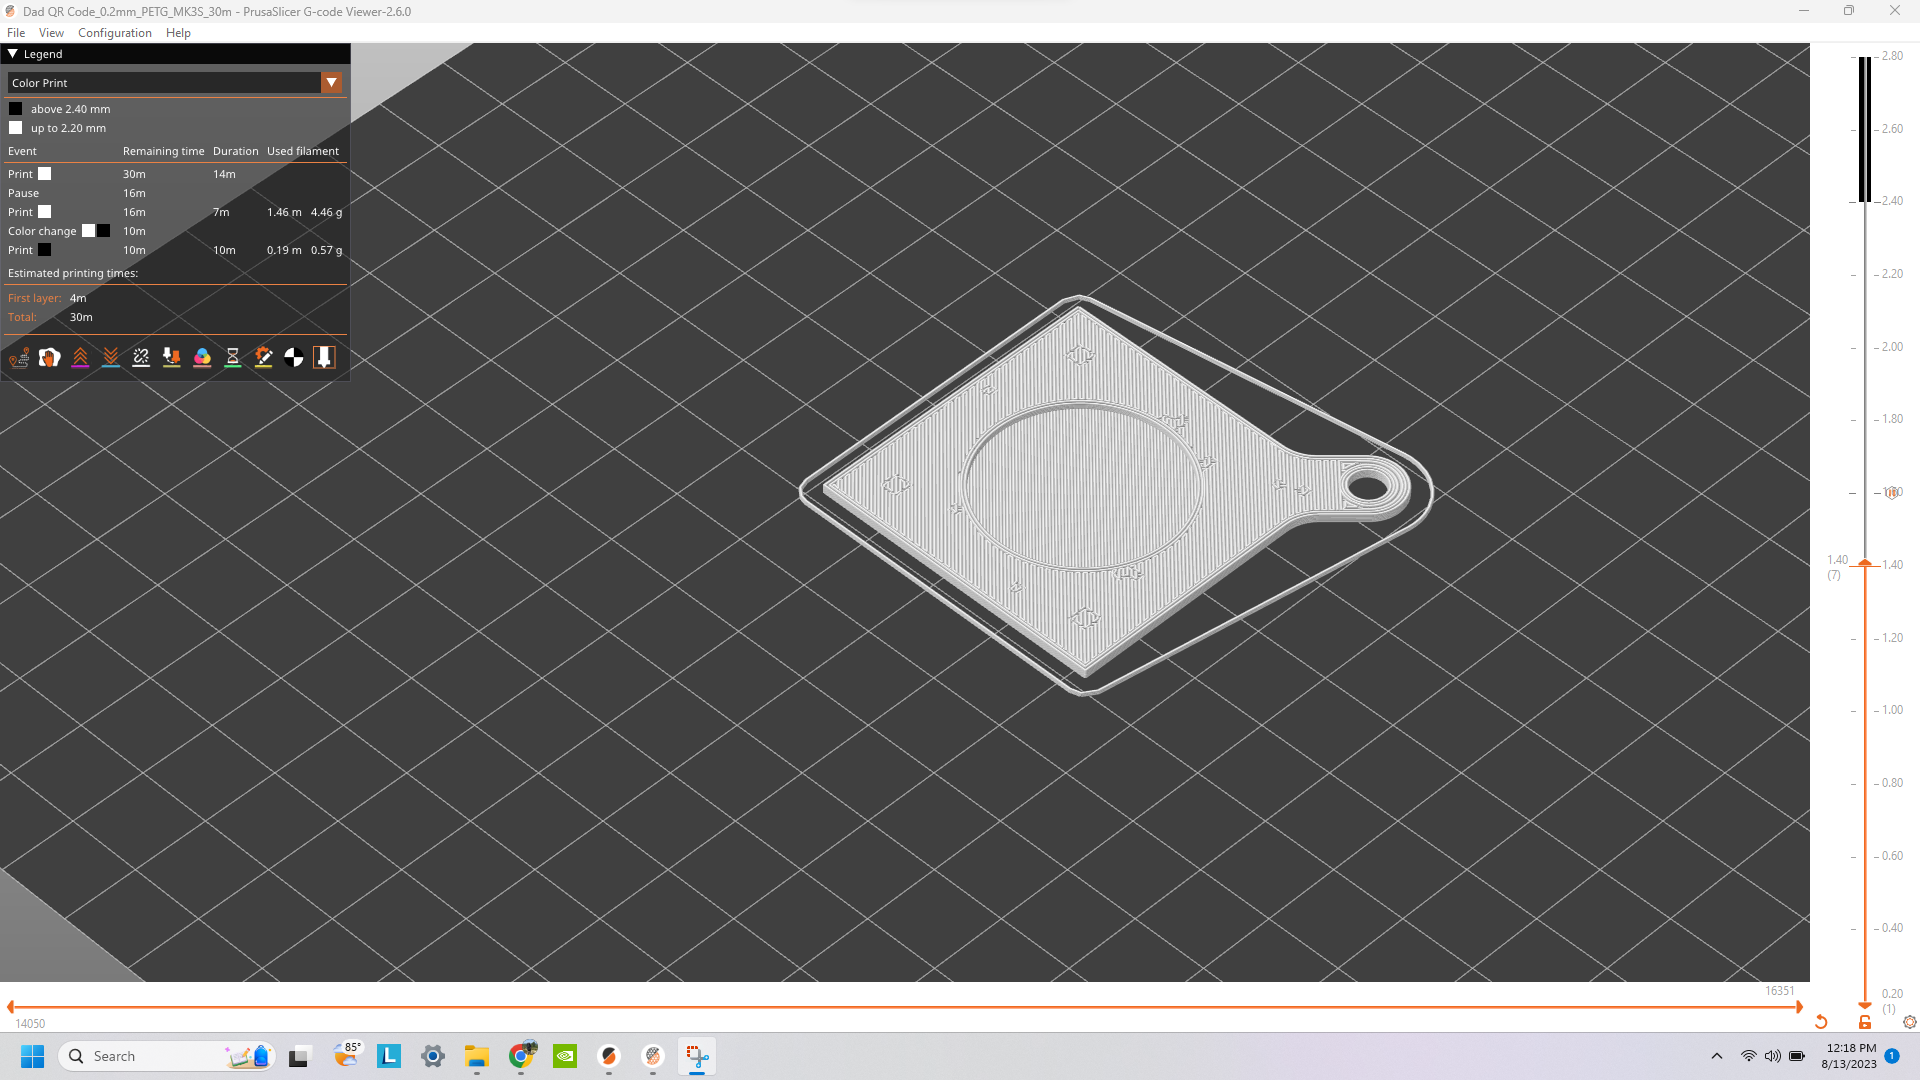
Hi, yes I have it set to 100% infill, I am six layers down from the surface/part change. The infill should be rectilinear, and not be showing some of the QR code on the infill, especially so far into the part. I have included a layer of what it should look like (throughout the whole of the infill), a layer of where it looks really bad, and another layer where it still doesn't have a perfect rectilinear infill, but isn't as bad as on the previous layer. I would upload the gcode or 3mf file, but I don't see how to do that.
RE:
For some odd reason the forum will not allow 3MF or gcode files. But if you put it in a zipped folder you can attach the .zip.
RE: Shadowing into infill
I’ll have to wait till I see the 3MF, but so think I know what’s happening. The key is in your first picture, red vs purple, internal vs solid infill.
PrusaSlicer defaults are what, 4 solid bottom layers and 6 solid top layers? If a section of the part is not within this solid layer part, it’s internal infill.
Setting infill to 100% doesn’t mean the entire layer will be printed with straight lines. It means the internal infill will be printed with 100% fill. But it’s still internal infill, not solid, and so will be printed separately. This happens to give it a QR looking pattern, as the areas with the QR code above them give enough buffer that they are above the solid bottom layers but not close enough to be within the top solid layers.
If you want it to print solid without shadowing, try increasing the number of solid bottom layers to the number of layers the base is in the print. Then your infill can be set to 0% and the part will still be printed solid, and without shadowing.
RE: Shadowing into infill
Hi, I have attached a zip file with the 3mf and a gcode file. Please let me know if I made any mistakes uploading. Thank you!
RE: Shadowing into infill
Yup, just what I thought. You have 6 solid top layers and 4 solid bottom layers selected. On layer 6, the "shadowing" is because the parts printed as internal infill (red) meet this requirement. The QR starts on layer 12, and the QR code sections are making the solid layer on areas where there is QR code. On areas without QR code, there's not enough solid layers above to switch to internal infill and so it prints solid infill (purple) instead.
This is all perfectly normal slicer operation and completely expected.
However, if I just change slicer to use 8 solid top layers and 6 solid bottom layers, layer 6 now prints "perfectly" (no shadowing). I've attached the .3mf file, but all I touched was the solid top and bottom layers.

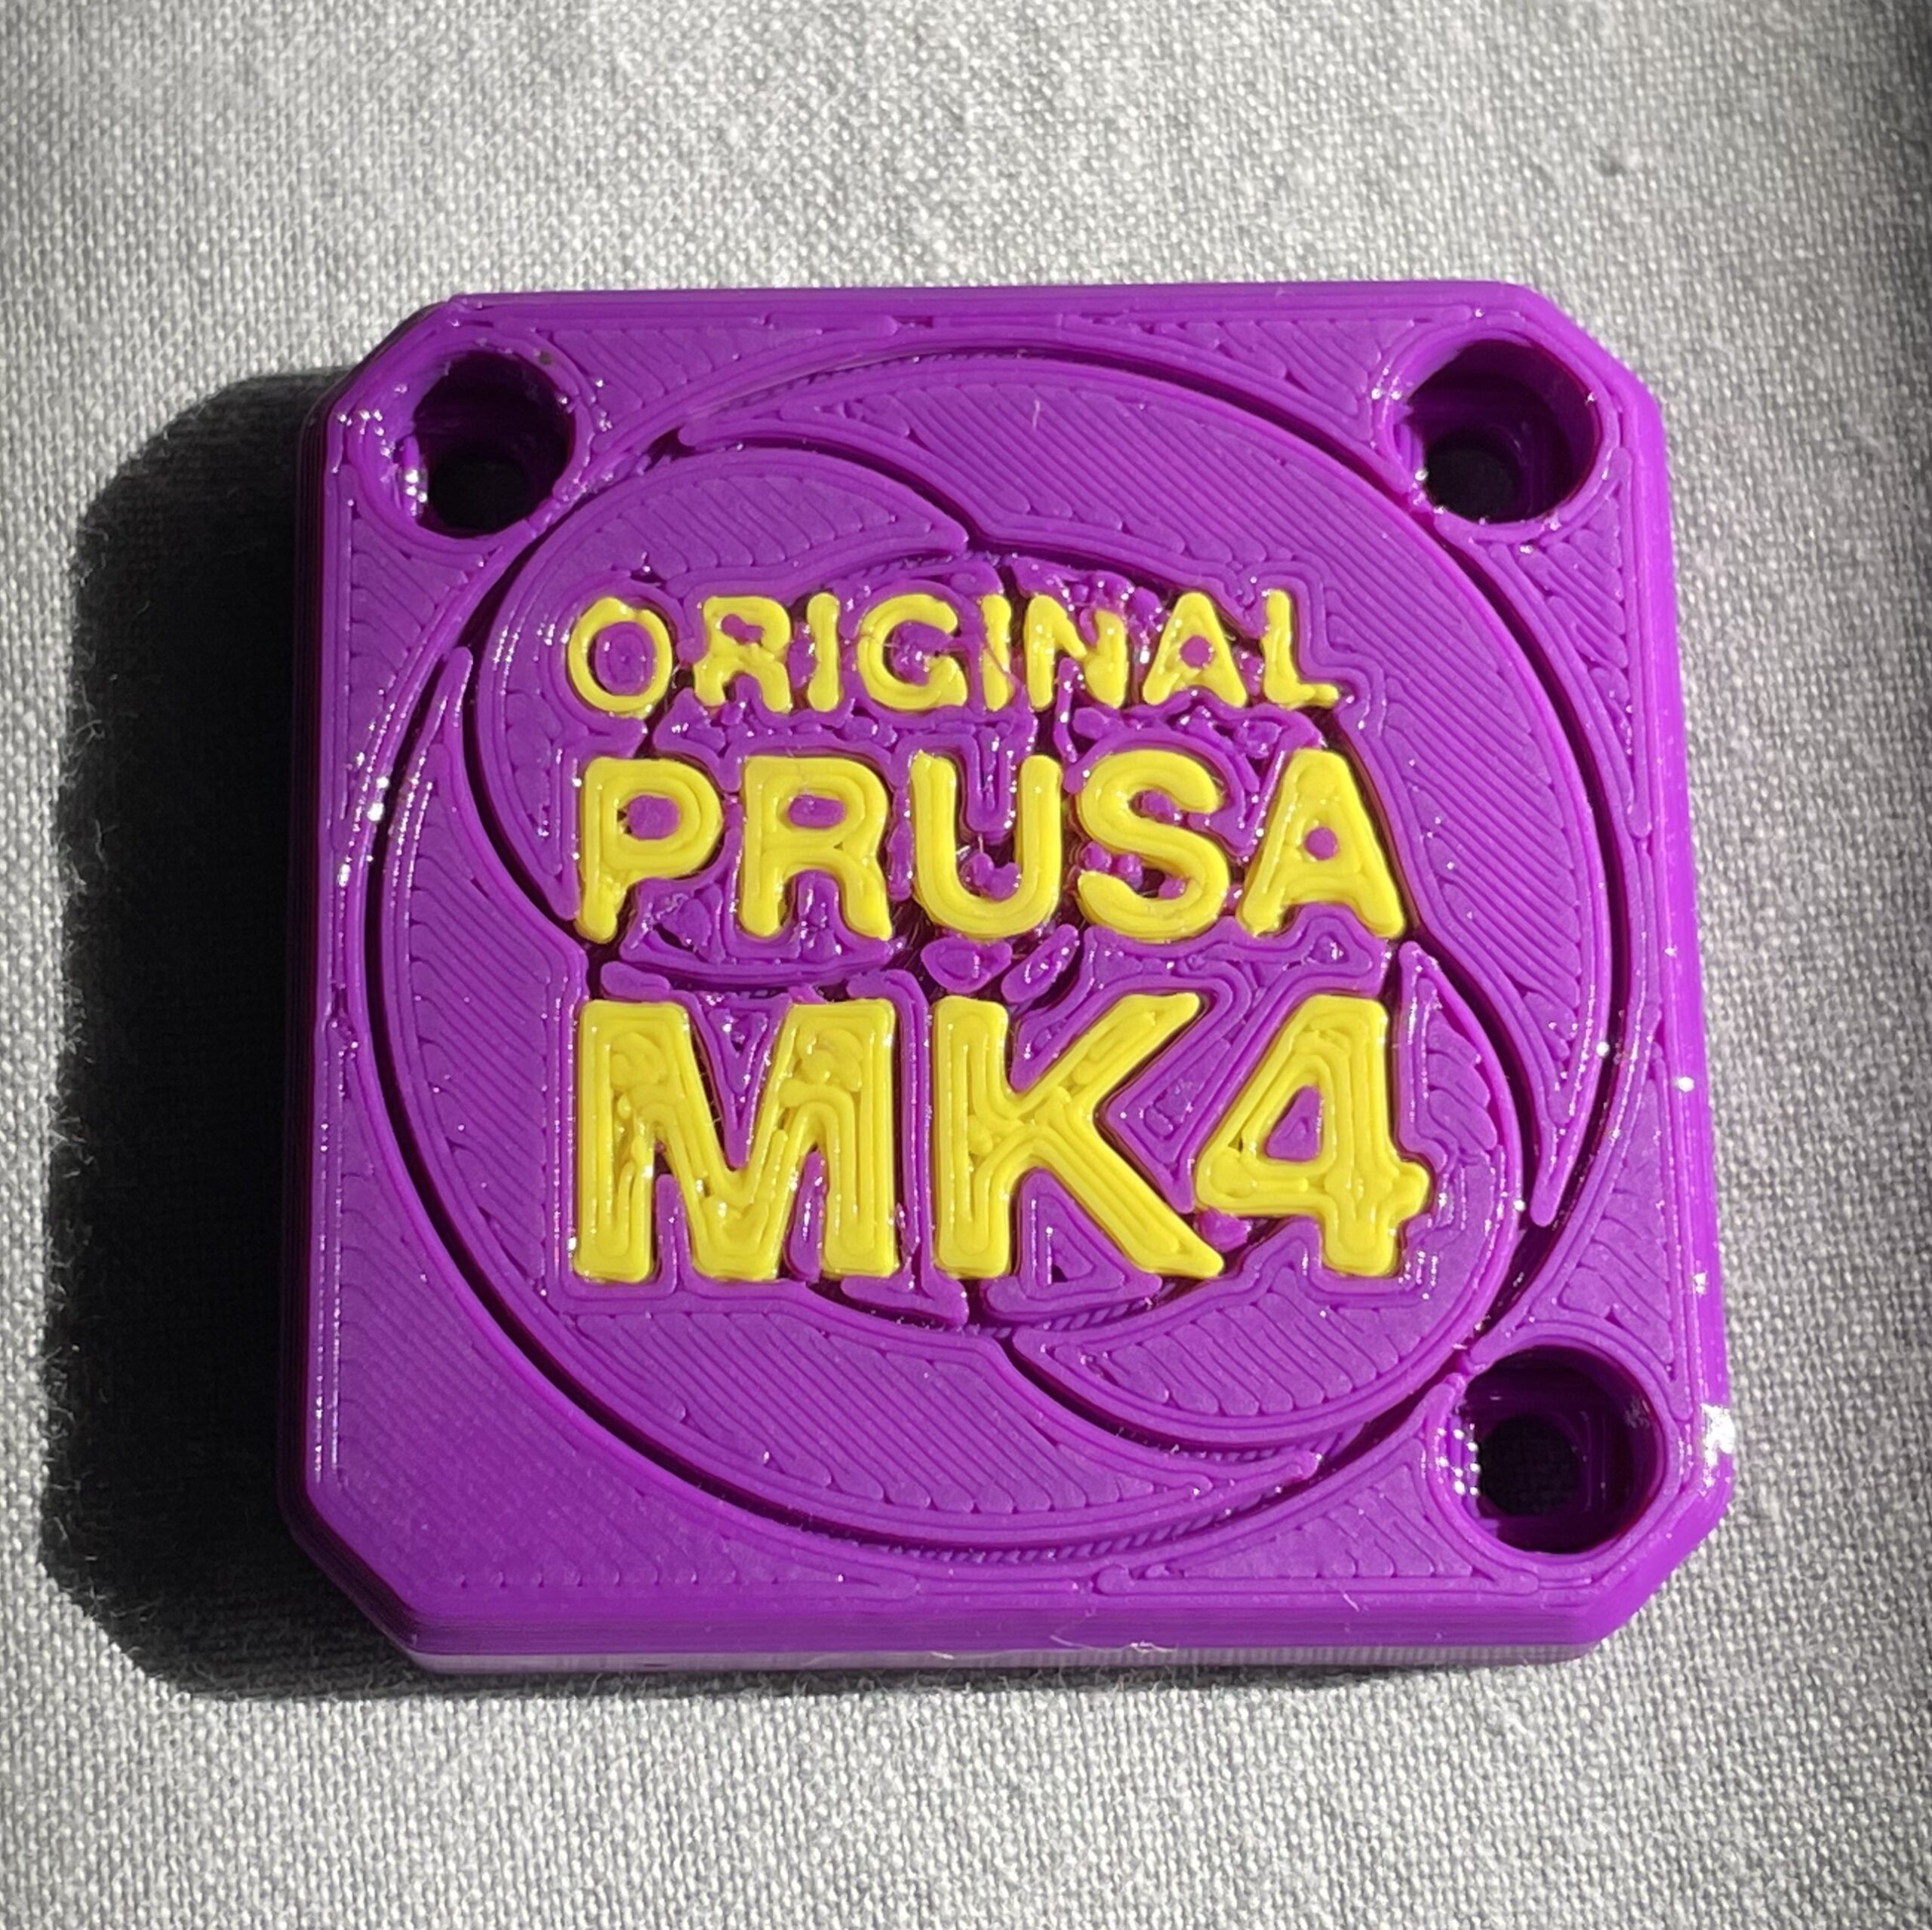
Out of curiosity, have you tried making the color print with the QR code flush with the surface, instead of raised? May look better, depending on your preference. Similar to what I did on my MK4 parts (the extruder cover would look better printed with a 0.25 mm nozzle I think):
RE: Shadowing into infill
That first layer could do with more squish lol. Lots of gaps between lines. You want something more like -

RE: Shadowing into infill
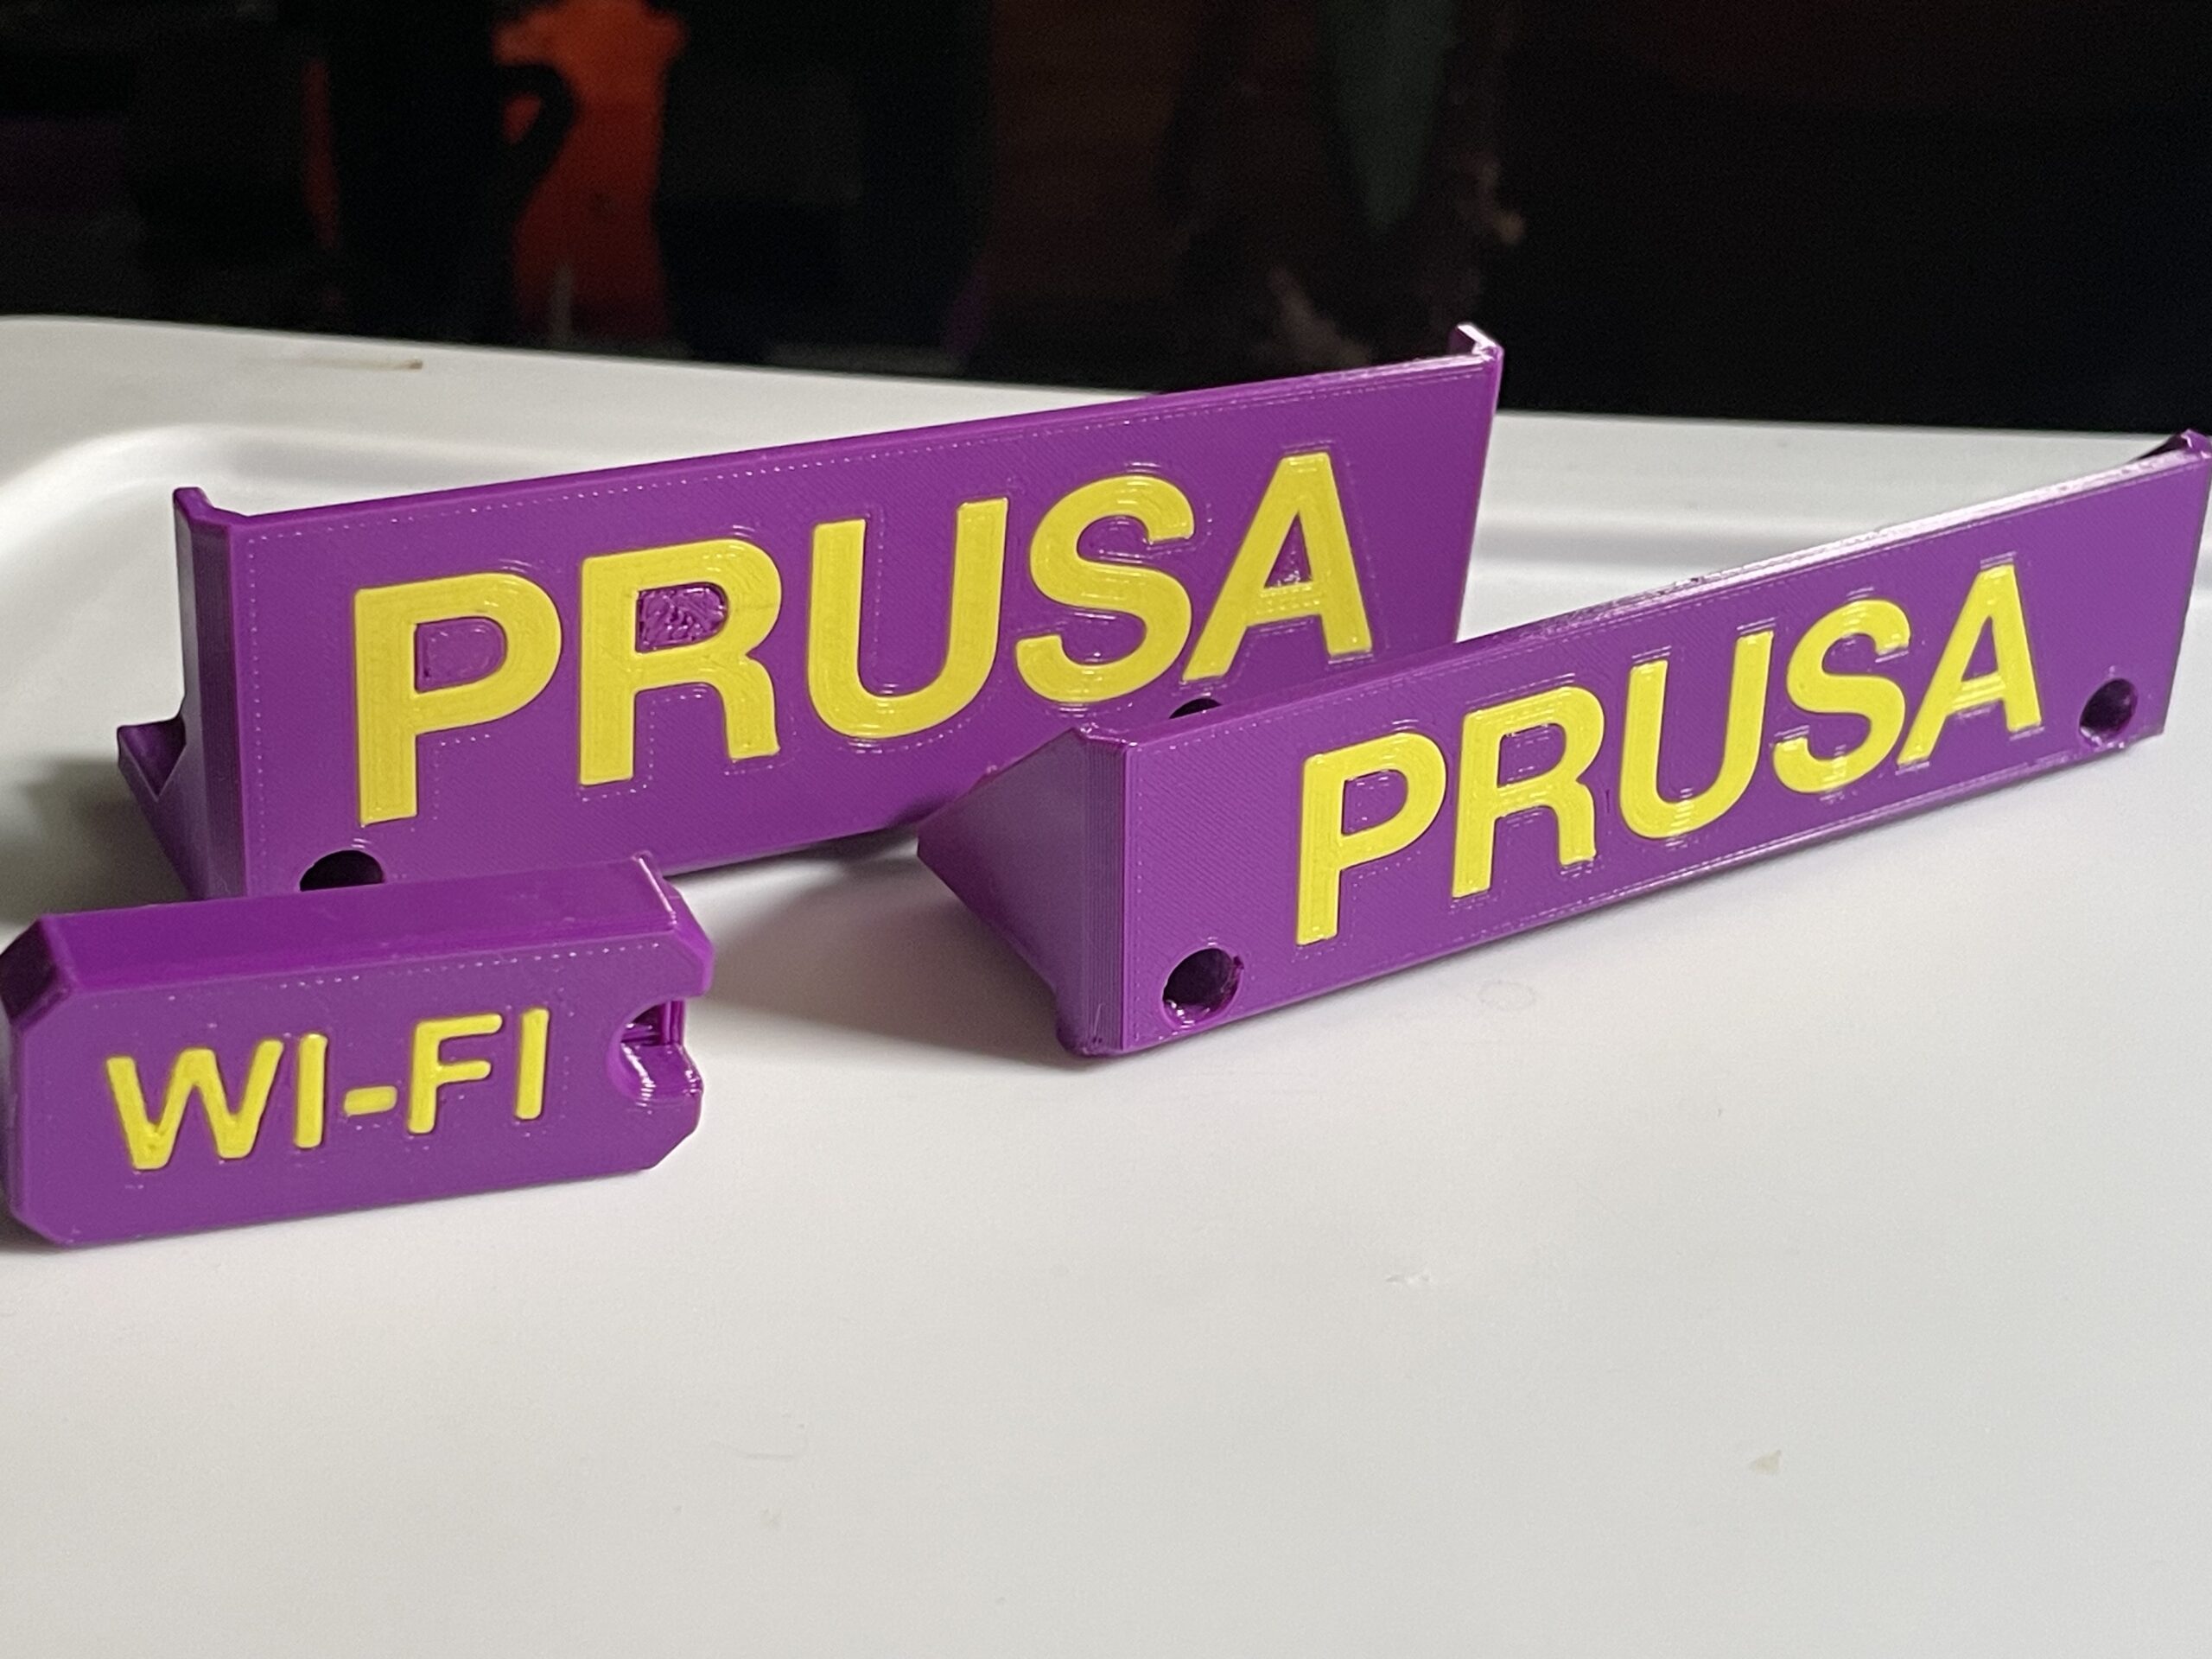
Fair. That would also probably make it print cleaner. My PLA prints on smooth sheets had better first layer, but I think for my satin sheet profile I was like "eh, good enough" and didn't fine-tune it as much. I don't print much PETG, so far the only PETG I've printed was a set of spare parts for my MINI and the purple/yellow parts for my MK4, which were also printed on my MINI. Now I am just using my MK4, and don't need to worry about that anymore.
That first layer could do with more squish lol. Lots of gaps between lines. You want something more like -
RE: Shadowing into infill
Hi,
Sorry for the delayed response. Thank you for your response. I will have to give it a try. I considered making the colored part flush with the surface, but I wanted to limit the manual color changes. Which is why I had it extruding up.