Seam control on multi part models
Hi all,
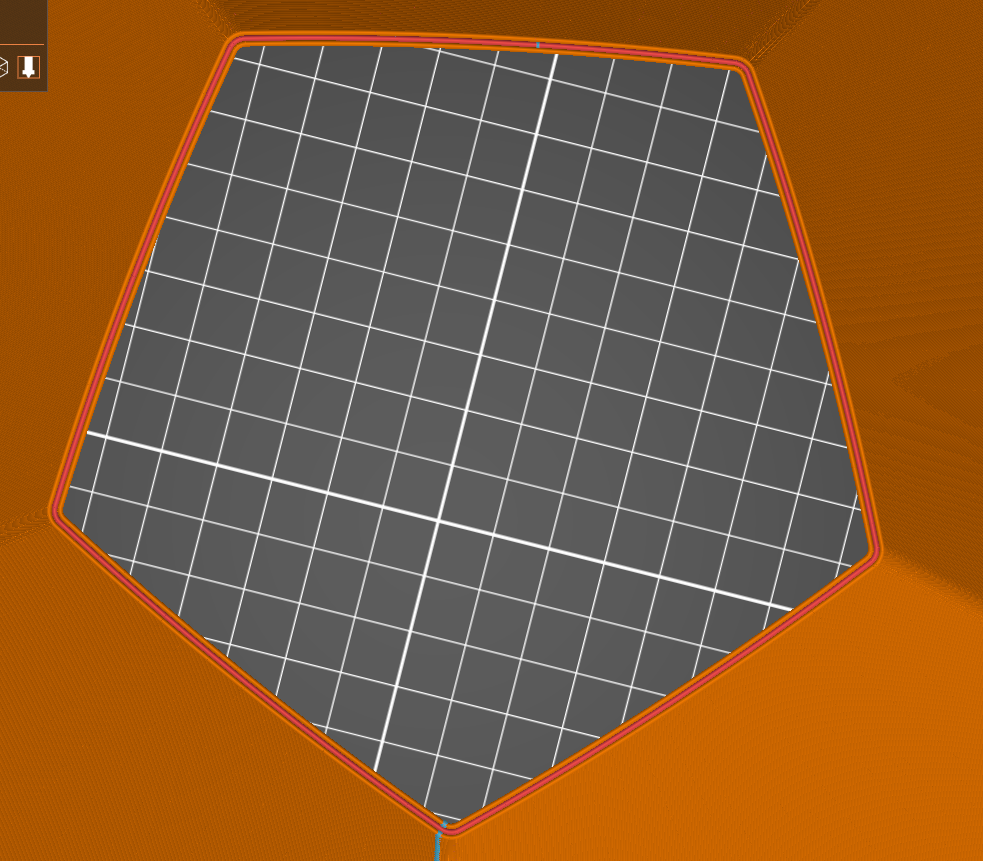
Does anyone know how to get finer control of seams on multi part models? I have a three part model that is mostly hollow and three perimeters. An outer perimeter of PC-Clear, a middle perimeter of PC-GF, and an inner perimeter of PC-Clear. It needs to be weather proof, so the seams can't line up. It would be great to assign each of them to a different corner, but I can only paint the parent, not the sub-parts.
With the seam setting of "Aligned" set to on, and "Stagger Inner Seams" set to off or on (doesn't matter) you can see the seam for the outer perimeter in the bottom of the screen, the middle perimeter seam slightly higher and to the right, and the inner perimeter seam in the upper right corner. This is fine for weather proofing, but the seam in the middle perimeter is visible through the PC-Clear outer layer and ruins the look of the final product. This isn't true at every layer, the seams move around a bit.

With the seams set to "Rear" and "Staggered", for most of the model the seems look pretty good and are offset. So, it's almost there. But, for some layers I get a similar result. Here the inner and outer perimeter seam are in the bottom corner and slightly staggered, but the middle layer is not in a corner again and is on the side in the top of the image and will be ugly in the final print.
I get a similar result when I paint the seams on a corner and turn on "Staggered". For most layers it's pretty good, but sometimes I get a seam for the inner layer on a wall instead of the corner I painted.

Ideally I would be able to paint the seams on each model individually and maximize weather proofing and appearance, but I can't find a way to do that. Any ideas? I've attached the project file.
Thanks!
Best Answer by Chris:
So - I backed my way into this a little bit. It takes trial and error.
The problem is all due to not being able to paint a seam on a hidden part. Normally you would load all the parts of a model at one time, and you can't paint on a hidden part.
If you load the hidden part and a couple of other parts, you can paint on a seam enforcer to the hidden part. Then use the "Add Part" command to add the rest of your parts. The slicer doesn't seem great at this. You may adjust the order that you load parts, or you may need to move the parts around a little. In my case it got the z position wrong on the last part and I had to adjust it. However, you can see that after a little trial and error the outside seam is on the left corner, the middle seam is on the bottom corner, and the inner seam is on the right corner. It does that neatly all the way and down the corner. No stray seams. It got a little lost on the countersunk holes at the base, but that's ok in my case. With more trial and error I'm sure you could get them 100% correct.
Not pretty - but it works!

RE: Seam control on multi part models - corrected image
Sorry - I attached the wrong image for the painted seams. Here it is.

RE: Seam control on multi part models - I figured out a work around
So - I backed my way into this a little bit. It takes trial and error.
The problem is all due to not being able to paint a seam on a hidden part. Normally you would load all the parts of a model at one time, and you can't paint on a hidden part.
If you load the hidden part and a couple of other parts, you can paint on a seam enforcer to the hidden part. Then use the "Add Part" command to add the rest of your parts. The slicer doesn't seem great at this. You may adjust the order that you load parts, or you may need to move the parts around a little. In my case it got the z position wrong on the last part and I had to adjust it. However, you can see that after a little trial and error the outside seam is on the left corner, the middle seam is on the bottom corner, and the inner seam is on the right corner. It does that neatly all the way and down the corner. No stray seams. It got a little lost on the countersunk holes at the base, but that's ok in my case. With more trial and error I'm sure you could get them 100% correct.
Not pretty - but it works!