Overhang fill settings
Hi,
Im new here so please bear with.
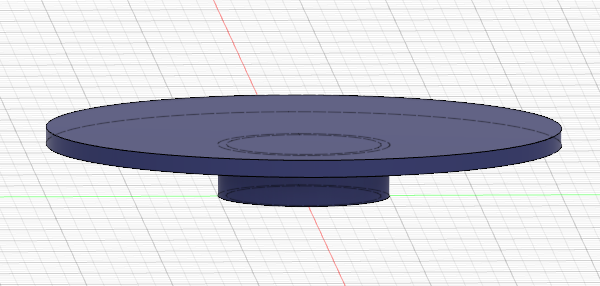
Im trying to print something like this
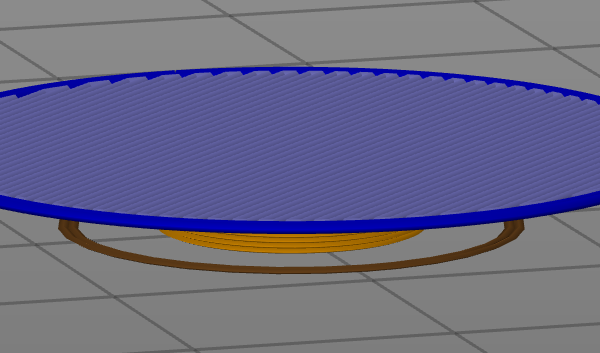
what Id like to do is influence the pattern for the overhang, with the default settings it will try to print the perimeters (and fail) then try and infill.
If I could change it so it prints with the concentric fill pattern that would help. I've tried the whole overhang as perimeters (I can do this using a height setting adjustment, set the perimeters to 20) and it sort of works.
I'm using the above object as an simplified example, the real thing's I'm printing are gears, but the principle is the same.
Any help or other suggestions appreciated.
cheers
Neil
RE: Overhang fill settings
Possibly stupid question but why print that with that orientation? I’d flip that over and then it would print
RE: Overhang fill settings
@neophyl
No not a stupid question, I just didnt give full details in an attempt to keep things simple 🙂
this is near what Im actually going to be printing.
it will be an print in-place working gearbox. The protrusions from the faces of the gears are to stop it welding together completely. Im making progress and having some luck.
But being able to specify the overhang fill pattern would be a real boon.
cheers
RE: Overhang fill settings
Bejeebus 🙂 Good luck with that. That's a printer torture test and a half.
As far as I can see while you can control top and bottom infill patterns as soon as the slicer detects it is overhang you get no choice. Even Supermerills fork that has more options regarding lots of things doesn't let you do that.
RE: Overhang fill settings
In slicer there's a setting for external perimeters first, but nothing to control the order of infill. Your best bet would be to build some supports for the perimeter into the part (0.35 walls at some minimal spacing you can tolerate - the result will be a polygon based on number of supports rather than a circle). But getting the perimeter down and solid (use bridging perimeter detection) will help whatever infill you are trying to use.


