Mitigate wall bulge
I know that wall bulge where there is solid infill inside the model has been discussed before, but I can't find where anyone has found a "fix." This is clearly a slicer issue, and leaving a full centimeter of wall thickness between the interior and exterior perimeters isn't enough to remove or reduce it. So what can I do, except stop using PrusaSlicer?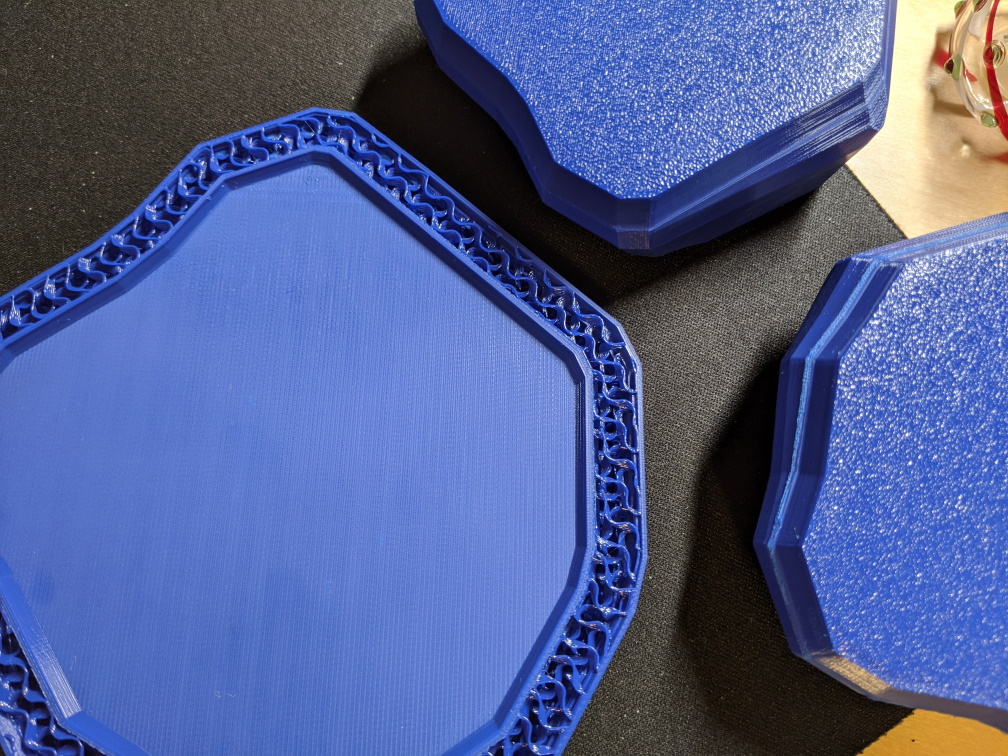

RE: Mitigate wall bulge
Fix will usually consist of some combination of:
- Slow down external perimeter speeds. 25mm/s works well IME.
- Increase number of external perimeters.
- Increase wall thickness for free-standing walls.
The biggest overall improvement in my prints came when I started doing an extrusion multiplier calibration for every new brand and type of filament. Any over-extrusion accumulates on solid layers and will be apparent when the print transitions to thinner walls.
If you'd care to zip a copy of your project 3MF file and upload it here, more suggestions may be forthcoming.
RE: Mitigate wall bulge
There isn't much to share via 3MF, really. I've tried printing this with normal settings, with 4 perimeters, with 100-300 micron layer heights, and solid infill. The bulge is always present. The interesting thing about this bulge is that it is not even all the way around the object, and it doesn't eventually move back to where the wall should be. If you look at the second photo you can see that the bulge looks similar to a layer shift, in that it just scoots the entire wall out. But it does that all the way around the model, effectively making the model larger in X and Y dimensions, so it isn't a layer shift.
It's also worth noting that on the object being printed at 100% scale the bulge is smaller than the bulge created when printing the same model at 150%.
RE: Mitigate wall bulge
There isn't much to share via 3MF, really.
The specifics of the part make a big difference. Also seeing your settings helps us understand what you're trying to do. Things like Linear Advance, z-seam location and speeds can highlight possible issues that you may not have considered and didn't include in your description. It's always worth sharing the 3MF if you are asking for assistance.
I've tried printing this with normal settings, with 4 perimeters, with 100-300 micron layer heights, and solid infill. The bulge is always present. The interesting thing about this bulge is that it is not even all the way around the object, and it doesn't eventually move back to where the wall should be.
Here are 2 prints of the same piece using fundamentally the same settings but with some minor tweaks applied to settings used on the upper part. It's not perfect, but much improved.

If you look at the second photo you can see that the bulge looks similar to a layer shift, in that it just scoots the entire wall out. But it does that all the way around the model, effectively making the model larger in X and Y dimensions, so it isn't a layer shift.
It is absolutely not a layer shift. If you rotate the part, the defect will likely move with the walls. Z-seam position can have some impact on this.
RE: Mitigate wall bulge
I've attached the original 3MF that I noticed the issue. This corresponds to the top object in the top photo of the original post. It has the least bulge of the 4 tests I've done so far.
RE: Mitigate wall bulge
A few observations:
- You are using 2 perimeters. Try increasing this to 3 or even 4 to see if the surfaces even out.
- You have Extra perimeters if needed disabled. This can help with sloping vertical surfaces such as those on this part.
- Your external perimeter speed is 25mm/s which is good. You could try slowing internal infill as a test, though I'm not certain it will matter much. Improved accuracy is a good thing while troubleshooting though.
- Your filament diameter is set to 1.75mm. Measure your actual filament diameter at least 3 times over a 1m length, average and enter that value as the filament diameter. This will help the slicer more accurately match your physical printer and filament.
- Your extrusion multiplier is set to 1.0. Here again, your slicer settings will more accurately reflect your real-world printer and filament if you calibrate this value.
Under happier circumstances, I'd try printing this but unfortunately my printer is tied down for the next week on critical prints. These are all the suggestions I can make based on your slicer settings. I suggest you find a small complicated part that prints faster while showing this defect and concentrate on that to help mitigate the problem before trying 6 hour prints. I've attached some test pieces that have worked well for me in troubleshooting these problems.
RE: Mitigate wall bulge
I'll give those test objects a few runs and see what I can come up with. I appreciate your help trying to get this figured out.
Things to note:
- I tested with 4 perimeters and see the same exact behavior
- I enabled the Extra Perimeters if Needed option and saw no change in the sliced object (Ensure vertical shell thickness is still showing up, as it put the squiggles of plastic near the perimeters)
- I have checked my filament for these tests and found that it actually averages out to 1.75mm
- I will check my extrusion multiplier calibration again. I did it ages ago, but when I upgraded to PrusaSlicer from Slic3r I didn't bring over my old profiles.
RE: Mitigate wall bulge
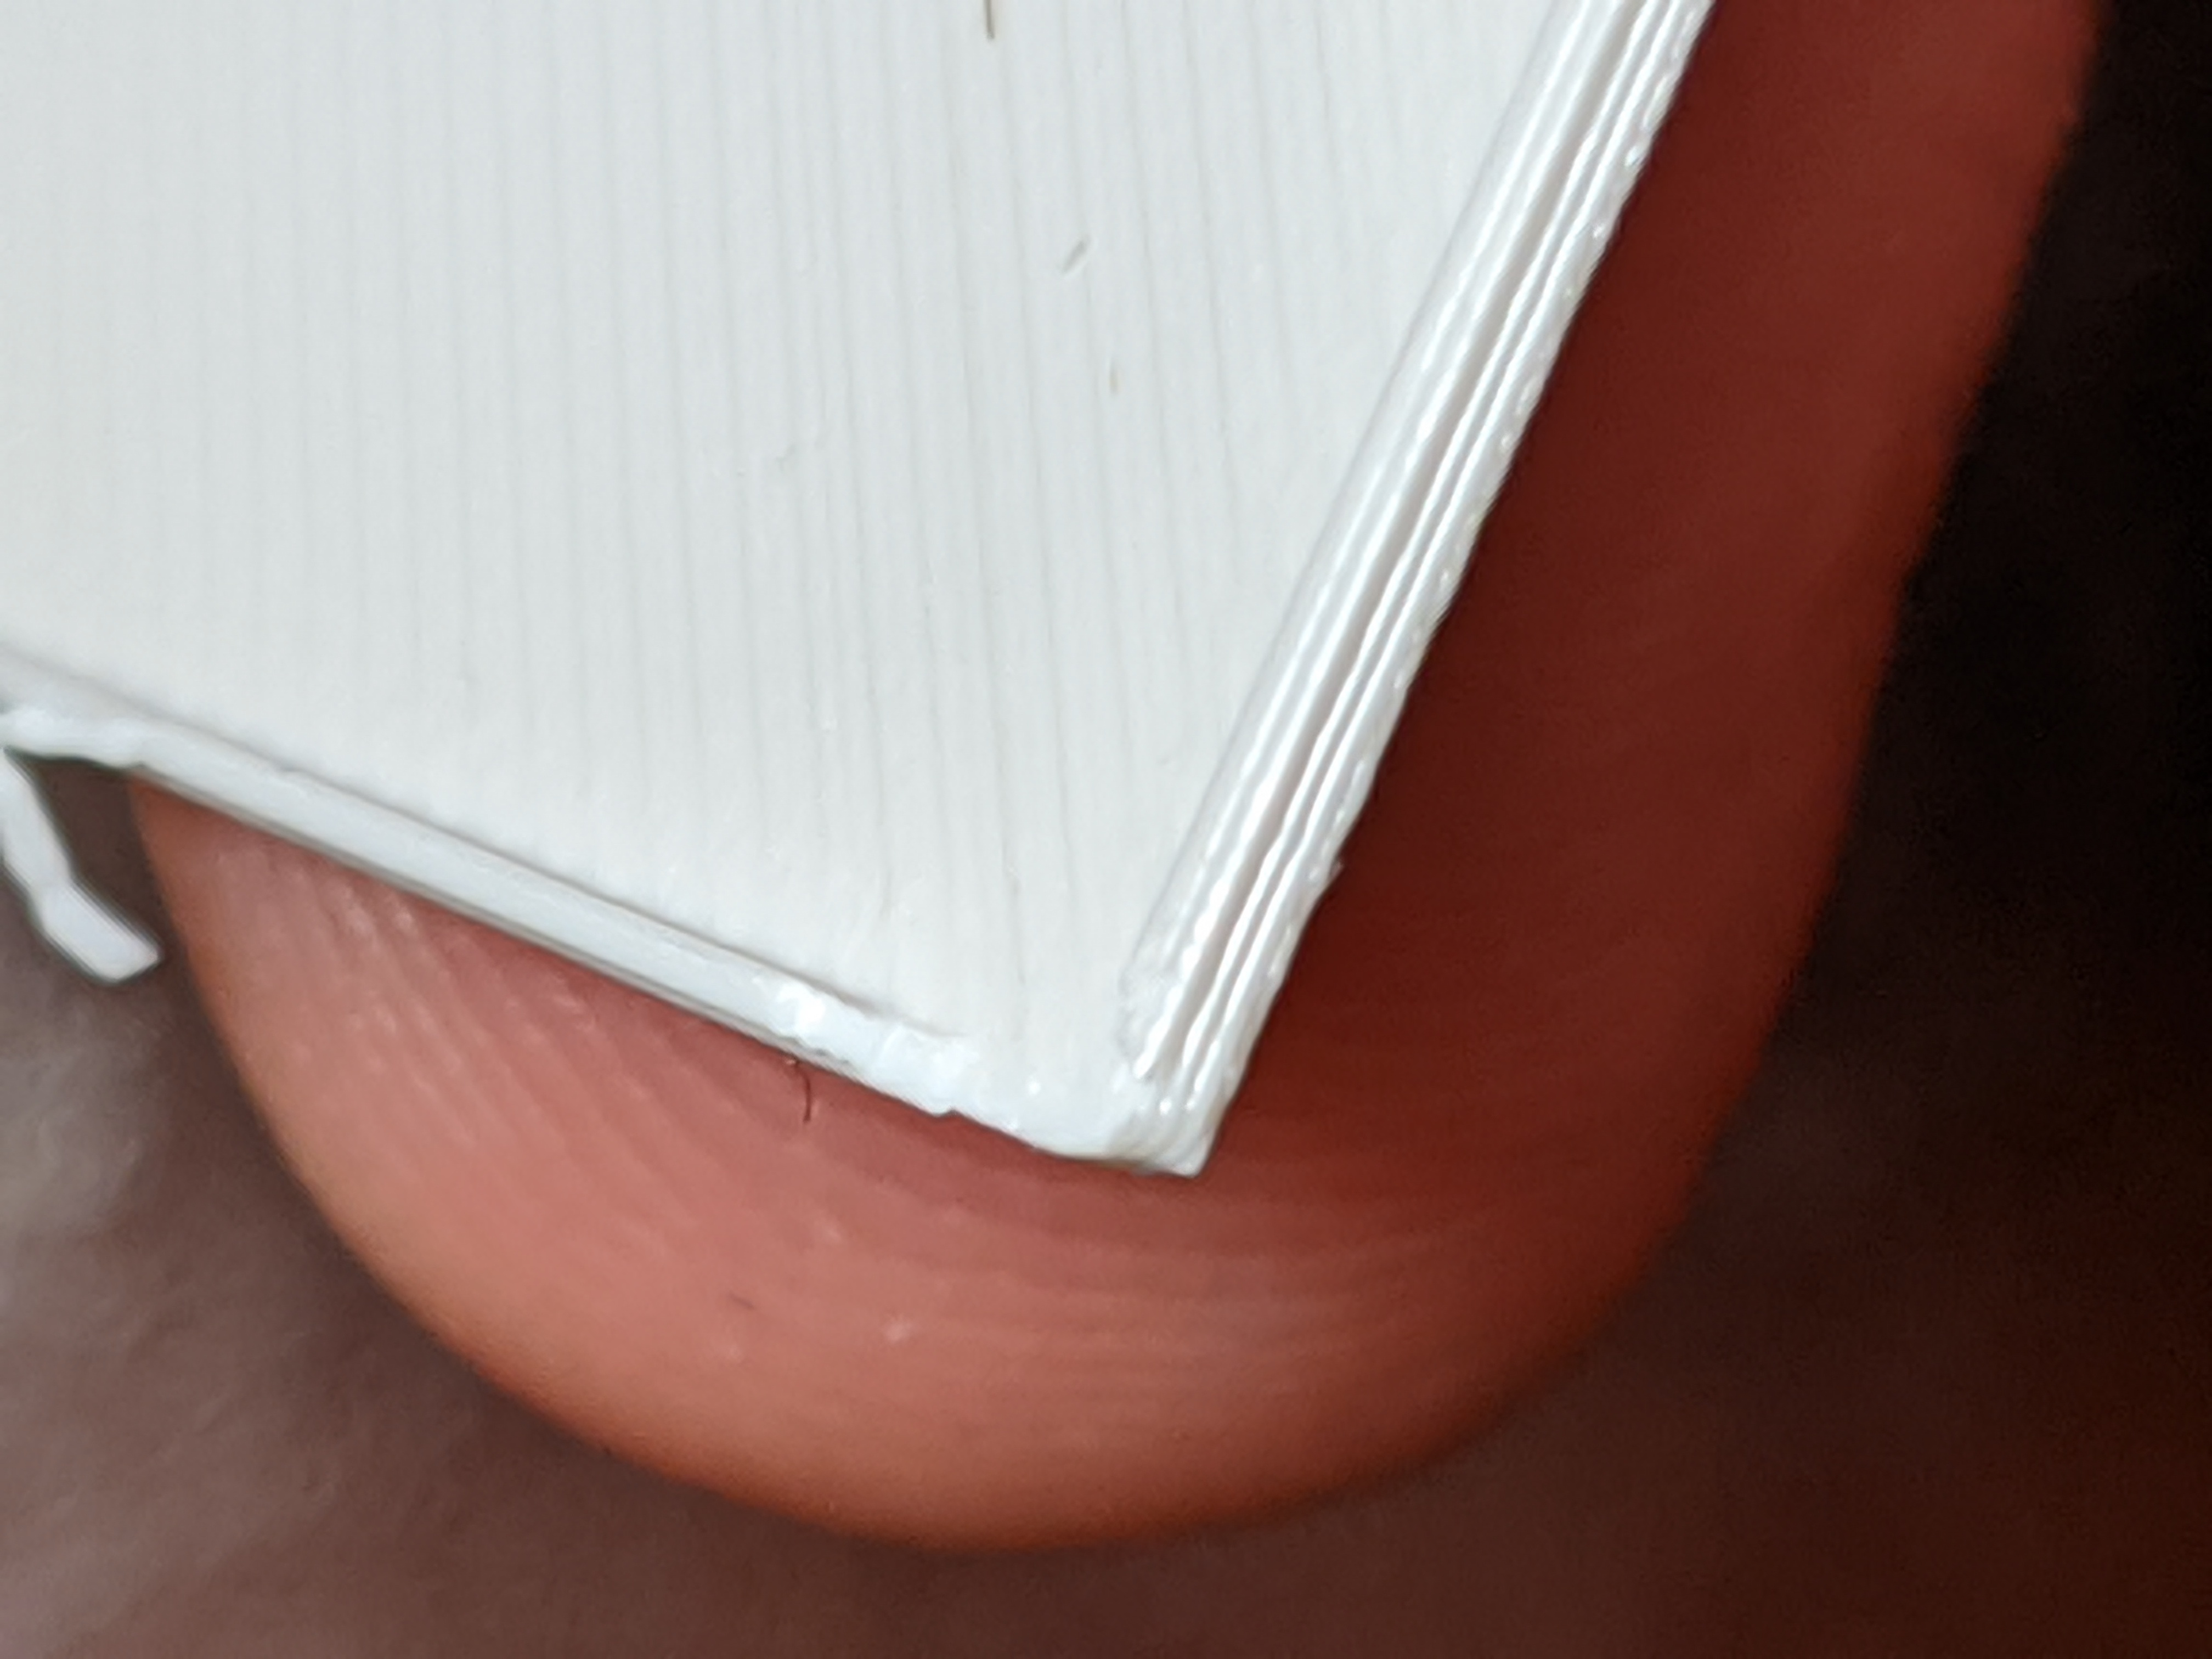
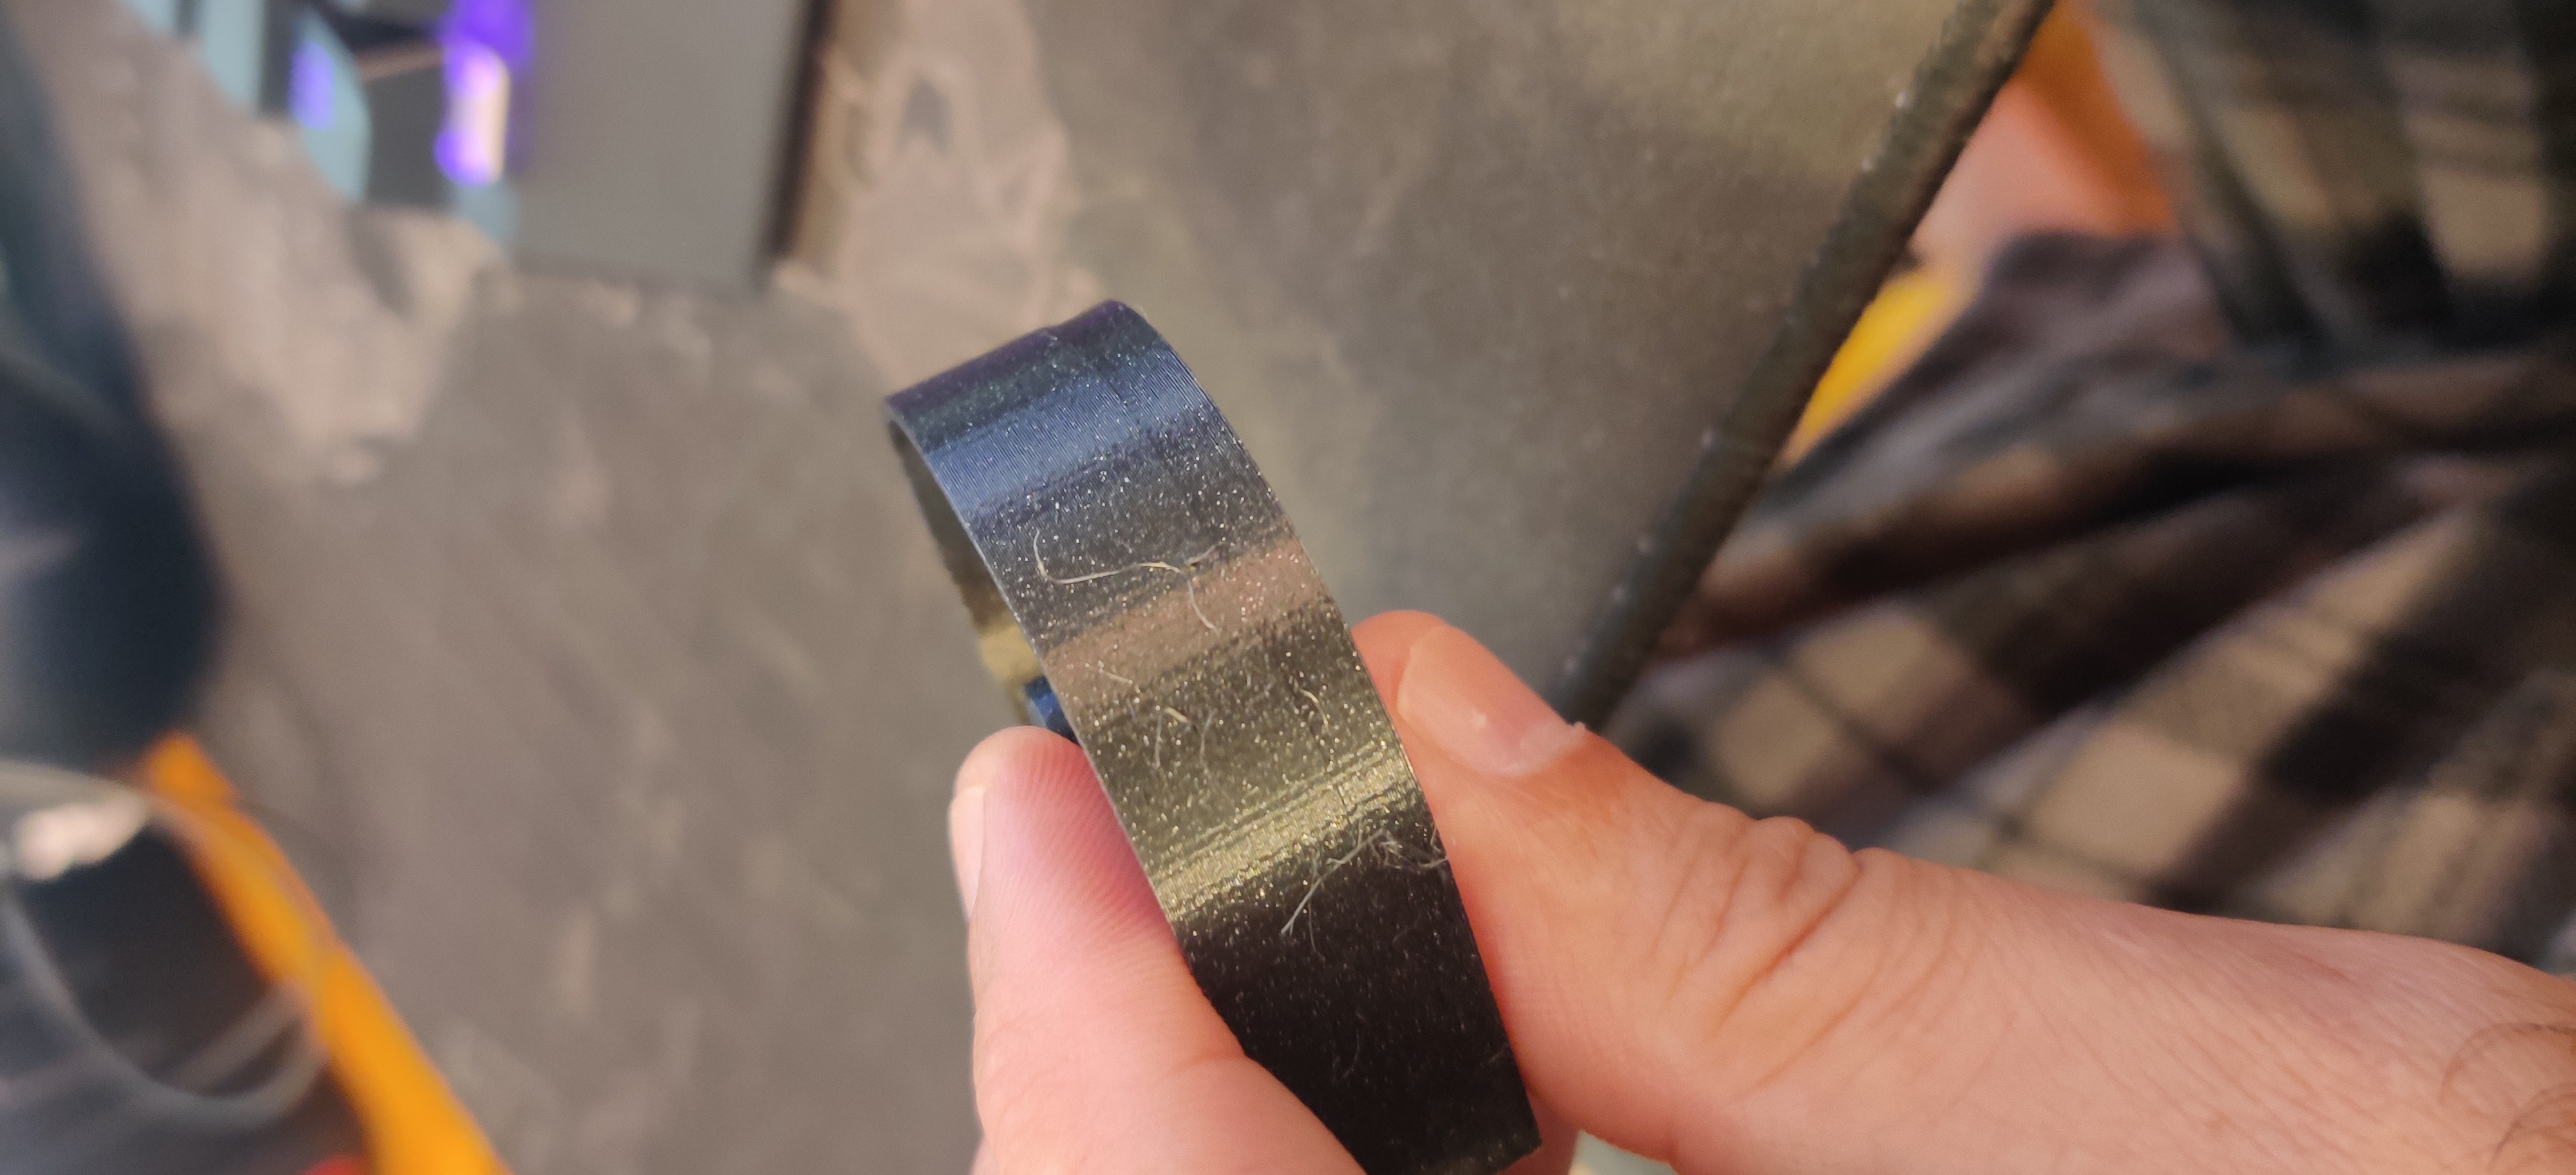
I printed to calibration object and found that the walls are exactly 0.45mm as they should be. I noticed a bulge at the bottom of the print where the bottom layers finished, though. I delaminated the walls from the base and found this. The first perimeter after the solid infill is actually wider than 0.45mm. I know it is hard to see in the photo, but the first perimeter squishes past the outside AND inside of the object. This looks to be a slicer issue.
RE: Mitigate wall bulge
A bulge on the 1st layer usually is elephant's foot, which can be aggravated by over-extrusion and/or a Live-Z setting that's too low. A slicer that "works better" may simply have defaults that happen to match your specific filament more closely. Rather than switch slicers when running into problems, I'd suggest figuring out the problem and doing the calibrations so you can fix any such issues with any slicer you use.
If you would post a pic on your 1st layer, we can comment on your Live-Z settings. From that pic it looks OK, but really need to see the top of the 1st layer.
RE: Mitigate wall bulge
A bulge on the 1st layer usually is elephant's foot...
You're looking at the 4th layer, not the first. This is not a case of elephants foot.
My first layer prints fine without any gaps between extrusion lines and without pillowing. I leveled my bed using the Nylok method, and have no issues with laying down a great first layer across the entire bed. I also haven't had any issues with adhesion, which I know could cause something that looks similar to this as the edges peel up and there isn't anywhere else for the filament to flow.
RE: Mitigate wall bulge
Oh, and I am using Elephant foot compensation of 150 microns. It seems to get the first layer to line up correctly with the second layer.
I'd like to take a moment to apologize if I'm coming off as short and rude (I feel I have been). I realize you're just trying to help, and personal stuff has me a bit stressed out. I'll try to be more accommodating.
RE: Mitigate wall bulge
No worries. I'm busy cranking out PPE prints, so a little short myself. FWIW I am getting very good results out of PrusaSlicer and it's my slicer of choice for high repeatability. Working with those test prints, I've been able to develop profiles that work well. You're welcome to take a look at my profiles and notes to see if there's anything there that helps.
I downloaded your 3MF and replaced your test objects with my own. The result is exactly the same as my original photos.
RE: Mitigate wall bulge
I downloaded Cura and used the default profile in the software to print the same STL. While there are other issues related to an un-tuned profile, there is not issue with a bulge at the solid infill layer. On a single side there is a single layer that is slightly out of place, but can only be seen under certain lighting.

RE: Mitigate wall bulge
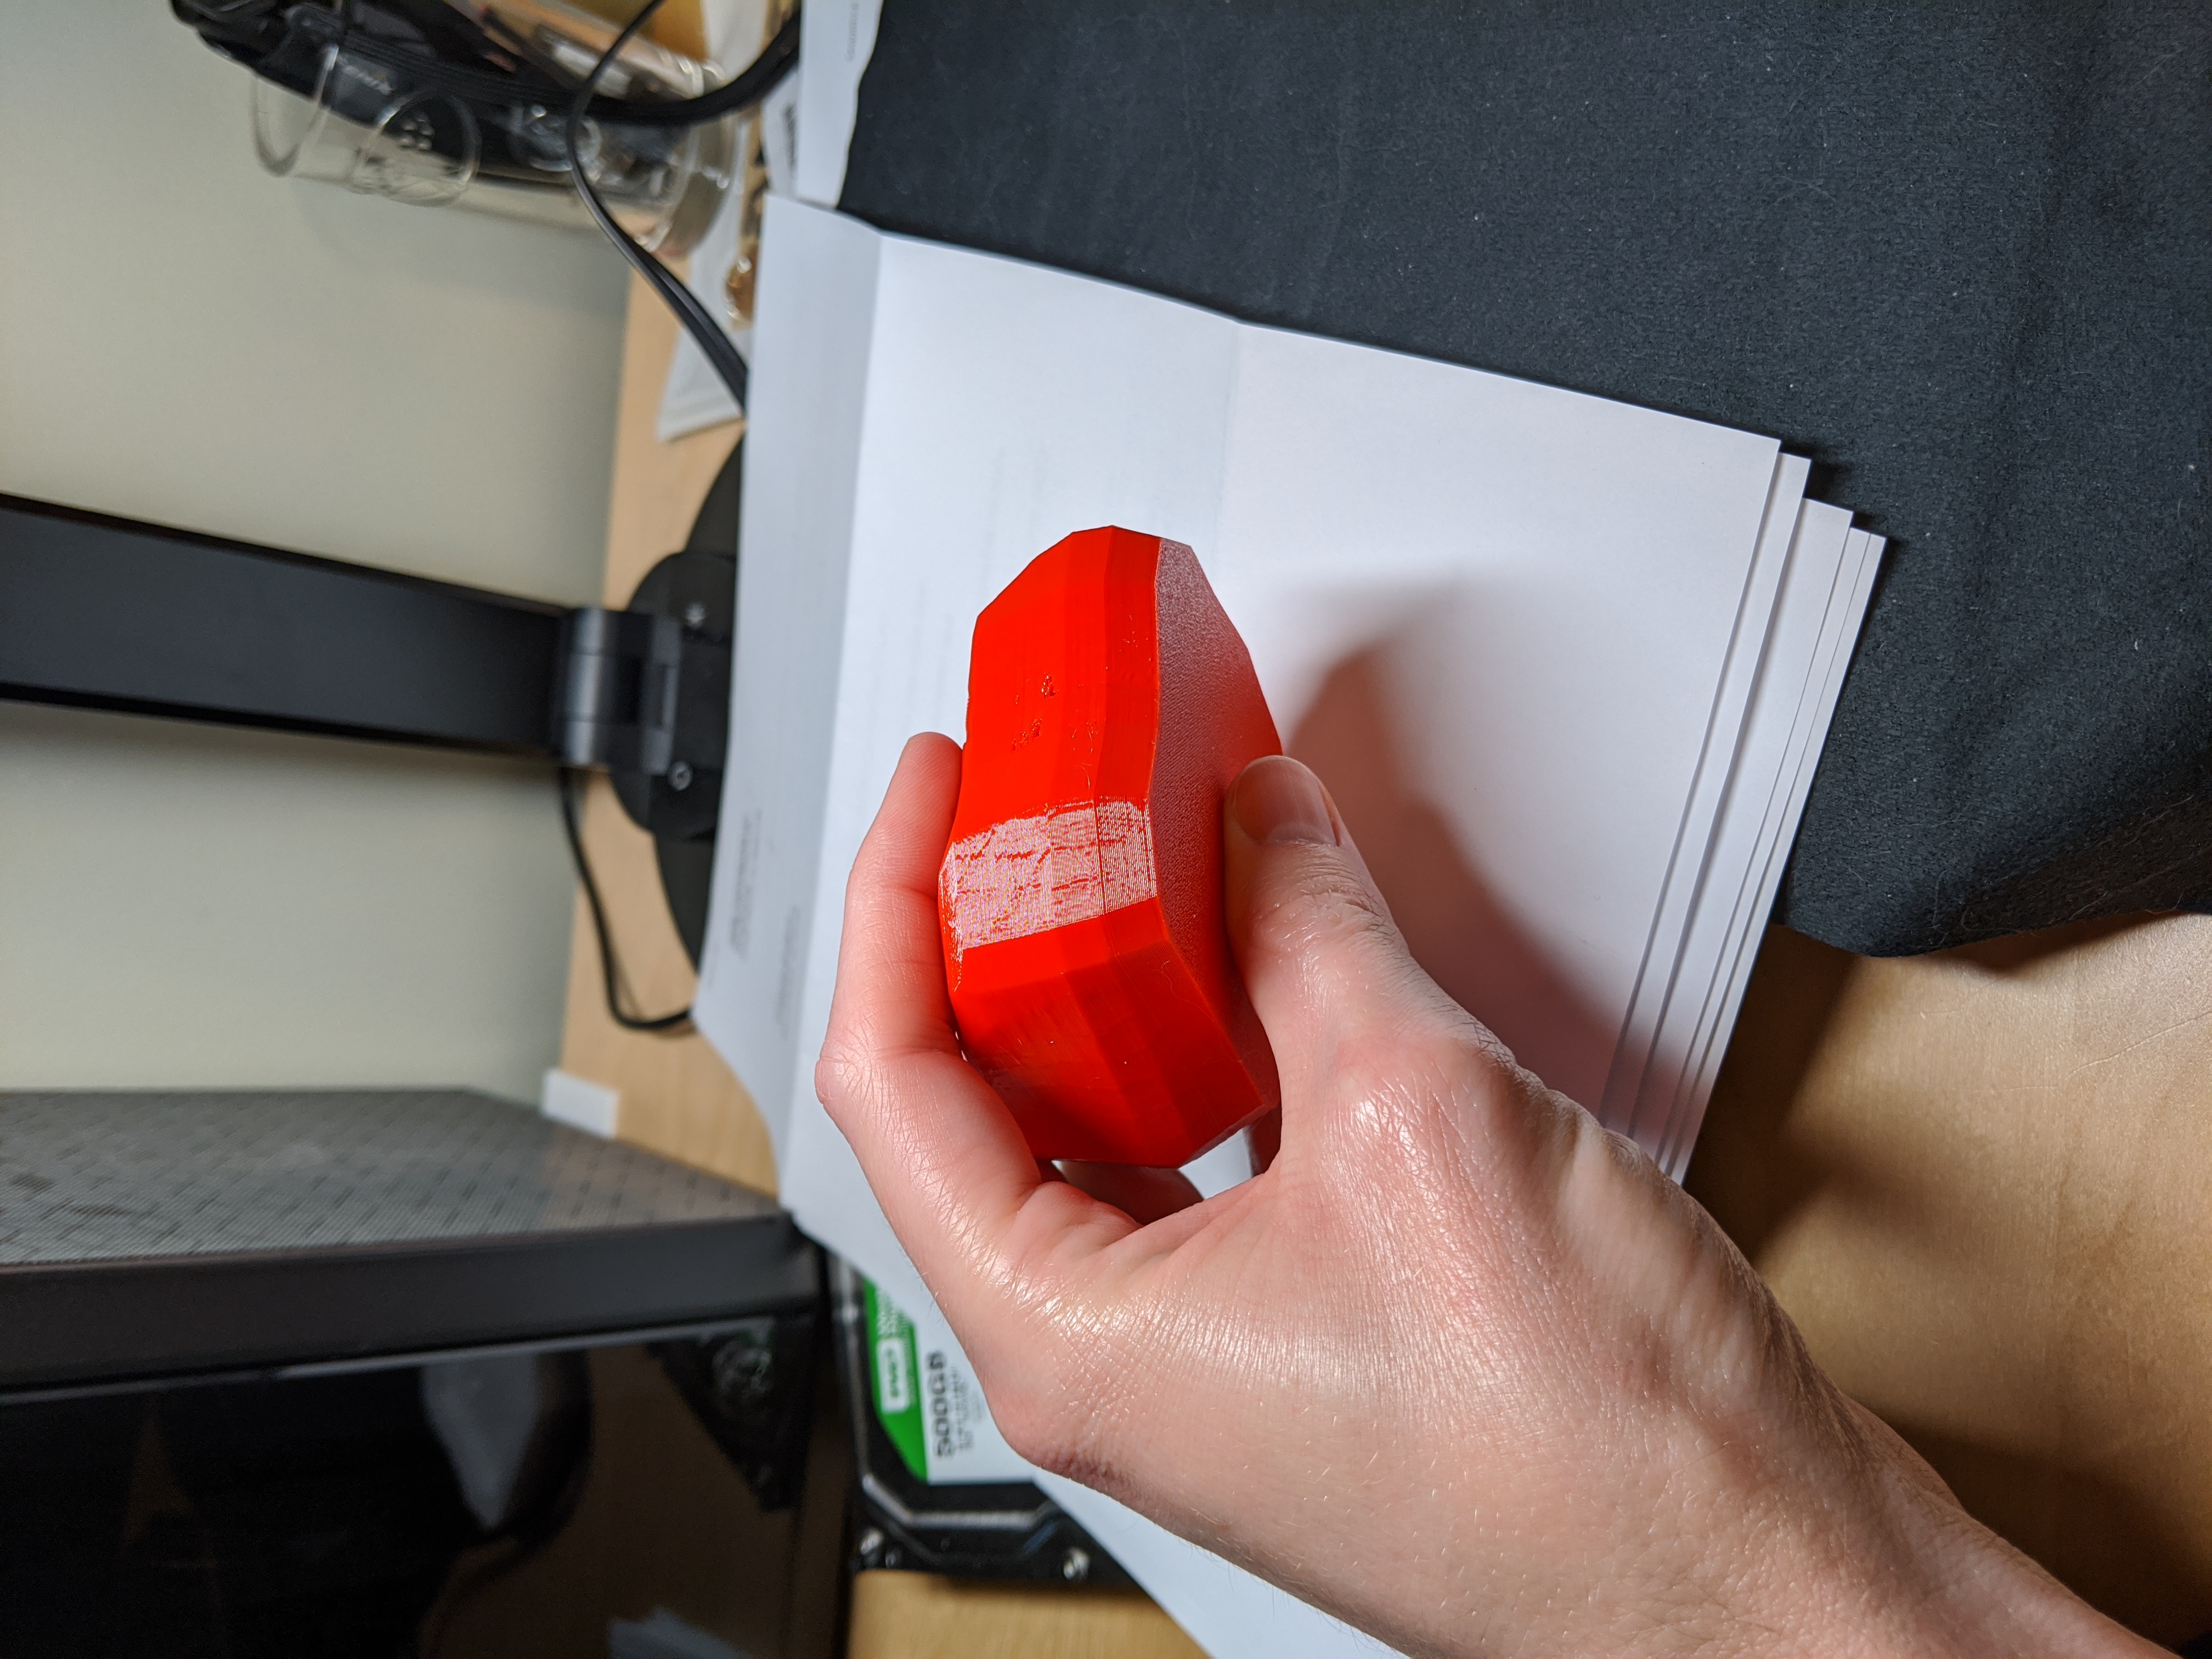
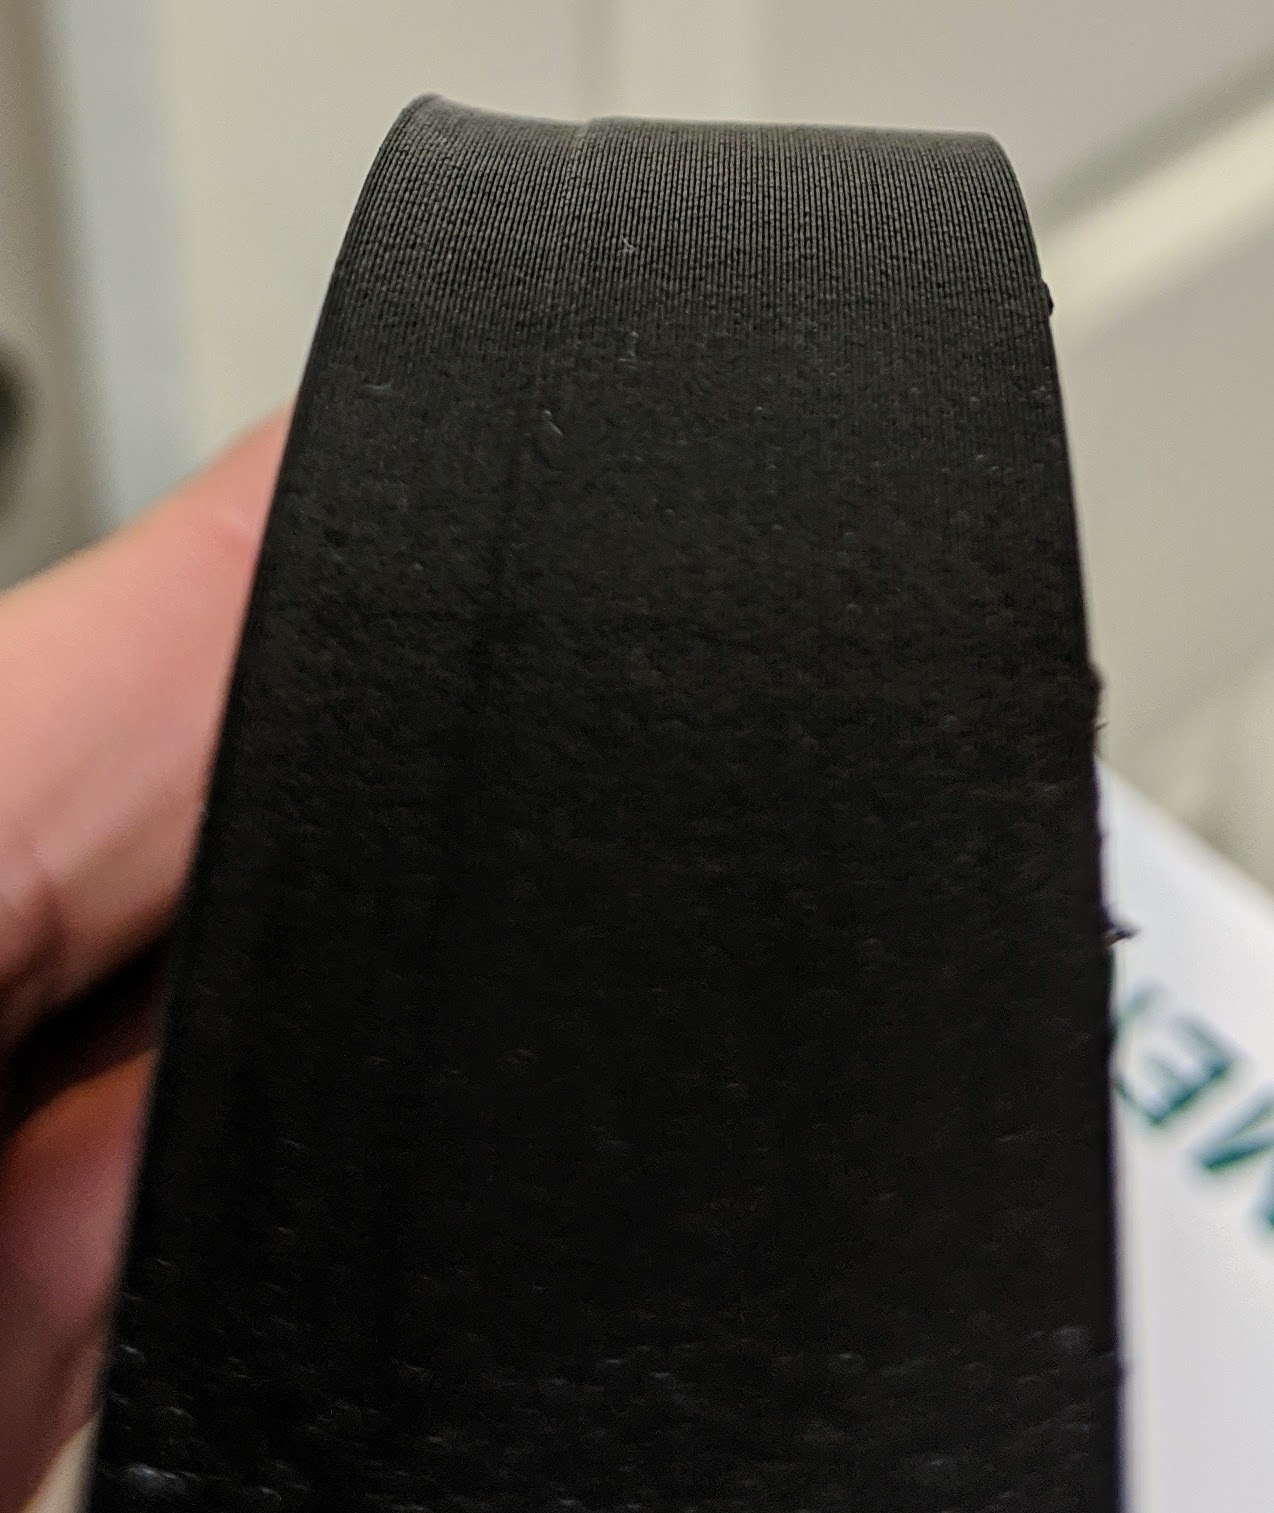
I'm having a similar issue with PrusaSlicer. The walls bulge near the bottom and continue to taper inwards.
My external perimeters are already quite slow on this PC+CF material and there are 4 perimeters. Some of the taper is from a 25% 3D honeycomb infill up to the the part where the wall straightens out. The bulge at the bottom is the part I'm trying to solve. My elephant foot compensation is already 0.4 now.


RE: Mitigate wall bulge
I thought it was my settings, I'm having the exact same issue as many others. Check the image below, the first two on the left sliced by CURA seems to be fine, and all of the rest of the right with different settings, all seems to have issues...I have attached a STL for you all test, it should be a quick 20 mins print, you don't need to print all the way up to see the problem. Let me know your results please.

STL file: https://drive.google.com/file/d/1qjrq-yZa6fhl9OKLnExPNV0I8JRopGRH/view?usp=sharing
RE: Mitigate wall bulge
I'm having the same issue, I have a model that have a 3mm base then wall and I see the bulge. This is not layer shift, is like if the material where the wall starts vs the base is shrinking/expanding. I can't find much information on how to fix this issue, I might have to switch to Cura while this is fixed. It's definitively an issue with the slicer, but no idea what setting. I've been testing a lot of combinations, I'm now playing with different type of infills, I'll report back if I find something.

RE: Mitigate wall bulge
I've updated to the latest version 2.3.0 and this problem still there.
RE: Mitigate wall bulge
Unfortunately, it's not only a PrusaSlicer problem. You may be lucky enough to default to settings that work well with a particular print, but the same basic problem can occur with other slicers. At this risk of repeating some information, here's my latest summary...
-
From solid infill to sparse
-
From sparse infill to gap fill
-
Thread three - Mitigate wall bulge. (this one)
-
Be sure you're not just seeing the effect of minor warping. This can really throw troubleshooting off. Rotate the print and verify the problem occurs in the same place.
-
Slow down external perimeter speeds (and all speeds in general). If the nozzle is moving a bit too fast, you get slight under extrusion on some layers. These are apparent as adjacent layers print with slightly different extrusion rates. I use 25mm/s for external perimeters when appearance is important.
-
Calibrate your extrusion multiplier for each filament. Any slight over or under extrusion can produce very small but noticeable variations in layers with different features (e.g. infill, gap fill, top solid infill). The closer your slicer settings match your actual printer and filament, the more accurate the gcode will be.
-
Calibrate linear advance (LA) for each filament. LA adjusts the flow of filament to compensate for acceleration and deceleration. If it's not right, you may see artifacts even away from features such as bumps or hole on the same layer. In some cases, a hole on one wall causes imperfections on the far side of the print.
-
Add an external perimeter if vertical walls allow it. The thicker combined perimeter allows the filament flow to even out.
-
Tweak perimeter extrusion widths. The problem can appear when the slicer switches between gap fill, sparse infill, and solid or top infill. If you can find a multiple of perimeter widths that minimizes these transitions, it can work for a specific print.
-
If you are the part designer, make vertical free-standing walls thicker. IME, at 1.5mm thick, the problem is less noticeable. You can try for a multiple of extrusion widths, although be aware the PrusaSlicer does some internal calculations for overlap between extrusions that can throw you off.
RE: Mitigate wall bulge
Thanks for replying.... I'll check into all the things you mentioned.
I really want to use the prusa slicer, specially with the new stuff released in the new version. I'm just using Cura for my Ender 3 and Prusa slicer for my Prusa printer, except when I need to print this part. I'm having the problem only on this part because I think the nature of the part, a solid base then a wall.
In my particular case, this issue is with the Prusa Slicer and not with Cura, here you can see the same part, same filament and same printer, one was sliced with Cura and the other with Prusa Slicer.
Again, thanks for sharing all those posts, I'll read them right now.
