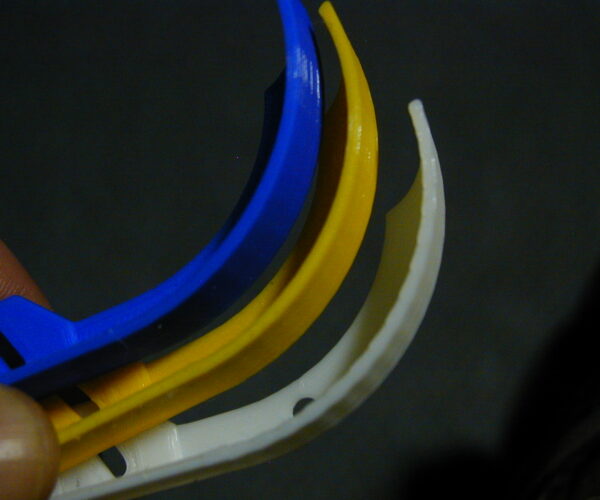
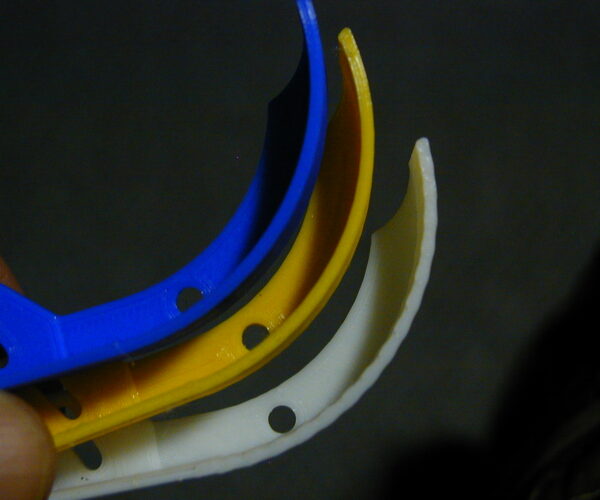
Infill at curves - step by step - no line.
Is there a way to get lines as infill?
The curve wall of this object is only 1,7 mm thick.
Either I'm doing something wrong with the infill or the wall thickness is much too small. I don't find the reason. Can someone help?
I attached pictures how my settings look like.
Here's how is looks like, and this can be seen also at the print, the curve surface is not really closed at top, the "steps" are clearly visible, and the sides are not round, the round is very very edgy.
Thank you!

I wished it could be like in cura. result is a very smooth curve

My settings:

RE: Infill at curves - step by step - no line.
Ya!
Found it.
print settings / adv / I changed all the extrusion width settings from 0.45 to 0.4
RE: Infill at curves - step by step - no line.

RE: Infill at curves - step by step - no line.
Your curved wall is not actually a smooth curve. Its made up of short straight sections, thats how stl files are. You can actually see on your cura screen shots that the interior of the wall does vary in the same sections as Prusa Slicer. Slicer though is using gap fill between the 2 perimeters while cura is doing something different.
Have you tried printing both the prusa and the cura generated files and comparing the actual printed results ?
RE: Infill at curves - step by step - no line.
@neophyl
Oh yes I made a lot of with cura and the difference (only the curve) is/was heavy. After thousands of prints and my own 3D prints online store I should have 5 stars here? 🙂
My MK3S with MMU is on the way so I use the time to be prepared and watch videos, read the manual, use Puraslicer...
After this test print I saw the result and thought Oh oh... whats this? And then I a look to the slicing view.
And then the reason was clear, see 1st picture.
With the help of god, I did a mistake and choosed another print config file.
Went to the slicer view and surprise, the sections were gone, now there are lines. Hurray!
And then I looked what is diffent from the other config file I used for the prints and found the reason.
RE: Infill at curves - step by step - no line.
Yes by adjusting your extrusion width it can get rid of the gapfill as the perimeters more closely fits a division in that space. It can help greatly. However its entirely dependant on model and the wall thickness of the parts involved. One other setting you should experiment with is trying it with and without Print Settings>Layers & perimeters> 'Detect Thin Walls' enabled. Some models that can help and on others its a hindrance.
RE: Infill at curves - step by step - no line.
Nice example. Both slicers are slicing it as a section of short straight lines as thats what your stl model has. Cura is just doing a better job than PS when gapfill is involved (the white one) where the cross section narrows for the tiniest amount. Gapfill is known to be problematic on Slicer anyway.
You might want to give Super Slicer a try. It is a fork of Prusa Slicer so should be familiar and it has more options to tune all sorts of things. The recent builds do some slightly different processing when it comes to thin walls and merging them, there are now several options available. You also get a bit more control on gapfill, with PS its either on or off, with Super Slicer you can set a minimum print area before its generated.
Forgot the link - https://github.com/supermerill/SuperSlicer/releases
Phil

