Increasing adhesion of print to brim
Hi Guys,
Is there any way I can increase the adhesion of a print to a brim? I am printing lithophanes in the vertical axis, but the edges sometimes curl upwards and leave the brim attached to the print bed.
Printing PLA at 215/60. Brim sticks to the bed fine, but the print doesn't stick to the brim.
Thanks
RE: Increasing adhesion of print to brim
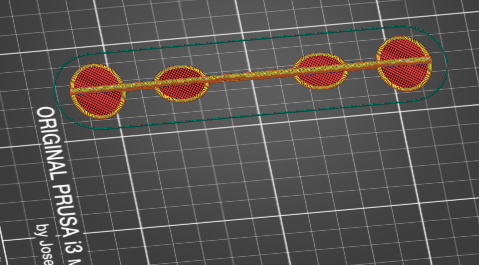
Maybe mouse ears. Short cylinders on the ends or corners of your print that you cut away when finished.
RE: Increasing adhesion of print to brim
@jsw
Thats a good idea, I never even thought of something like that and I can do it directly in the slicer. Got one printing now but will try your idea next time! Thanks!
RE: Increasing adhesion of print to brim
Another print failure. I feel like this can't be right... the brim doesn't even stick to itself?
RE: Increasing adhesion of print to brim
Check what your elephants foot compensation is set to. The default for Prusa profiles is 0.2. This means the first layer is moved in by 0.2mm to offset the squish needed for bed adhesion. However with Prusa Slicer the brim is NOT subject to that value. It stays where it is so if you don’t actually need 0.2 elephants foot compensation you can actually get the brim not attached at all.
Also when using a brim you need to set your skirt value to either off or moved out further than the brim size as I notice it’s inside the brim area.
RE: Increasing adhesion of print to brim
Another print failure. I feel like this can't be right... the brim doesn't even stick to itself?
The brim should be just like your 1st layer and hold together well. If you have not already done so, try using Jeff Jordan's "Life Adjust" procedure for calibrating your Live-Z setting. It is much easier to use and understand than the onboard routine and much easier to make mid-print adjustments accurately with. In general, start high (less negative) and work lower (more negative) in large increments (e.g. 0.1mm) until the filament starts to stick on its own. When you've got your Live-Z setting adjusted properly, you should be able to gently rub the extruded lines on the PEI surface without dislodging them. Then start lowering (more negative) the level until there are no gaps between layers. You should not be able to peel the lines apart after printing, but the top should be regular.
RE: Increasing adhesion of print to brim
Check what your elephants foot compensation is set to. The default for Prusa profiles is 0.2. This means the first layer is moved in by 0.2mm to offset the squish needed for bed adhesion. However with Prusa Slicer the brim is NOT subject to that value. It stays where it is so if you don’t actually need 0.2 elephants foot compensation you can actually get the brim not attached at all.
Also when using a brim you need to set your skirt value to either off or moved out further than the brim size as I notice it’s inside the brim area.
Thats interesting about the elephants foot. You can clearly see a gap with elephants foot at 0.2mm with a brim on, and the gap disappears with elephants foot at 0. Great information there:

Then start lowering (more negative) the level until there are no gaps between layers. You should not be able to peel the lines apart after printing, but the top should be regular.
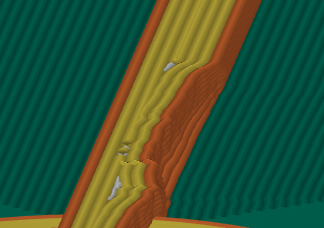
I think my first layer is OK, I've no idea why the brim isn't sticking to itself. Heres a picture of my first layer calibration as it was in the print I posted where the brim was falling apart. My Z adjustment was at -1.740. As you can see, the top looks pretty uniform - I'd even say almost a little TOO low (As I can feel the ridges in it, almost like high points either side of the extruder nozzle caused by too much squish)
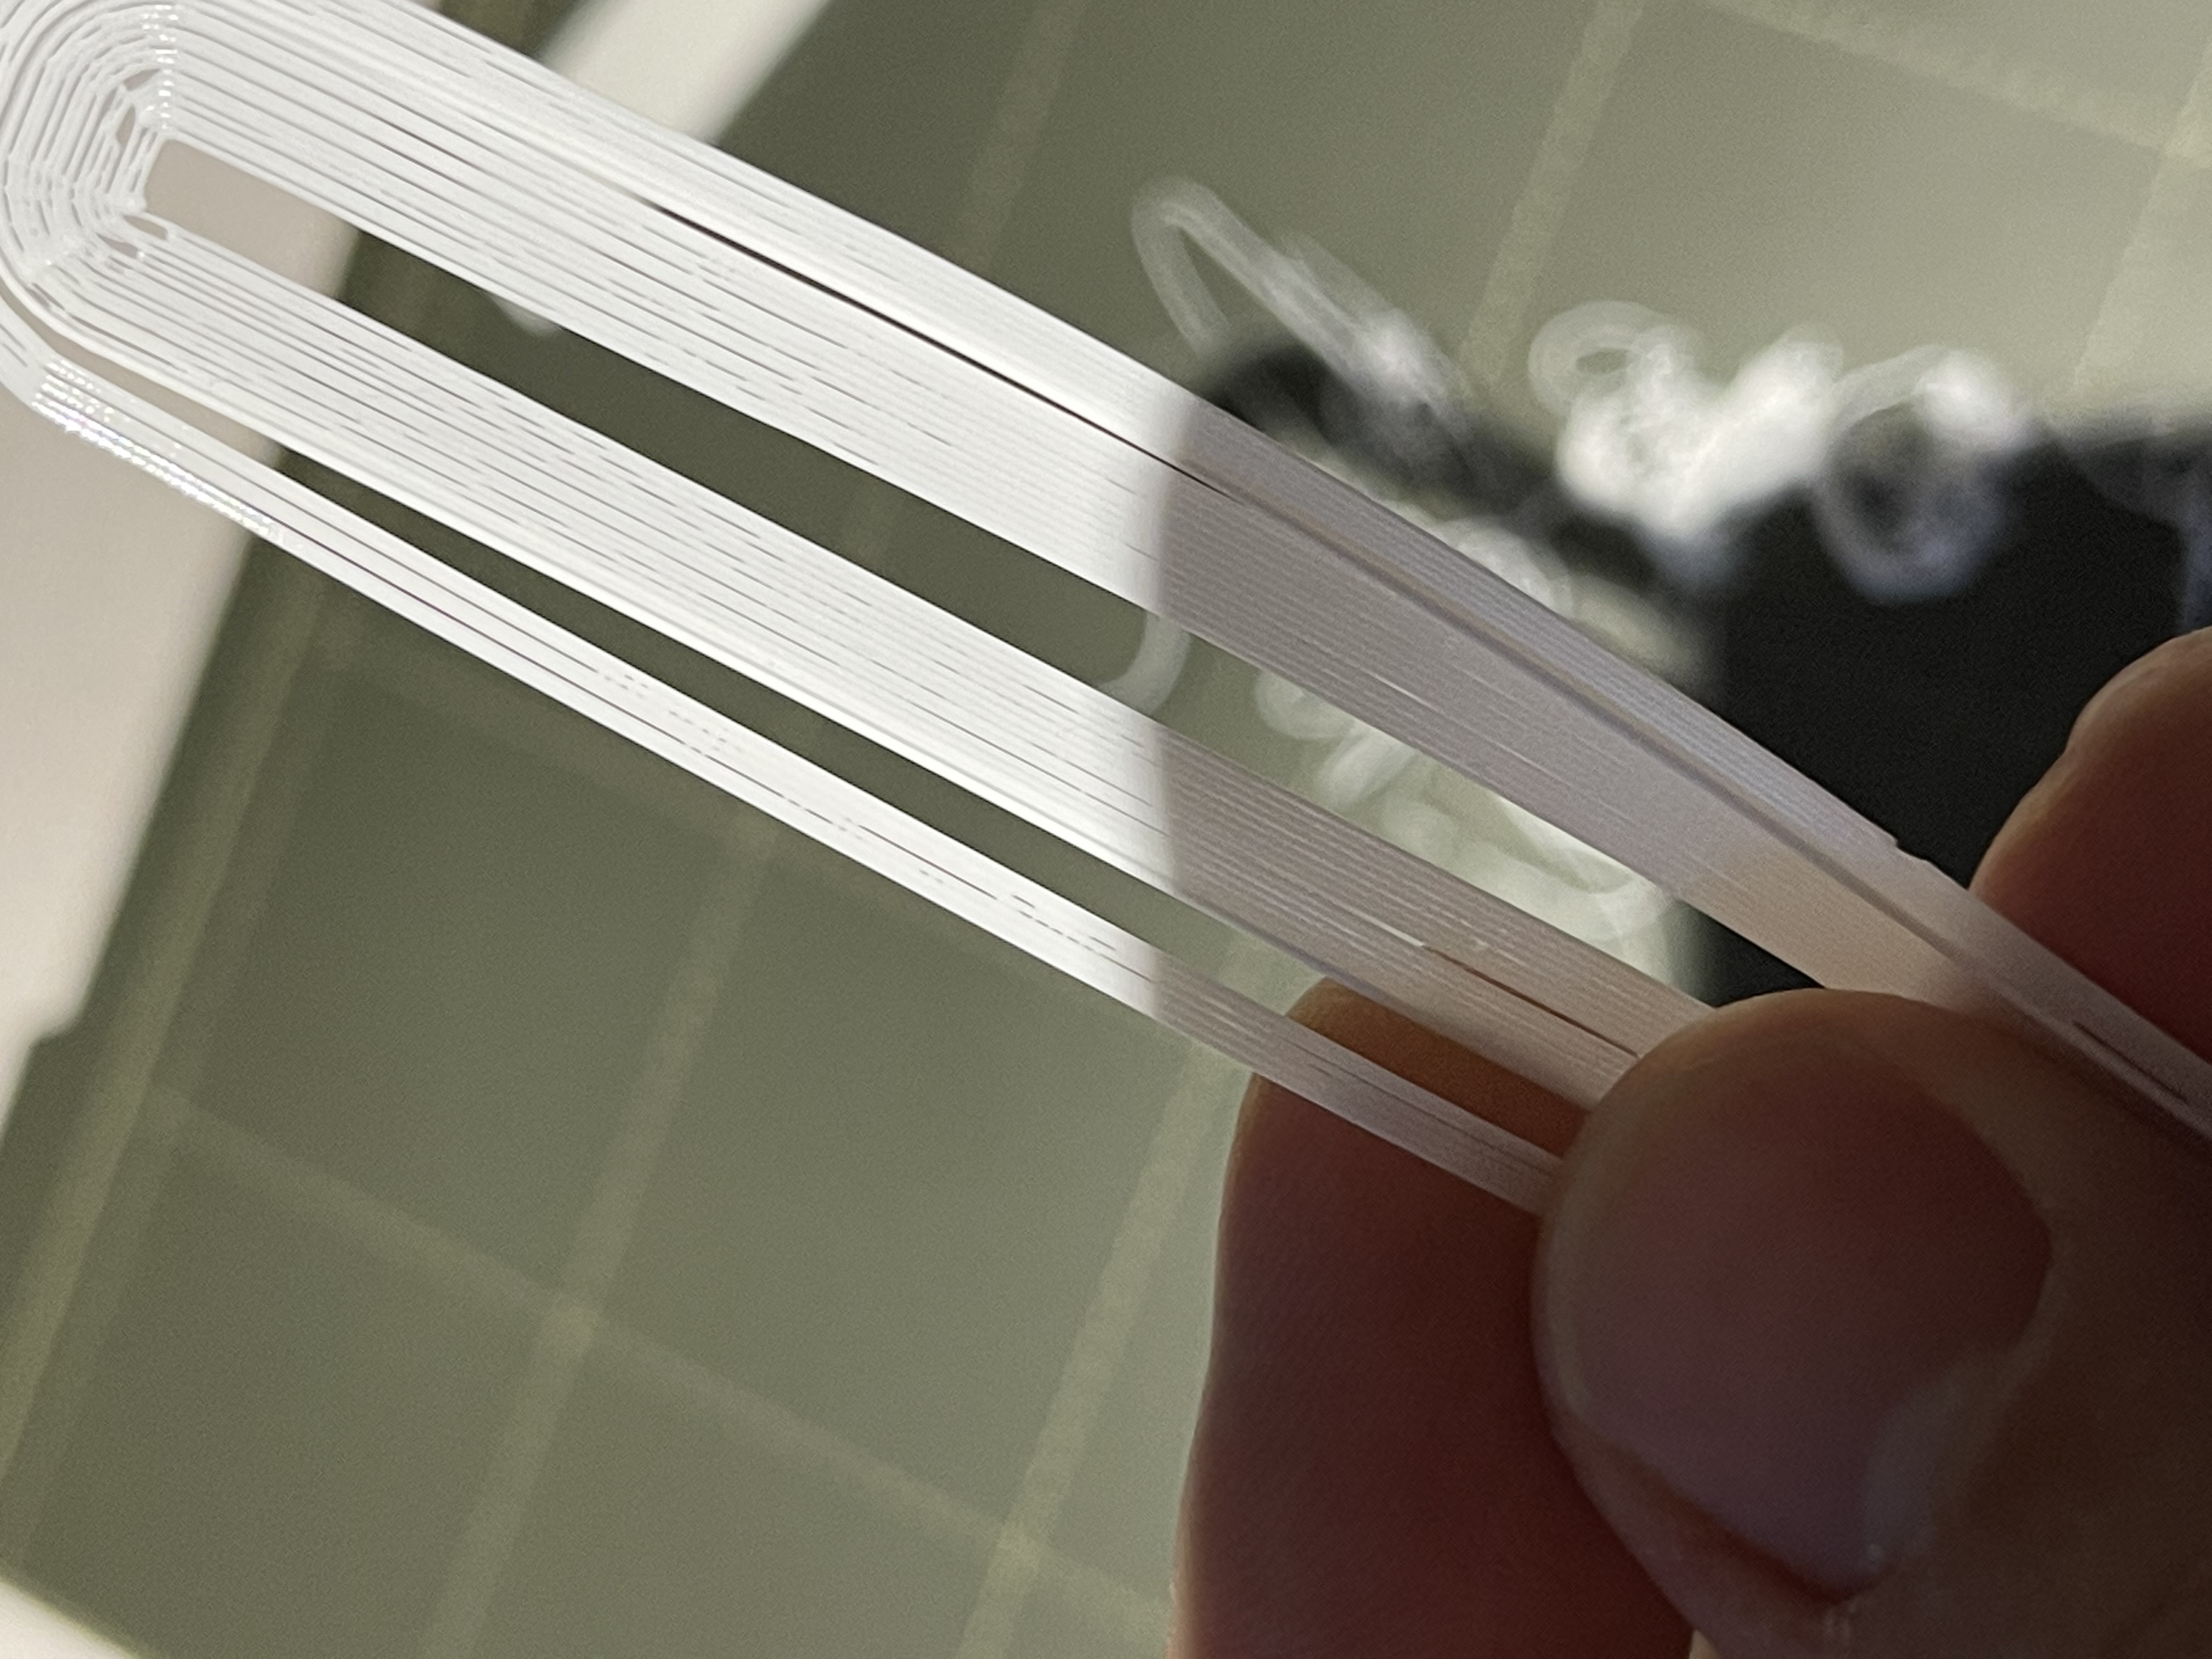
The first layer is very well adhered to the bed and i have to get my nail under it to begin to peel it off. I ran another calibration at -1.760mm just for fun... Not a lot of difference but I didn't want to go too much lower. Ignore the lighter corner of this patch, I started to peel it off before taking a picture.
After peeling them both off, I folded them in half. The plastic folded, instead of snapping - which i think shows a good bond between extrusion lines. What are your thoughts Bob?

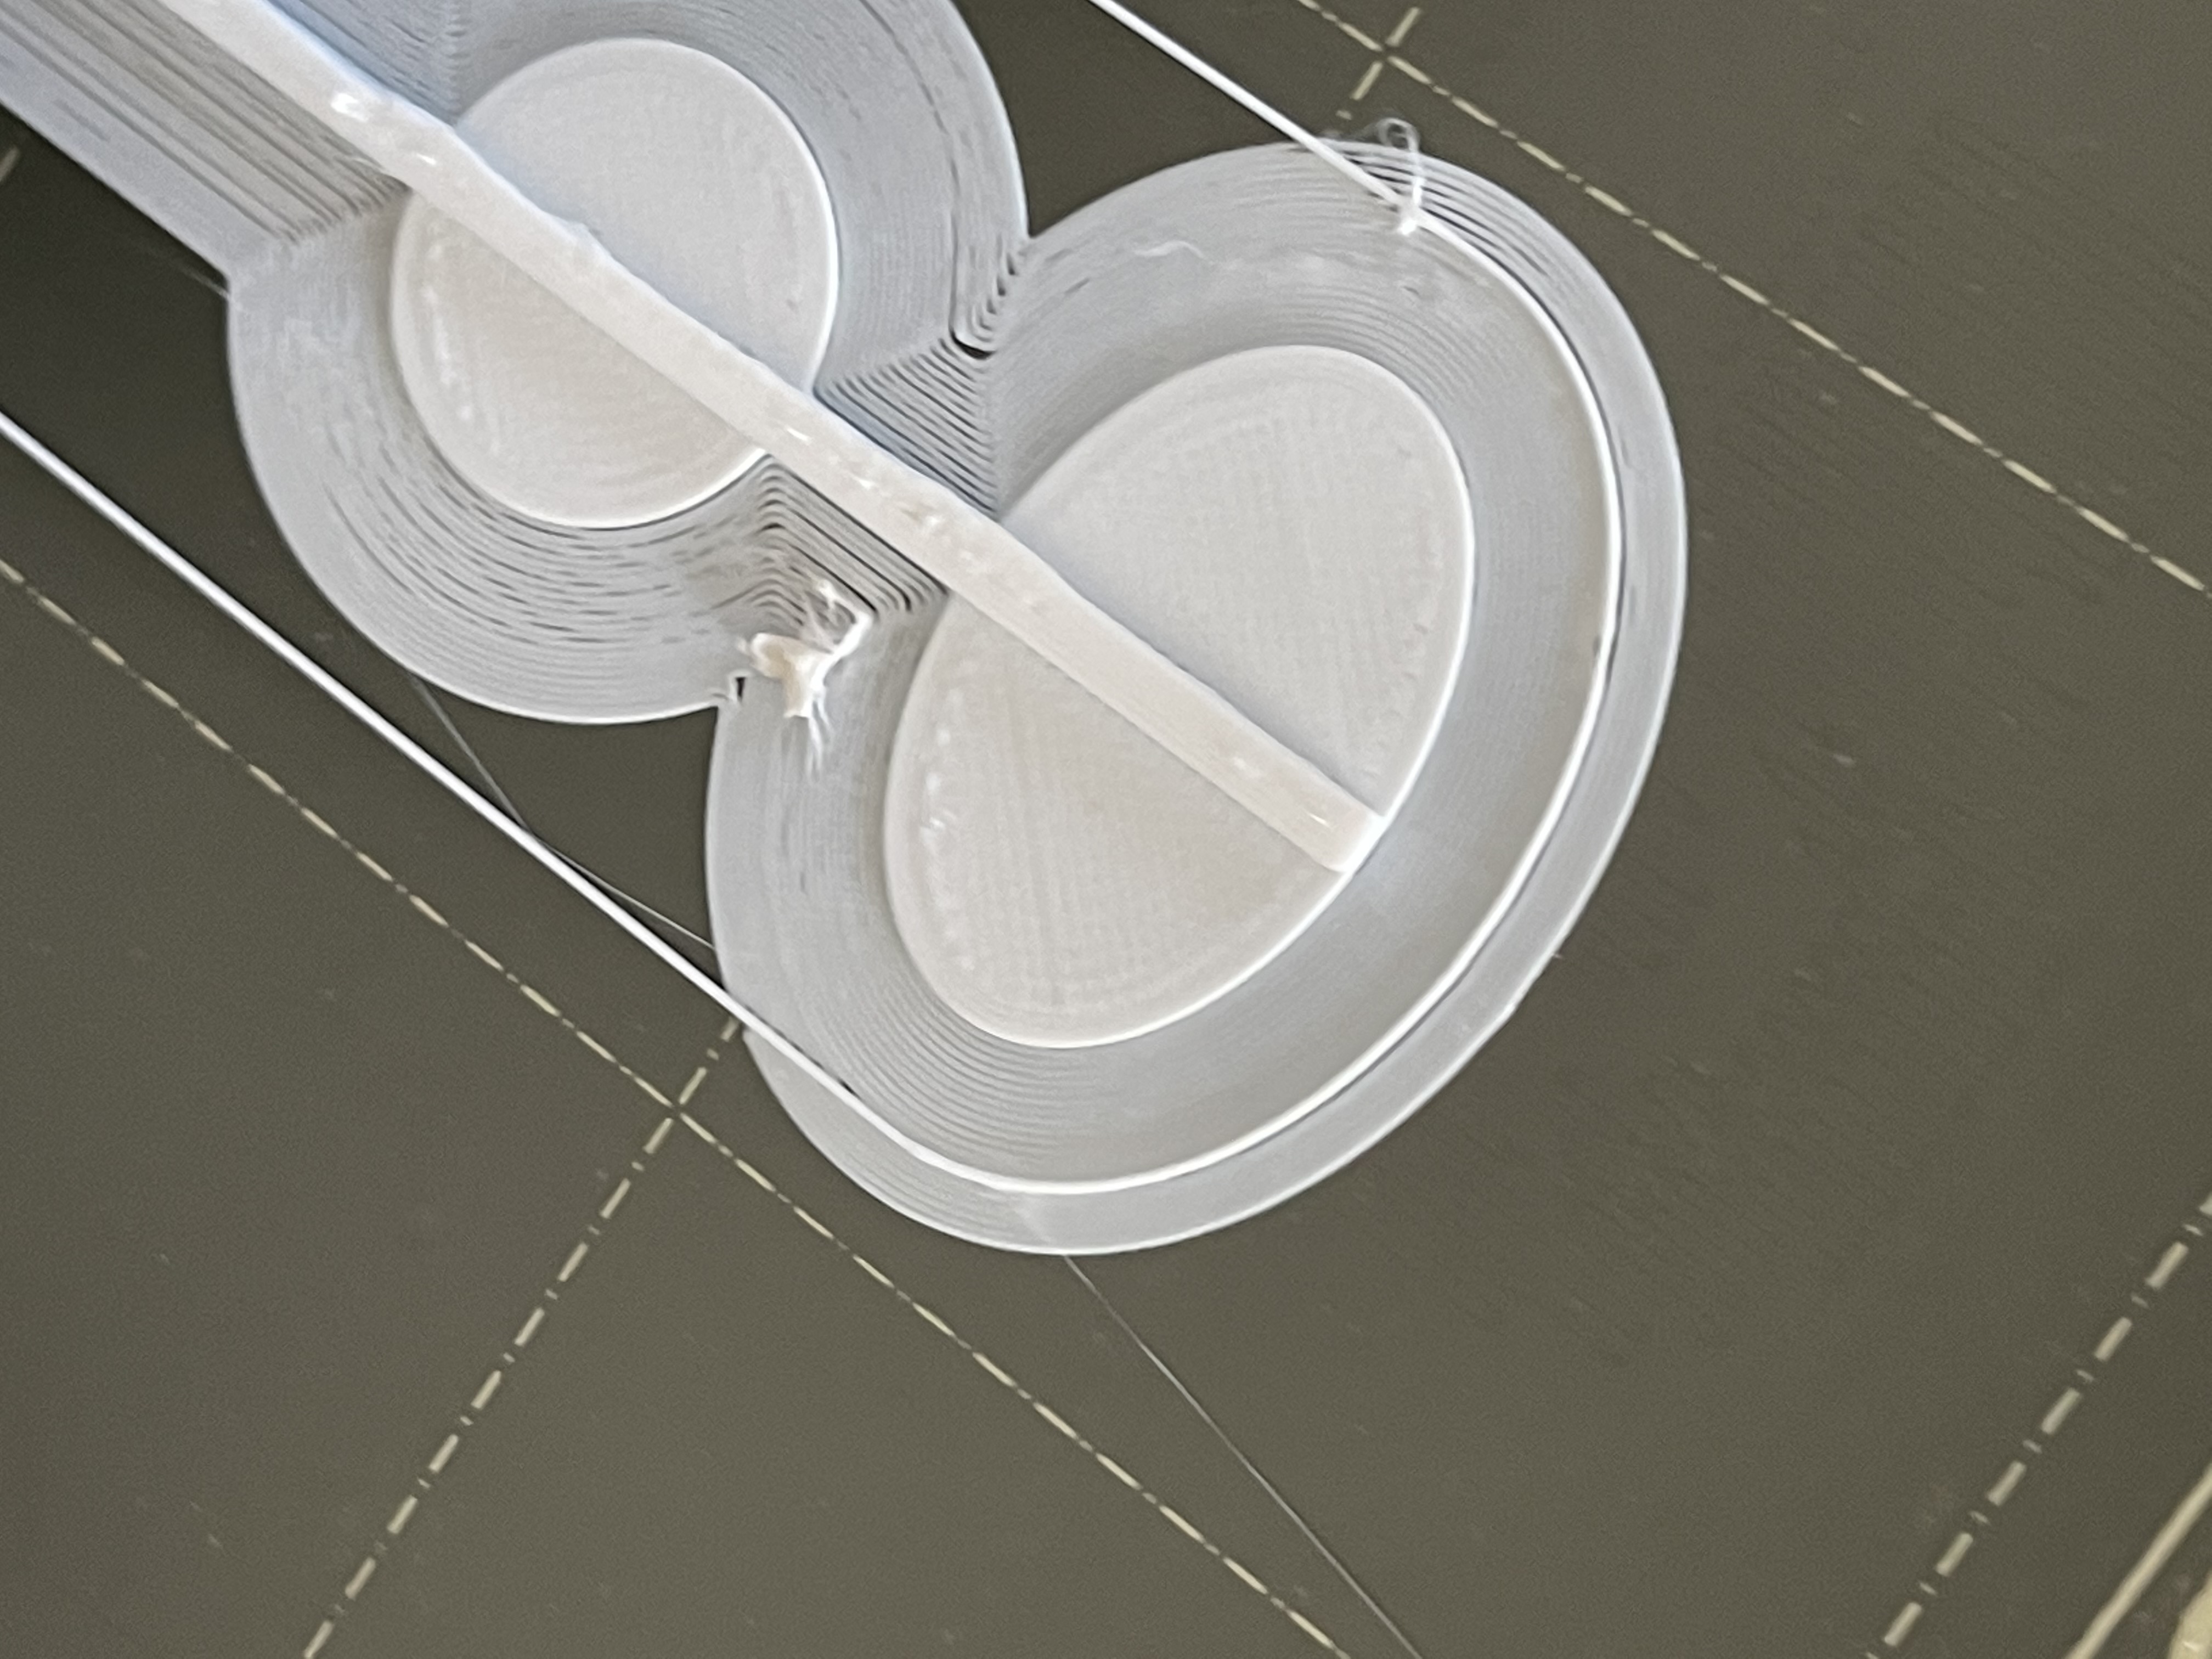
Just for info as well, this is what I tried (After the first "mouse ears" test detached from the bed)
This one also failed, with the print detaching at about 40% of the way through. I have cleaned my bed thoroughly with 99% alcohol many times...
RE: Increasing adhesion of print to brim
I have also turned the fan down to 50%. This didn't help...
RE: Increasing adhesion of print to brim
After peeling them both off, I folded them in half. The plastic folded, instead of snapping - which i think shows a good bond between extrusion lines. What are your thoughts Bob?
I agree with you on the results. Your Live-Z looks good, and the bed should be clean. I think you're down to eliminating items from consideration:
- Have you tried another filament?
- Have you tried slicing with another slicer (or printing the Prusa sample gcode)?
- Flip the PEI sheet or try another?
If we can find something that does work, figuring out what's different should be straightforward.
Save your part & settings in a 3MF project file, zip it, and attach it here so we can look at your overall settings and any possible print quirks. That might help find what's going on. You seem to be doing everything right.
Thanks Bob, that's great to hear that I seem to be doing the correct things!
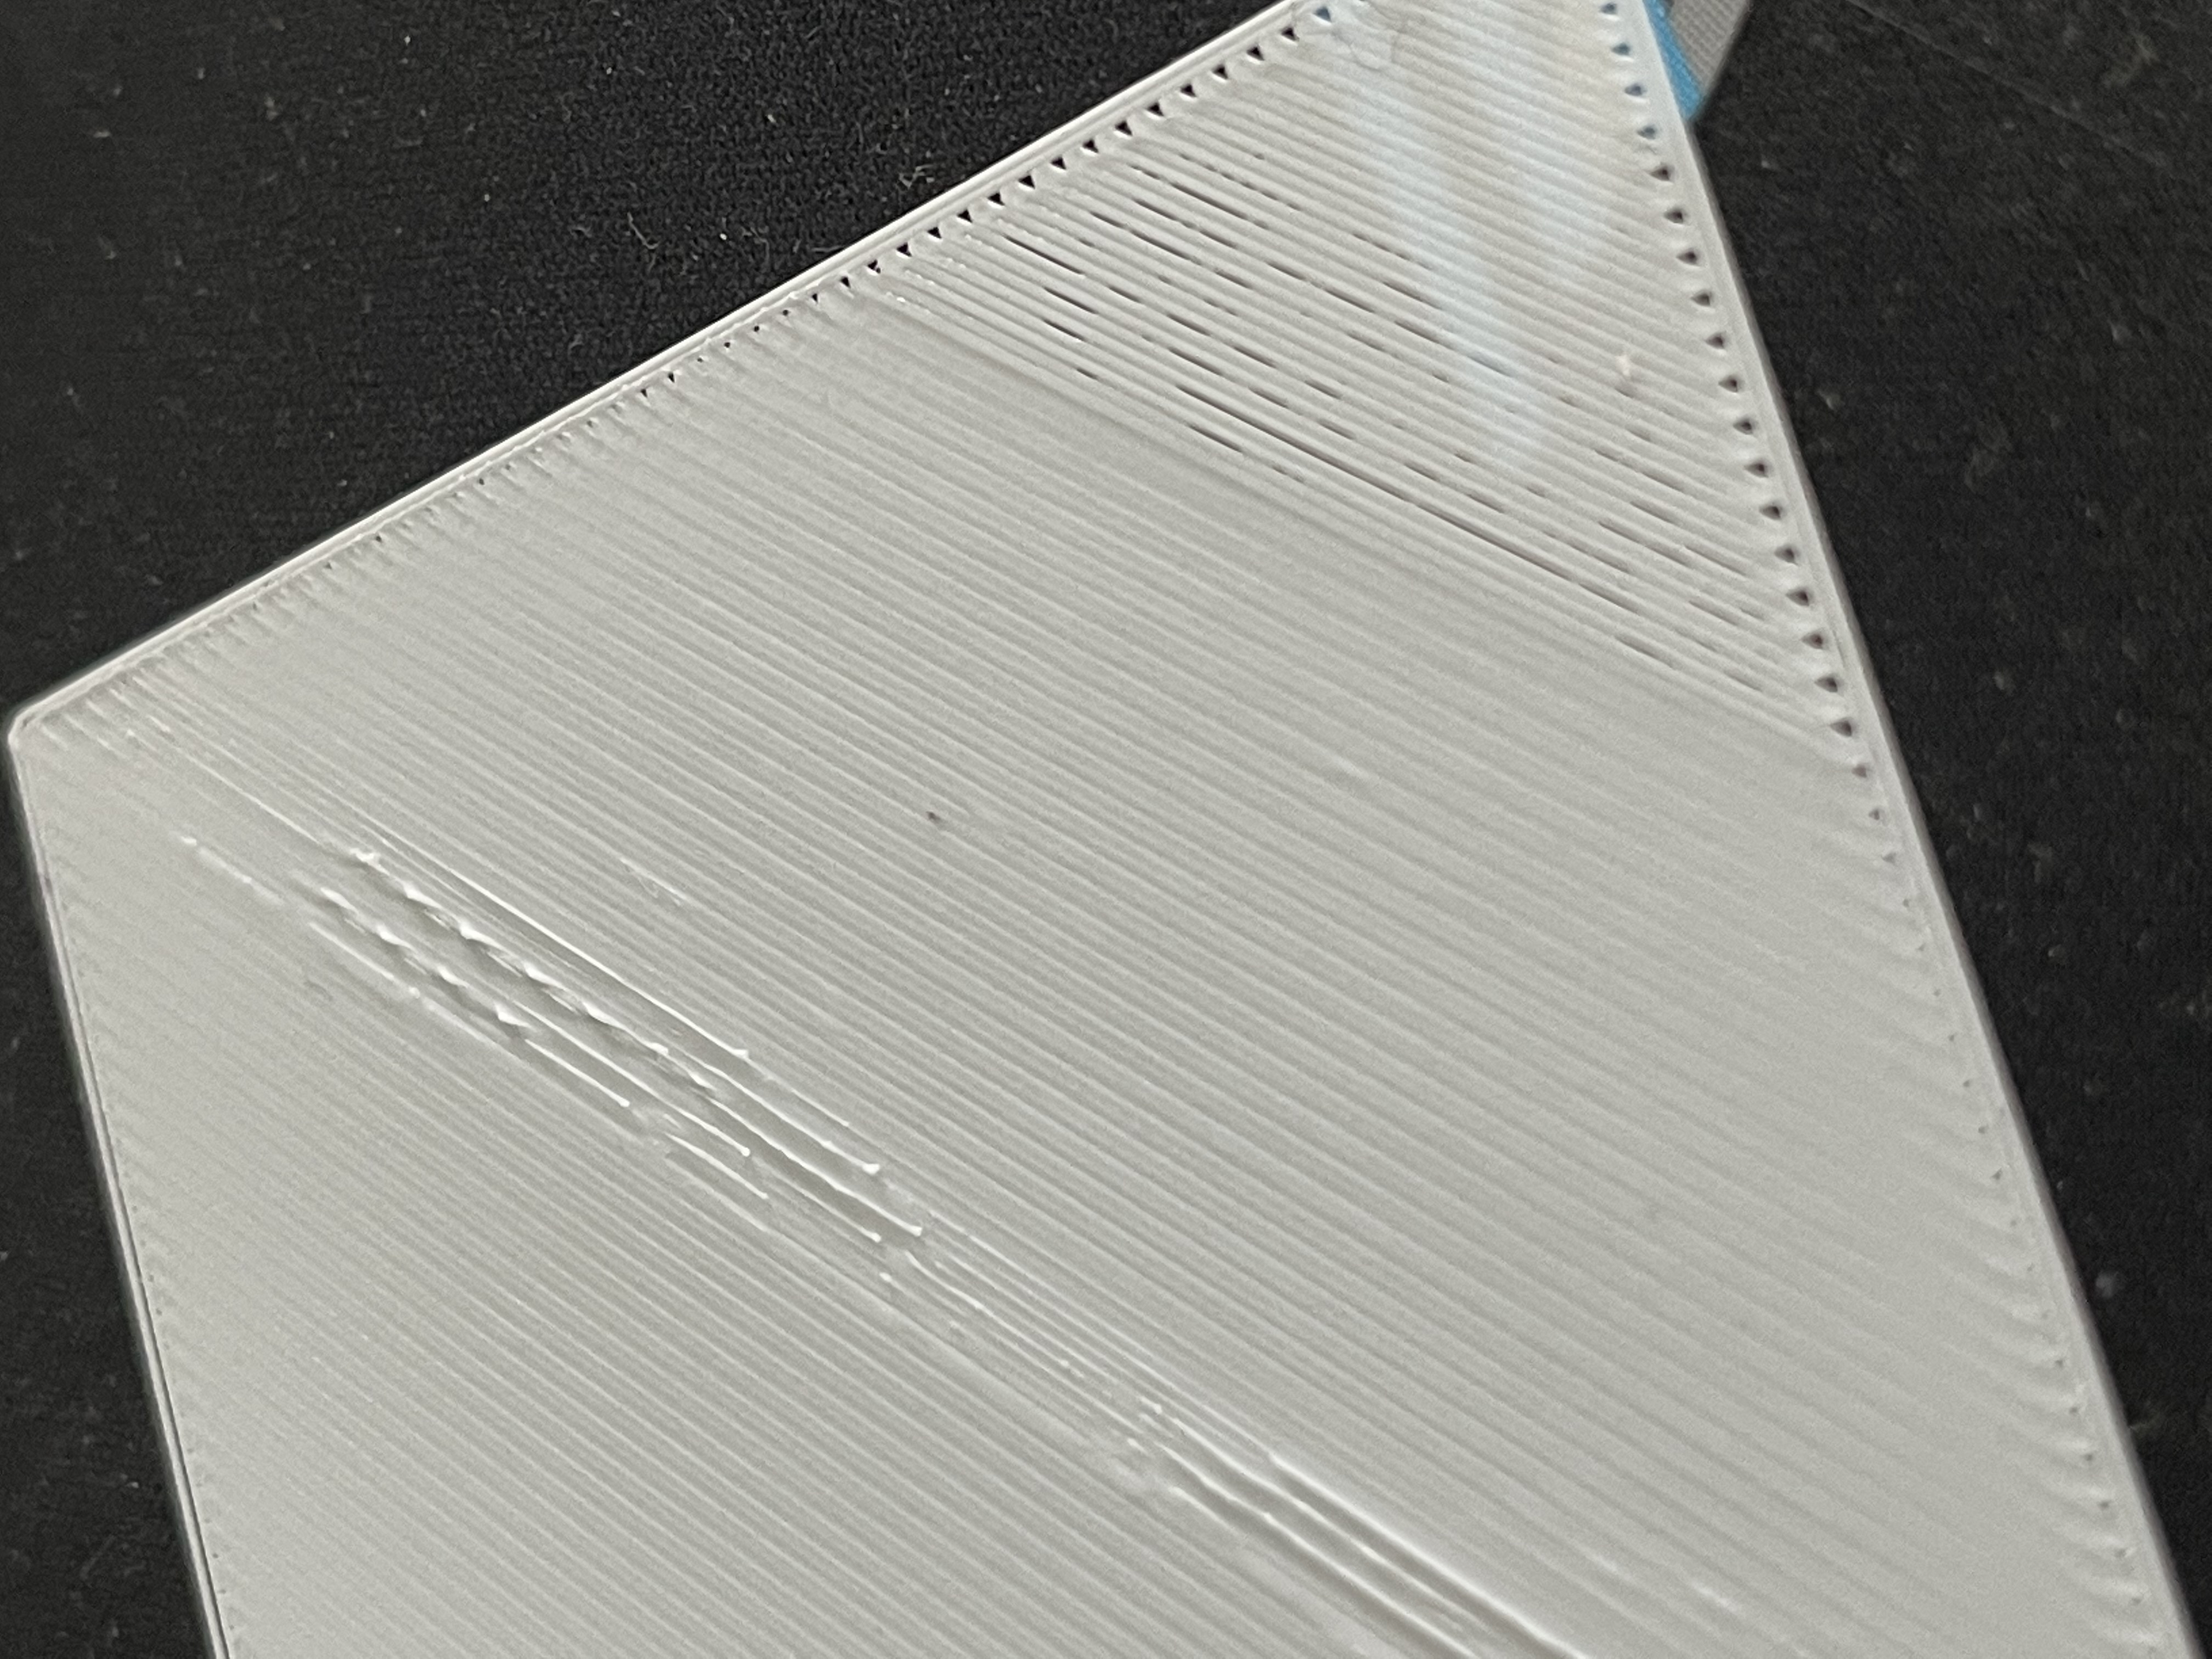
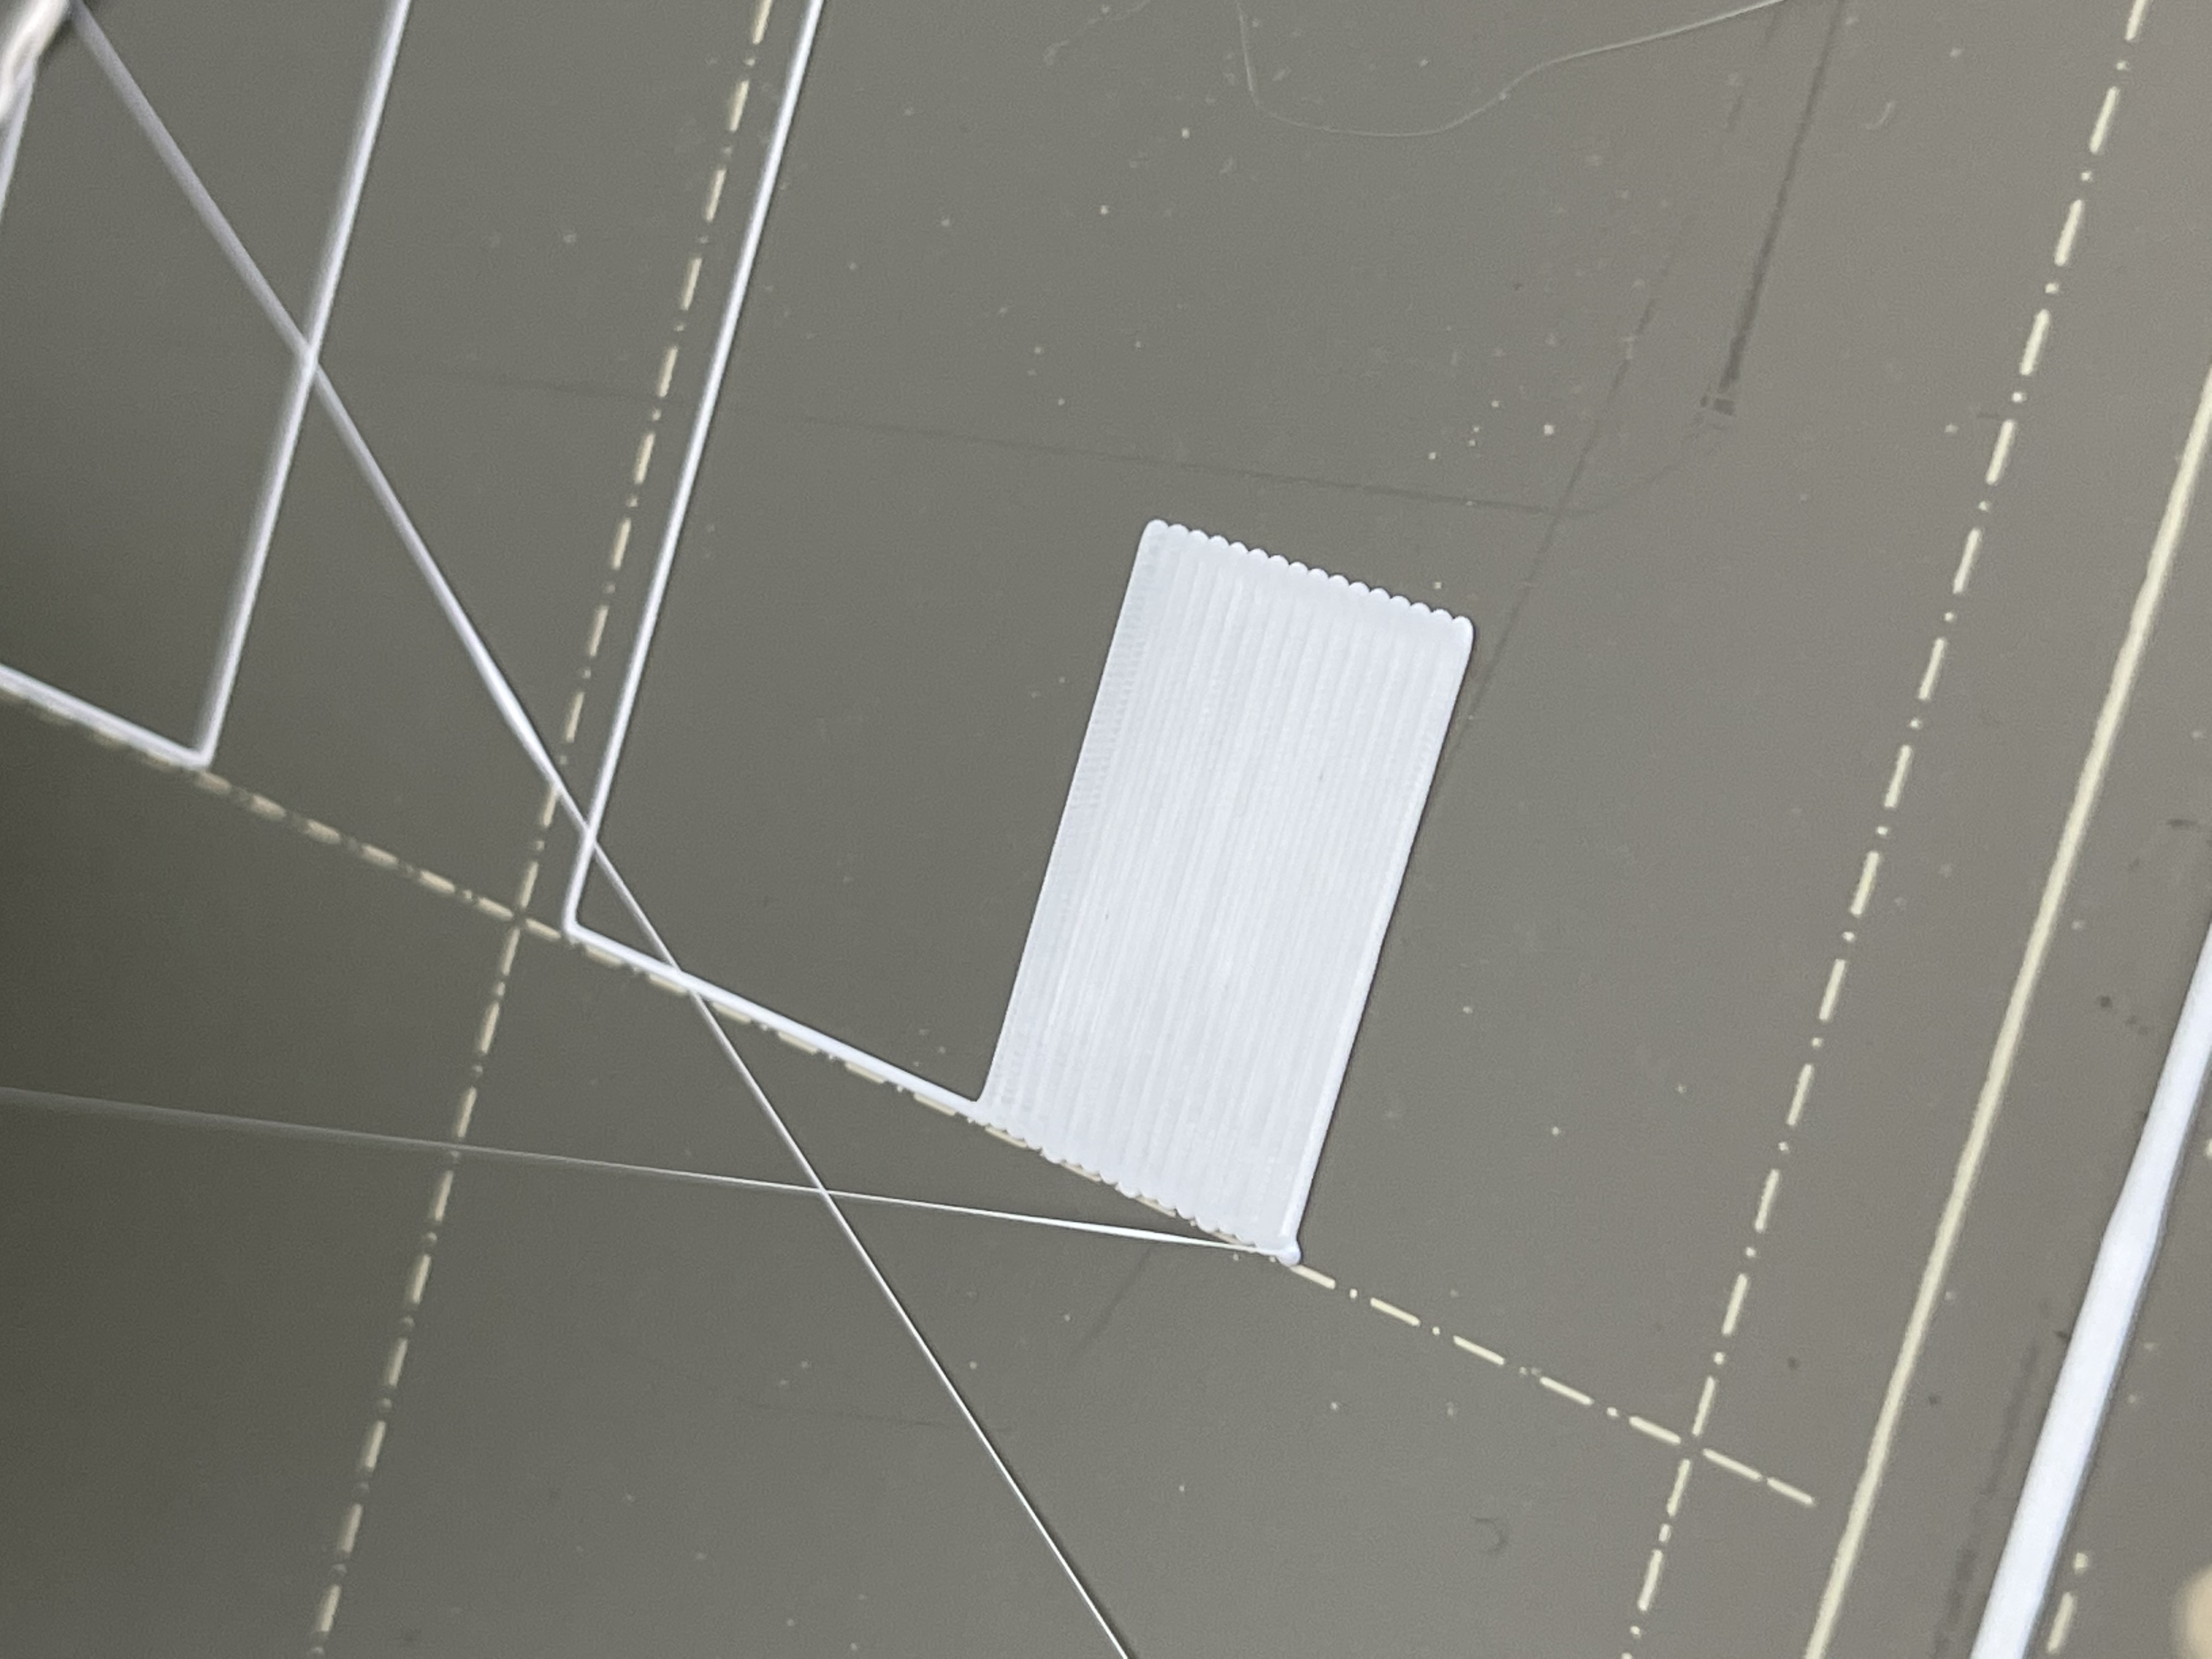
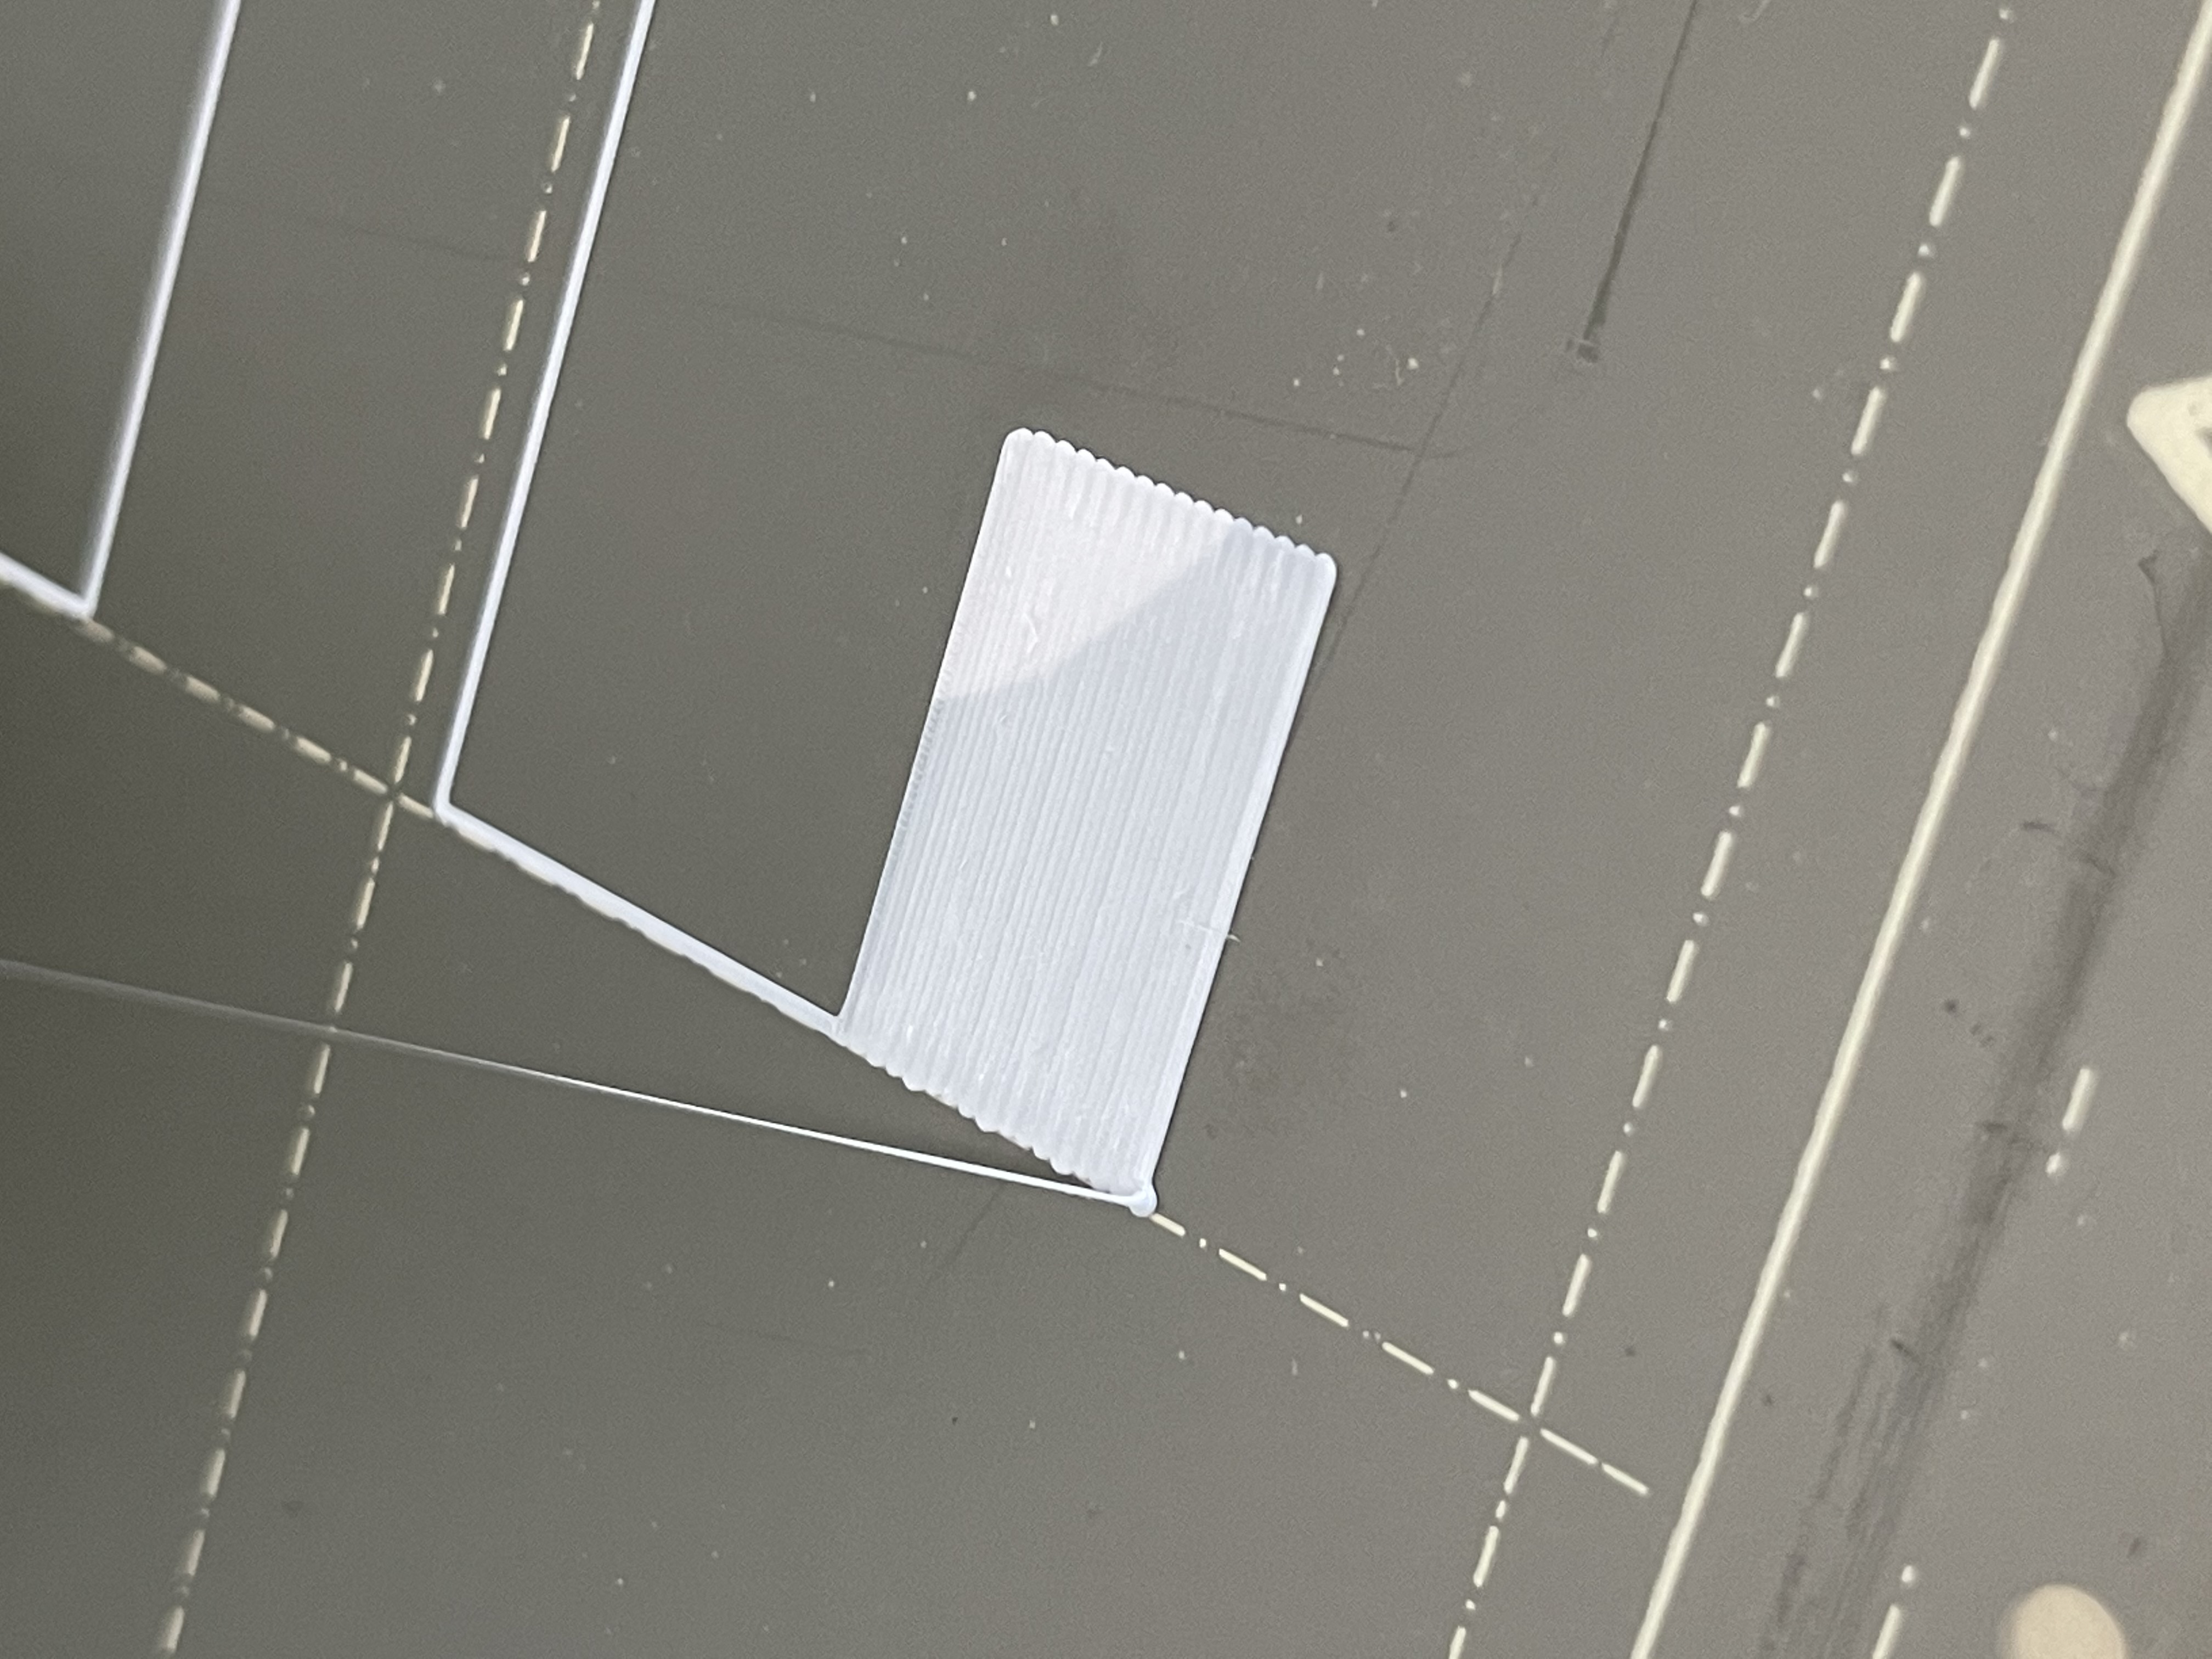
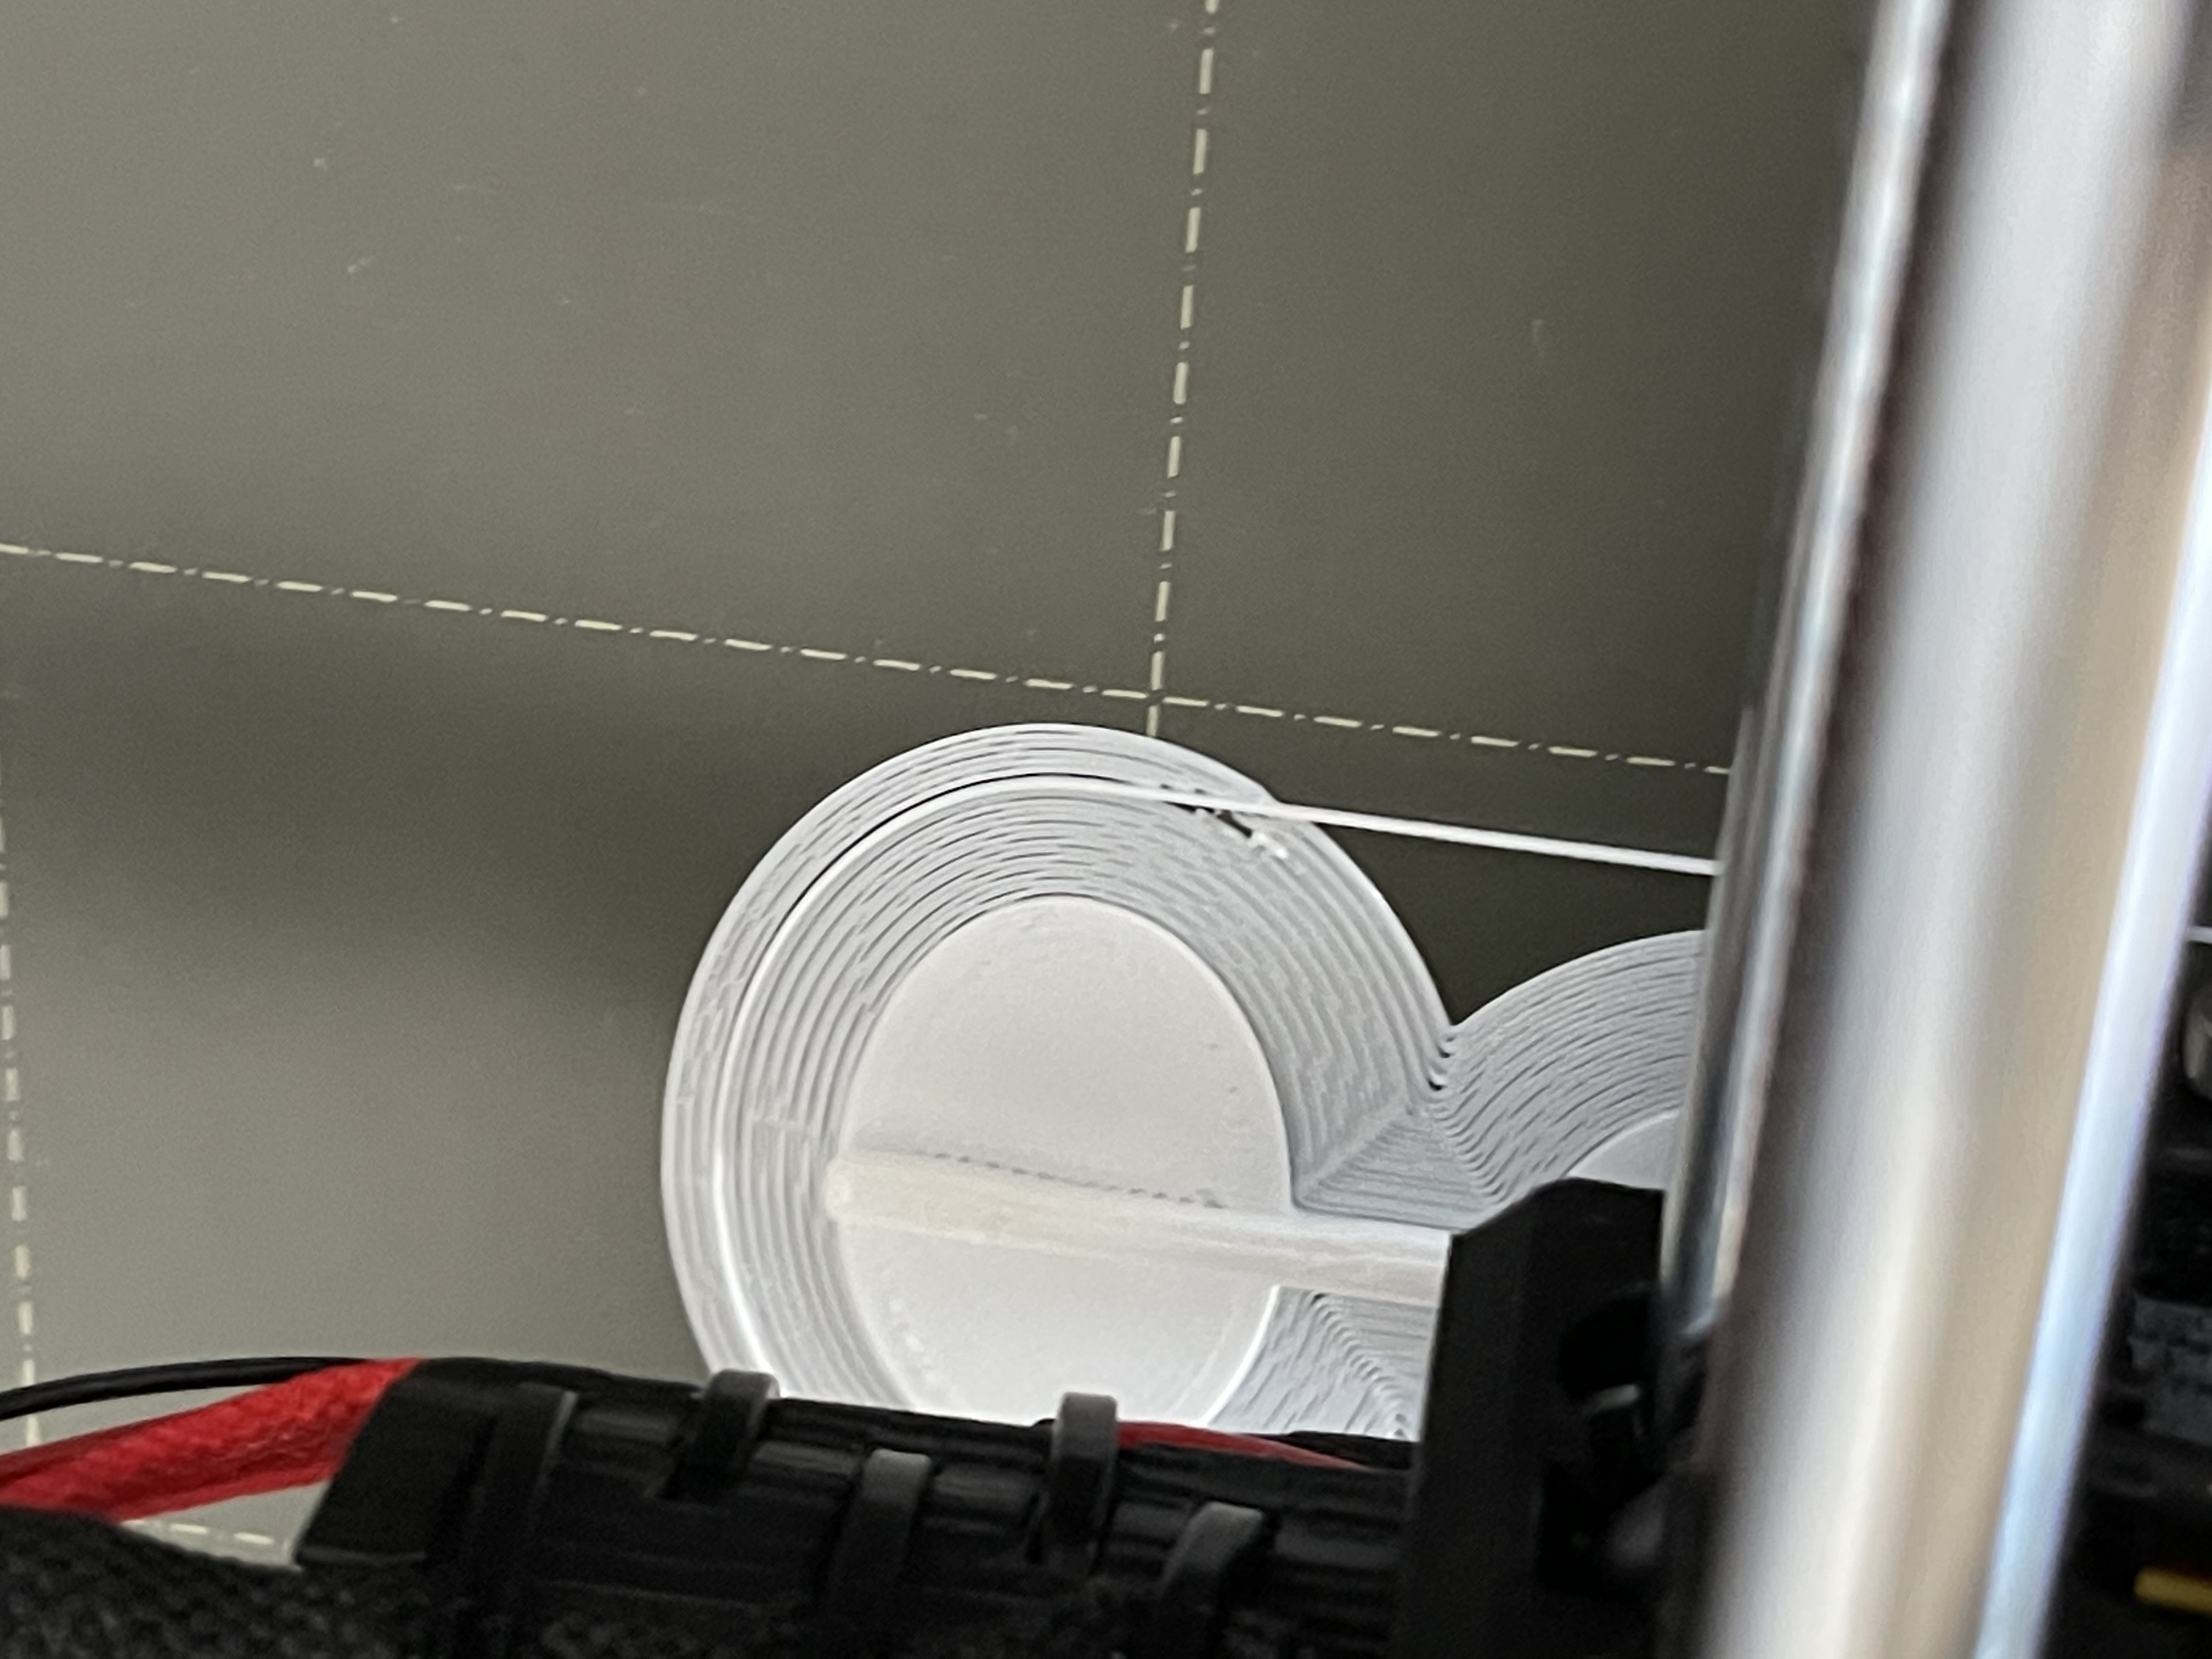
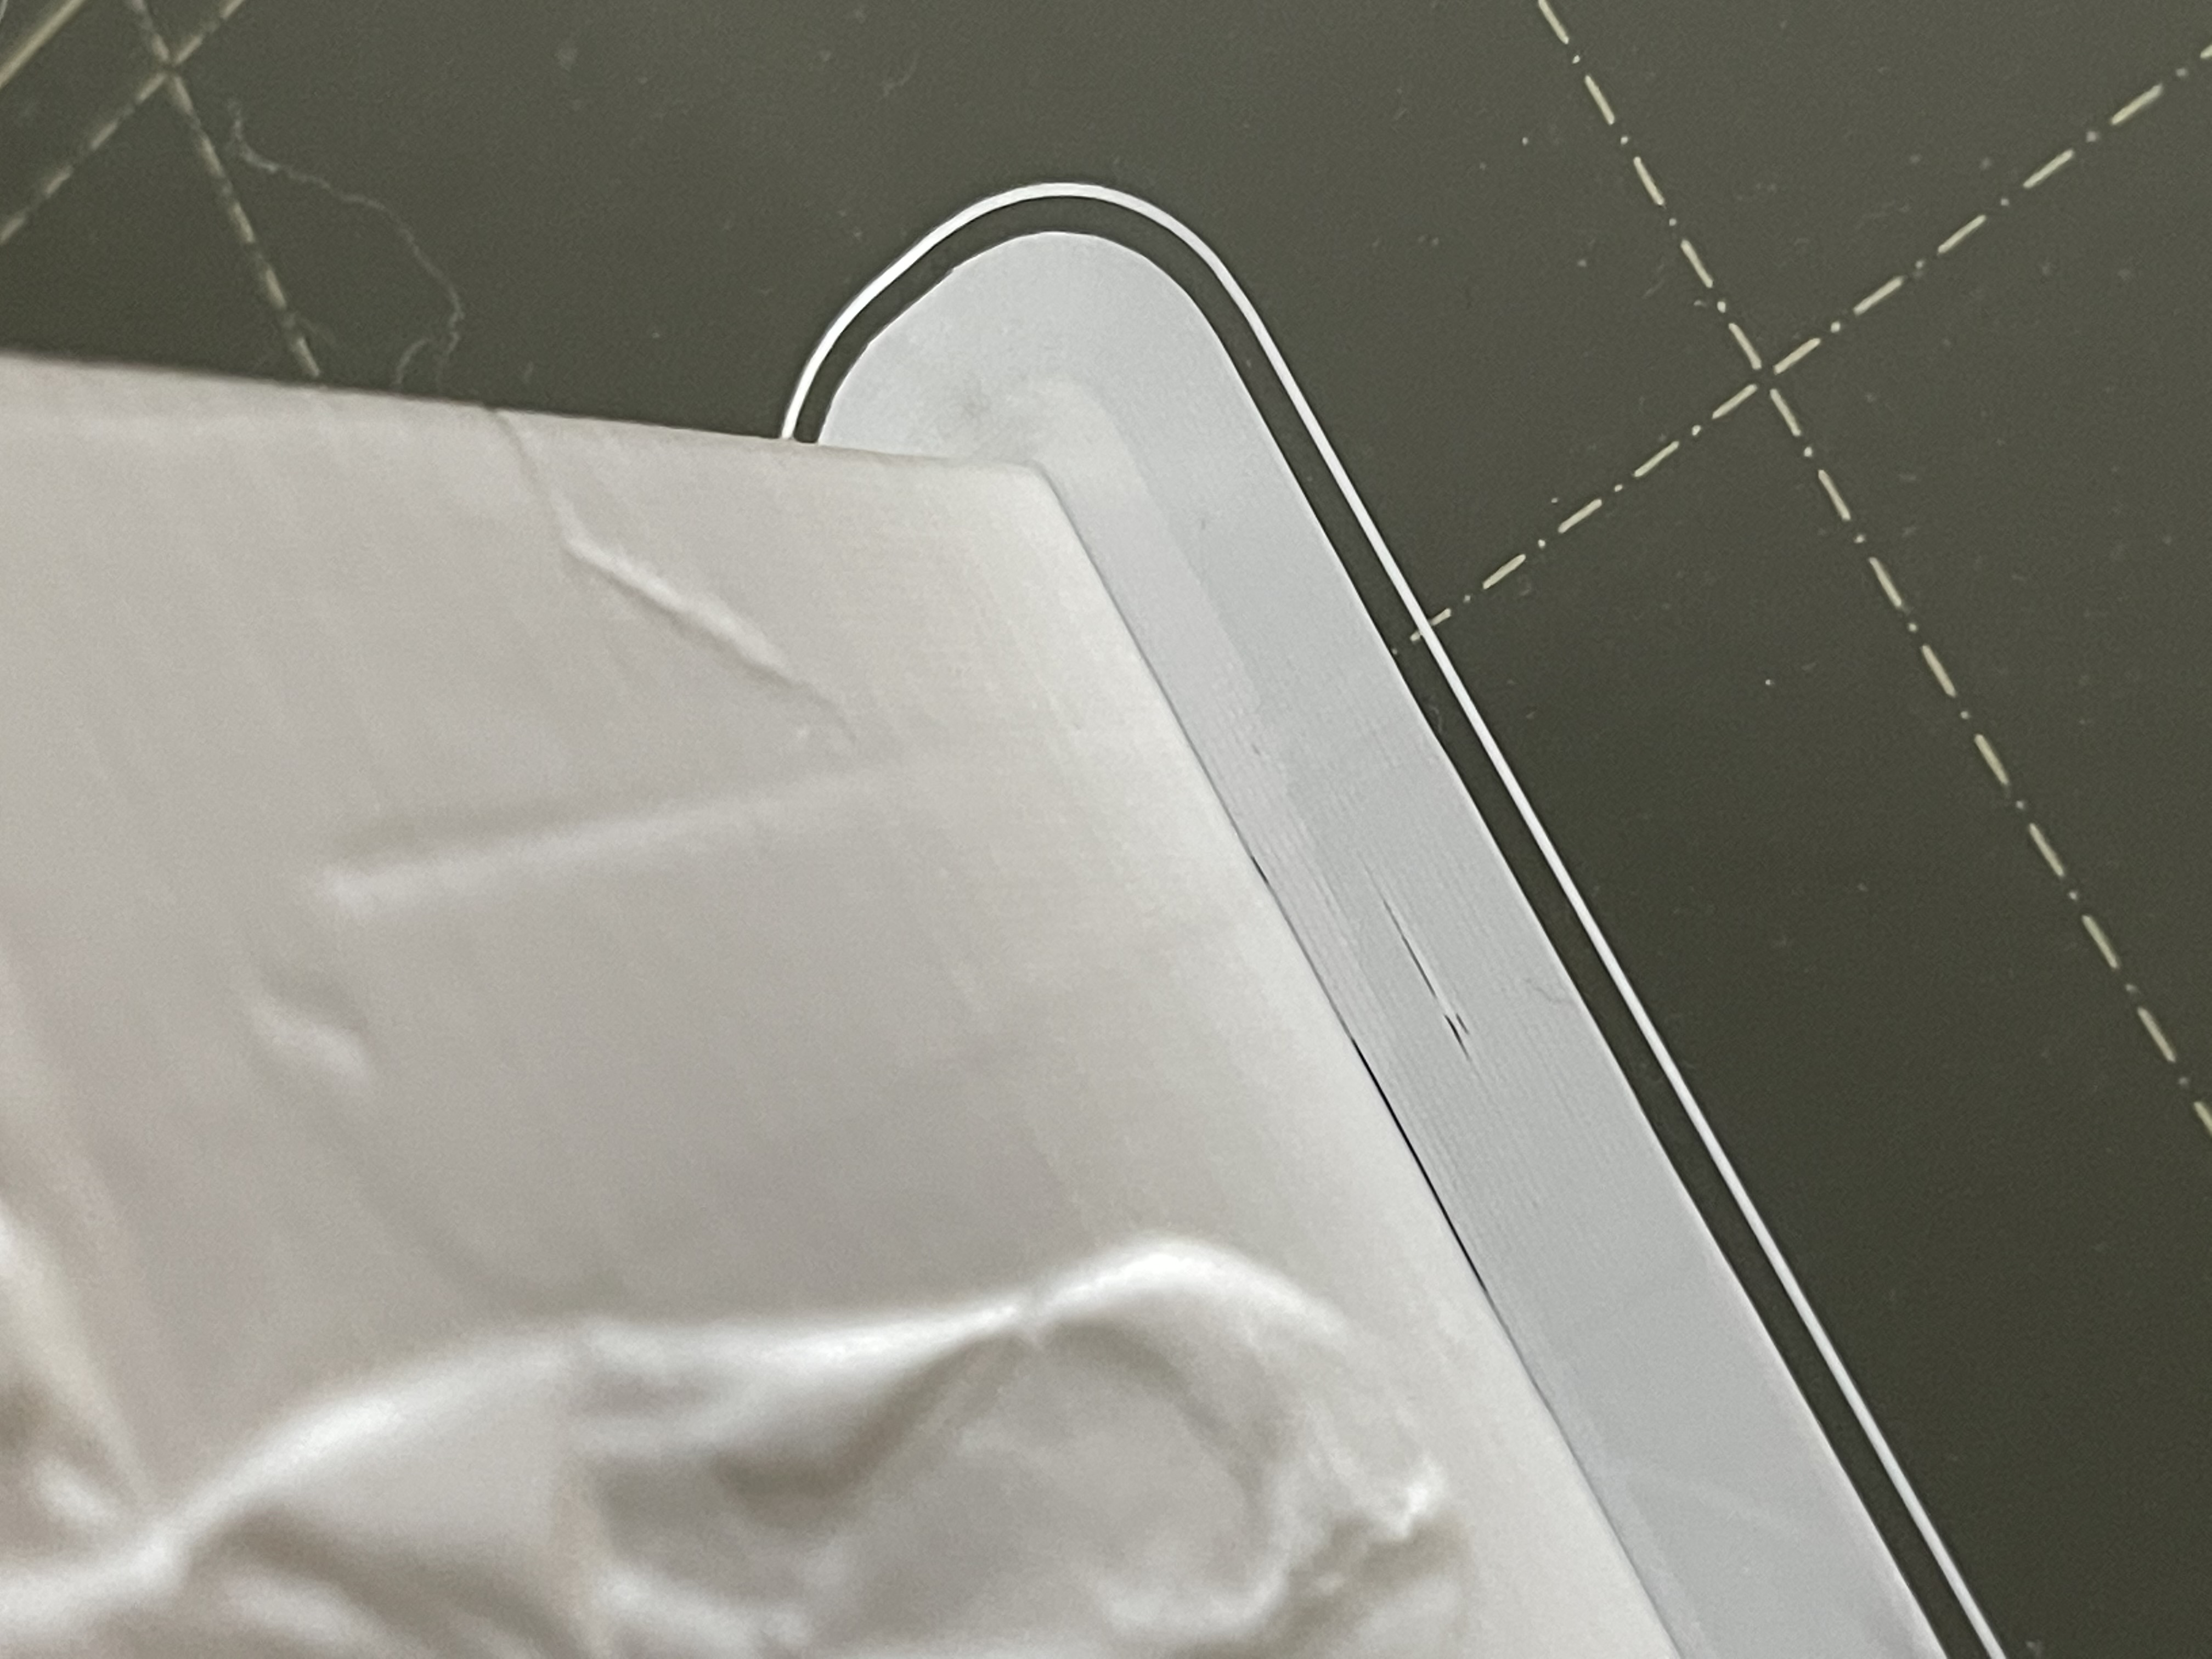
So I have another print going at the moment where I essentially just gave it a load of surface area to stick with. I've noticed something quite interesting on this...the material at the front of the build plate seems to overlap. Towards the rear, it does not.
This is consistent with every issue I've been having here. It always detaches from the plate at the back... In fact, this one - after four hours printing, is starting to detach. See photos below of the difference between the brim front and rear... And then how it's starting to detach a little at the rear, despite having so much material to stick to the bed with.
RE: Increasing adhesion of print to brim
I want to say the brim issues are under extrusion... But the print has a few zits and blobs on It which make me think over extrusion.
I'm a bit confused about what to do. Right now I'm wondering if the inconsistent brim could be alignment, or the sheet as you mention Bob. Interestingly, I have printed lithophanes in this filament before with only a 5mm brim, and the quality was good; although they did clearly try and lift at the top end of the bed like these prints, the prints completed - and there was minimal zits/stringing.
I am going to hope this print finishes ok. Then flip the sheet as you say, and re run the printer calibration.
I attach the latest 3mf file. I think I need to reduce the print temp a bit (There is stringing on the back)
Could this have anything to do with me fitting a 0.4mm NozzleX instead of the brass one?
RE: Increasing adhesion of print to brim
@delarado
That is either under extrusion or your Z level is too high.
--------------------
Chuck H
3D Printer Review Blog
RE: Increasing adhesion of print to brim
@delarado
That is either under extrusion or your Z level is too high.
Thanks - I agree the brim looks like under extrusion - but the rest of the print almost shows over extrusion to me? (Although I may be wrong)
The Z level I think looks ok from the pictures I posted of my Z calibration... Thats why I'm a bit confused, because Z calibration looks spot on for first layer, but the brim doesn't print properly.
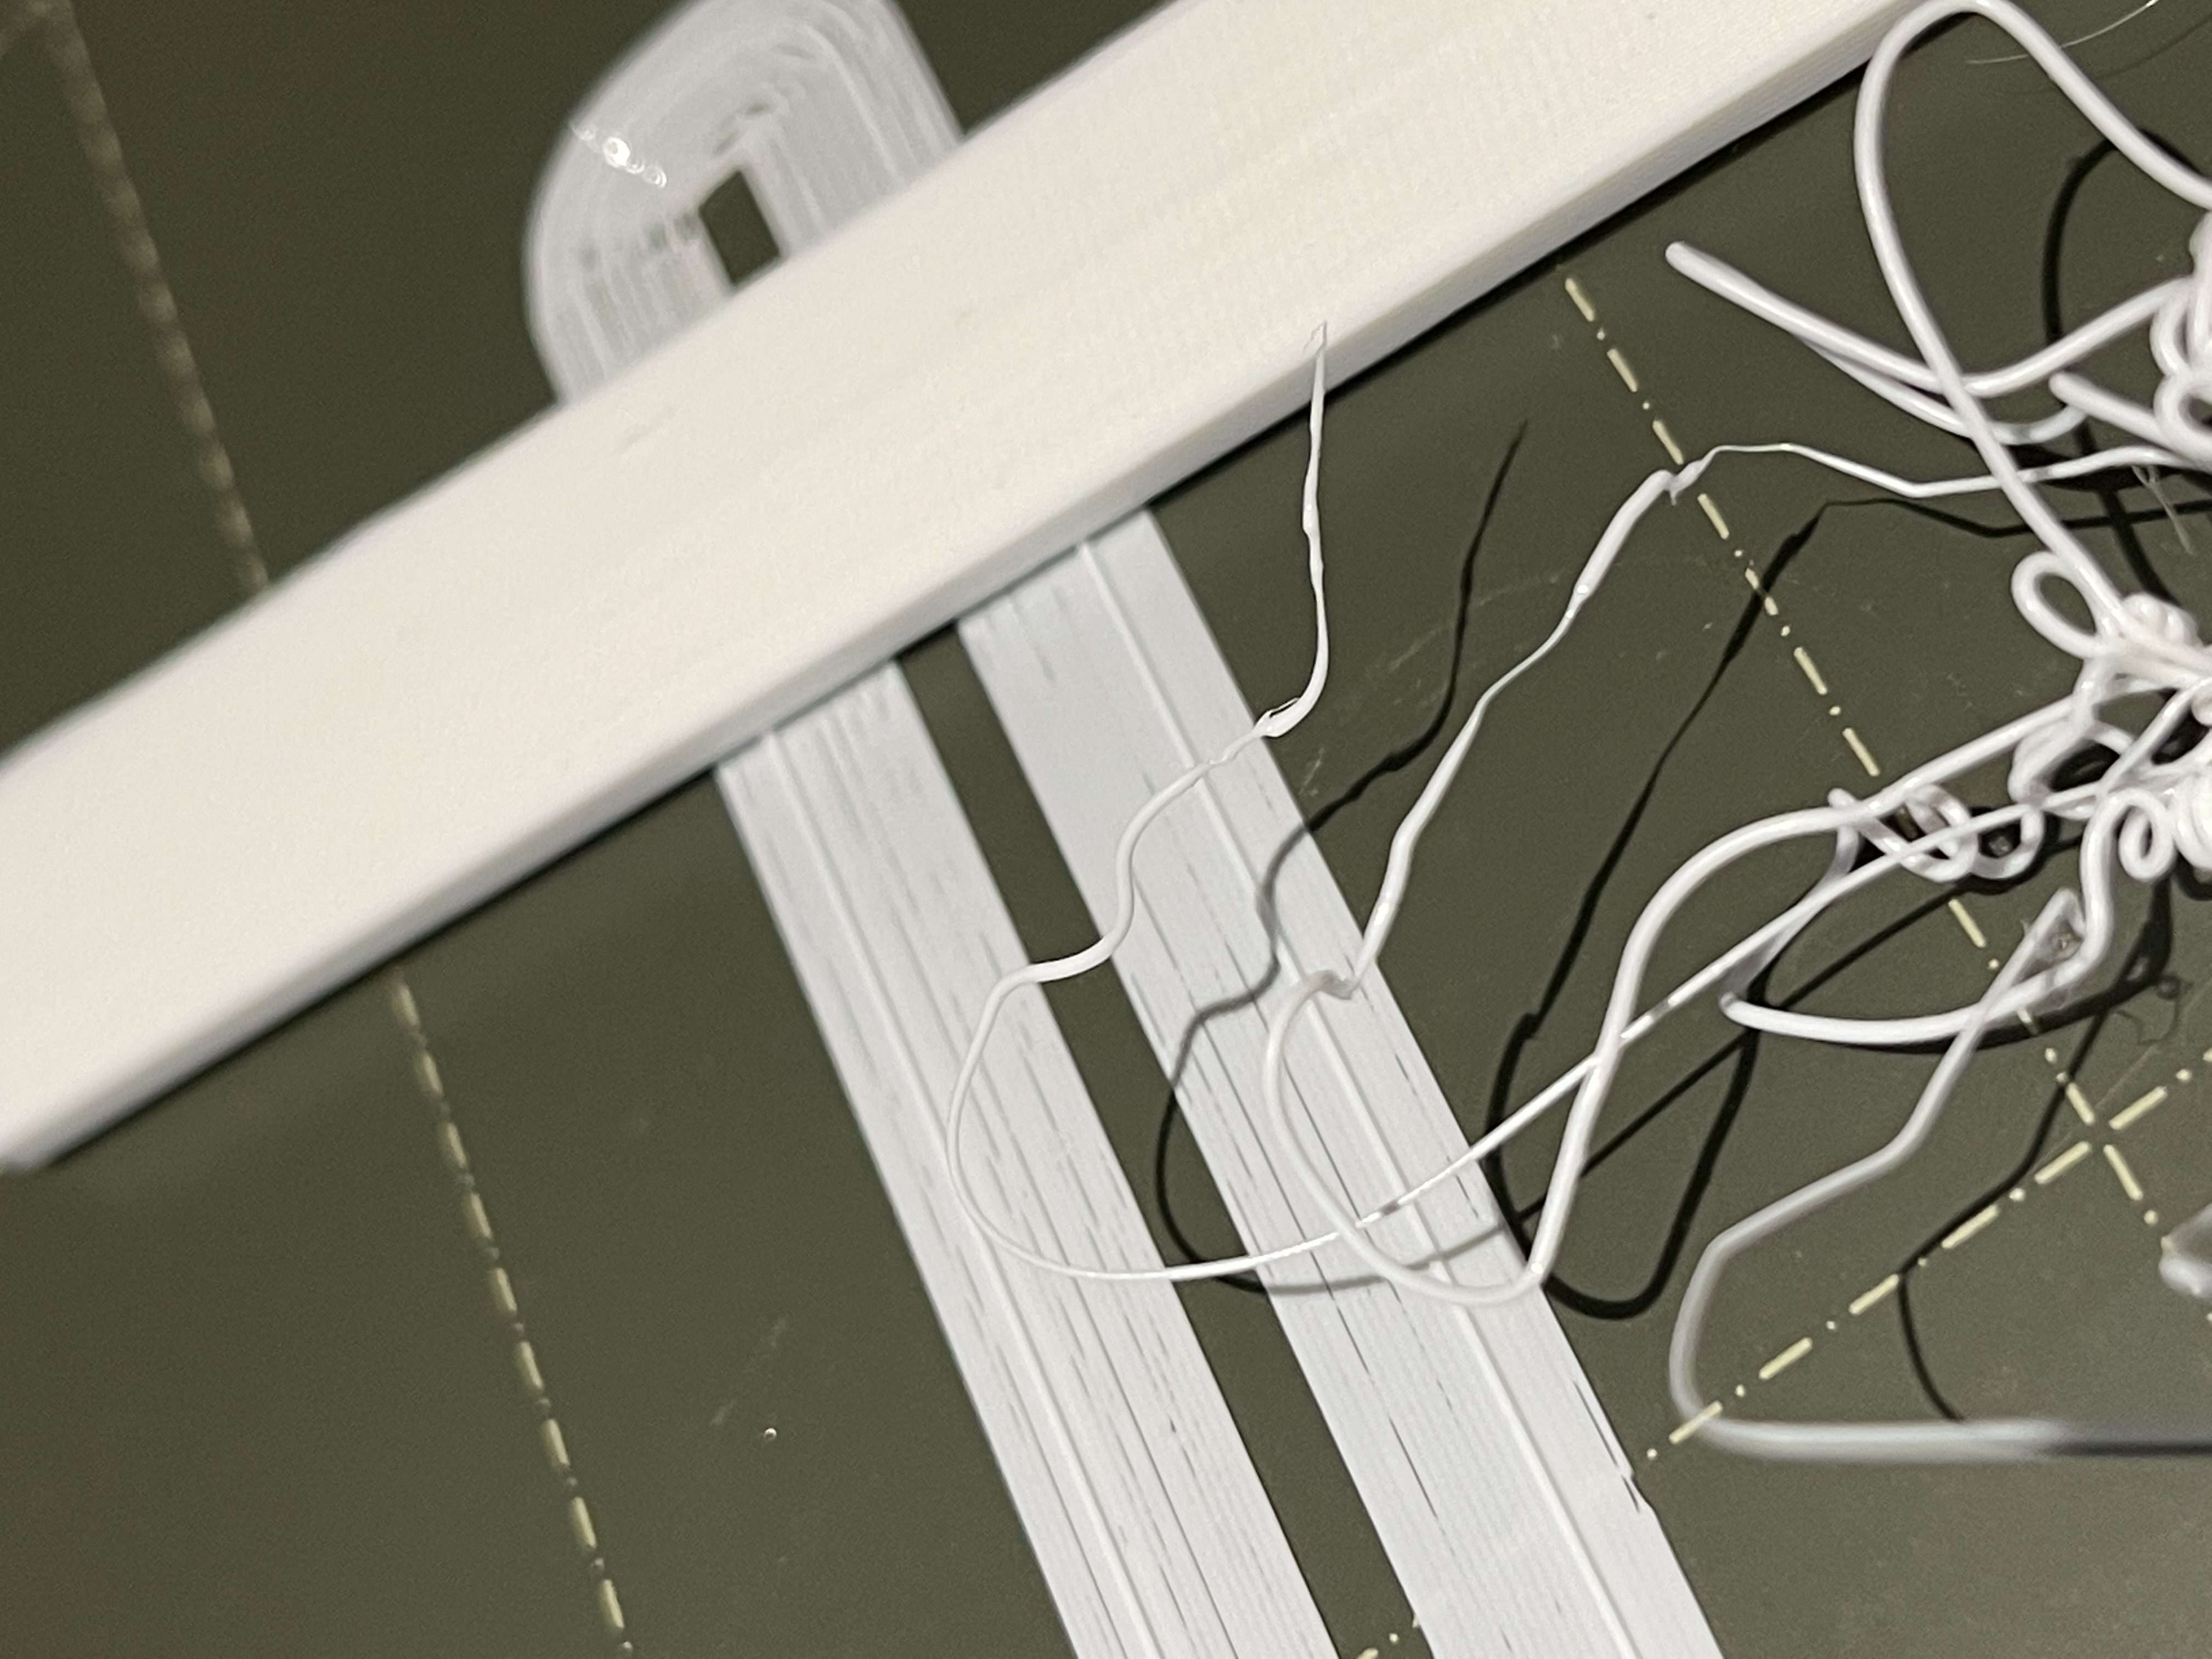
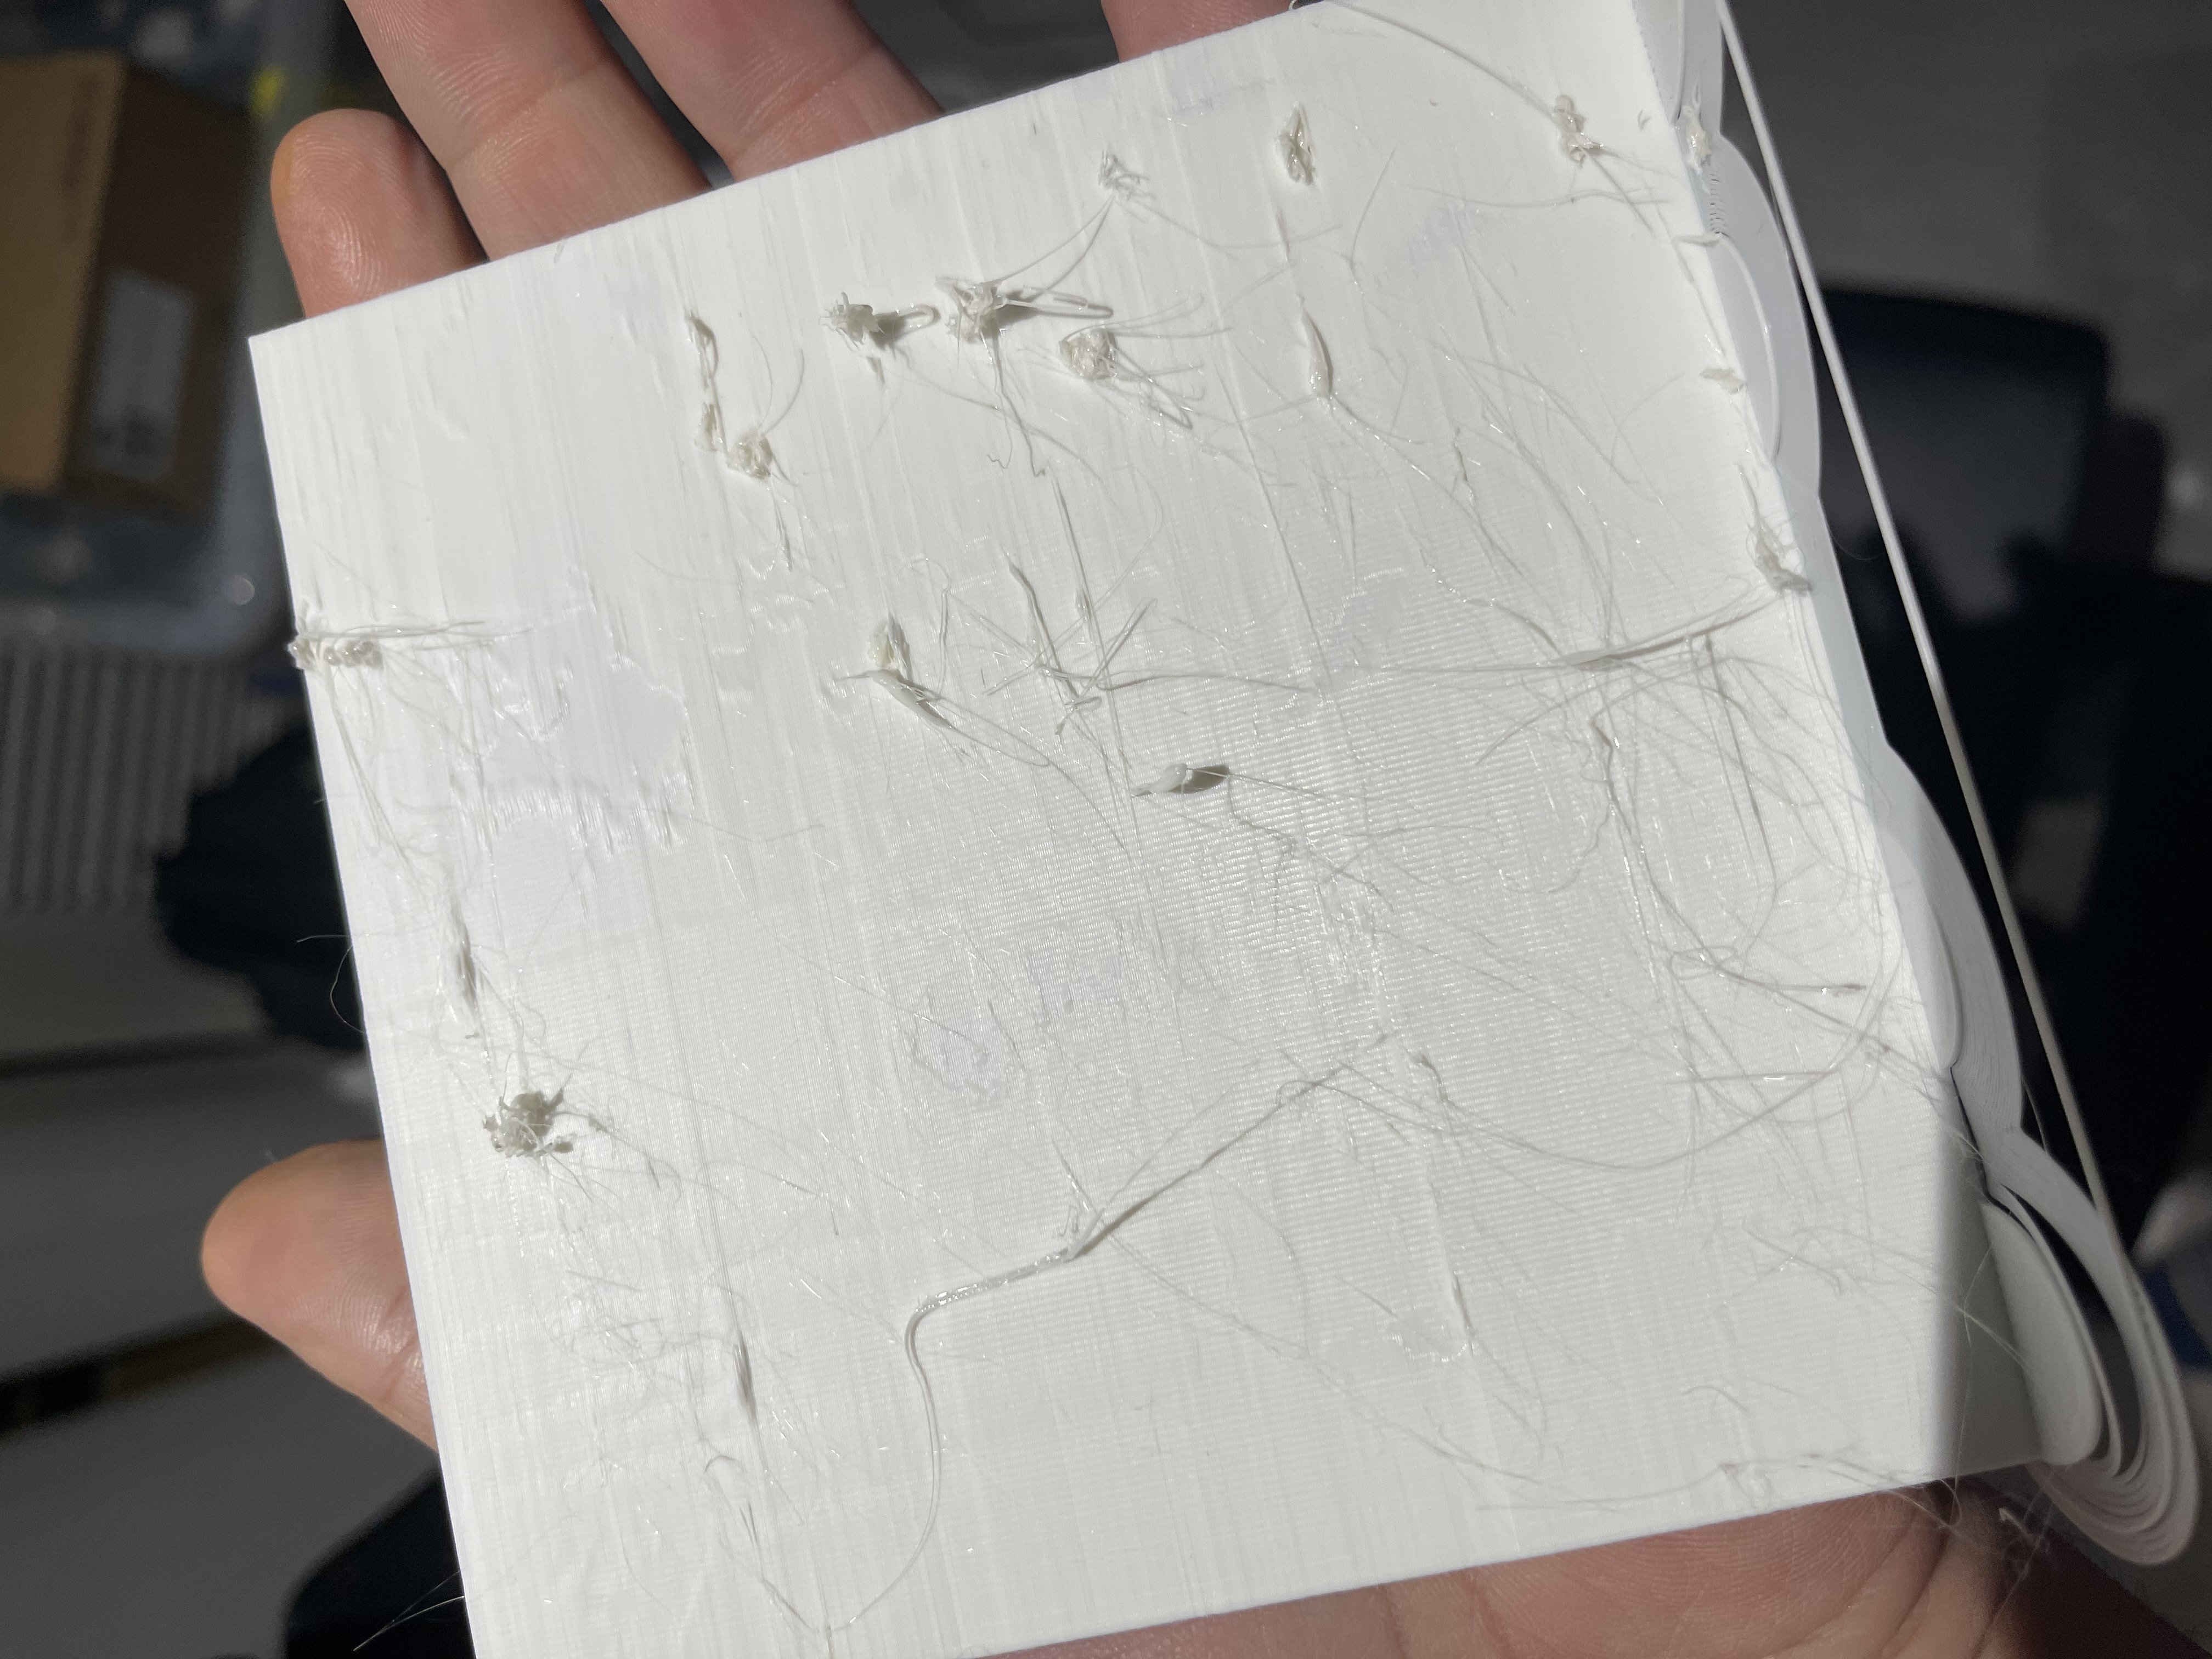
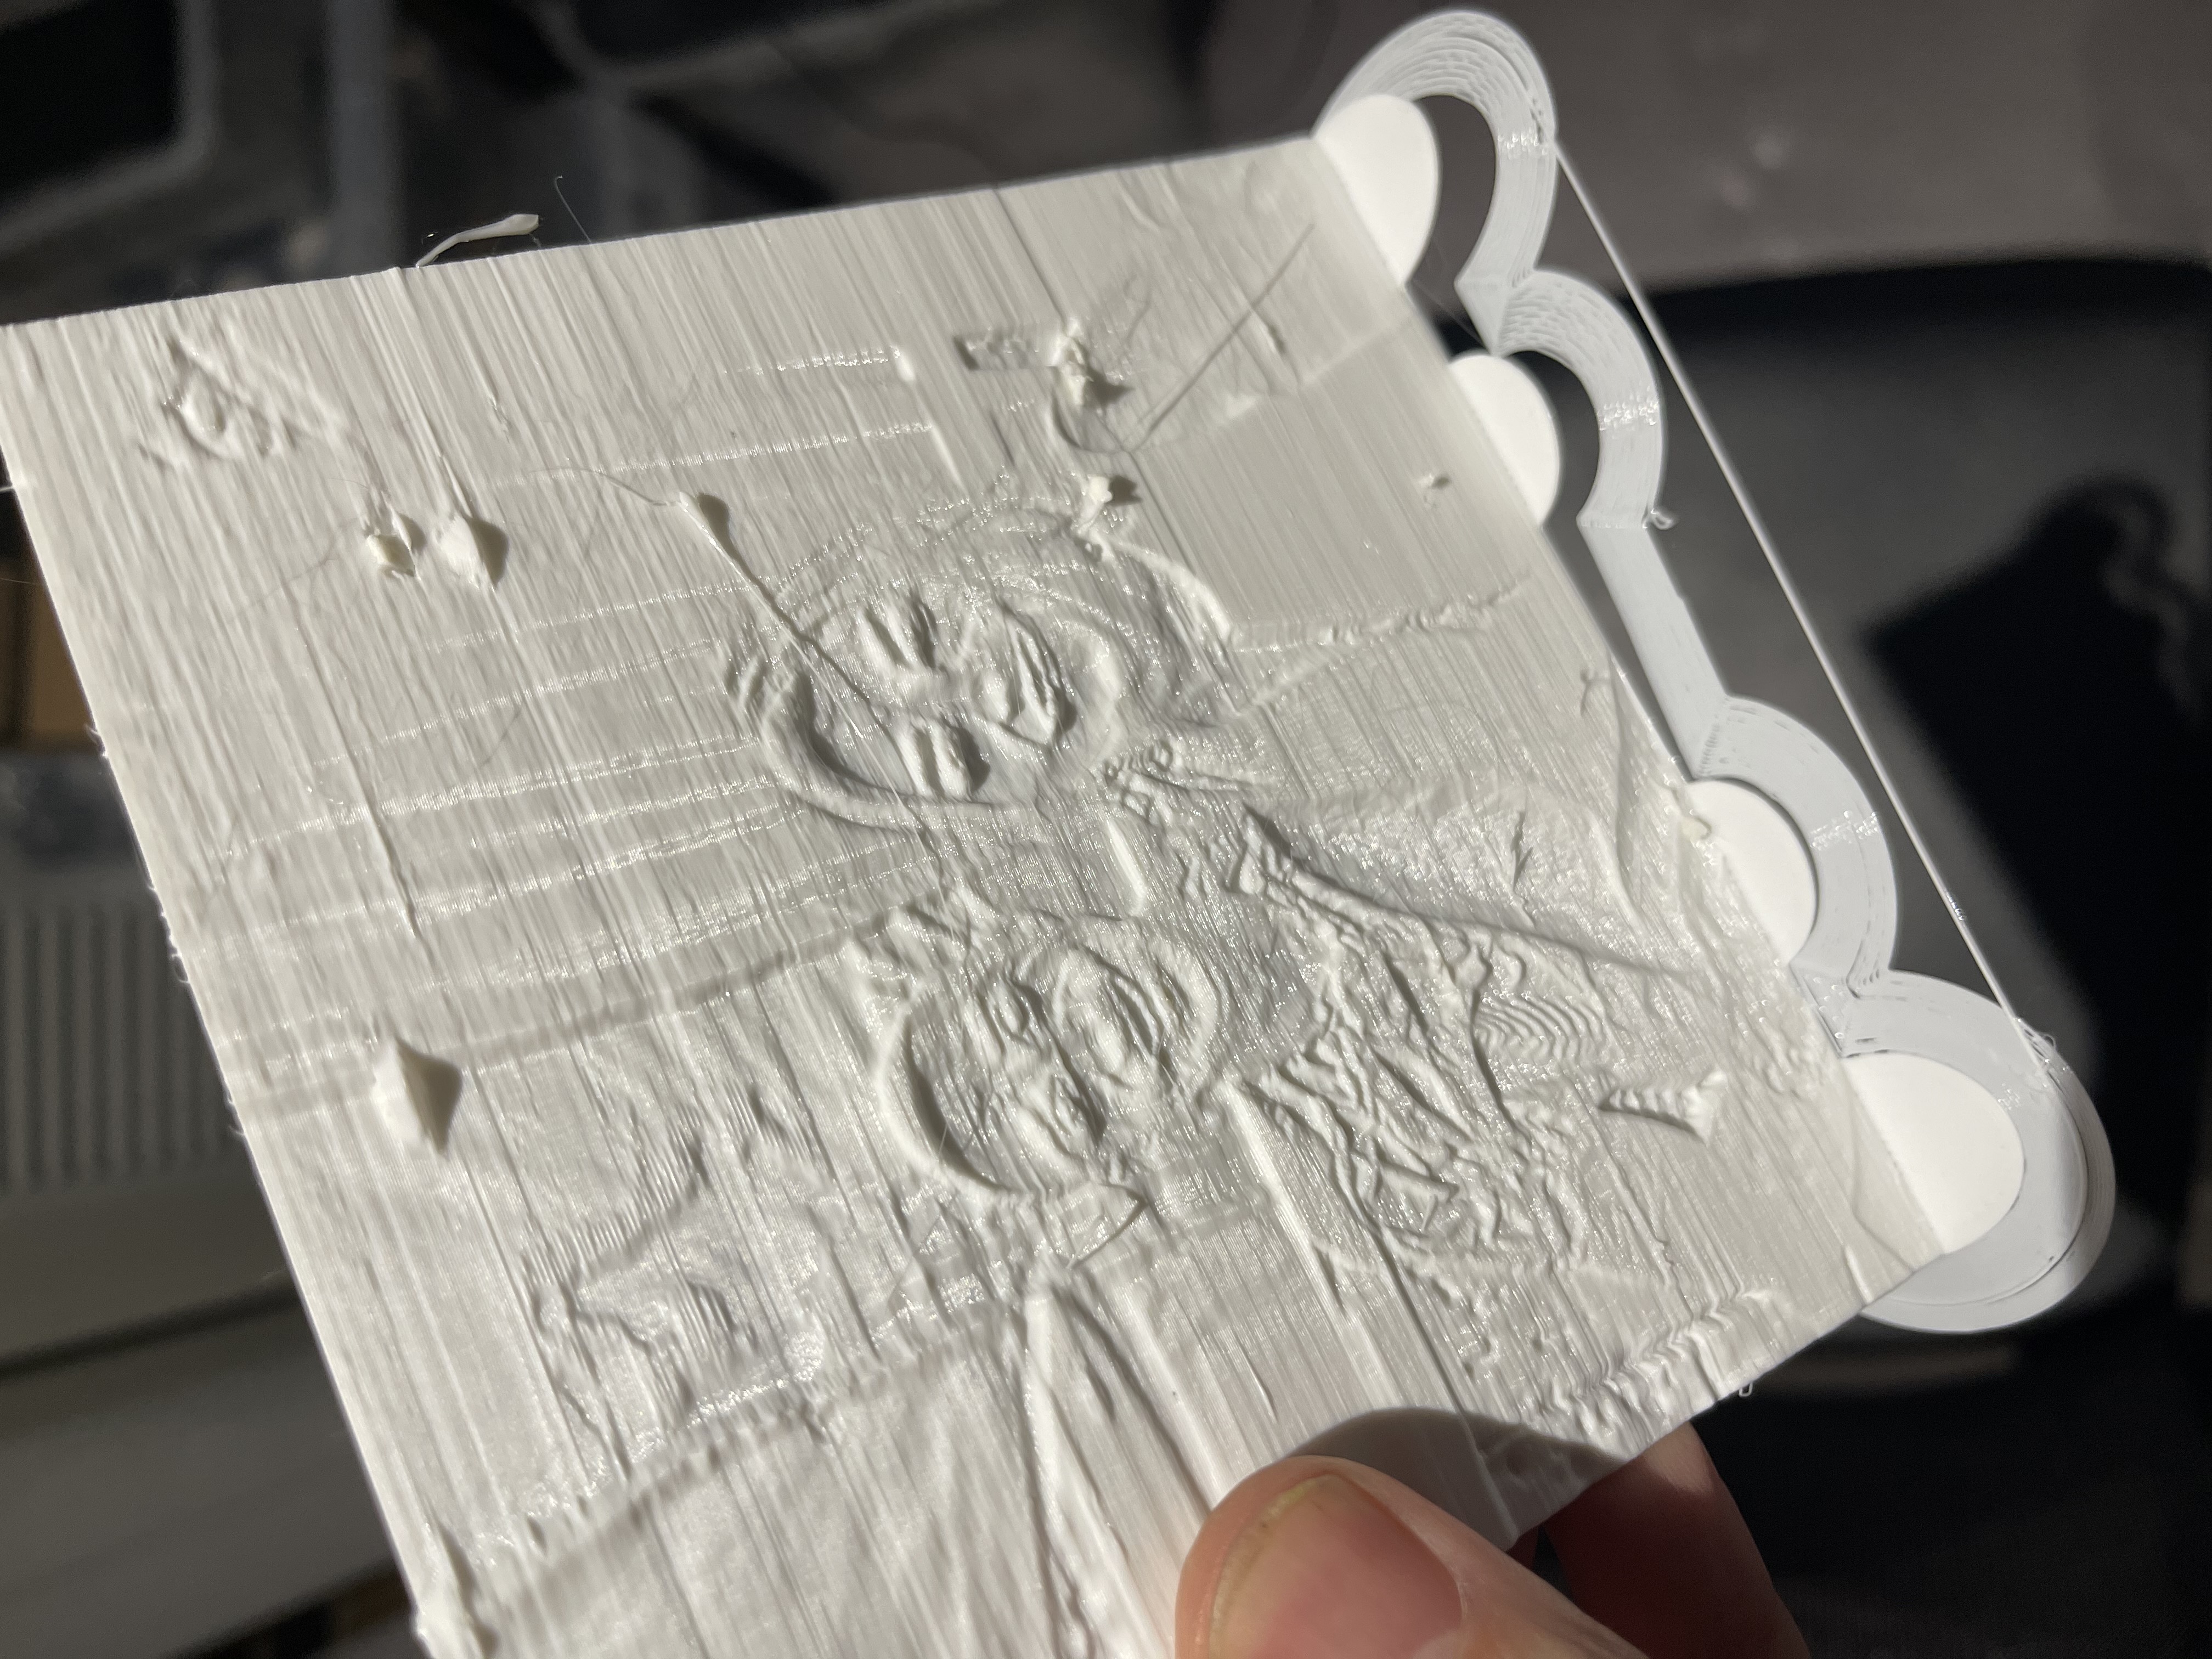
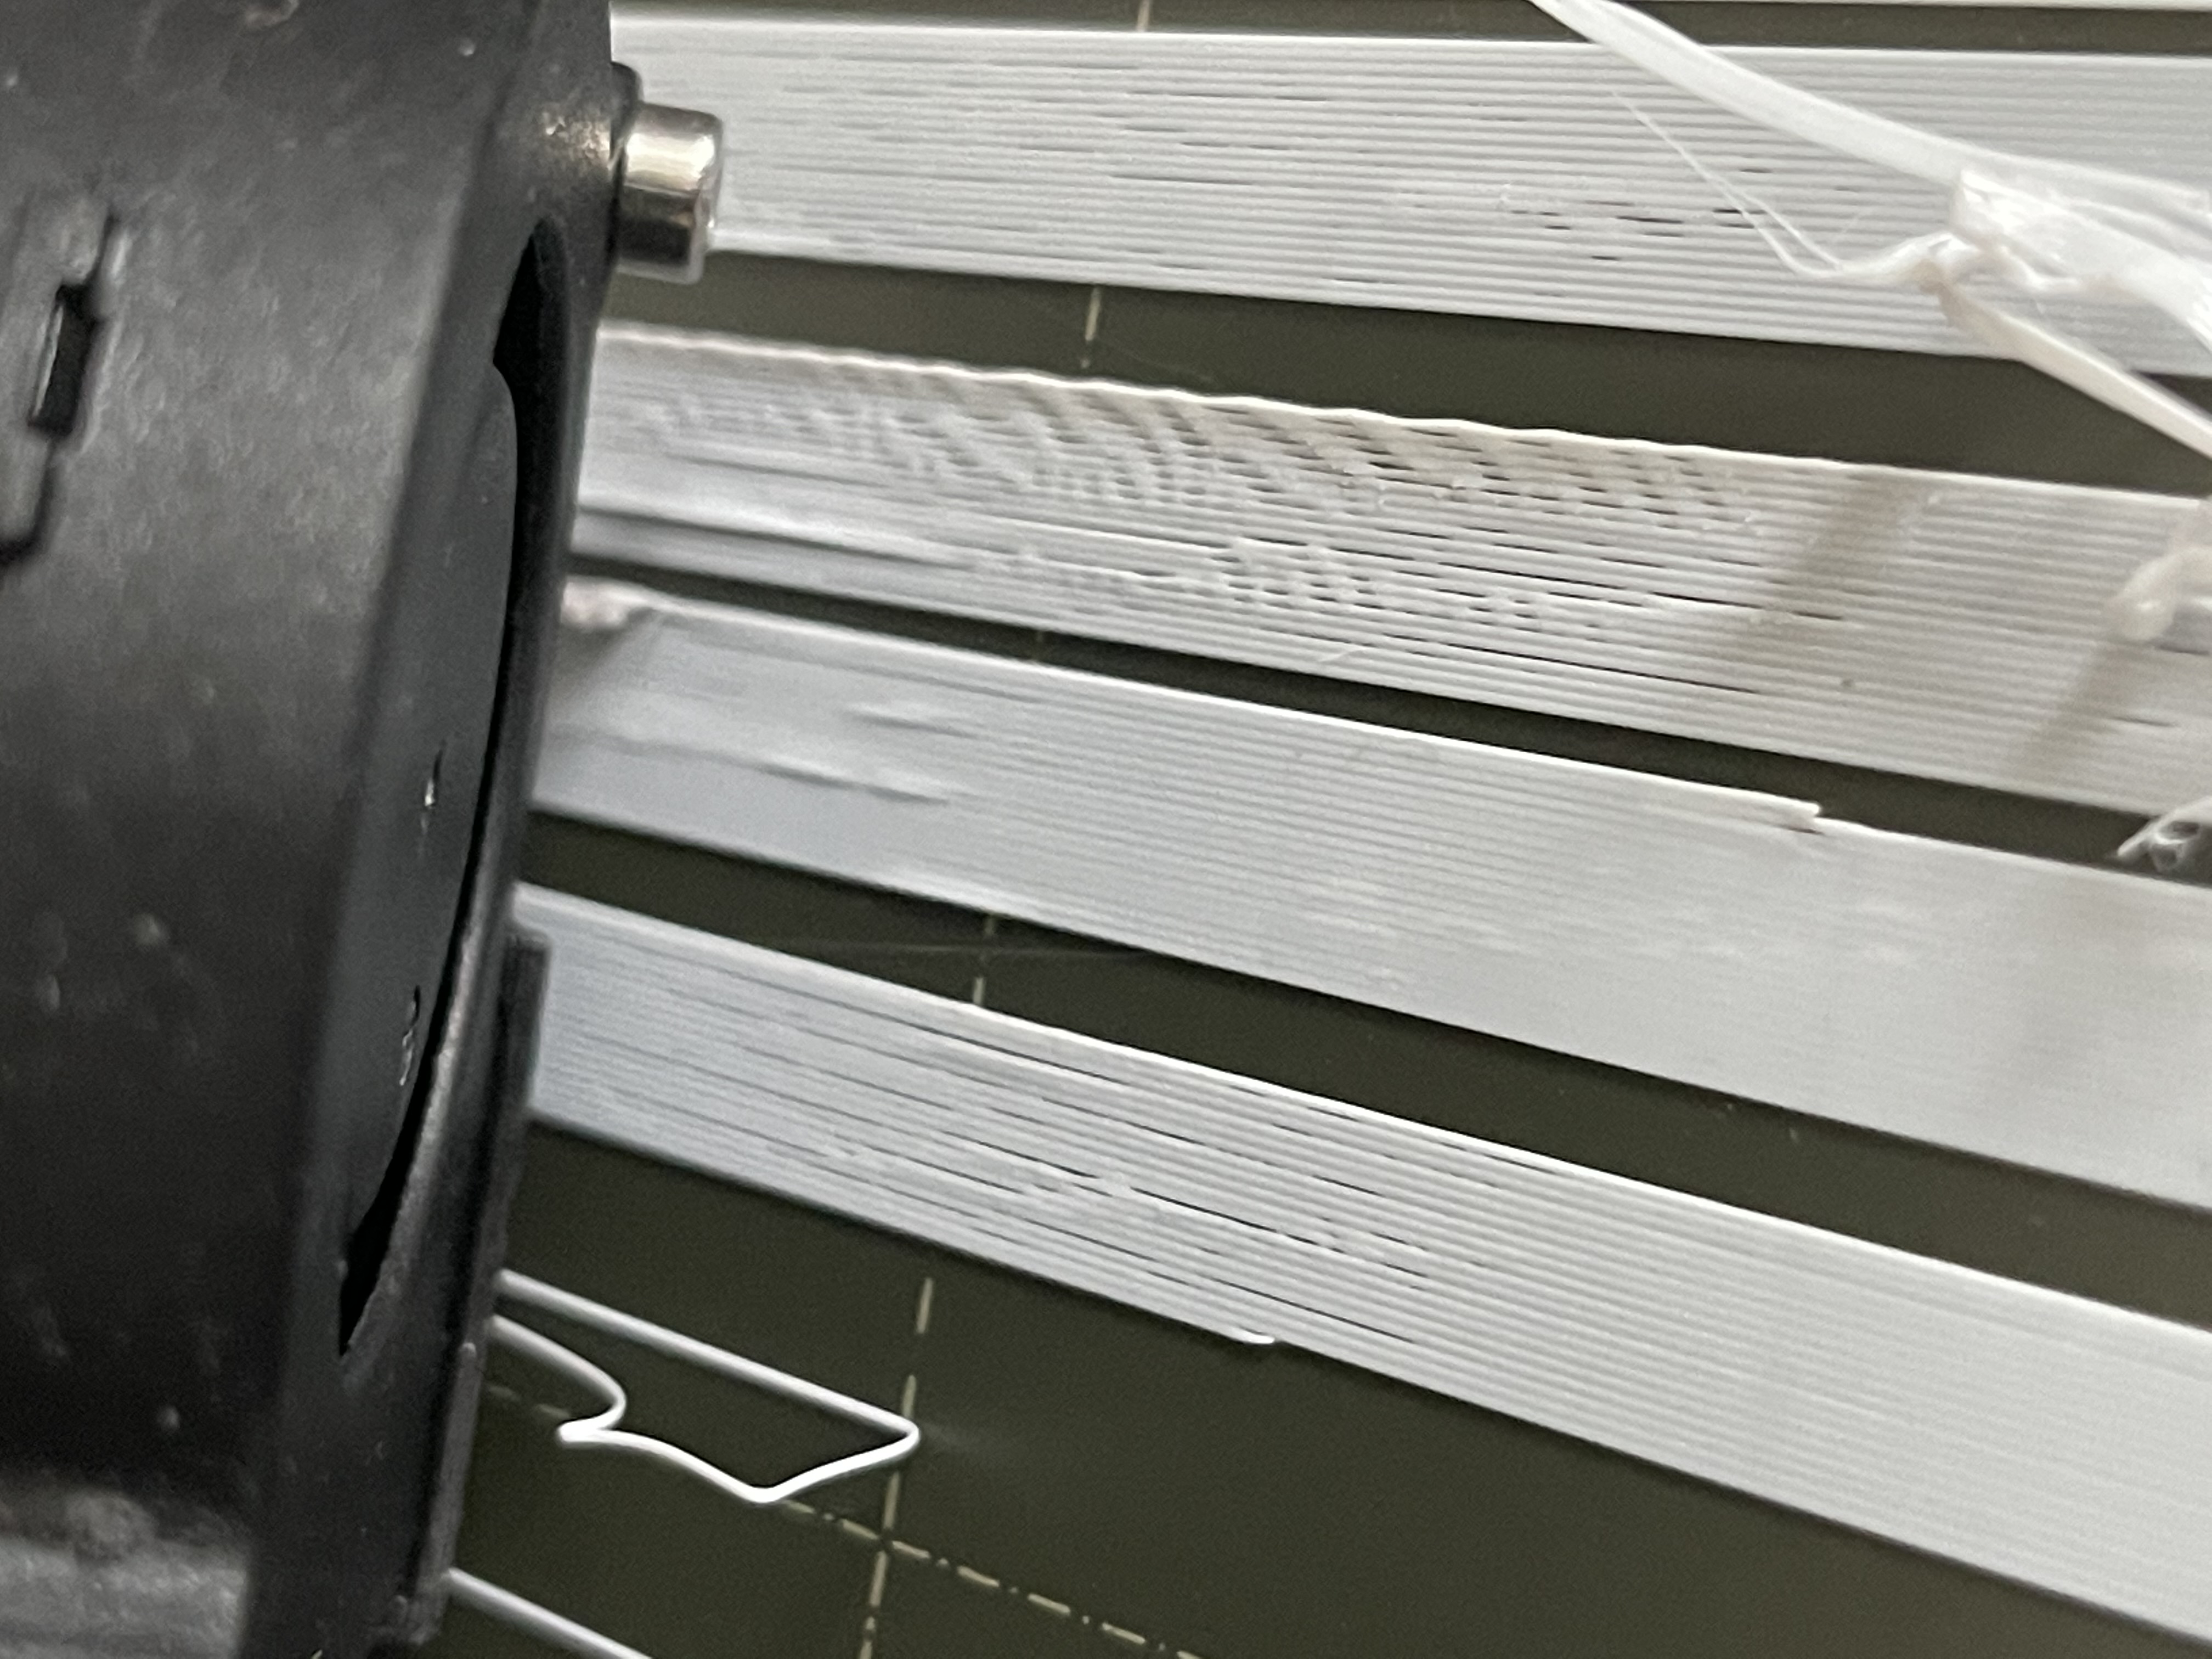
See pictures here...The print is finished now; But the brim has separated like each extrusion line has not connected; and the main print itself has some horrid blobbing and stringing...
Right now I'm going to re-run the full printer calibration and flip the PEI sheet and try another lithophane.
RE: Increasing adhesion of print to brim
Another print failure. I feel like this can't be right... the brim doesn't even stick to itself?
The brim should be just like your 1st layer and hold together well. If you have not already done so, try using Jeff Jordan's "Life Adjust" procedure for calibrating your Live-Z setting. It is much easier to use and understand than the onboard routine and much easier to make mid-print adjustments accurately with. In general, start high (less negative) and work lower (more negative) in large increments (e.g. 0.1mm) until the filament starts to stick on its own. When you've got your Live-Z setting adjusted properly, you should be able to gently rub the extruded lines on the PEI surface without dislodging them. Then start lowering (more negative) the level until there are no gaps between layers. You should not be able to peel the lines apart after printing, but the top should be regular.
So, I flipped and cleaned the steel sheet and recalibrated the whole printer. I got a successful print out of it, but noticed the lines of the brim still weren't completely holding together. I ran another print in a different area of the print bed and this one failed before the brim was even complete!
I ran the life adjust like you said, and the results were different to the built in Prusa Z Calibration.
Successful print brim - You can still see gaps.
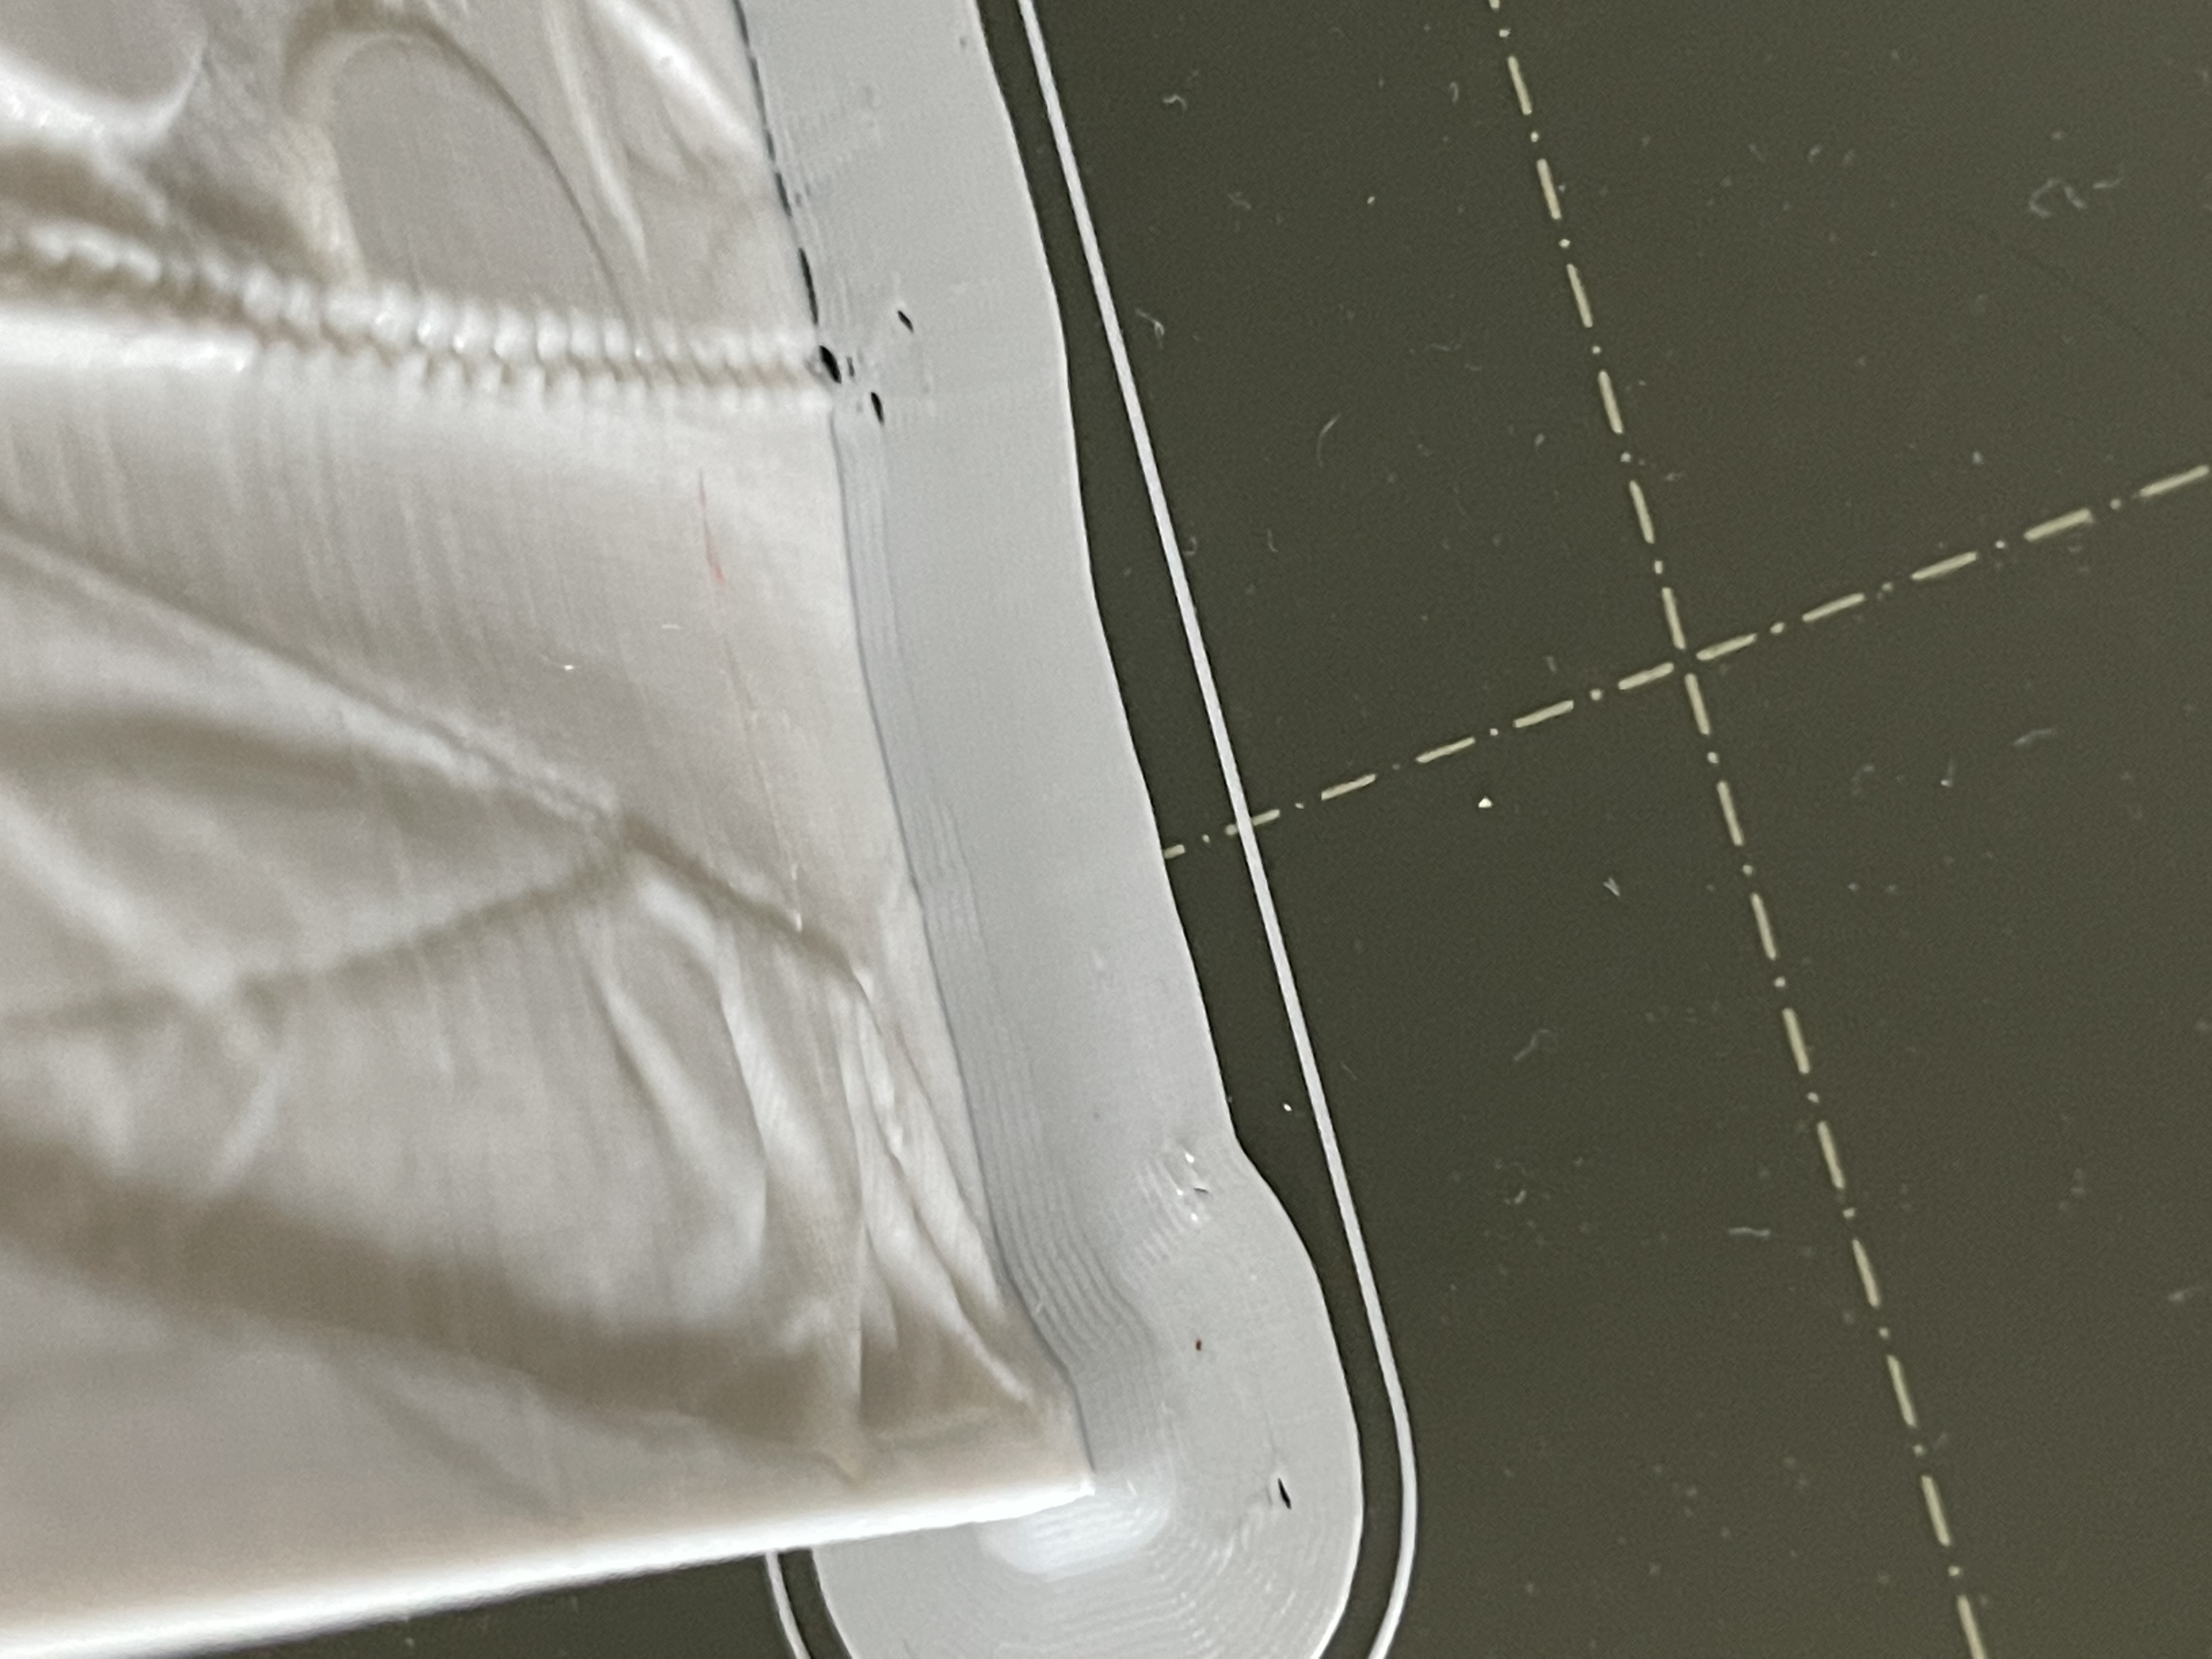
Failed print that I ran on the left hand side of the bed, instead of in the centre... You can see much larger gaps. I cannot explain this.
Life adjust Z Calibration. From left to right: -1.8mm. -1.9mm. -1.8mm. -1.74mm. I find it interesting how the corner seems to have changed, without me changing from -1.74mm ?