How to Merge Negative Volume and Duplicate Parts for seamless G-code
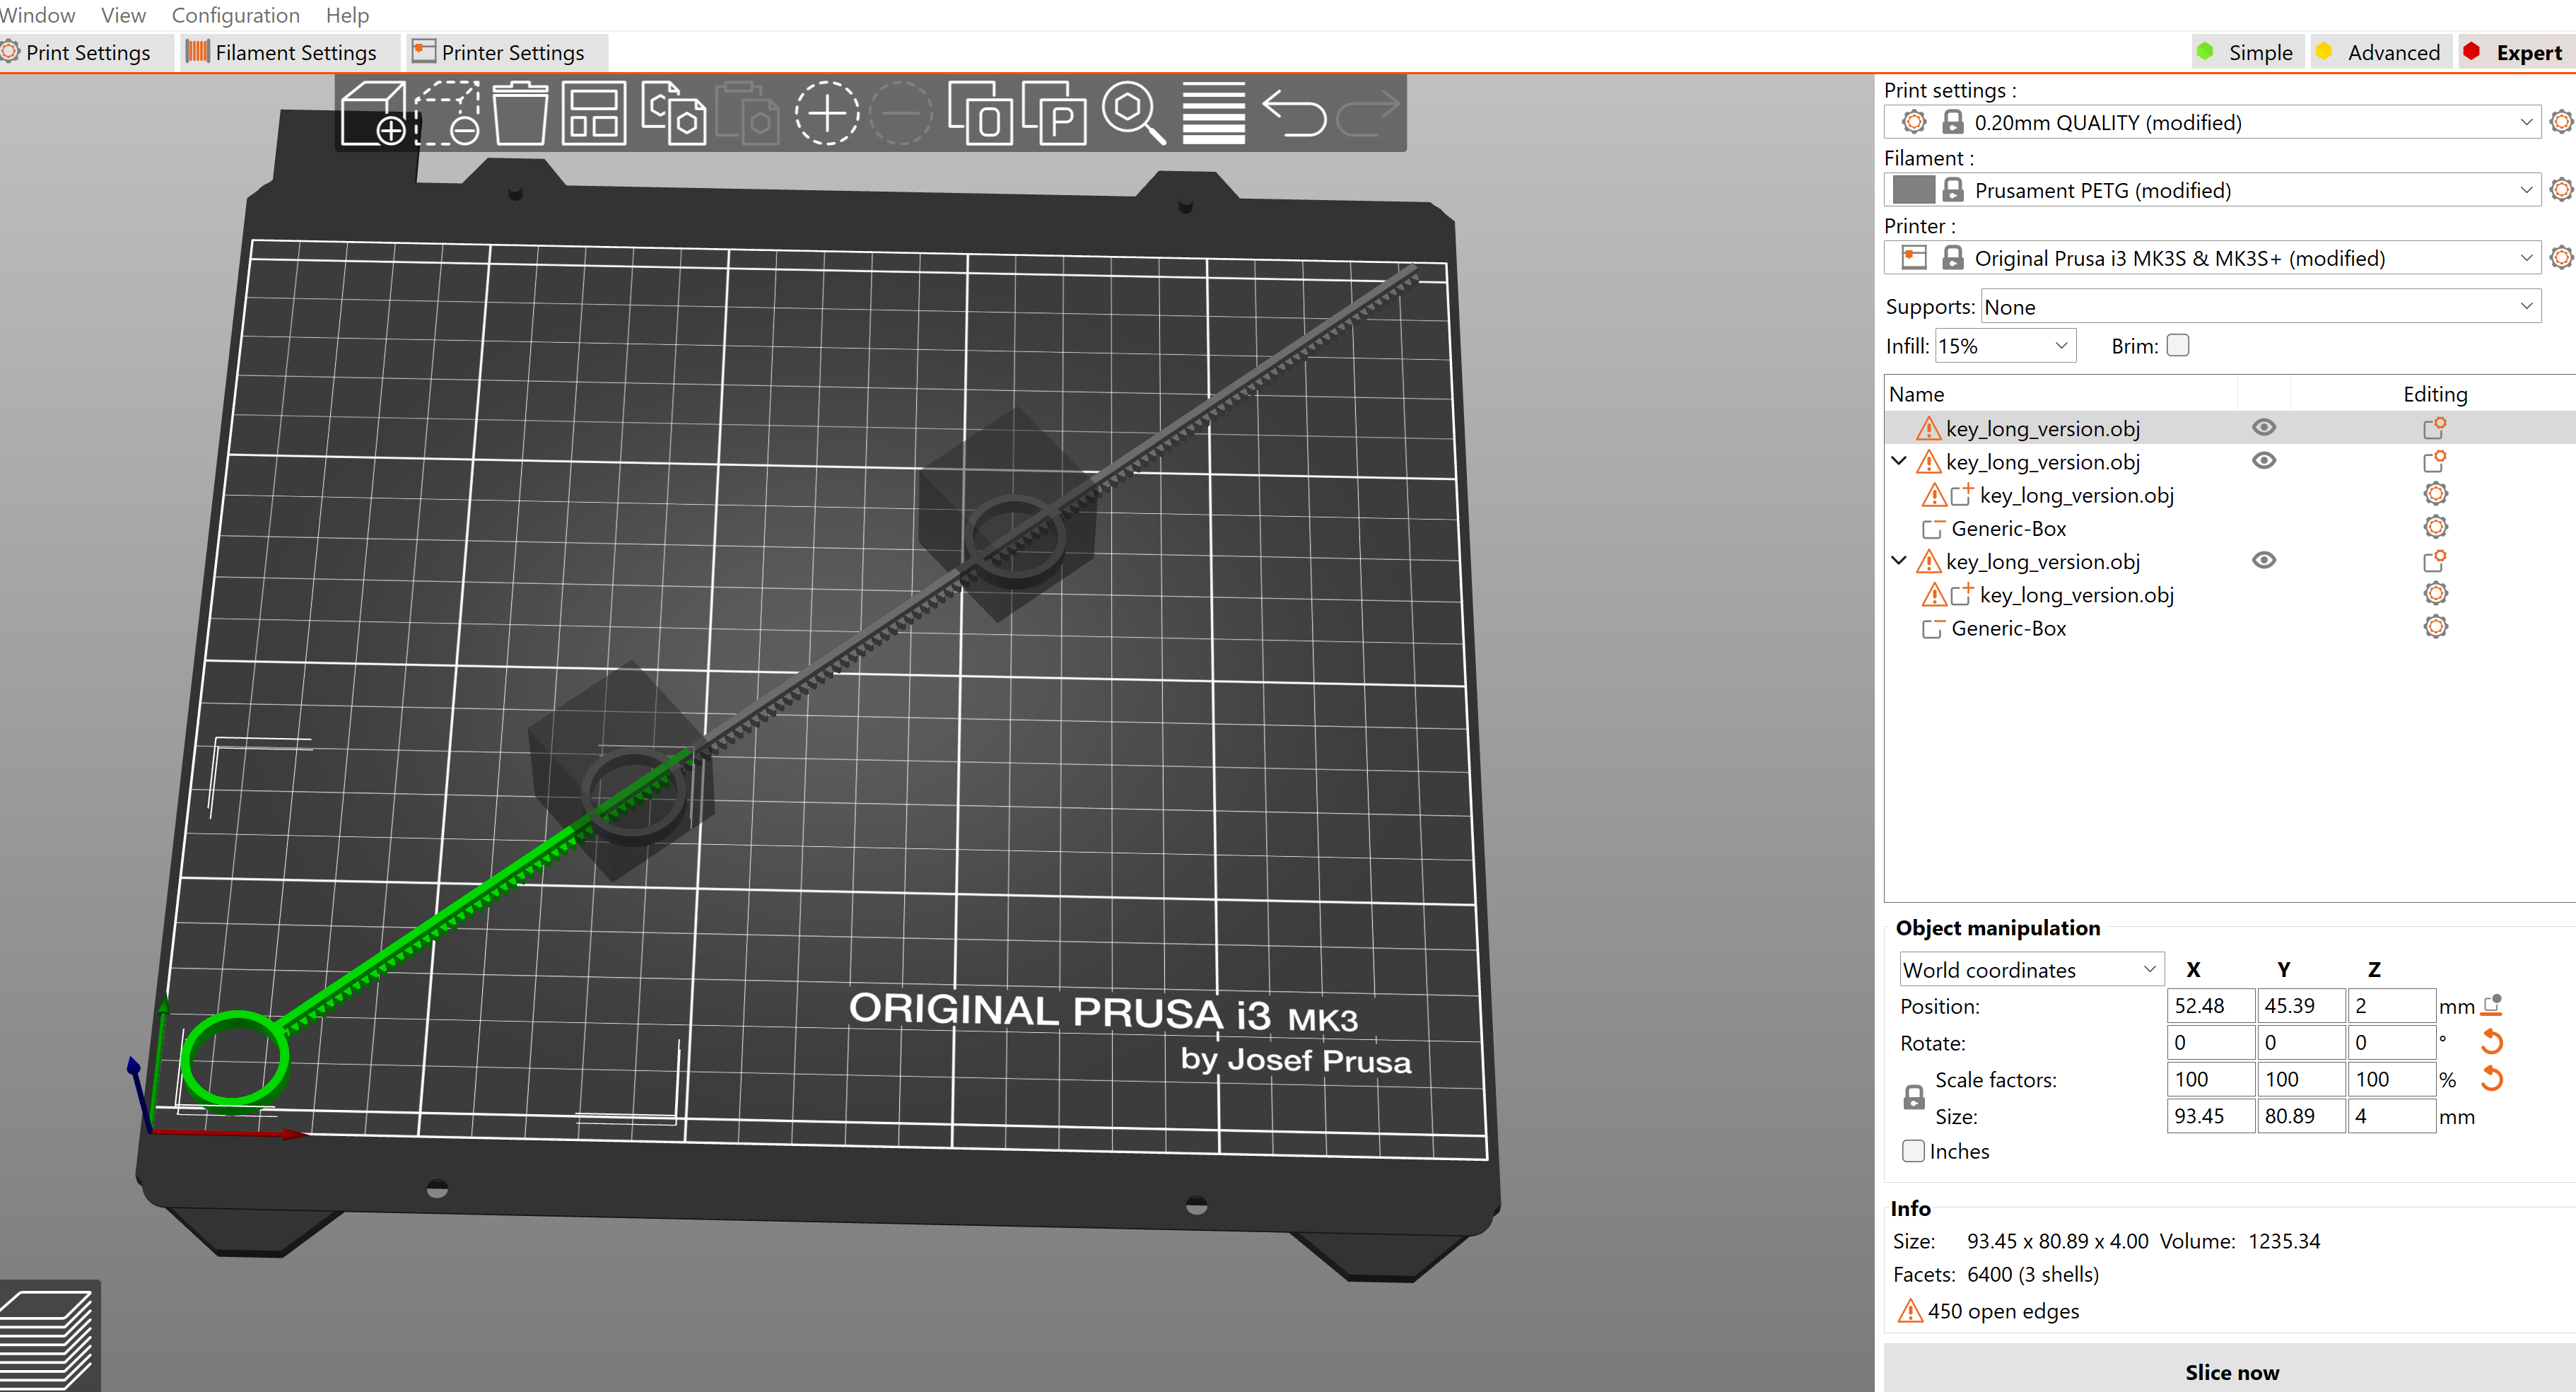
I have a toy pull-key (Ring copter, or like beyblades) which I am trying to extend as long as is possible on my build plate (corner to corner). The current STL is quite short, so thought I'd just lay 3 of them end to end and put in some negative volume to remove the handles. This worked (it appeared at first) but when printing, it prints each 3rd individually, so the key does not print seamlessly. If I tried merging this, the negative volume merged as well, and there were empty spots at each handle position.
I also made another version where I mirrored the original key, then merged the two, then put negative volume on the opposing handle. This worked except it is 2/3 the length I wanted.
Possible in Prusa slicer?

Best Answer by towlerg:
If you want to remove a section of apart, rotate and slice work better than negative space.
RE: How to Merge Negative Volume and Duplicate Parts for seamless G-code
Have you tried saving the plate as an STL,
opening a new instance of Prusa Slicer and loading the mew STL?
regards Joan
I try to make safe suggestions,You should understand the context and ensure you are happy that they are safe before attempting to apply my suggestions, what you do, is YOUR responsibility.Location Halifax UK
RE: How to Merge Negative Volume and Duplicate Parts for seamless G-code
If you want to remove a section of apart, rotate and slice work better than negative space.
RE: How to Merge Negative Volume and Duplicate Parts for seamless G-code
@robin-2
Please post a Zipped up .3mf project file exported from PrusaSlicer, I'll take a look and see if I can help. The .3mf file should be setup as you would when trying to print the part and will allow us to see all the settings as they pertain to the model in your project.
Note: if you do not Zip the file the forum server will not allow it to be posted.
Regards
Swiss_Cheese
The Filament Whisperer
RE:
Thanks all,
This is what I did that worked well, which was a combination of your suggestions:
- Rotated the original part so it was vertical.
- Cut the part where I needed using the Cut tool/widget on the left.
- Exported the cut part using File>Export>Export Plate as STL.
- Imported the new STL and lined everything up as I needed.
- Merged all parts.
Cheers!