Editing thickness of overhang perimeters
Hi guys,
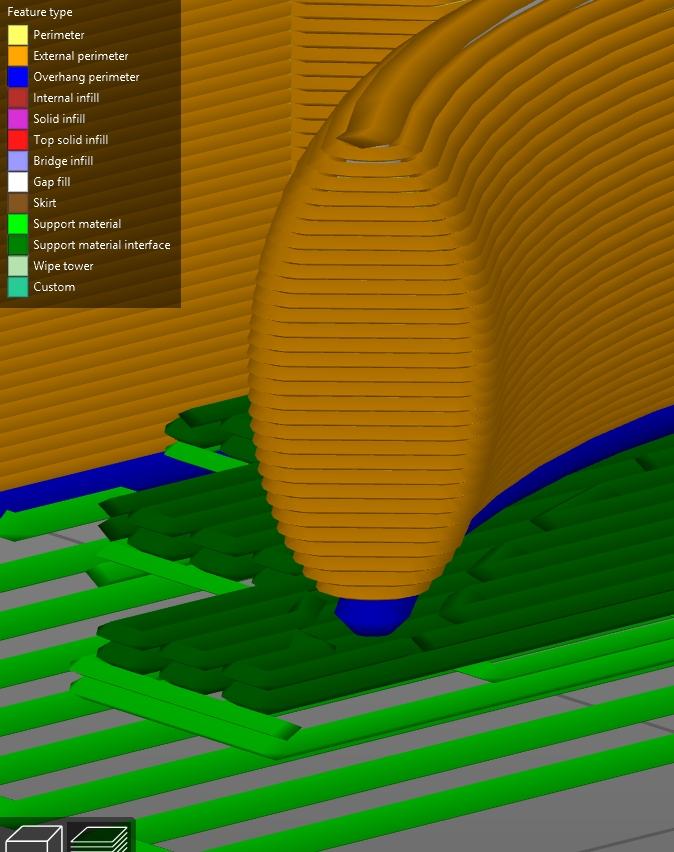
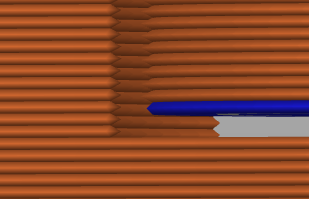
for some time (and some PrusaSlicer releases) now I'm struggling with thick overhang perimeters spoiling the bottom (overhang) surface quality of my prints. I've tried a lot of different settings but either I'm overseeing something or I'm (which is also a valid assumption) simply too dumb. Maybe one of you can push me in the right direction how to adjust the thickness/ width of the overhang perimeter (blue) to the same thickness like the rest?
Thanks in advance, any help is greatly appreciated! Keep printing.
Best Answer by JoanTabb:
the bottom layer (Blue) is printed above a space, so it does not squish, thus it ends up thicker...
you could try reducing the spacing distance, but that's already small, and reducing it is likely to make supports harder to remove
In a multi filament setup with PVA 0r BVOH filament I understand that you can set the spacing distance to 0.0mm
Is it possible to re orientate the model so it doesn't need support?
regards Joan
RE: Editing thickness of overhang perimeters
the bottom layer (Blue) is printed above a space, so it does not squish, thus it ends up thicker...
you could try reducing the spacing distance, but that's already small, and reducing it is likely to make supports harder to remove
In a multi filament setup with PVA 0r BVOH filament I understand that you can set the spacing distance to 0.0mm
Is it possible to re orientate the model so it doesn't need support?
regards Joan
I try to make safe suggestions,You should understand the context and ensure you are happy that they are safe before attempting to apply my suggestions, what you do, is YOUR responsibility.Location Halifax UK
RE: Editing thickness of overhang perimeters
Hi @joantabb, thanks for your reply. So you're saying it's sort of an inherent design mechanism and can't be adjusted except by changing the 'Contact Z distance' to 0mm, right? I've just checked it and it works. Thanks for that, I didn't know that.
Regarding your proposal, no unfortunetely I can't reorientate it, but the 0 mm Z-distance doesn't hurt too much here either.
Again, thanks for your help. And keep printing!
RE: Editing thickness of overhang perimeters
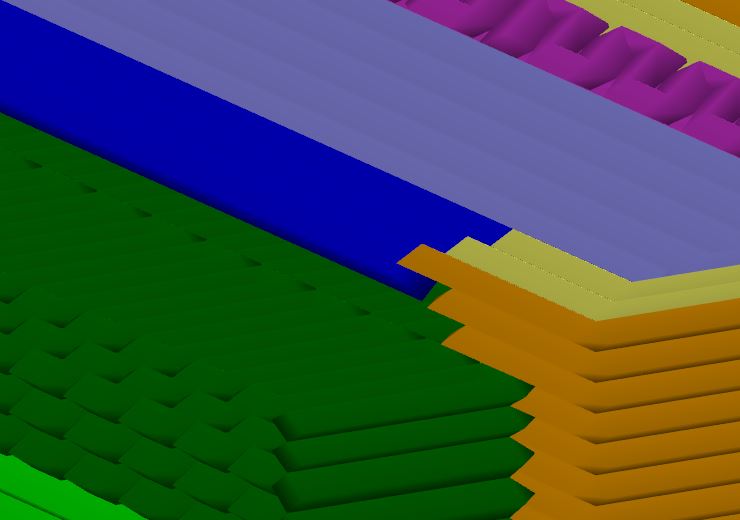
I'm having the exact same issue and its not effected at all by changing the contact z distance. for some reason the overhang perimeter layers are shown in the preview much thicker than the rest of the layer height so the supports don't get close enough and consequently the first layer printed on the support is basically not "squished" at all. I've played with just about every setting and can't seem to get it to work. This is about to be a deal breaker for me and using this slicer, but i've already dedicated so much time to getting it dialed in i'd really like to not abandon it now.... UGHH.
RE: Editing thickness of overhang perimeters
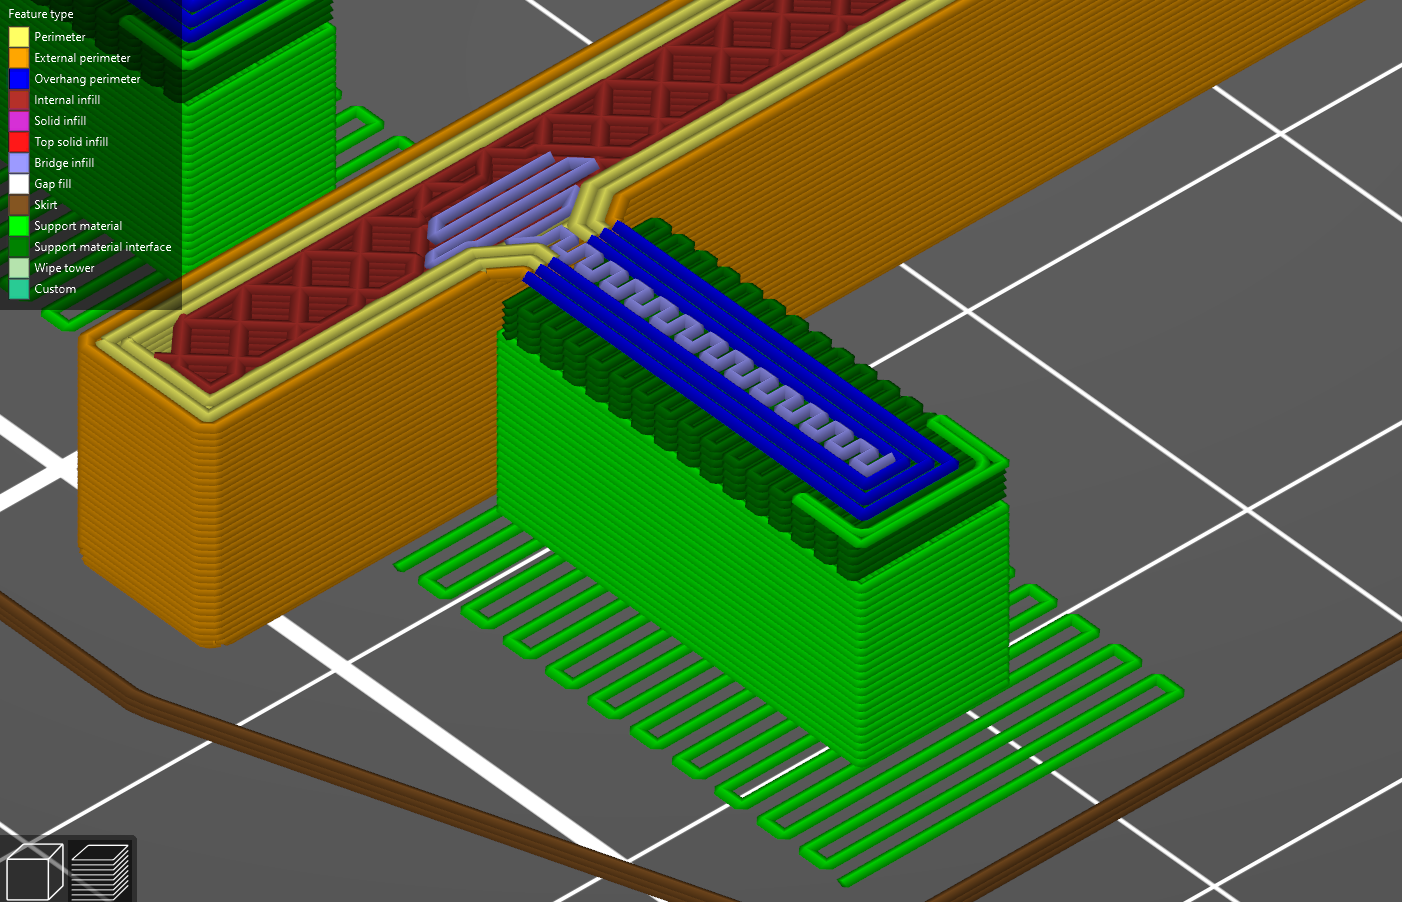
You can play with "Detect bridging perimeters".
It has also an effect on the thick bridge layer for the perimeters.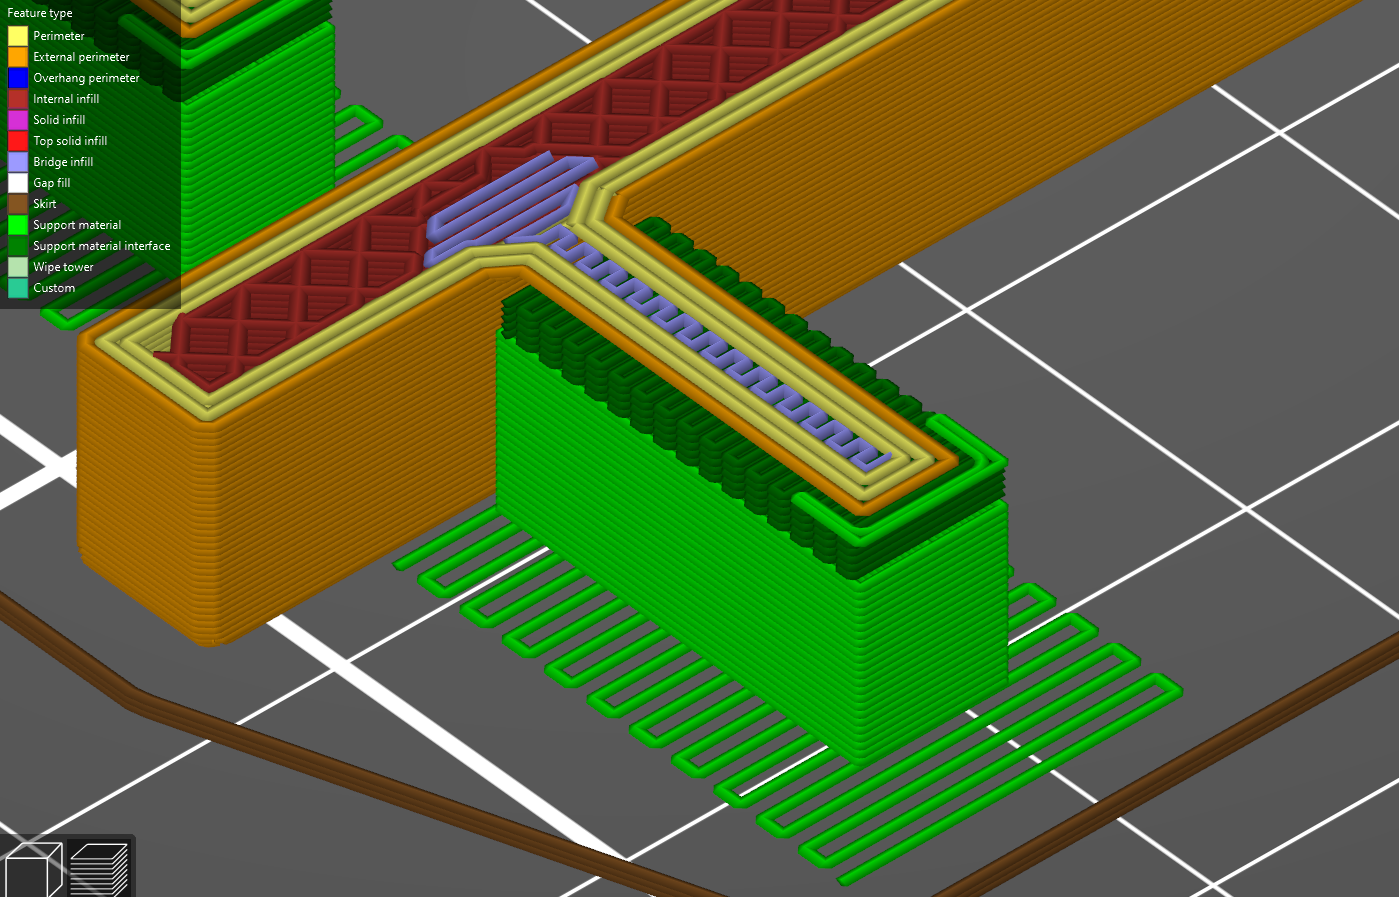
RE: Editing thickness of overhang perimeters
Hello, I am having exactly the same problem :/
Is there any news on how to remove (or significantly decrease) the overhang layer? Cause, I think that's really critical in having good surface finishing at the model interface with the supports...
Thank you to everyone!
RE: Editing thickness of overhang perimeters
For those still wondering, I came across this when trying to print some overhangs and was wondering why the preview showed it like this also. I think what’s happening is the preview knows that this is an unsupported layer so it assumes the filament will not be squished against a layer below it. So it will show a line with the same volume of material as the other lines, but because it isn’t squished, it will appear taller and thinner in most cases. This gives a more accurate representation of how it will actually look after printing but the slicer isn’t actually changing the flow settings.
As stated, with supports on and contact distance set to 0, the preview will show the bottom overhang/bridge lines squished like the other layers.
RE: Editing thickness of overhang perimeters
Correction to my last post. I looked into it more, analyzing the gcode output and doing a couple prints and the slicer is actually compensating flow for unsupported overhangs/bridges and it does so mathematically behind the scenes.
The theory is: an unsupported line such as in a bridge or overhang will not be squished so it will take a perfectly round (in theory) shape when extruded. If the flow rate stayed the same, outputting the same volume of plastic per mm, this would result in thinner lines than called for and a lack of adhesion to neighboring lines. So the slicer increases the flow rate enough to achieve the full width. The side effect being that the line will also be taller due to the increased volume. If your layer height and line width were the same, this would not be an issue, but with very thin (squished) layers this can lead to more drastic compensation.
There are two changes that can be made to counteract this if the flow compensation is not desired.
1. Turn on supports and leave auto generated supports off. Make contact z distance 0. The slicer then assumes the overhang is supported and thus will not compensate flow.
2. Decrease bridge flow ratio. You can do the math to calculate the ratio of cross sectional areas for a squished and non-squished line or you can just use trial and error to find a number that works for you (look at the height of the overhang layer in the preview and match it with the rest of the layers).
The math: for a layer height of .2mm and width of .4mm the cross sectional area of flow is about .072. Compensated, the flow is .128. To correct the bridge flow to maintain layer height you have to take the ratio of layer height to width and square it. So using .2 and .4 the ratio is 1:2 so the bridge flow you should use is 25%. If you happened to use .1 layer height and .4 width then the bridge flow would have to be roughly 6%.
That said, in the cases with a small ratio of layer height to width, you don't want to decrease bridge flow too much because you'll end up with thin strings that won't adhere to adjacent lines and won't support the layer above.
RE: Editing thickness of overhang perimeters
Showing cross sections of lines. Top is squished lines of height to width ratios 1:2 and 1:4. Middle is the slicer's compensation with flow ratio at 1. Bottom is flow corrected for proper layer height.

.2 x .4 lines and an overhang with bridge flow ratio set to 0.25. The overhang height is corrected but the line width is now halved.
.2 x .4 lines and an overhang with bridge flow ratio set to 0.25. The overhang height is corrected but the line width is now halved.

.2 x .4 lines and an overhang with bridge flow ratio set to 1. The overhang height has doubled.