Disable proximity check in sequential printing
Hi all,
I've looked around a bit and couldn't find a solution to my problem, I hope I'm in the right place.
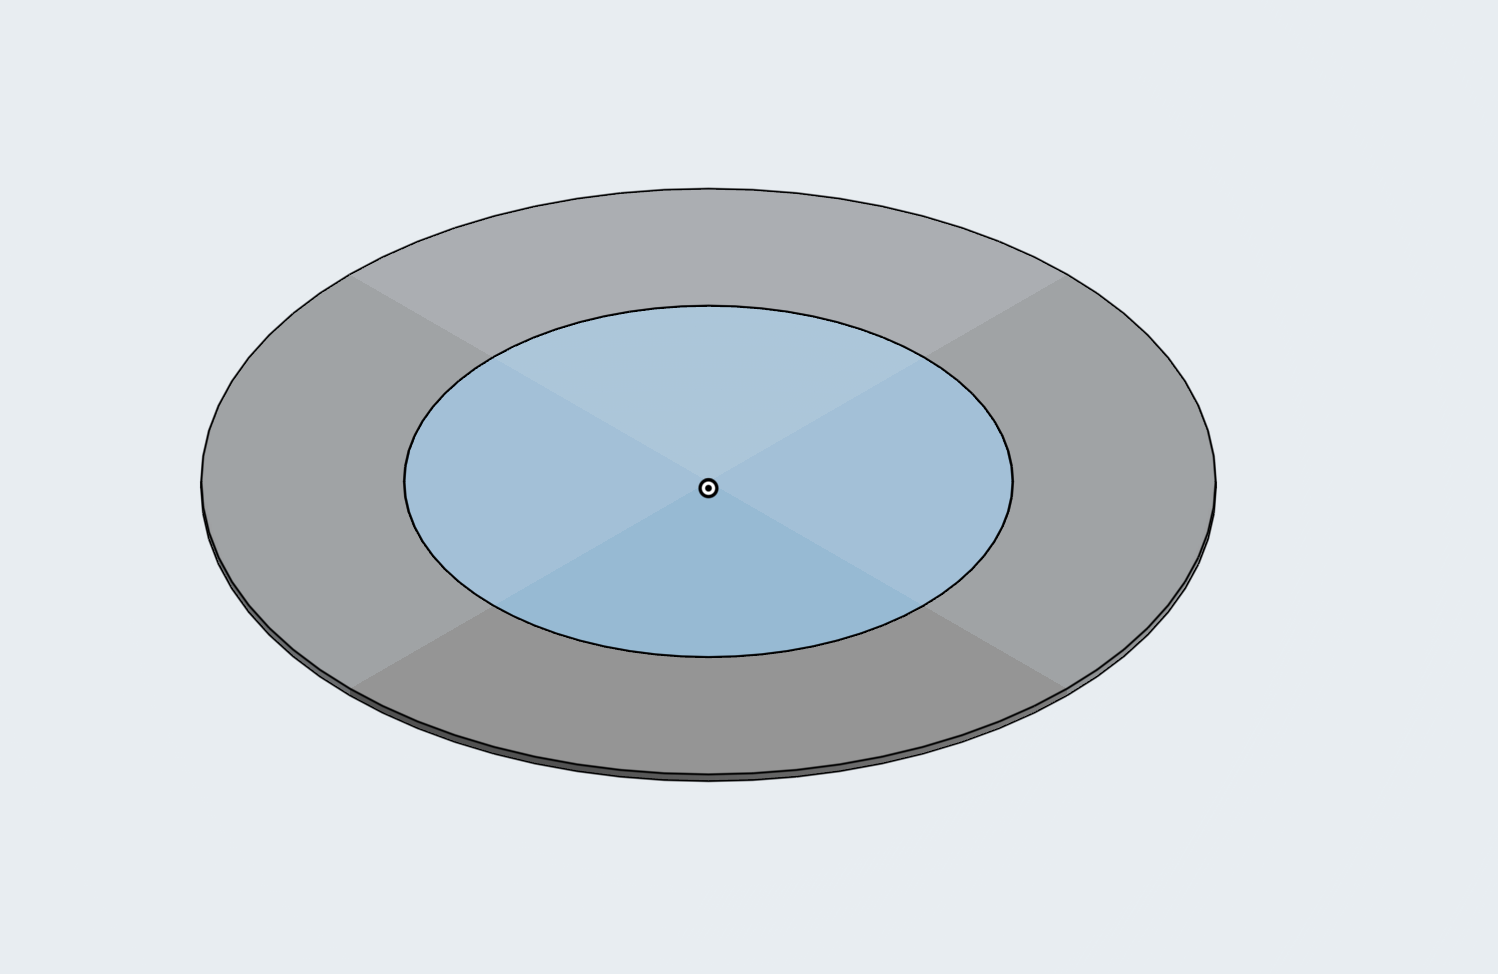
I've been playing with sequential printing in PrusaSlicer 2.3.1, trying to get a multi-material first layer. In this simple example, I have a (0.2mm, 1-layer thick) disc where I'd like the outer ring to be printed in a different color:
In order to achieve this, I've tried to enable "Sequential printing -> Complete individual objects" so that I can do a filament swap after the first object (be it the disc or ring) has been printed. Unfortunately PrusaSlicer complains that the extruder will collide with some of the objects, and won't let me slice:
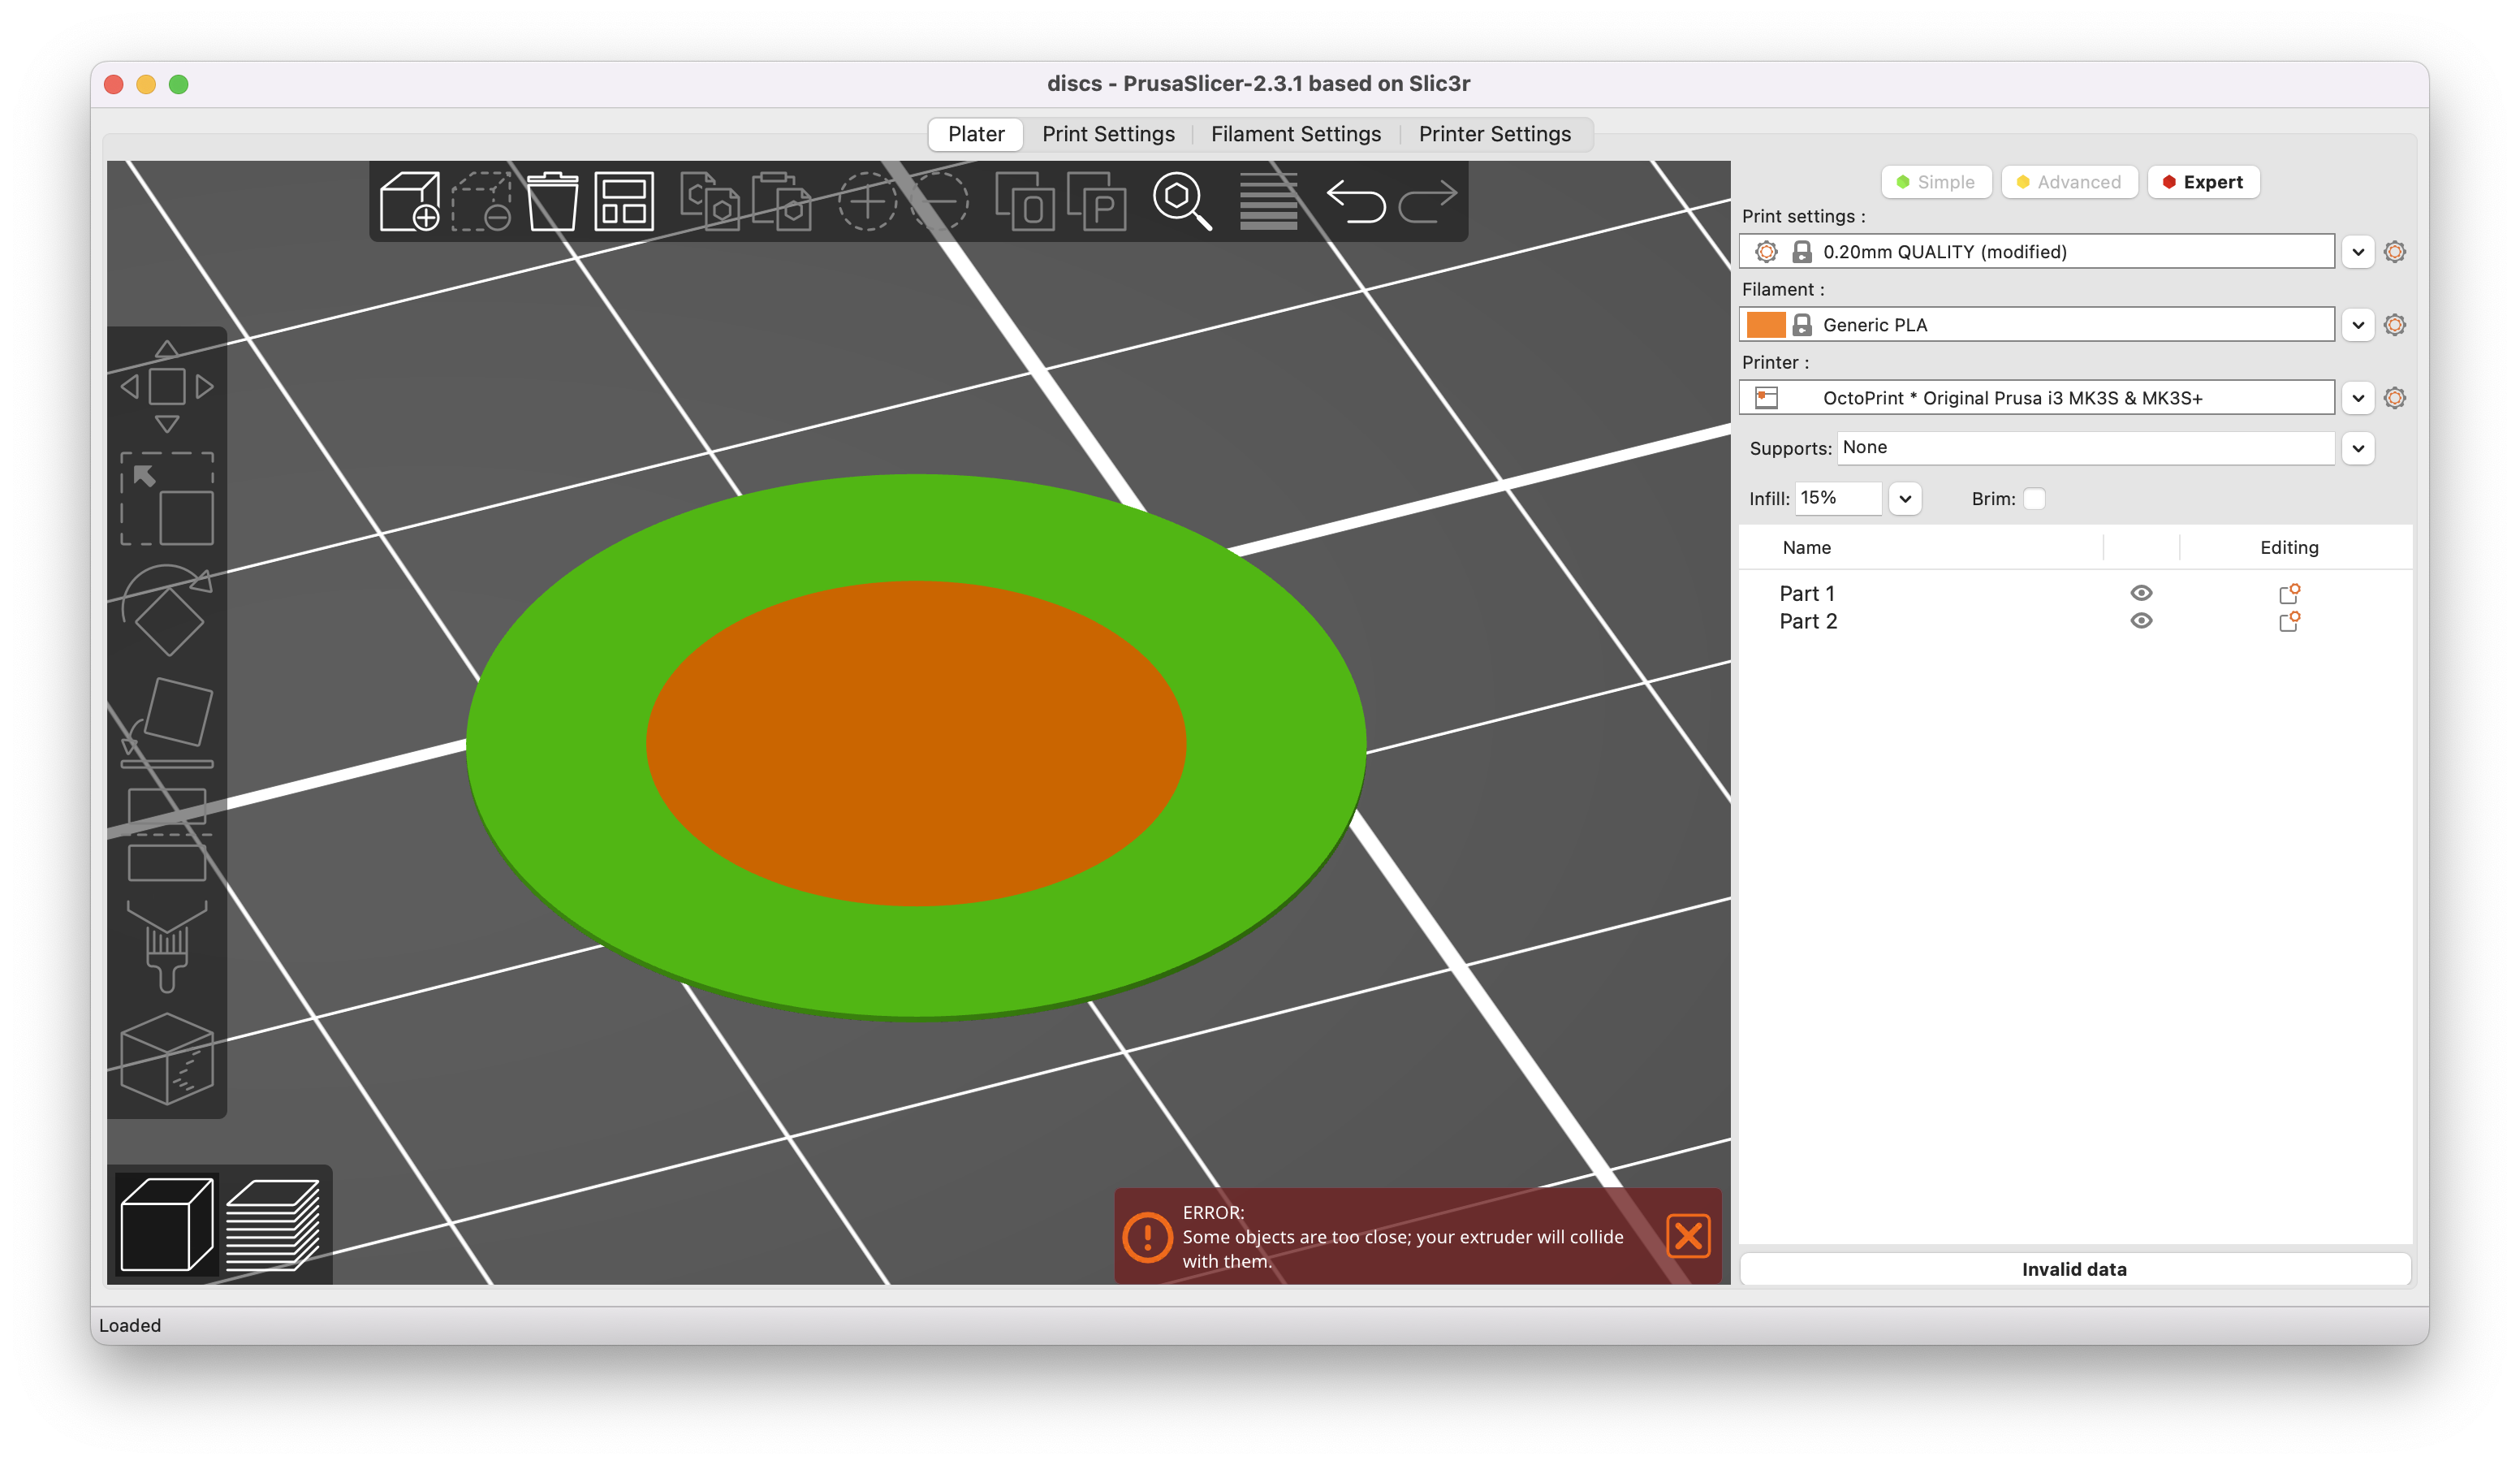
That being said, PrusaSlicer is somewhat correct here. If I were to print tall objects, the extruder would most definitely hit them. However here this is no different than manually inserting a filament change in the middle of a first layer print with concentric infill. I've tried modifying the extruder clearance but that doesn't help.
How can I tell PrusaSlicer to trust me on this one, and to slice nonetheless? Any other suggestions for achieving my goal? I've played with MMU profiles in the past but the solution described here would be much simpler.
Thanks!
Best Answer by Neophyl:
Personally no, not in PS. In 2.4.58 of Super Slicer you just set the Extruder Radius value to zero and it disables it. SuSi is not for beginners though. It gives you way more tools to tweak things but those same tools can bite you in the rear if you dont know what you are doing. The fact that its a fork of PS and looks so similar lulls you into thinking its the same.
Swiss might know a way but I just use SuSi for situations like this.
RE: Disable proximity check in sequential printing
Thanks for the tip! Had never heard of SuperSlicer.
I gave your suggestion a shot on "SuSi", although I'm left with a gap between the two objects: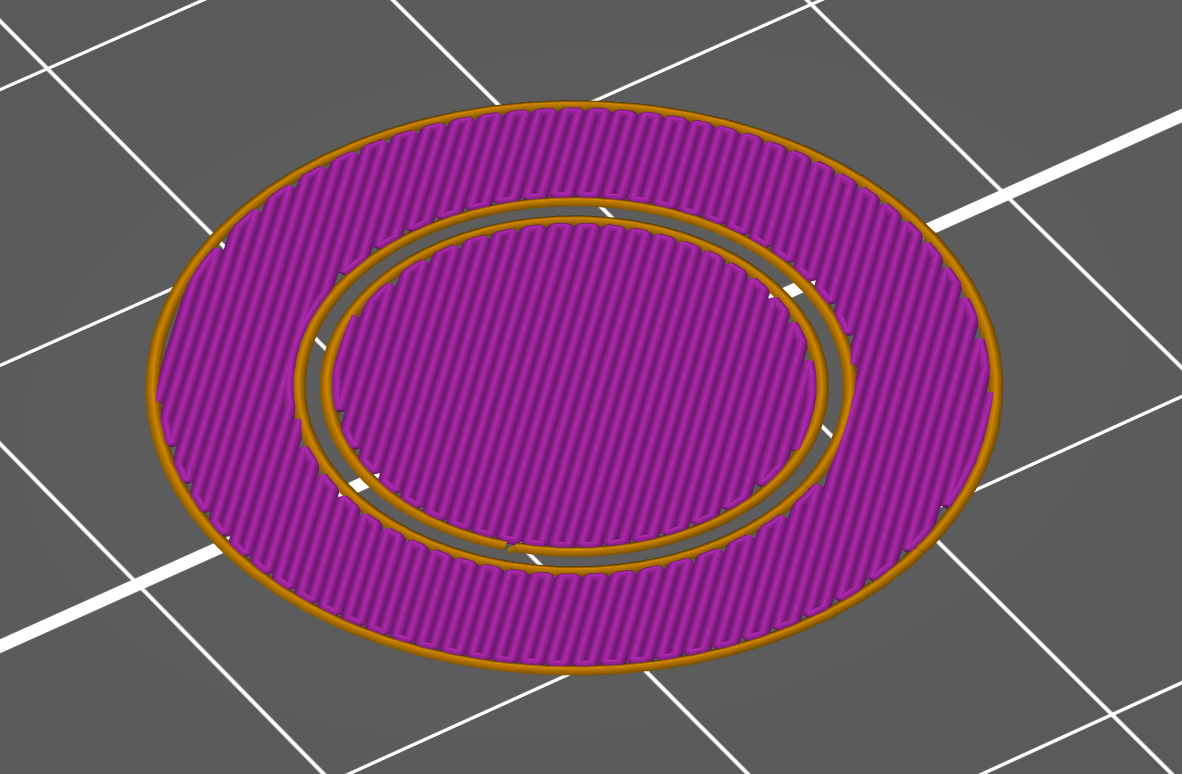
I played with the settings a bit, and this is what I ended up modifying (which sliced as above):
---
Complete individual objects: checks
Extruder clearance: 0mm
Skirt: Loops (minimum): 0
---
Any idea where the gap might come from?
RE: Disable proximity check in sequential printing
Check what elephants foot value you have configured. With Elephants foot it shrinks the first layer in. Your PS profile might not have any set but the SuSi one might.
Thats one of the ones that differs from PS/SuSi, PS uses a positive value to bring the outer perimeters in (make smaller) while SuSi uses a negative value, to bring in and a positive one to expand.
RE:
EDIT: you beat me to it 🙂
Ah never mind, that's just the elephant foot compensation. Thanks a lot for your help here!
RE: Disable proximity check in sequential printing
Instead of sequential printing, you can create a printer profile with multiple extruders (in this case 2) and assign each object to a different extruder. It works even if you don't have an MMU. The printer will simply stop and ask for filament changes as needed. Here's an example: https://www.printables.com/model/51471
Formerly known on this forum as @fuchsr -- https://foxrun3d.com/
RE: Disable proximity check in sequential printing
Ah thanks a lot! I had tried this in the past:
I've played with MMU profiles in the past but the solution described here would be much simpler.
However I was using STLs and never really managed to make it work as a multi-part object. I'm now using 3mf and it works just fine.
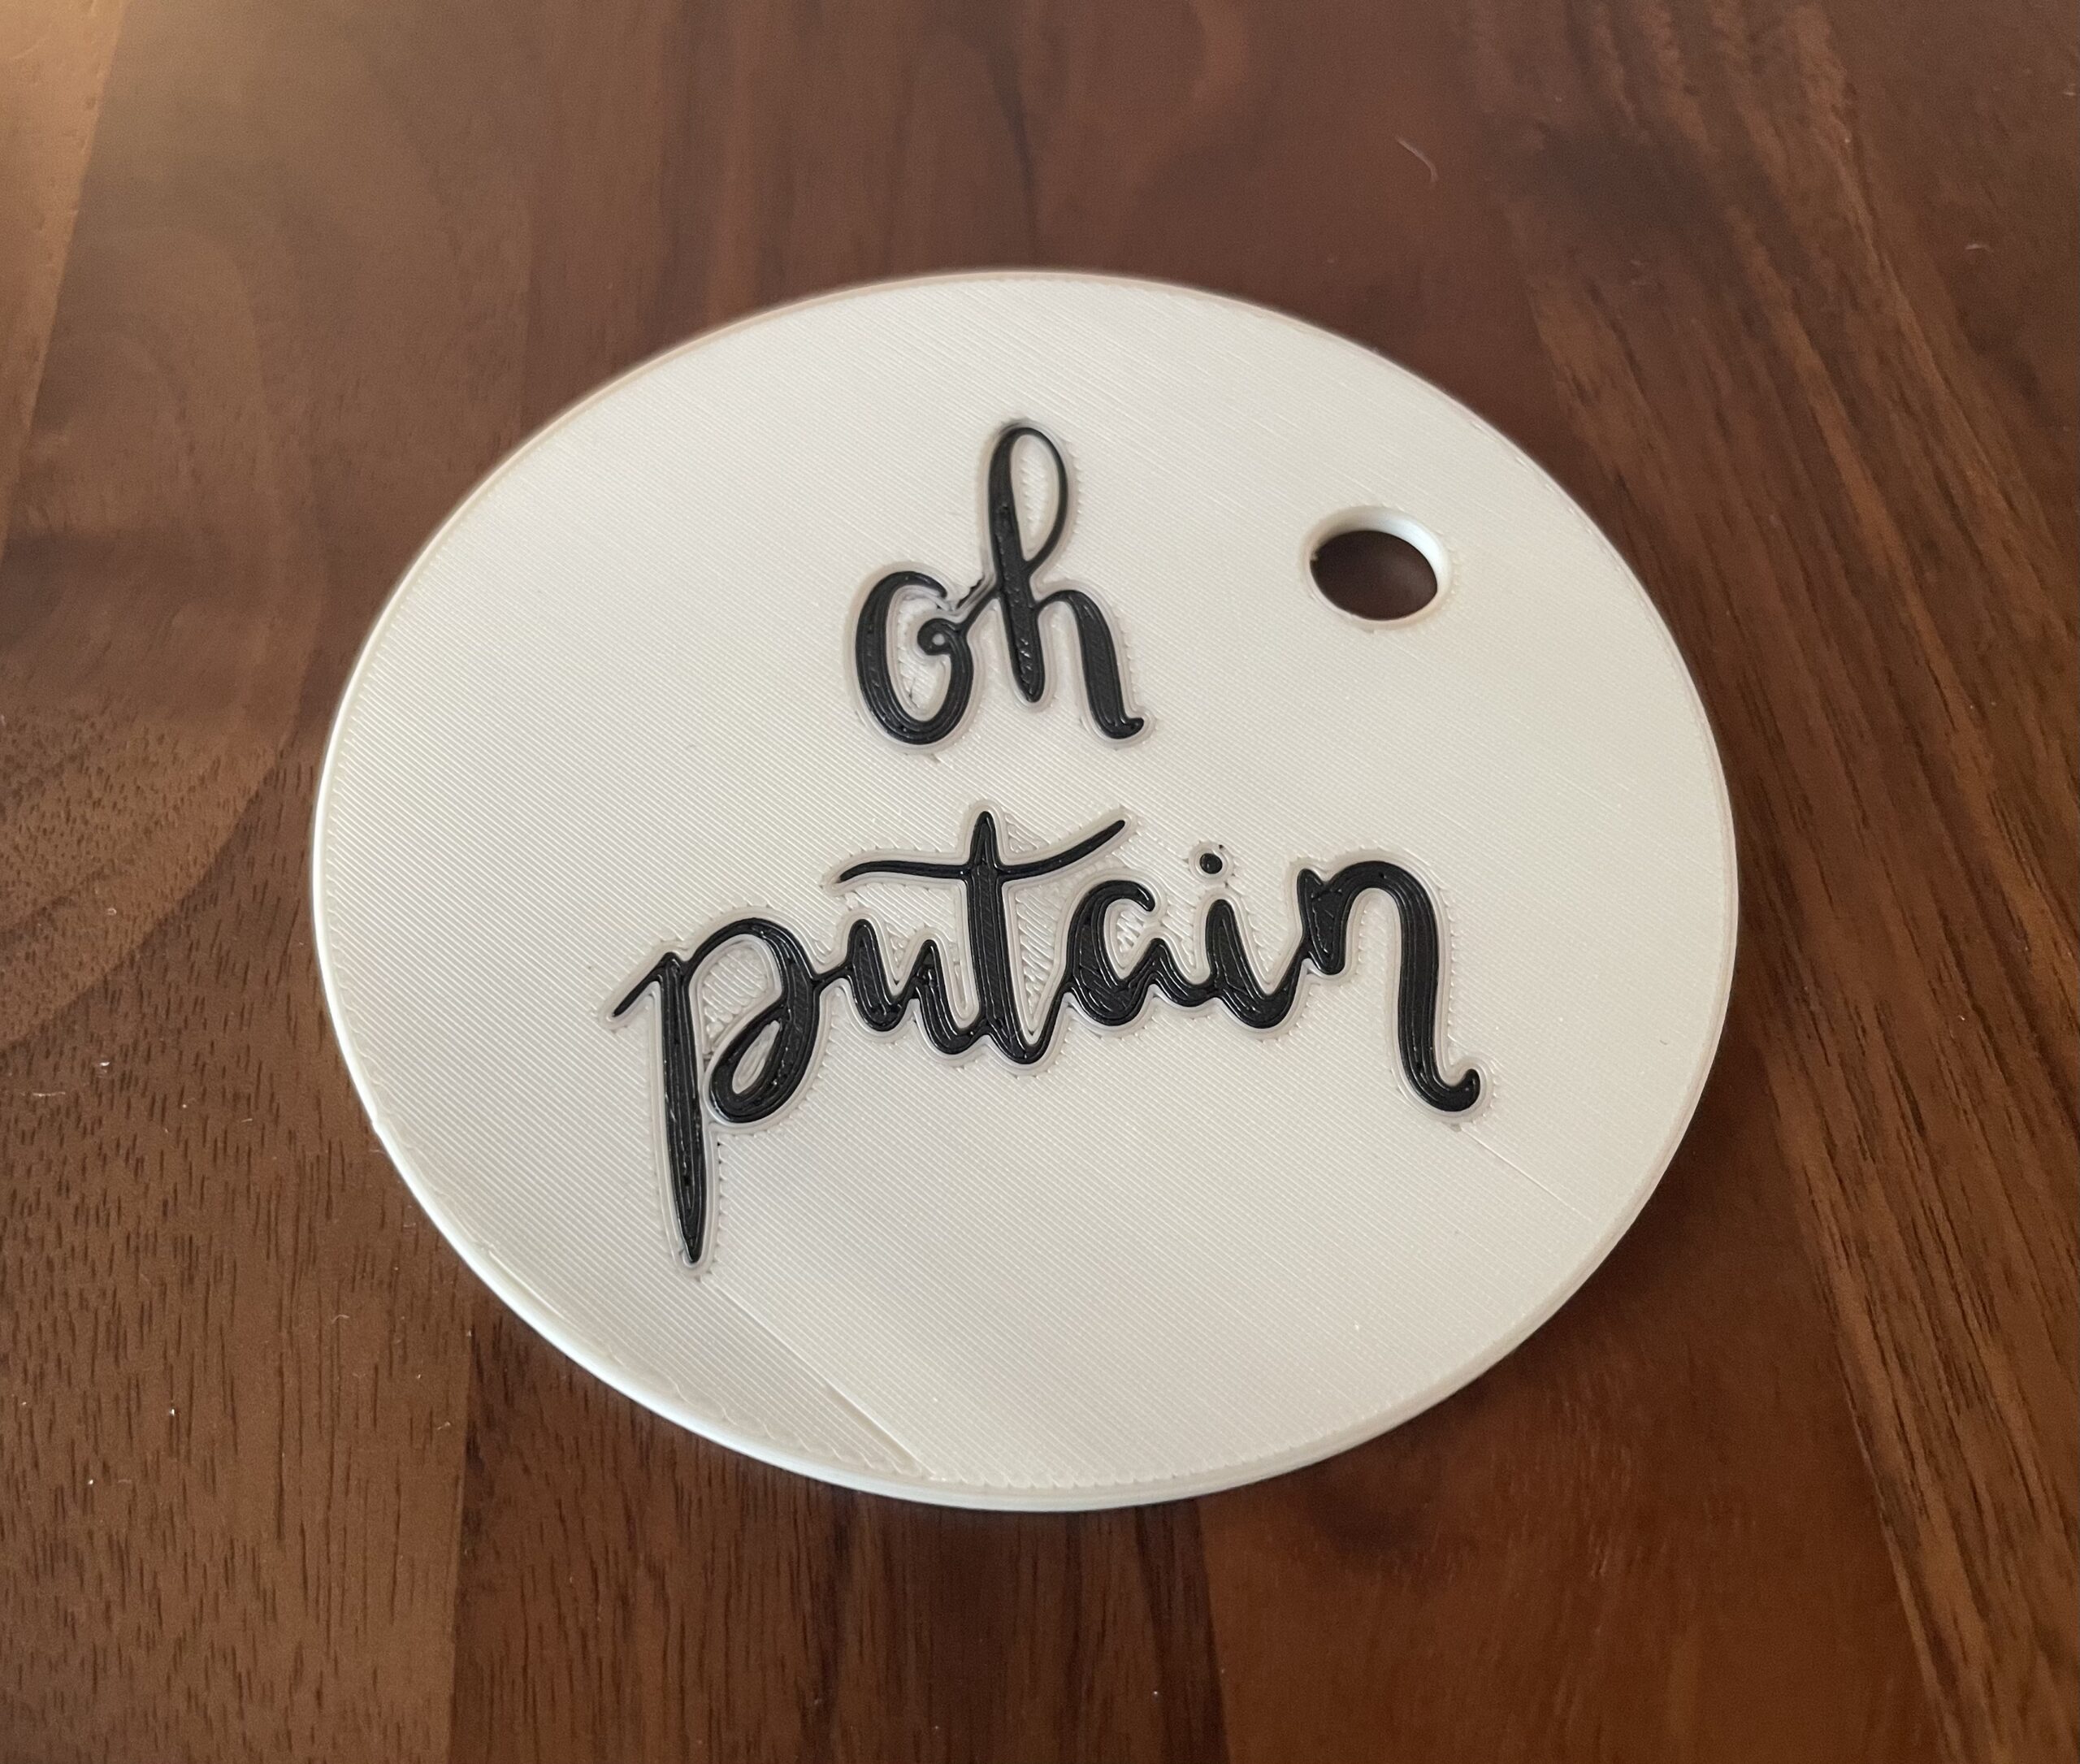
Need to sort out some filament issues, but that aside, awesome result. Thanks y'all for your help!
RE:
I found a solution in that works in Prusa slicer: Insert one of the objects into the custom gCode (Expert settings->printer settings->custom Gcode) of the other.
How to do this? Slice the first object, save the gcode and open it in a text editor. There delete the custom Start-gCode and the End-gCode and copy the remaining gcode.
Now go back to Prusa Slicer, enable the second object (and disable the first), go to the beginning of the custom End-gCode and paste the gcode of your first object in front it.
Now hit Slicing, confirm to PrusaSlicer that he really shall slice this weird custom end-Gcode, and voila, here you go 🙂
PS: Before the first object gets sliced I found it convenient to mark the end of the Startcode with something easy to find like "delete all above".
If someone runs into issues with this workflow, please leave a comment to warn others about the issue. It will help a lot.