Different infill in one print
Hi guys, quick question. Is it possible to set slicer to export model with more than one infill? I have a model that needs to be assembled using screws and I need those areas with screws to be quite strong because of pulling force that´s gonna be applied to the model. But since it’s a big part, printing with 100% infill or so gonna last forever. I was thinking print the model with 40% infill but areas around those screws with 100% to make it stronger. Any ideas? 🙂
RE: Different infill in one print
One idea I just read recently: add small holes (like 0.5mm) to your model in the areas which need extra strength (not necessarily vertical, they could have any orientation). The slicer will then add perimeters around these holes instead of regular infill. Using 3 or 4 perimeters also helps with strengthening screw holes.
(AFAIK anything below 0.1mm hole size will be thrown away by the slicer)
RE: Different infill in one print
Just use a modifier and set the infill in that area to be greater. You can also set other slicing values to different areas using modifier objects or height range modifiers.
Please be aware though that the modifiers have to be placed carefully as slicer in effect treats an area with a modifier as a separate slicing problem so you can get unexpected results unless you are used to how it works. Its always best to check the slice preview very carefully when using them. Actually its best to always check the slice preview full stop on any slice 🙂
Instructions on using modifier meshes can be found in the Prusa Slicer knowledge base. The modifier ones are here https://help.prusa3d.com/en/article/modifiers_1767
The knowledge base should be your first port of call if you have slicer questions. Many of the basics are covered there.
RE: Different infill in one print
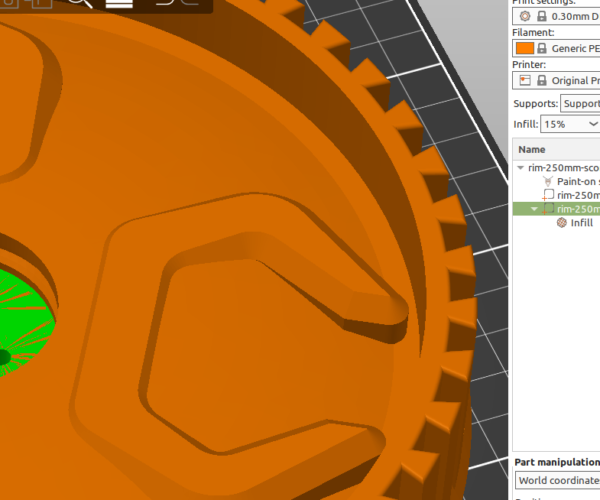
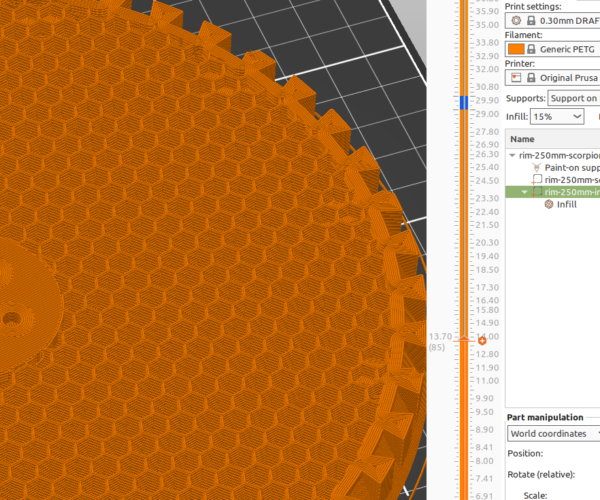
I solved this by designing a separate model just for the screwing area to be solid. This model in PrucaSlicer then is set to 100% infill and placed just inside the other model.
PrusaSlicer then will create a gcode file with 100% infill in the requested area:
BR
Sam

