Bridging Parameters for fan cover are not printing well
I'm trying to print the following cover,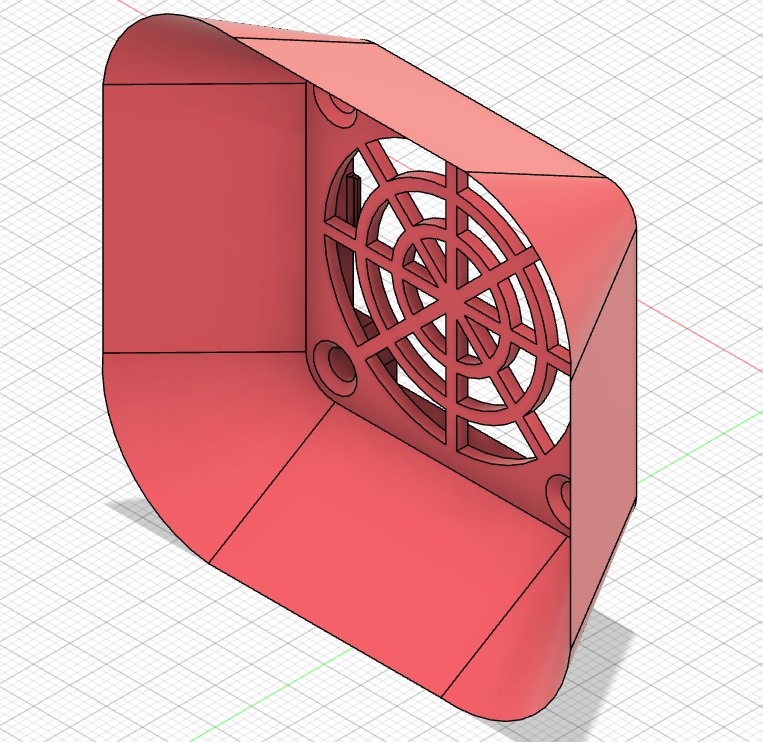
And expecting that the finger guard will be printed with the bridge feature.
however it seems that in the default 0.20mm Quality profile the finger guard is printed on air first.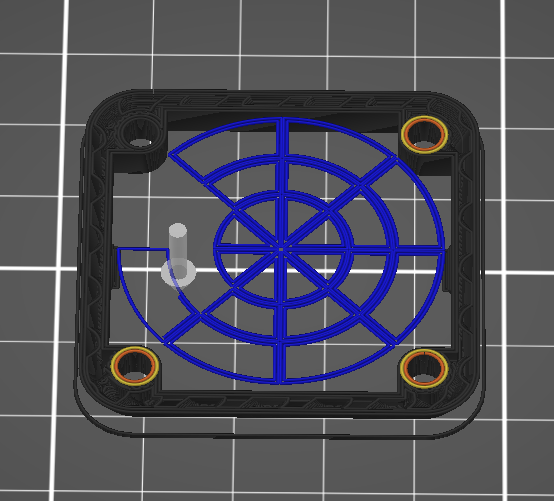
I'm trying to find a way to print it firstly with bridging
RE:
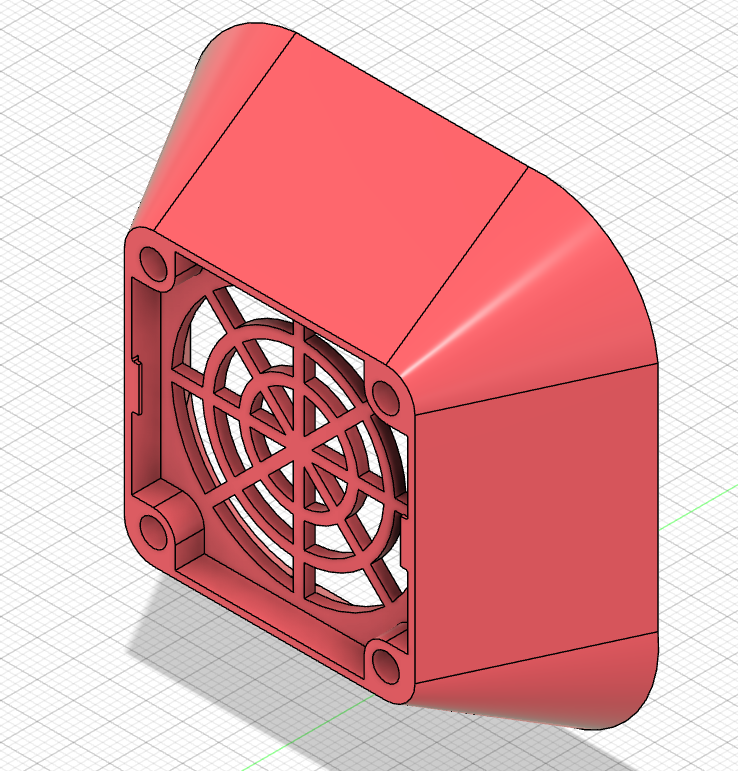
Even if you could manage to print the straight lines as a bridge from one side to the other they would probably be to long and fail to print properly.
But in no case you will be able to "bridge" the circular lines in any way. I don't think this is printable without supports or cutting it in two halves and print them separately the way you oriented the object. This part was not designed with 3d printing in mind... You might be able to print that in one part without supports if you place the side facing the camera in your second picture down onto the build plate - depends on the resulting overhang angles of the finger guard parts. Most probably generating a few unprintable overhangs this way too. But at least shorter ones.
BTW posting the zipped slicer project makes inspecting and suggesting changes easier.
If at first you don't succeed, skydiving is not for you.
Find out why this is pinned in the general section!
RE: Bridging Parameters for fan cover are not printing well
Hi,
I see two possibilities:
1) Assuming the design files are available to you, then you could revise the design so you have separate cover and finger guard components. The cover could then be printed throat-down (i.e. screw holes on the bed). The finger guard could then be printed flat too and then dropped into the cover to be held in place by the mounting screws that pass through both parts.
2. Orient the existing model in PrusaSlicer with the screw holes on the bed. Then use the 'cut' feature in PrusaSlicer to 'cut' the model immediately below the finger guard and 'keep' the resulting upper and lower parts. Print them both on the bed as in the first option and either glue them together or rely on the mounting screws to keep them together.
Hope that helps!
Cheers,
Tim