Beginners Guide to Slicer
I have a SL1, I use Fusion 360 to 'design' small parts which often print OK, but any holes are usually a different size to the design. These are small holes (around 2 - 6 mm). I realise that I have no idea how to adjust the Slicer - or why. Is there a guide to getting started so I can understand the process of setting up the slicer. I seem to be working in the dark!
RE: Beginners Guide to Slicer
Most holes will print smaller. Usually you adjust/compensate in the cad software so they come out the right size. That or ream them out with a drill bit afterwards to make them true size. I dont use F360 but my holes for 2mm locating pins to match part to part are designed at 2.2mm, M3 screw holes are 3.2mm and thats a friction fit so I could go to 3.3mm. Thats what works for my Mk3. If I was printing the same model on my CR10 I would have to use totally different sizes, thats why a drill bit is pretty much required.
There are several tolerance models on the usual sites that you can print that have graduated holes and plugs to check what tolerance your printer/filament combination needs in a design. And yeah, different filaments can make a difference. Once again, drill bit 🙂
Slicer has an x/y adjustment but that acts on everything on the layer not just holes so isn't really suitable for what it sounds like you are having a problem with. Other slicers have hole compensation but even then its variable and so, drill bit.
The Prusa Slicer knowledge base with the basics is here https://help.prusa3d.com/en/category/prusaslicer_204
RE: Beginners Guide to Slicer
I just got my SL1S a week ago. I found that the handbook has a bit more information on slicing than the Knowledge Base.
Mk3S+,SL1S
RE: Beginners Guide to Slicer
What are you using the SL1S for?
RE: Beginners Guide to Slicer
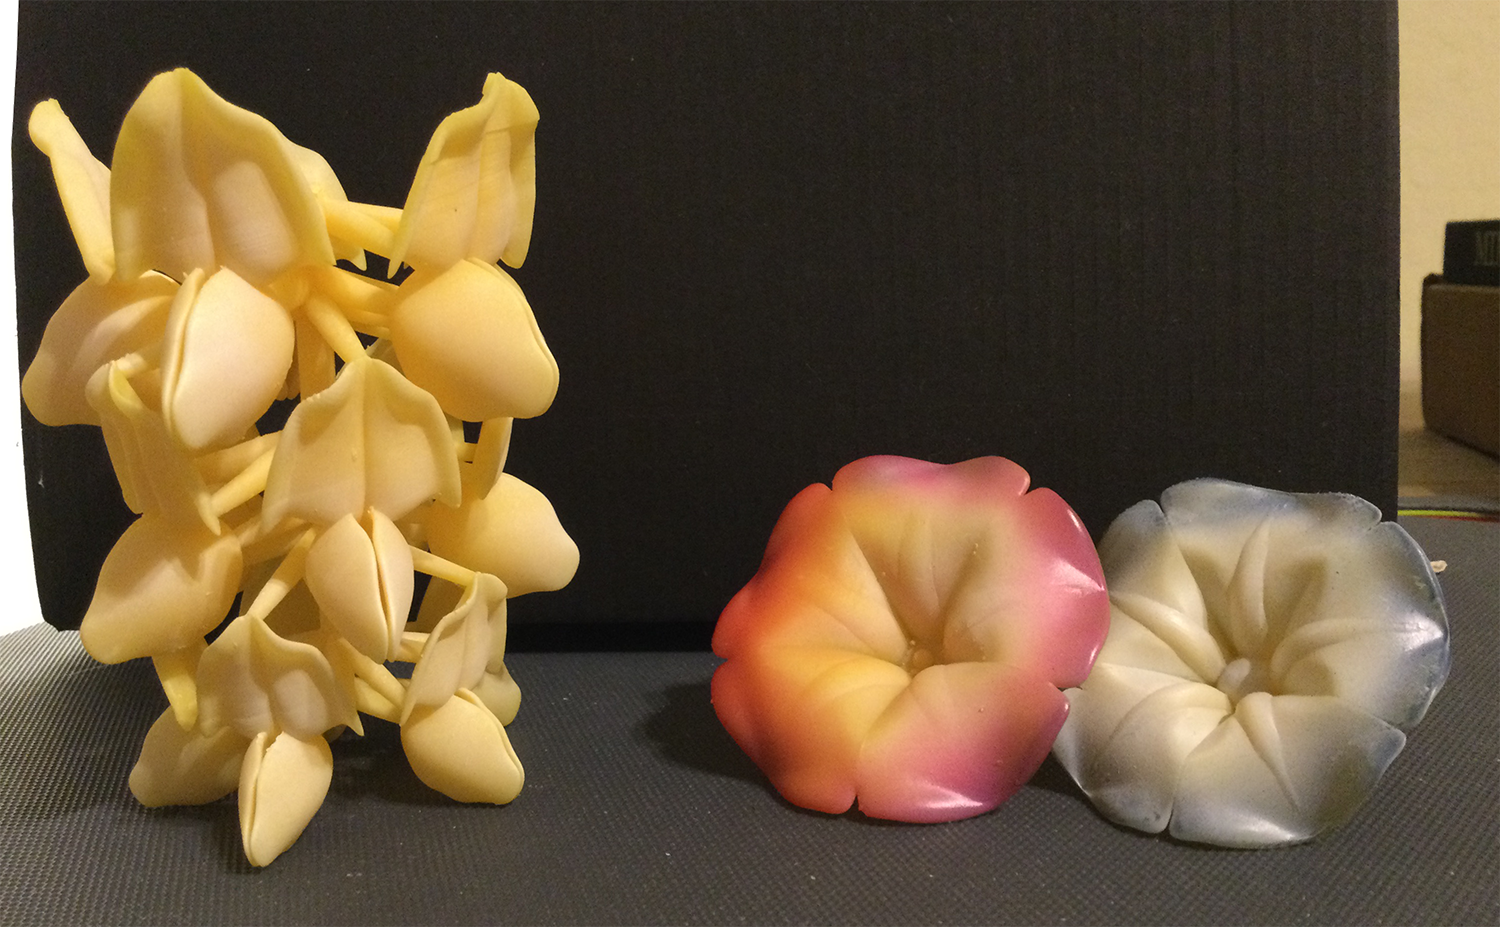
I am an artist. I have an MK3S+ which I love. I got the SL1S to break free of the design constraints of filament printing and for the insane level or detail you can get. I am very happy with it. Here is what I have made so far. The item on the left is a sculpture inspired by wisteria blossoms.
Mk3S+,SL1S
RE: Beginners Guide to Slicer
Thanks for the replies, I am currently mainly using the SL1 for small component parts such as pcb supports, servo brackets etc. For these the dimensions are important. For example, the pcb supports have holes to screw them to the board and also to attach the pcb to the support. These latter holes are for M2.5 threaded holes. I did try to model the thread - which Fusion 360 did, but the resulting printed part had a non threaded hole at about 2.3mm. I can easily run a tap through so it is usable, but it would be more productive IF I could just print the complete part. I wondered if the settings in Slicer were affecting the final printed part.
RE: Beginners Guide to Slicer
From what I understand, the most important settings are the exposure time and tilt speed. Have you tried different settings for these? Perhaps increasing the exposure time and reducing the tilt speed?
Mk3S+,SL1S
RE: Beginners Guide to Slicer
Or could it be the resin? Some resins are supposed to be better with small details than others.
Mk3S+,SL1S
RE: Beginners Guide to Slicer
Thanks for the replies, I am currently mainly using the SL1 for small component parts such as pcb supports, servo brackets etc. For these the dimensions are important. For example, the pcb supports have holes to screw them to the board and also to attach the pcb to the support. These latter holes are for M2.5 threaded holes. I did try to model the thread - which Fusion 360 did, but the resulting printed part had a non threaded hole at about 2.3mm. I can easily run a tap through so it is usable, but it would be more productive IF I could just print the complete part. I wondered if the settings in Slicer were affecting the final printed part.
Did the thread show up in the PrusaSlicer?
Most CAD programs only shows a bitmap of thread, not actually modeling it - As I remember there is a field in F360 that has to be checked to make a real 3D model of the thread.
To make the thread to work in real life there has to be some clearance, I usually make 0.1 - 0.2mm clearance on threads I model this way.
Have a look at my models on Printables.com 😉
RE: Beginners Guide to Slicer
I just started using pursa slicer for my sovol sv4. I wanted the ability to paint on the colors for the dual mode 2 color prints. When I first got it set up it was working great and now for an unknown reason when I slice the prints, extruder 2 temp auto set to 0. I'm printing PTEG at 235 with the bed temp at 75. When I go to fillament settings both extruders are set up the same and the temps are saved. It's not my machine the temp for extrudrr 2 works fine. If i leave the defaults for the nozzle temps alone it keeps them for both nozzle. Only when i adjust the temps does it do this. I've tried deleting profiles, uninstall and reinstalling pursa. I keep getting the same result after adjusting the nozzle temps extruder 2 sets it self to 0. Any help or suggestions would be welcome.