Layer Shift Wall of Shame
What the title suggests; post your layer shift fails here.

RE: Layer Shift Wall of Shame
... and please add comments with each print whether you had "avoid crossing perimeters" enabled. 🙄
RE:
... or loose belts ... or the part warped ... or ...
RE: Layer Shift Wall of Shame
#1 - first rodeo with layer shift, so makes sense that I would rely on default settings. Real question is, if it should be turned on, why isn't this the default?
#3 - avoid crossing perimeters enabled
#4 - avoid crossing perimeters enabled
#5 - avoid crossing perimeters enabled
... and please add comments with each print whether you had "avoid crossing perimeters" enabled. 🙄
RE: Layer Shift Wall of Shame
#1-#3 wasn't aware
#4-#5 Belt tensioned per app. As admitted in this thread, it appears the Core One seems to be a finicky in this area.
Part warpage? I do my best to avoid that as well:
Indoor setting, temperature controlled environment
Thorough isopropyl alcohol (90%) cleaning, every build, no exceptions (some have recently suggested soap/water rinse which I have done as well, just not every build)
Nozzle cleaning, every build, no exceptions
Use almost exclusively Prusament filament (have one Kexcelled roll that was a specific color, no issues with that so far)
Try to control filament humidity with Polymaker dryboxes, seal bags for storage, etc. (admittedly the Polymaker boxes/dryer don't do that well, and currently looking for other solutions)
Then there's been the suggestions around slowing down speed & feeds, acceleration values, etc. All welcomed tips and suggestions, just nothing so far that has guaranteed that it won't happen again. Will keep refining the process until I find something that works more reliably. Appreciate the input.
... or loose belts ... or the part warped ... or ...
RE: Layer Shift Wall of Shame
If I'm not mistaken, "Avoid Crossing Perimeters" is off by default. It should remain off since its the cause of many layer shift issues. I only experienced layer shifts early on when I didn't fully understand how the belts should be tensioned. Another time when umbilical sagged and wedged between the printhead and the X motor around (0,220) etc.
RE: Layer Shift Wall of Shame
This helped, thanks. I found the original thread where this was mentioned...and forgot about the part where this was in combination with Stealth Mode.
https://forum.prusa3d.com/forum/postid/754692/
So, I can see how I misinterpreted as it needing to be turned on. I'll try again.
RE:
... Another time when umbilical sagged and wedged between the printhead and the X motor around (0,220) etc.
Very good point ... I'm even starting to wonder whether my printer is missing a part.
The picture is from the assembly instructions. Support of the umbilical ("swing arm assembly") ends at the right end (!) of the green marks in the picture.
And yes, the cable always drops down and would get stuck between print head and left stepper motor if moving to the back left corner. Maybe it holds at room temperature, but chamber temperature during operation is higher so the cable softens and sags.
How should this cable be kept above the stepper motor level reliably?

RE: Layer Shift Wall of Shame
This is what I use: Core One modified "bowden-bend" with wider radius with the Bowden tube on top, it acts a rigid spine and lifts it up enough that I needn't worry about sag (as much). I found that it also makes it slightly easier to get filaments into the extruder.
How should this cable be kept above the stepper motor level reliably?
RE:
Right... I'm using the "PTFE tube clip" that came with the MMU, which attaches the tube horizontally (as the MMU brings its own filament tube).
So the PTFE tube does not support the umbilical at all, as in the non-MMU stock version. This is, IMHO, a design flaw for the "Core One with enclosed MMU" product: It seems they just forgot that the original PTFE tube is lifting the umbilical a little.
RE: Layer Shift Wall of Shame
If I'm not mistaken, "Avoid Crossing Perimeters" is off by default. It should remain off since its the cause of many layer shift issues. .
Thanks for clarifying. Yes, that's what I meant in my post above: It is known that the "avoid crossing perimeters" mode causes the slicer to generate Gcode with impossibly rapid movements, but I don't think Prusa has officially acknowledged (let alone fixed) this issue. Hence many users still fall into this trap, and it is probably the root cause behind a significant percentage of the layer shifts that are encountered.
RE:
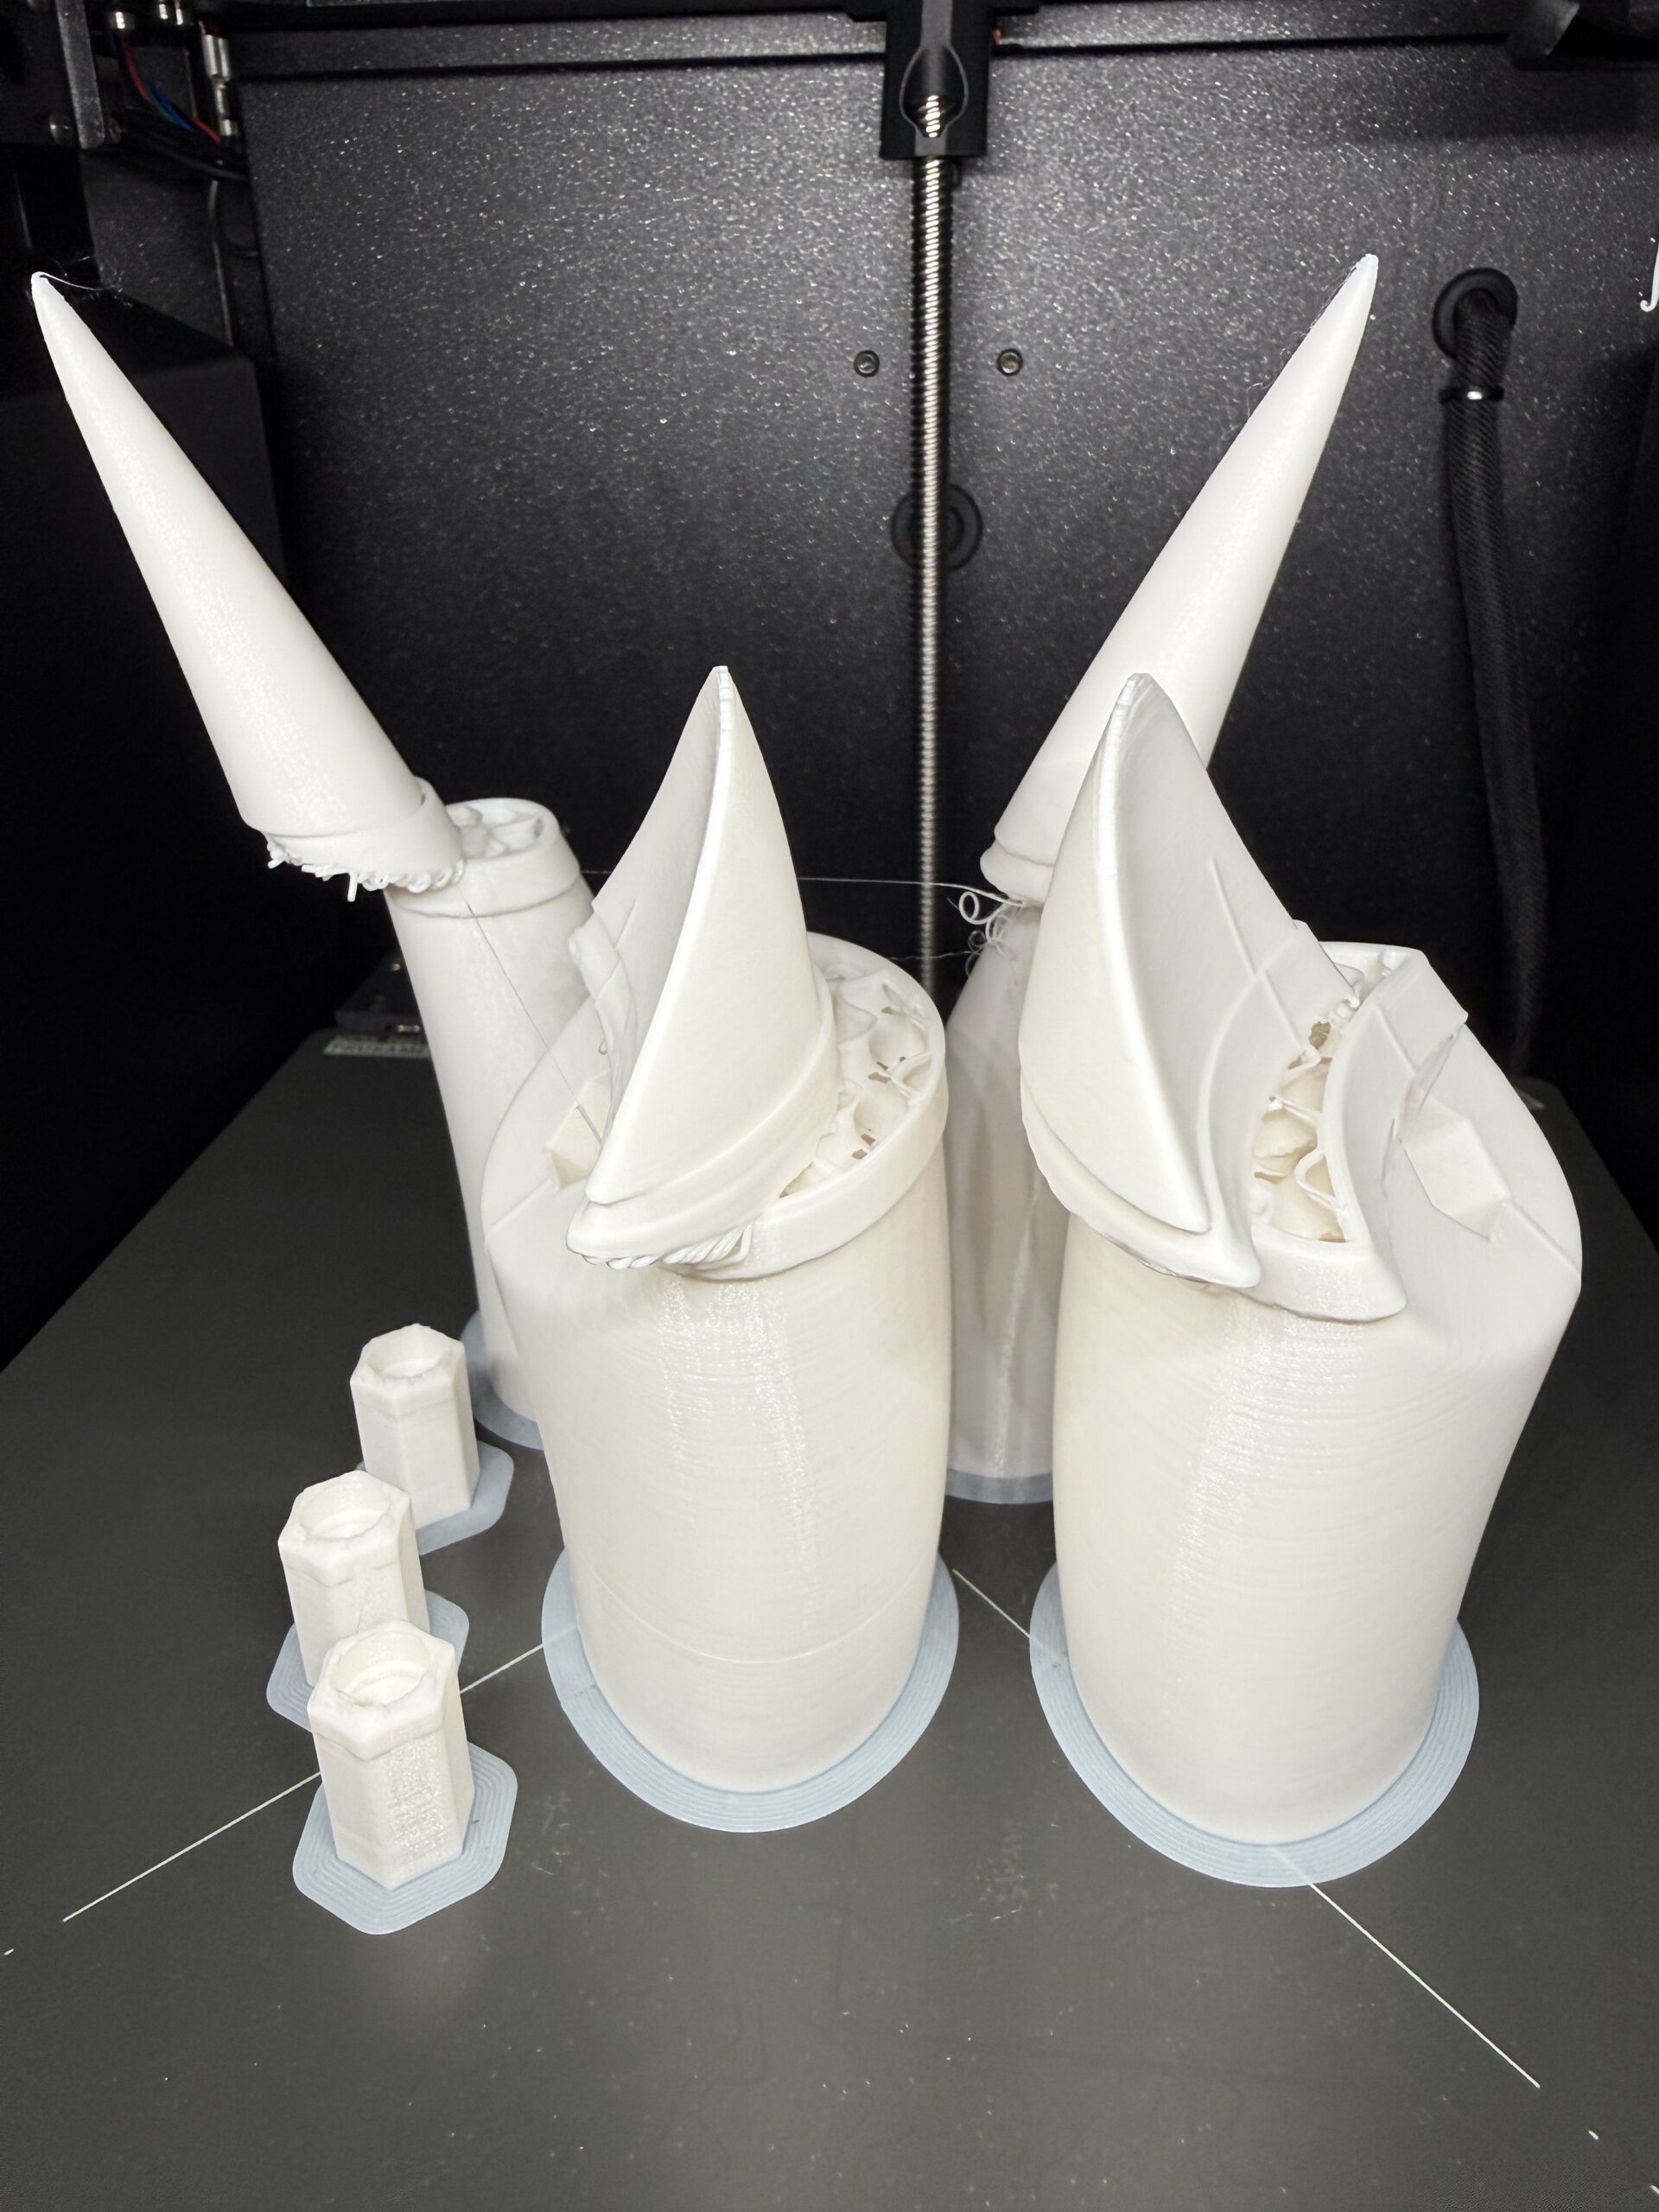
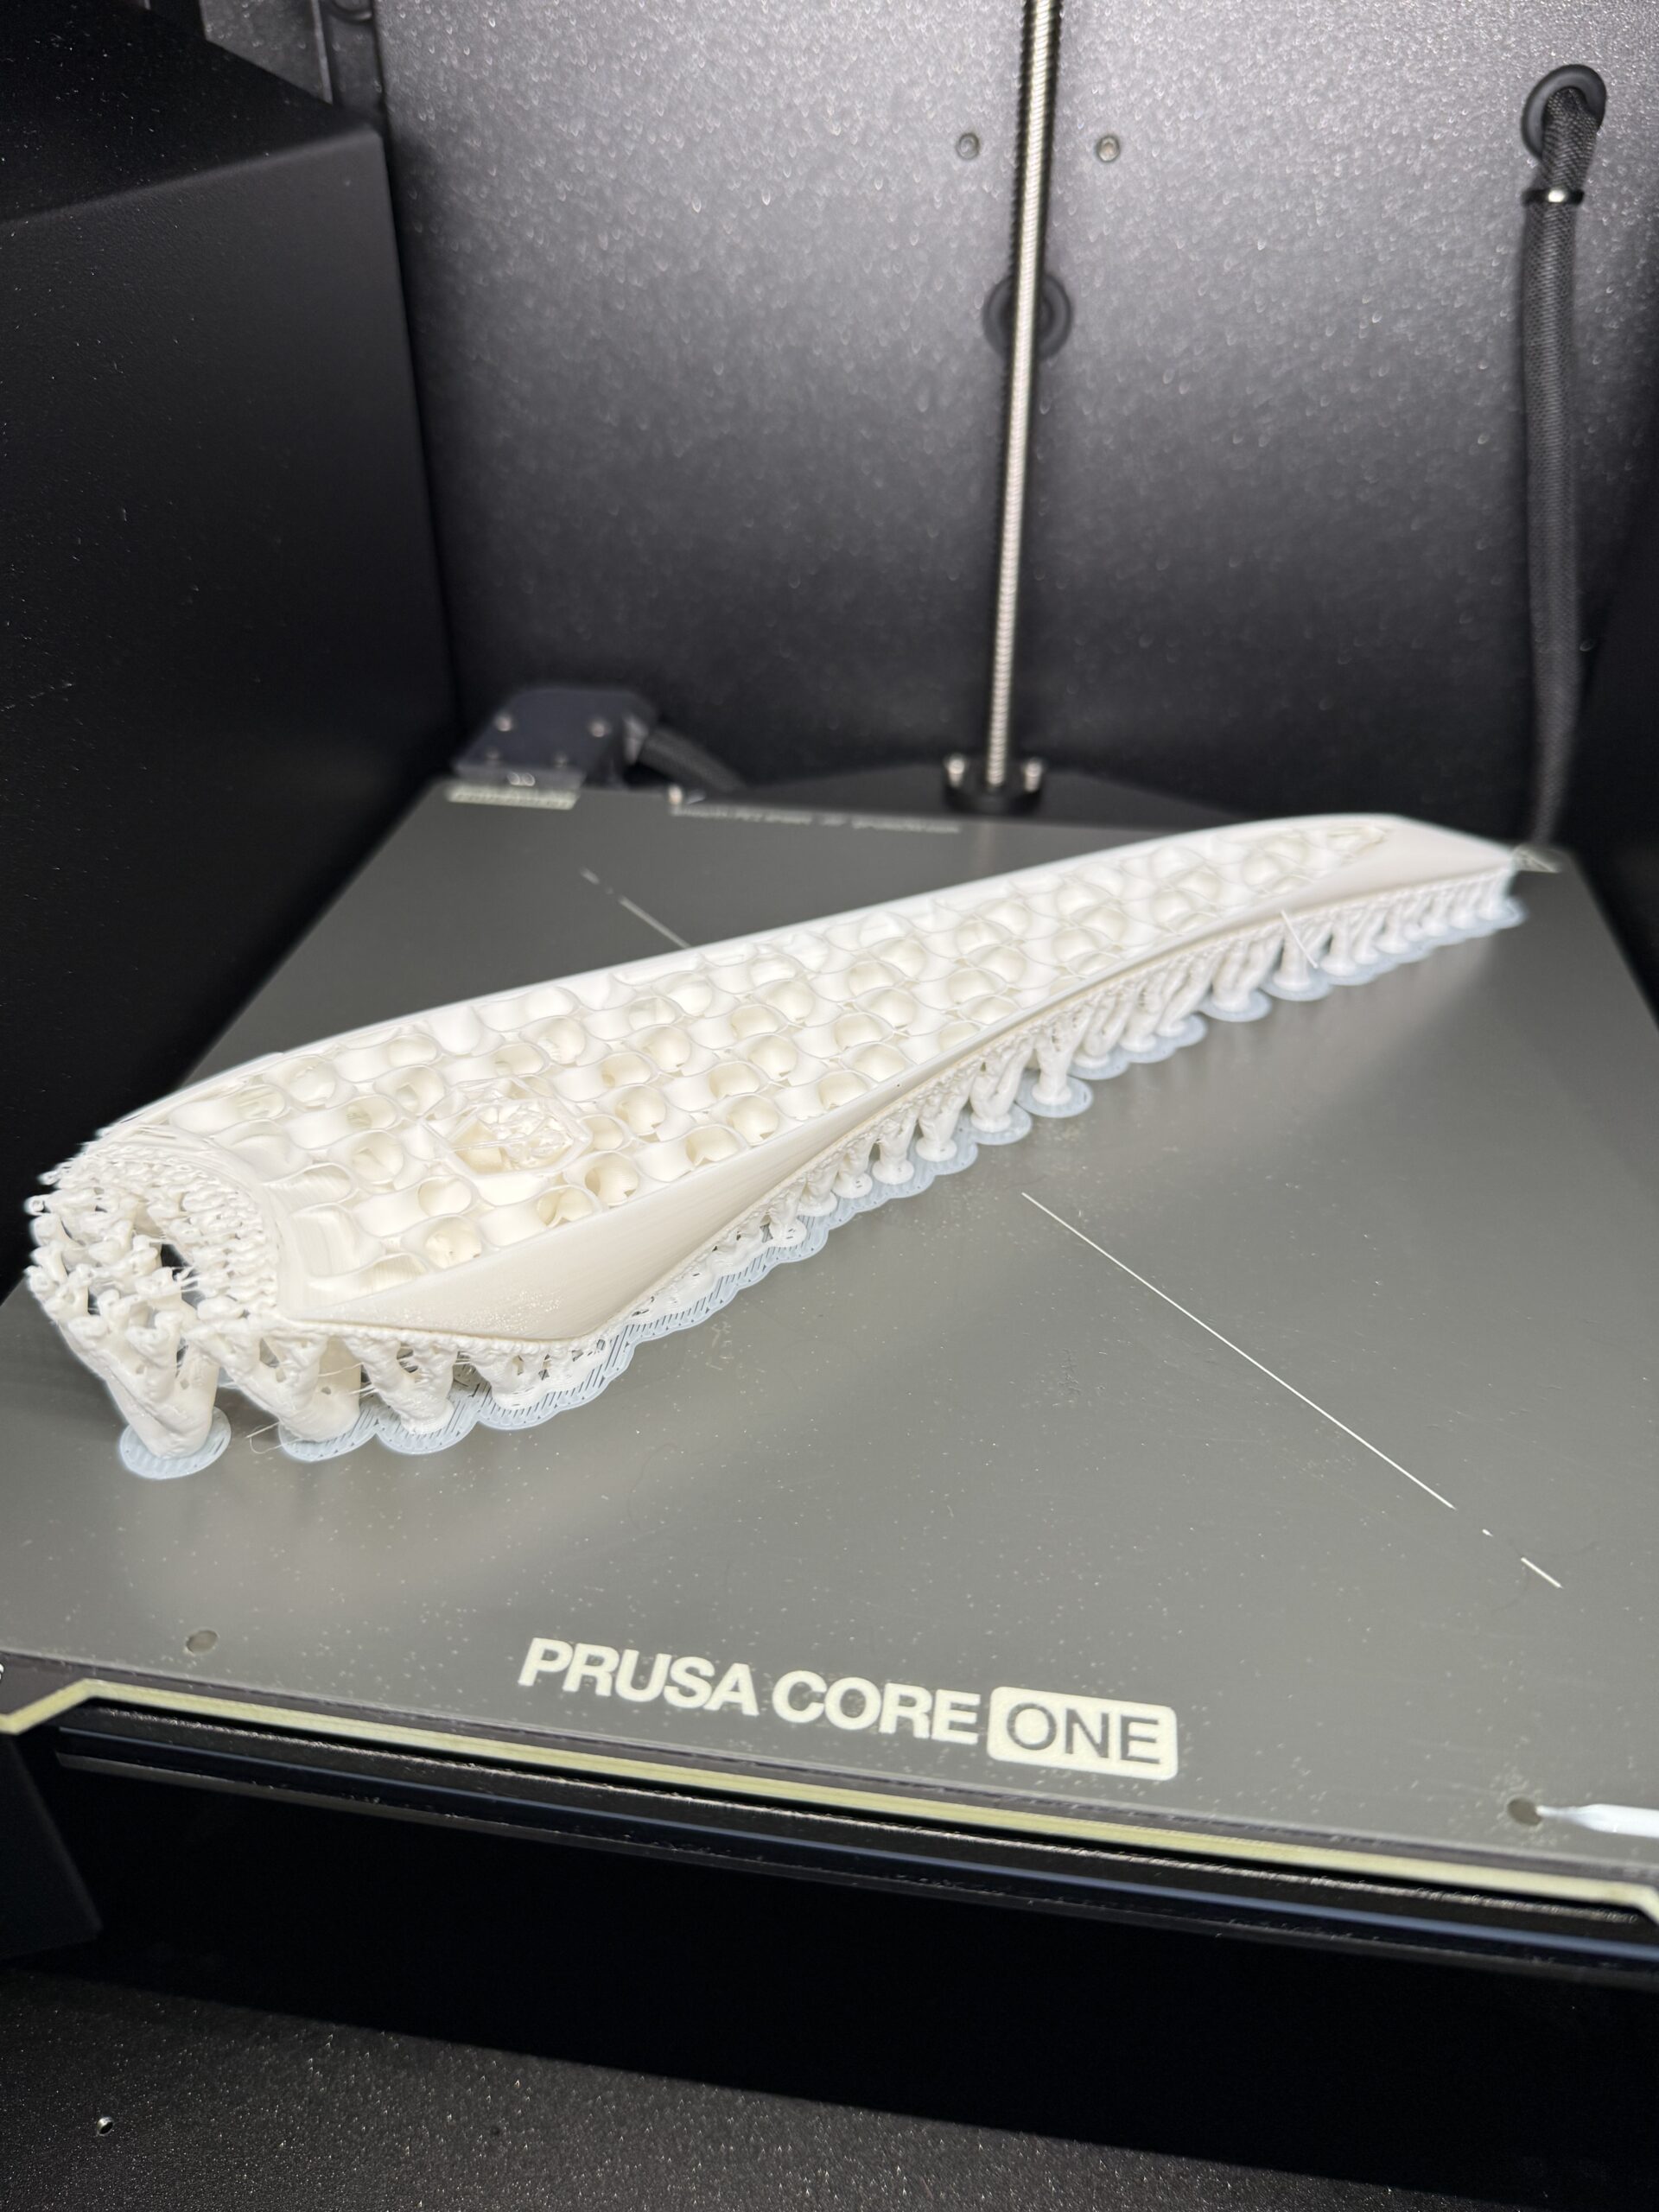
Core one with MMU does have a problem:
I put two otherwise totally undemanding objects into the back corner of the printbed.
Lo and behold, layer shift (most likely the umbilical getting stuck).
Prusa, please fix this...
(PS the picture needs to be clicked as the objects are on the far left and right)

RE: Layer Shift Wall of Shame
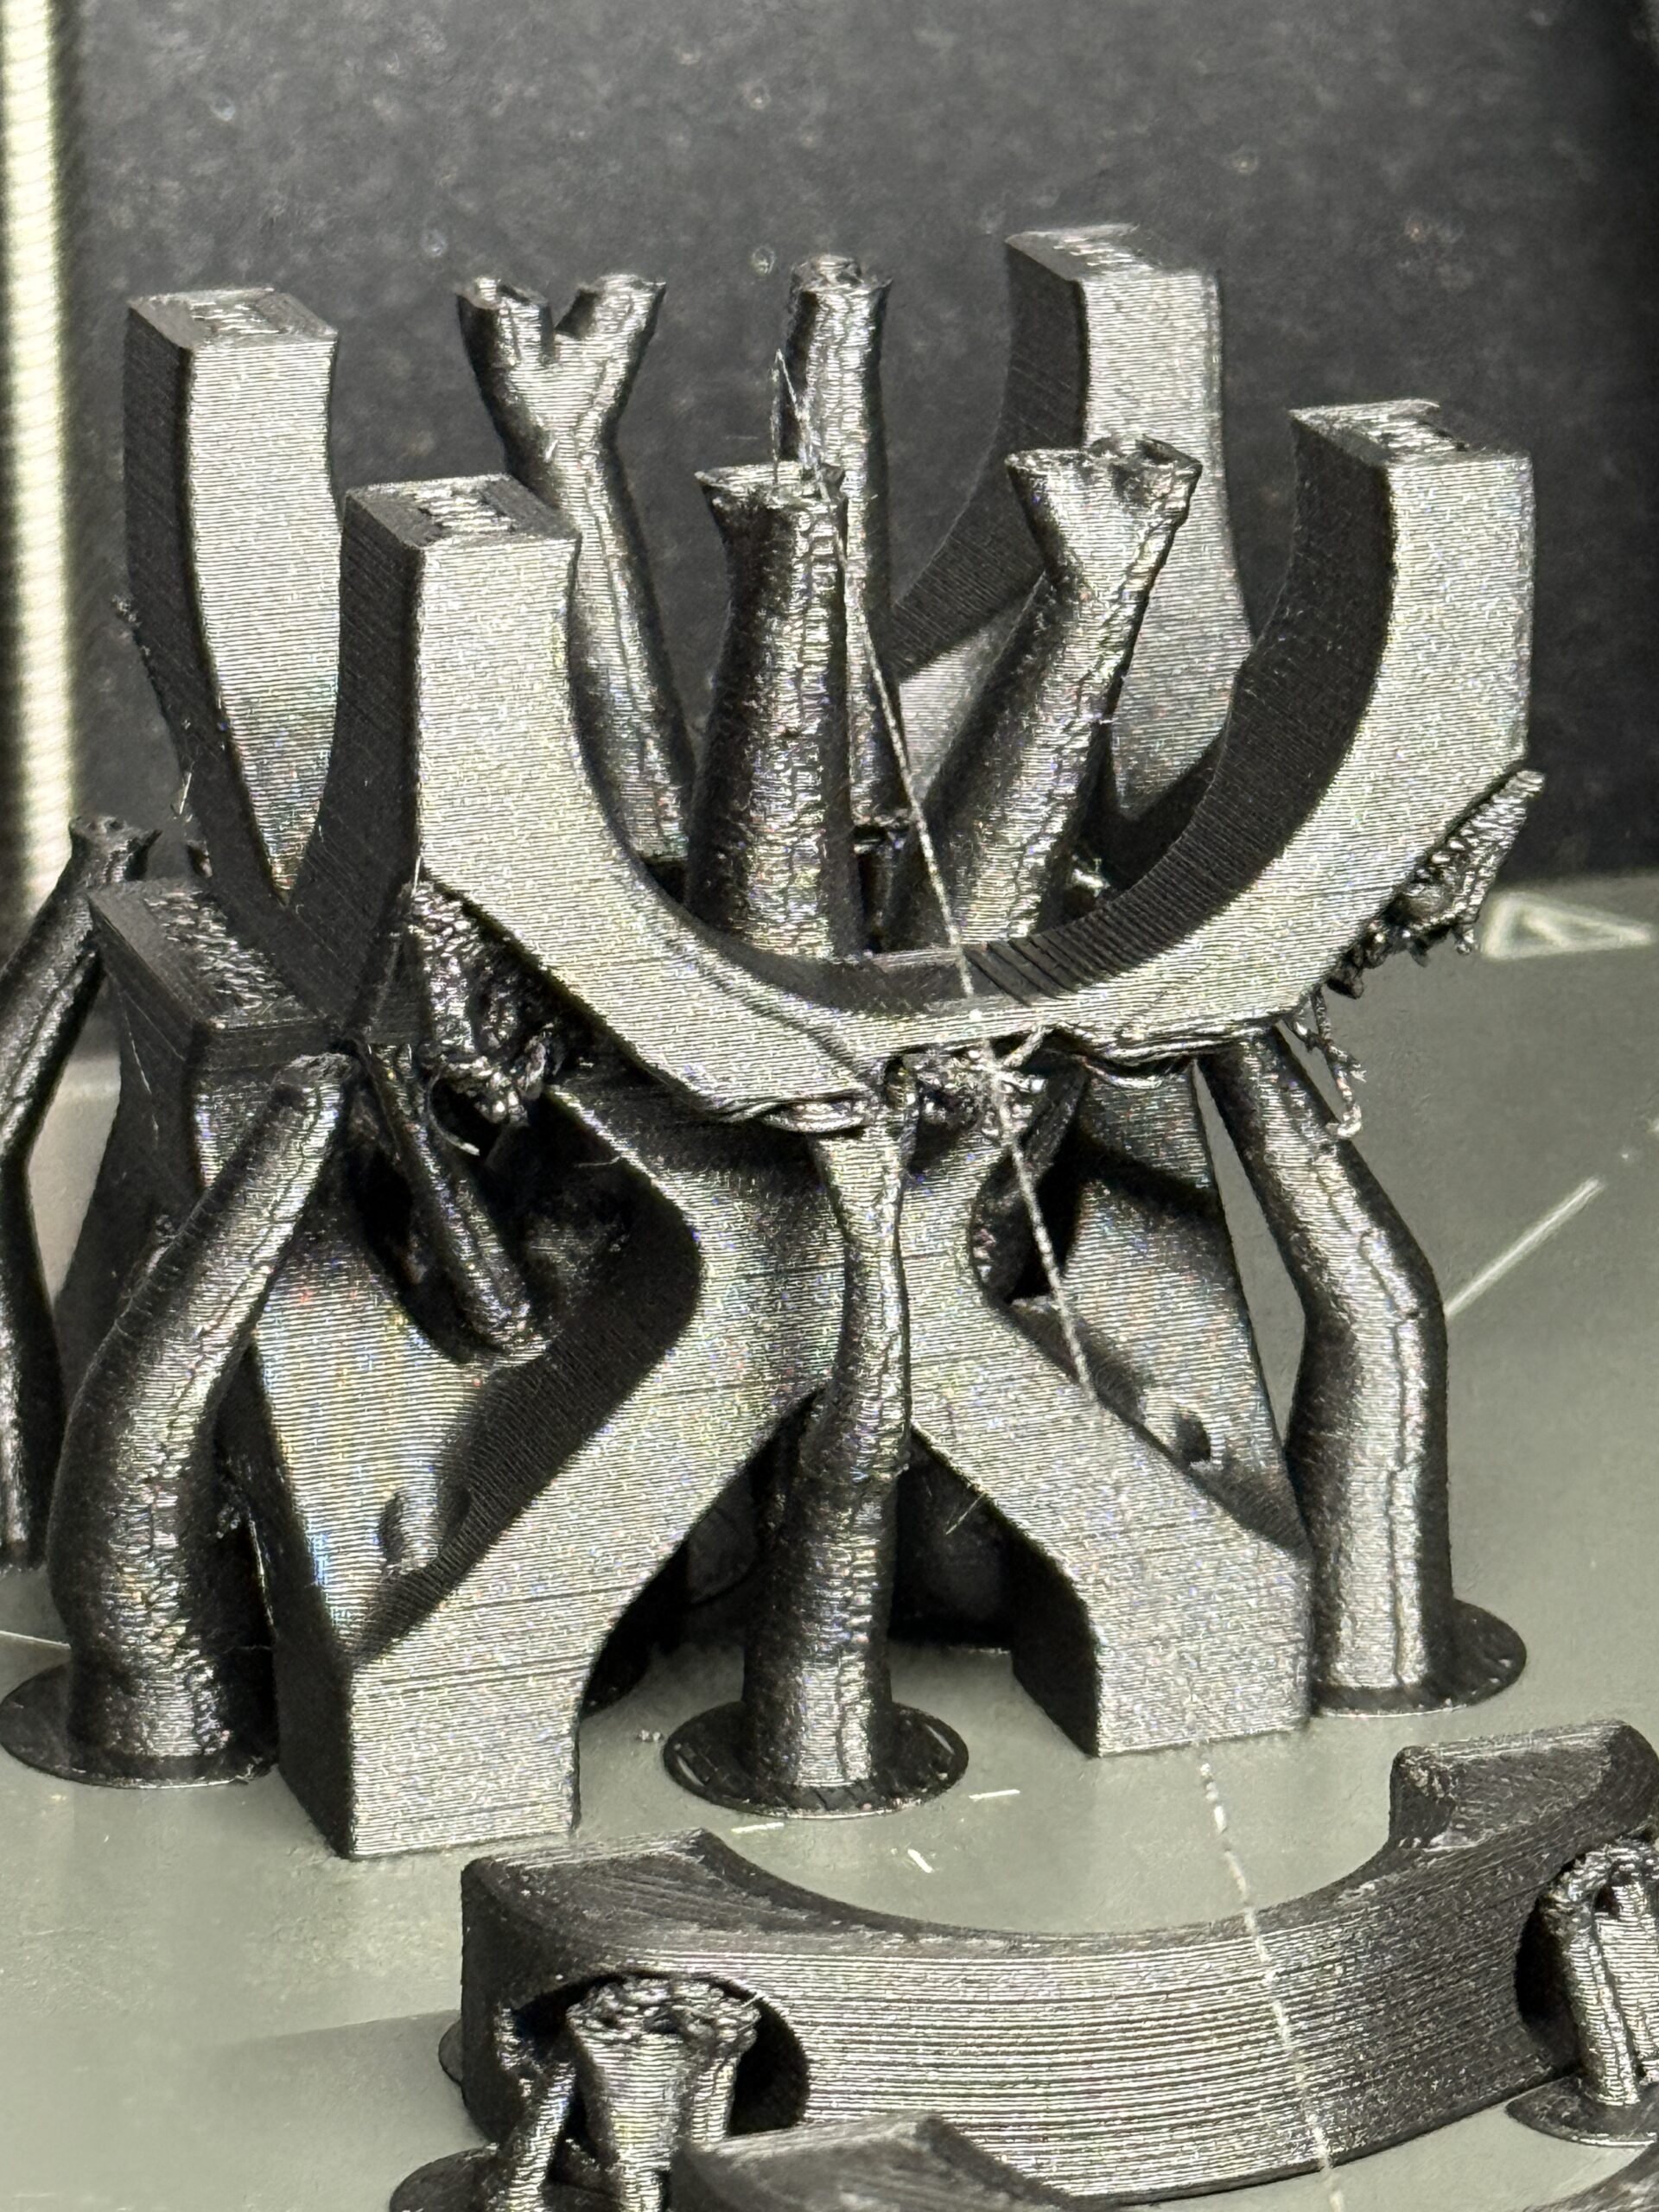
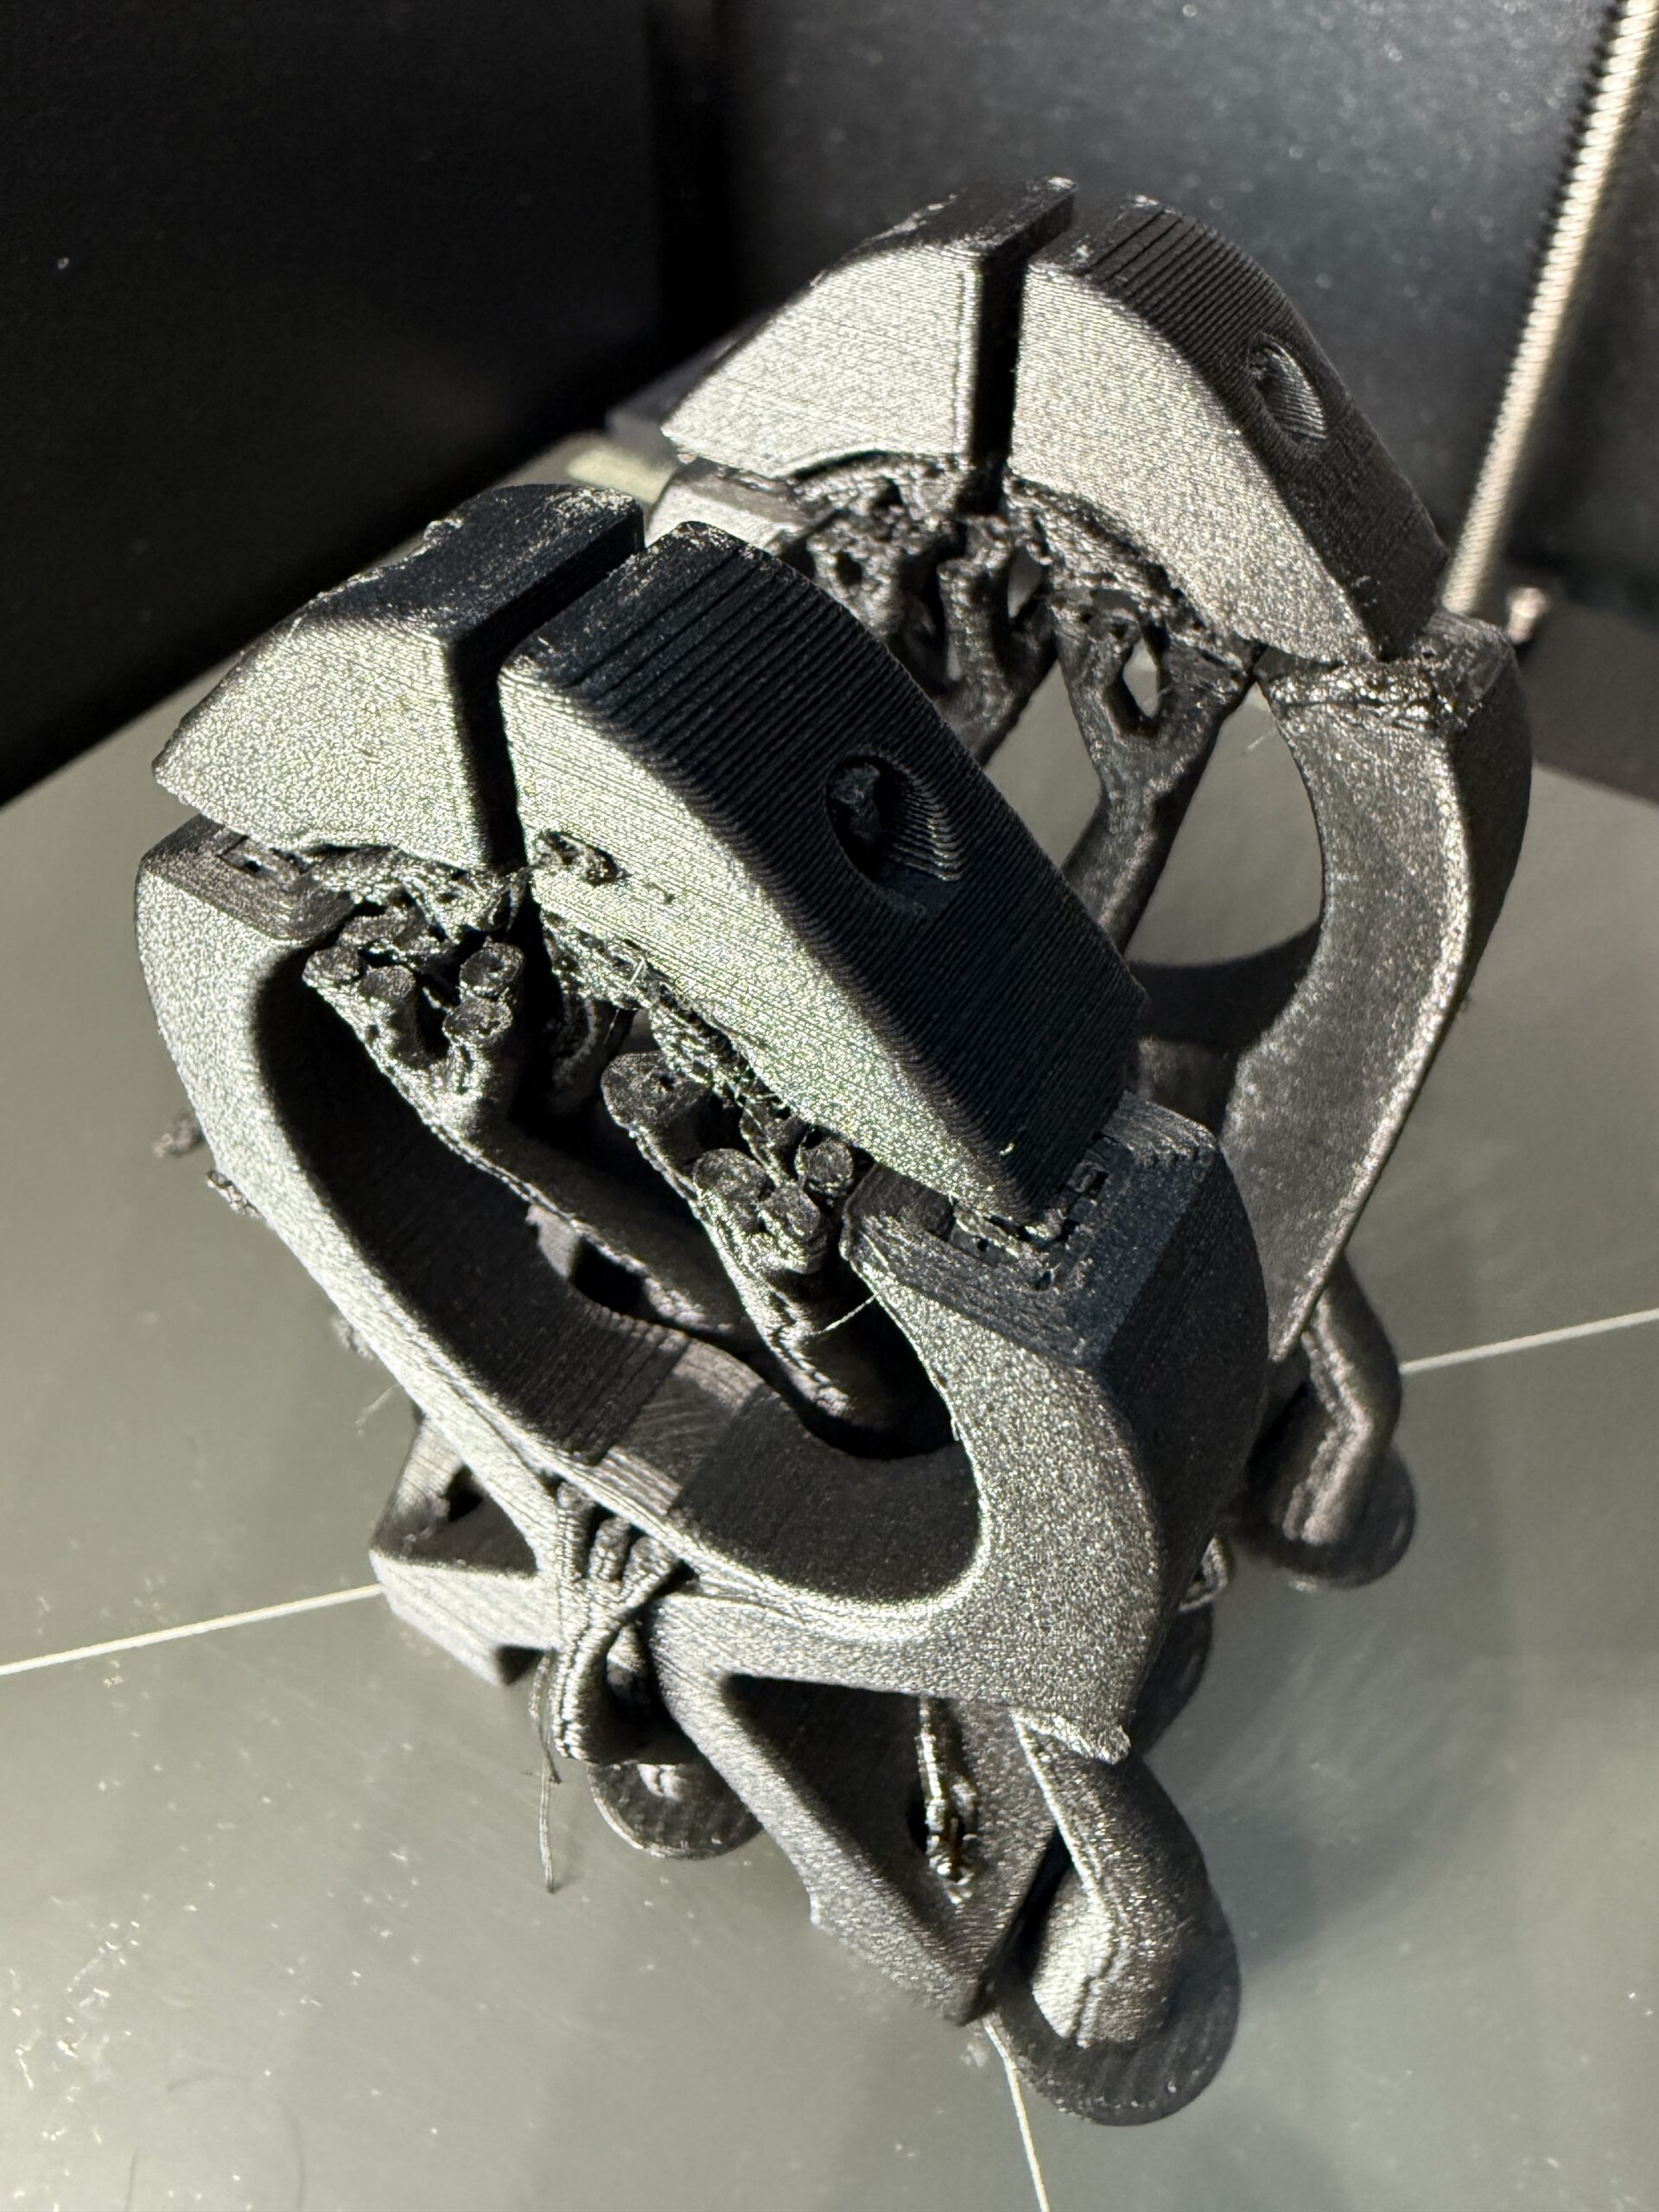
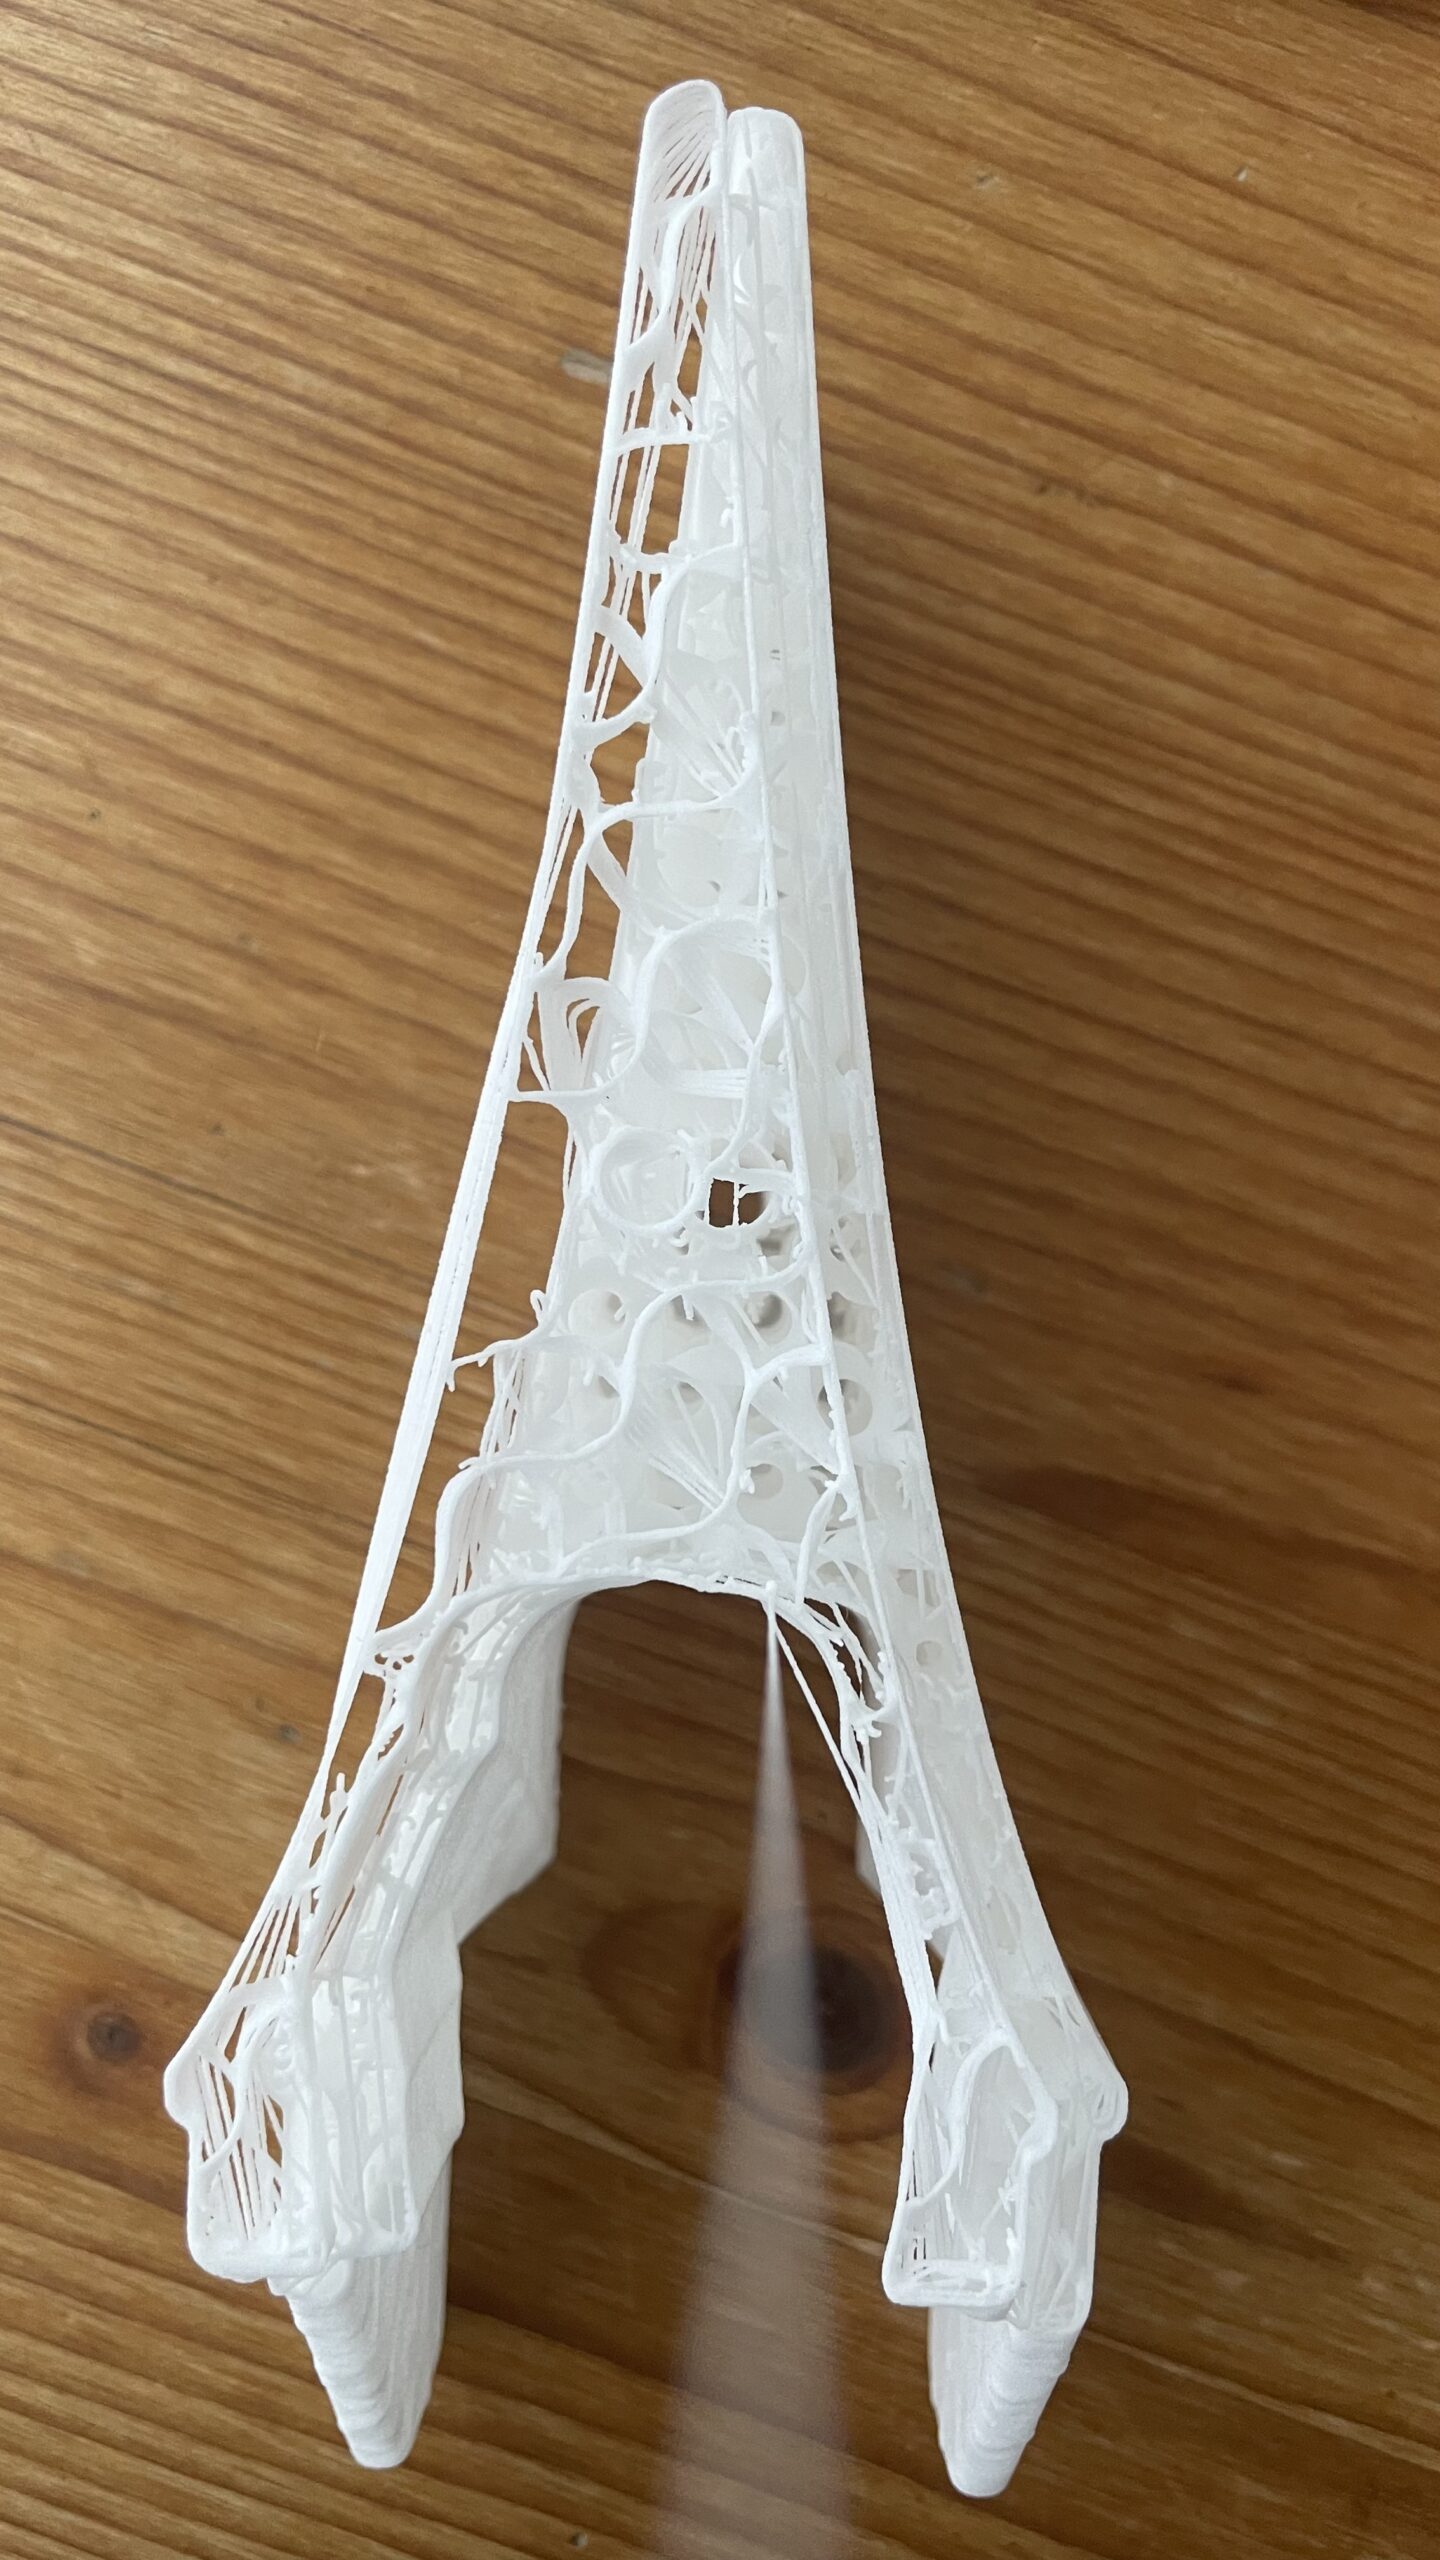
I have encountered a layer shift again. The only reason I have found why it happens is the activated „Avoid crossing perimeters“ option. But it doesn‘t occur every time. In my case when I print fuselage parts and at higher levels (see photos), not at the beginning. I was present when it happened. You can hear a loud bang as if the printhead runs into one of the rails and then it resumes „off track“. Is there a workaround to avoid that happening? (speed in sharp bends or something?

RE: Layer Shift Wall of Shame Post 2
I have just printed the above item in stealth mode. no issues. The problem is within the slicer software as mentioned in another post. I hope Prusa will fix that soon
.
RE: Layer Shift Wall of Shame
Good morning, I have a question that doesn't seem to belong here. Have you grounded your stepper motors, or have you checked that?
There's a thread here about static electricity on the belts of the Core One.
Sometimes I suspect that things like layer shifting or other strange behaviors the Core One exhibits might be related. Short, rapid movements of the Core XY system are always involved, specifically where there's a lot of friction on the pulley, generating the most static electricity.
RE: Layer Shift Wall of Shame
I think the static topic should have its own thread but my opinion is that the Core One has great powder coatings and electrically you can't be sure anything is tied to anything else, unless there's a specific ground wire for the purpose. Otherwise, it's luck or purposely scraping the area under screw heads. What I would do for a quick check is measure between the screws on the backside (top, easy) of the X and Y motors. If you get continuity, the motors are both tied to the frame and to each other. If not, scrape under the bottom screw threads. You can carry things further to other panels. The Z motors are harder as they mount on non-conductive parts. You'd have to install a wire and ring lug under the heads of the screws that screw into the motor on the bottom. Then connect the wire to something grounded. I once accidently touched my build plate to the rear Z screw and the whole system shut down and rebooted. Probably generated a static charge that zapped something. My Z motors are not grounded. Or, parts move on the build plate. My PETG seems to stick OK to the satin plate, but when it cools many of my parts fall off or could be flicked off with little effort. Not confidence inspiring, though I don't want to have to dynamite them off either!