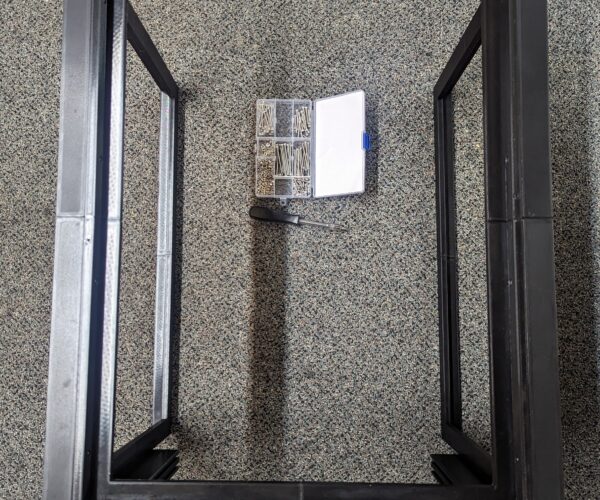
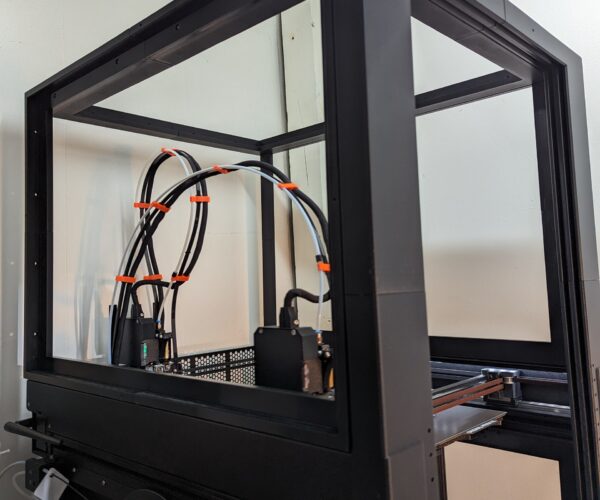
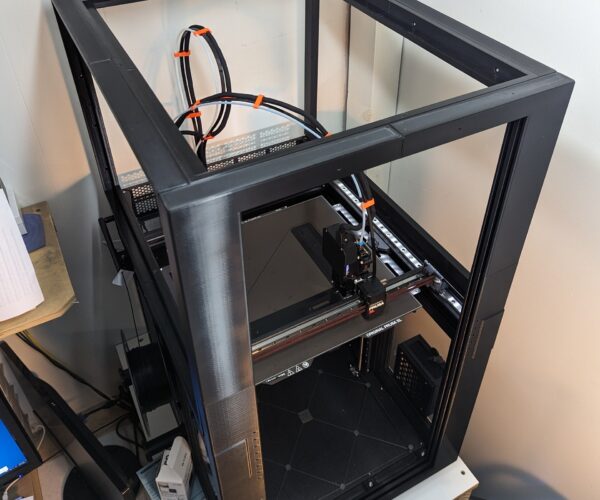
RE:
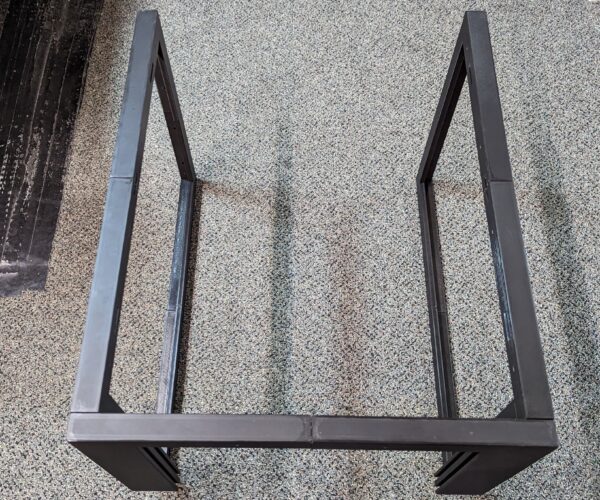
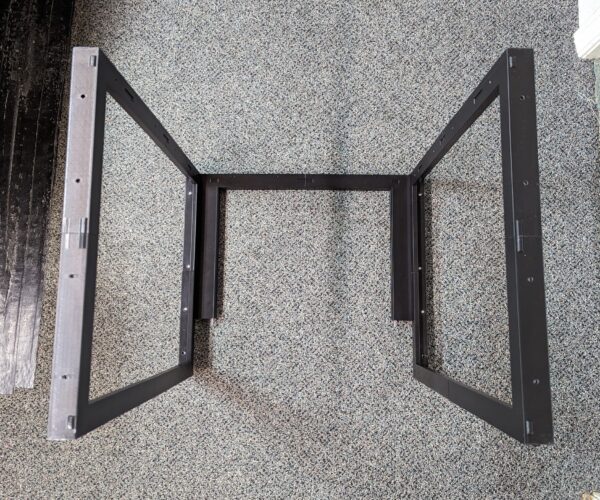
For those that have been interested in printing this enclosure. As soon the enclosure is finished I want to make a few minor changes and put a hardware list together. After I get this done I will find a way to release the STL files and material list. Thanks for the interest.
All the printed parts of the enclosure should be done by the end of next week. The removable T2020 acrylic panels will be done the following week. After that I will make the few changes, write up the parts lists both printed and hardware. I am hoping to have everything done by the end of October.
RE:
Wow - that’s great! Thanks for all your hard work 🙂
I did have a couple of questions if that’s ok…
how air tight it will be? I’m planning on hooking up a Bofa 3D PrintPRO 3 filtration system up to mine. Not cheap but certainly gold plated health protection. Just trying to get a handle on how much it will keep the fumes in.
When you’ve finished this amazing project, how many kg do you think your end design will use? And cost of perspex? I’m still looking at different options, including extruded 30/30 aluminium profiles so be interesting to do a price comparison!
once you’ve locked it all together, how rigid is it looking? Rock solid vs shakes with the printer a bit?
think that’s everything. You’ve done a great job - it’s a very elegant solution!
Happy to answer your questions even though it's not complete.
1. How many kg have I used?
I don't have a complete list of all the parts but I will guess somewhere between 4k and 5k. That is not just the enclosure itself but includes brims, a few support, and a few proto parts. When I am done I will have a exact number and approximate cost per part for you.
2. How solid is it?
The enclosure is extremely solid. When you add the T2020 acrylic panels the enclosure becomes solid as a rock. The enclosure anchor points for the lower side frames and the front stiffens everything. The printer feels so much better now. The printed top is fairly light and is very easy to lift off to access the entire top. Once the panels are put in it will be a little heavier but remember they are easily removed just like the lower side panels.
Note I have been printing during the fitting of parts and leaving the parts that are assembled in place without the acrylic inserts. Very solid
3. How airtight is the enclosure?
The enclosure can be as airtight as you want. I have put some built in connection points on the lower back frame so you could theoretically enclose the entire back. Myself I will print a panel to cover a section of the back. Right now I haven't decided how to treat it. I am still contemplating whether I am going to do a internal air filtration or hook up to my existing exhaust system. You can make it as airtight as you wish.
Hope this helps.
RE: Ideas to make enclosure for XL Multi Tool
I will make one more post for the day. I think those contemplating a enclosure just need to remember this is a very large printer. It requires a large enclosure. The trick is to be able to access the machine easily if needed. Most full enclosures will weigh quite a bit and be rather bulky or to light weight and not hold up. I am trying to fall somewhere in-between with building the enclosure to fit the printer footprint with easy access.
RE: Ideas to make enclosure for XL Multi Tool
This is so helpful thanks! Lots to think about. Appreciate your advice too.
Great that it’s firming up the structure. Looking forward to your release date 🙂
One thing re: air extraction I thought that as my printer is going in an unheated space, if I extract to the outside, I’ll need to pull in cold (damp) air to replace. Using the Bofa option I can just recirculate the warm air. Apparently the filters last a long time too.
If I go down this route, I’ll also need to work out how to print safely before I have an enclosure. Chicken/egg.
I’ve been pondering about what to do about the back. My understanding is the power supply would be happier without being enclosed. As it’s not arrived yet, I’m not sure how open the back is anyway.
RE: Ideas to make enclosure for XL Multi Tool
The back is interesting. Most of the electronics are on the back hence my hesitation to enclose it all the way. There is a area at the top of the back that is perforated about 3 inches of the top. I imagine that it was done to cool the tooling area. Below that is a sheet of metal backing for the back. I am still deciding on how to handle it.
That is the reason for the mounting holes on the bottom of the upper back frame. I wanted to make the section below it removable in case there is a issue. I will take a pick after the upper back T2020 frame is complete
RE:
This morning while the top T2020 panel frame is printing I dry fit the top side T2020 acrylic panel holder. It fit perfect inside the printed top side frame. Next I will fit the acrylic to the T2020 insert.
The 3rd part of 4 of the top frame is now printing.
Pic of T2020 panel being fit in the upper side frame.
Half of the top frame is finished. The entire top frame will be finished by tomorrow morning. Then on to the back T2020 frame. After that there are some handles and other small parts to print.
RE: Ideas to make enclosure for XL Multi Tool
I have decided to install a Nevermore activated charcoal air filtration system inside the enclosure. Once the parts are here I will research the wiring on the XL.
RE: Ideas to make enclosure for XL Multi Tool
Reading through all this has been quite inspirational.
Aaron
RE: Ideas to make enclosure for XL Multi Tool
Thank you. I have enjoyed this project lots it little details to work out!
RE: Ideas to make enclosure for XL Multi Tool
I had a extra hour this afternoon, so I finished cutting the T2020 extrusion to the proper lengths for the top, top back, and the top right side. I should be able to finish almost everything by the end of next week if all goes as planned.
RE:
Good morning! The 4th corner for the top/top finished printing last night. I assembled it this morning. Presently the parts for the back are printing. It will take 2 days to finish them
I am amazed at how precise the XL is printing all these parts. They all fit perfectly together. All the alignment keys as well as all the mounting holes match up perfectly. The XL has been printing pretty much non stop during the weekdays since I received it.
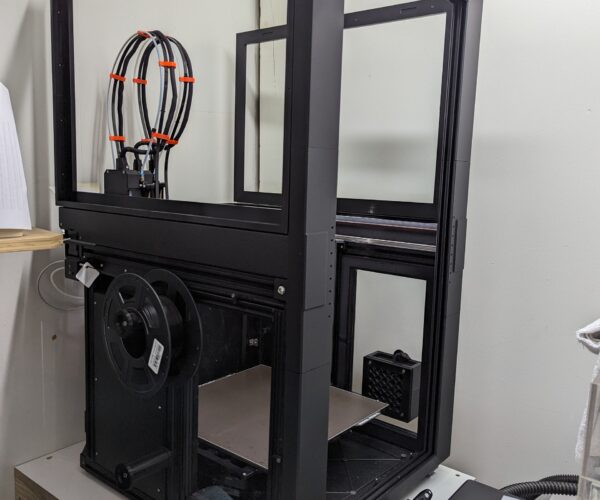
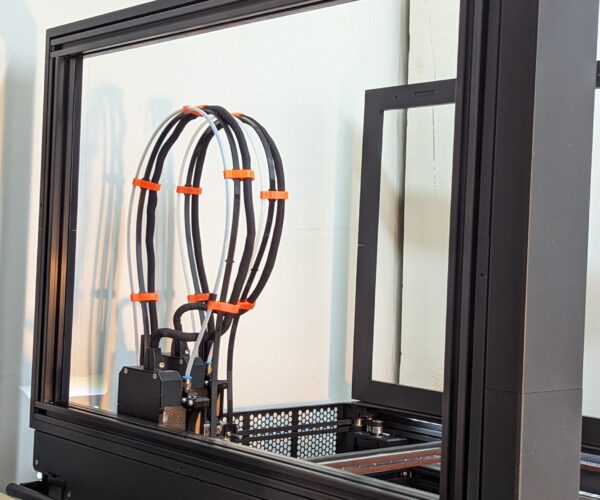
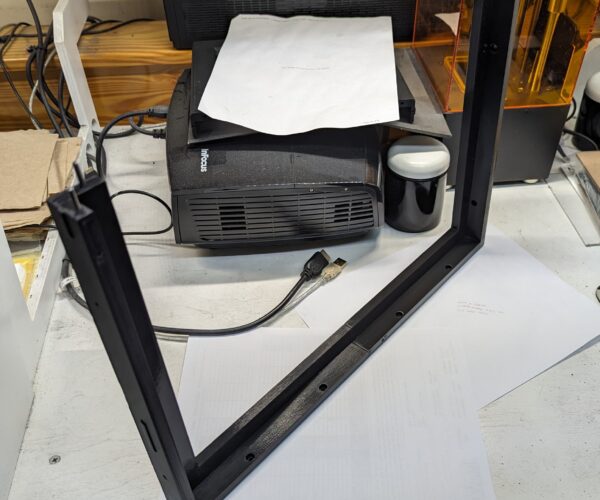
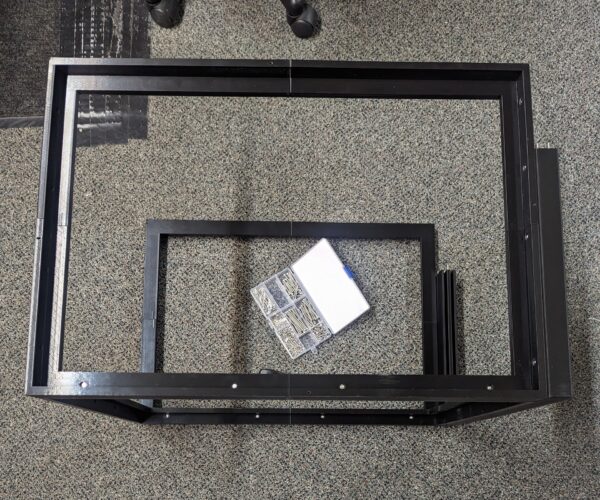
The enclosure is finally starting to look like a enclosure now that the top is almost finished. The pics below show the top with all but the back T2020 frame assembled.
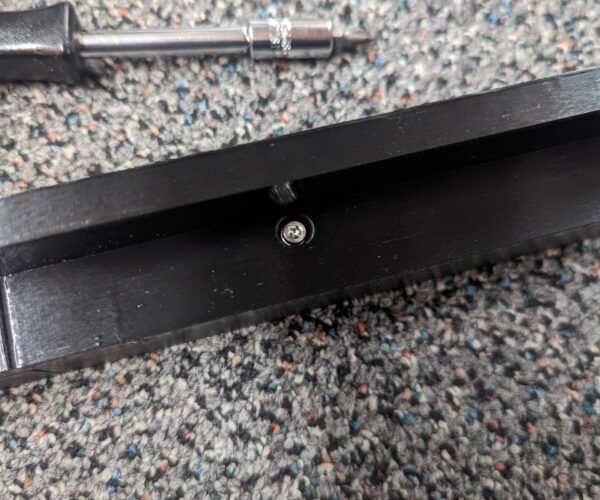
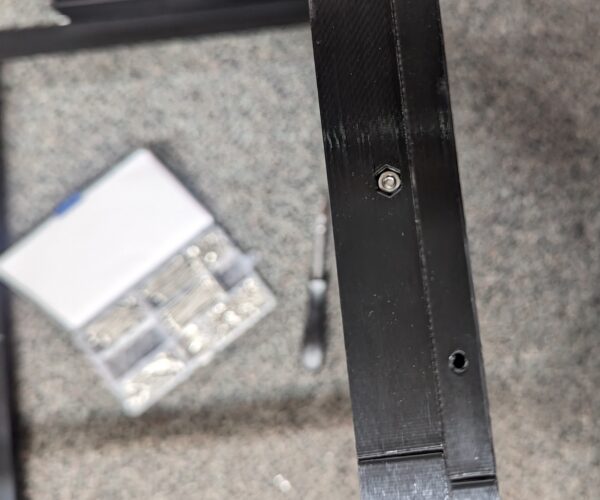
This is a pic of the attachment point locations on the T2020 holding frames.
Below is the assembly of the top so far. The top T2020 frame is attached to the front frame by #6 x 3/4 inch button head screws. It is also attached to the side and back frames with 3m x 14mm hex head bolts, washers, and nuts. All the alignment keys, screw holes, bolt holes, and nut holders are printed in place.
Remember the whole top lifts off and is not permanently attached. This makes for easy assembly. The whole top without the T2020 acrylic panels only weighs a few lbs at most.
RE: Ideas to make enclosure for XL Multi Tool
It’s really coming together now! I like this design. Had you had any further thoughts on whether you will leave the hexagon air gap at the back of the printer or if you’d been working on designs to cover over it or the rest of the back over?
RE: Ideas to make enclosure for XL Multi Tool
It’s really coming together now! I like this design. Had you had any further thoughts on whether you will leave the hexagon air gap at the back of the printer or if you’d been working on designs to cover over it or the rest of the back over?
I will wait till the back of the top is assembled to see what the options will be. I was thinking of making the lower back panel with either a sliding door where the tooling is or making the panel with mounts for two small fans for cooling the printer heads. Not sure yet.
RE:
Two sections of the upper back section are printed. The 2 lower sections will be printed the first of the week.
I am still deciding on how to treat the vented area on the upper back of the XL. Three options I have come up with. I have built in 4 mounting points on the lower upper back frame for the add on.
1. Add a solid part to enclose the vented area?
2. Add a part that will have adjustable venting like the filter holder?
3. Add a part that will have 2 small fans since it is a duel head XL for cooling the printer heads?
Any thoughts or ideas for this area will be greatly appreciated. 👍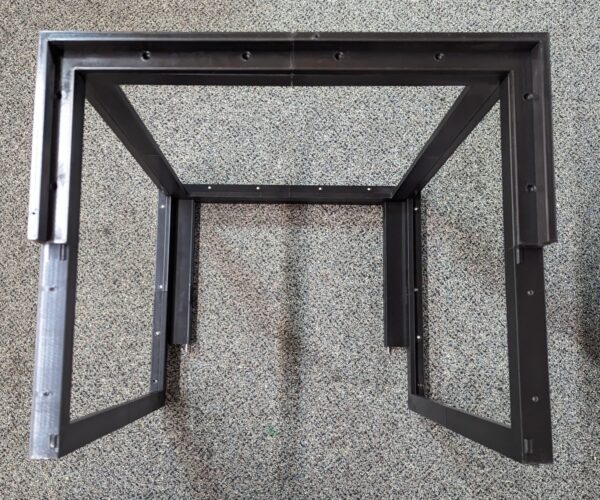
RE: Ideas to make enclosure for XL Multi Tool
I think, you will have to try it out. Unless you have plans for an active heating of the print chamber (for special materials like nylon, PC etc.). With an i3 MK3S Ikea Lack enclosure, it is efficient enough to leave the doors open, when I print PLA. For PETG and ABS I close the doors. Temperature inside should be appr. 30-35°C (printer is located in the basement with appr. 20-22°C the whole year).
As far as I have read, the XL keeps the not used print heads at a standby temperature and heats them up before a tool change takes place. So the wast heat of the unused print heads in a multi material print should be minimal.
RE: Ideas to make enclosure for XL Multi Tool
...attached to the front frame by #6 x 3/4 inch button head screws. It is also attached to the side and back frames with 3m x 14mm hex head bolts,...
Awesome build, will be interresting to see the end result. I guess you are from US?, would be nice if there was only metric hardware used, I have no idea what #6 x 3/4 inch buton head screw is?, I know like m5 button head screws in various lenghts, but that type of measure leave me fumbling 😉
RE:
...attached to the front frame by #6 x 3/4 inch button head screws. It is also attached to the side and back frames with 3m x 14mm hex head bolts,...
Awesome build, will be interresting to see the end result. I guess you are from US?, would be nice if there was only metric hardware used, I have no idea what #6 x 3/4 inch buton head screw is?, I know like m5 button head screws in various lenghts, but that type of measure leave me fumbling 😉
You could use a 4mm diameter X 20mm long screw instead of the #6.
RE: Ideas to make enclosure for XL Multi Tool
You could use a 4mm diameter X 20mm long screw instead of the #6.
Ok, so 3/4" is the length, and #6 says something about thickness?
