RE: Ideas to make enclosure for XL Multi Tool
This is really great. Any chance you will release all the files when you are finished? I would love to copy your design, if that would be okay.
RE: Ideas to make enclosure for XL Multi Tool
I can do that. It might be a while as I still have a ways to go. I want to make sure all the parts fit as they should. It's actually a fun technical project lots of parts and pieces
RE:
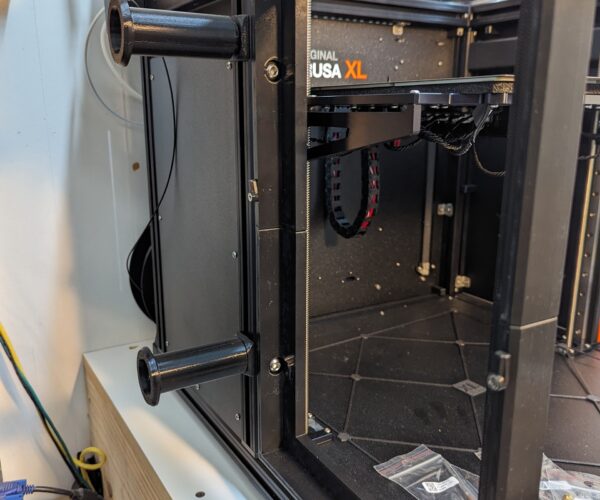
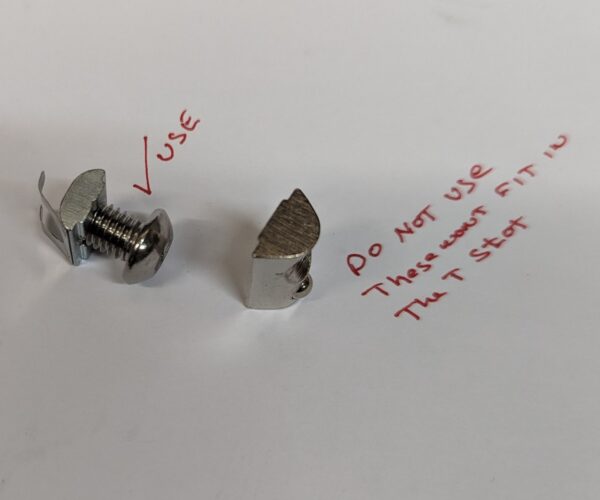
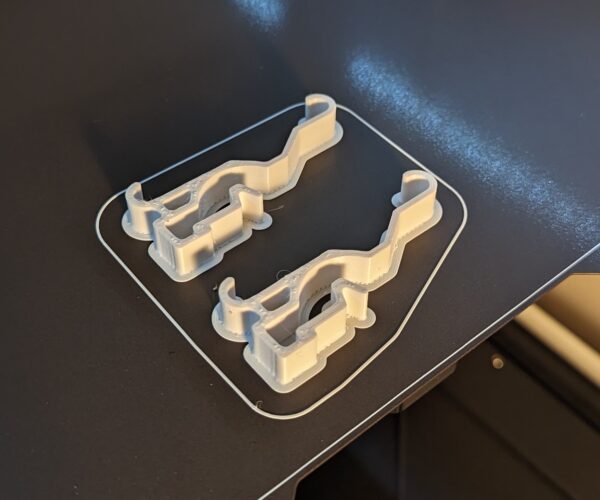
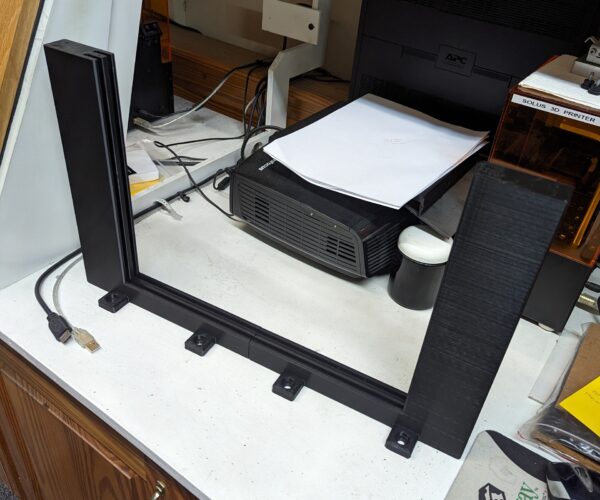
Just a look at some of the assembly. I used M8 x1 25 hex button heads and 15 30 40 Series M8 x 1.25 Short Self Aligning Roll in T-Nut with Spring to assemble the two lower side frames. The lower side frames are anchored in 4 places 1 on the top 1 on the bottom and 2 on the back. The screws are M8-1.25 x 12mm.
RE: Ideas to make enclosure for XL Multi Tool
Started to print the 6 parts for the front of the enclosure. It will pretty much 6 days worth of printing. I only print when I am at the shop. I am trying to print the parts in a order that works for the assembly process.
RE:
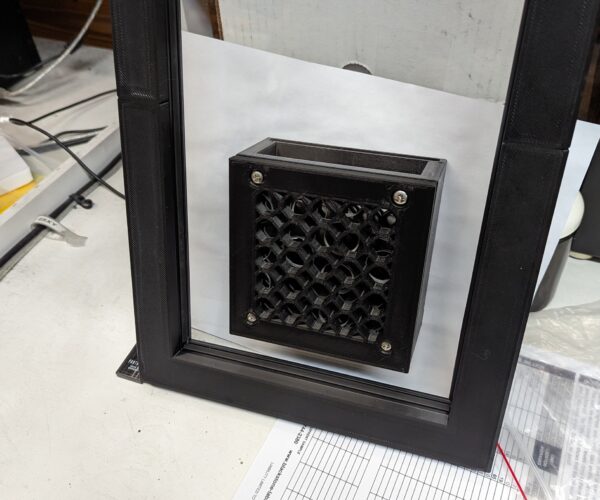
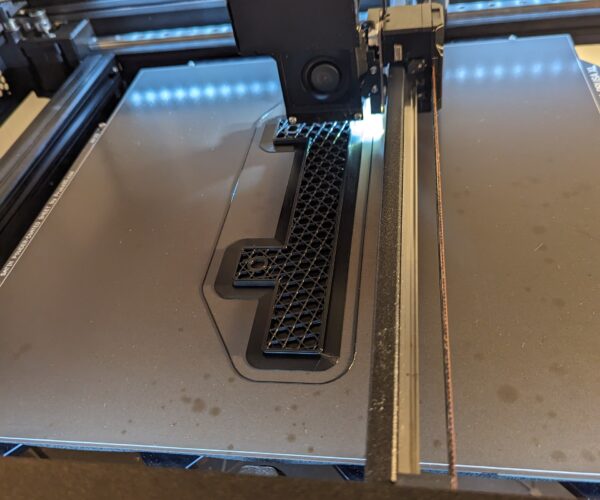
About halfway through the front lower left part. The printer is just printing great so far. I have learned orientation of the parts is critical for a great print. Also designing for printing helps just about if not more. No supports needed for 90 percent off the parts for this enclosure. I did drop the temp by 5 degrees after the filter housing. It had a little to much superfine angelhair stringing for that print.
RE:
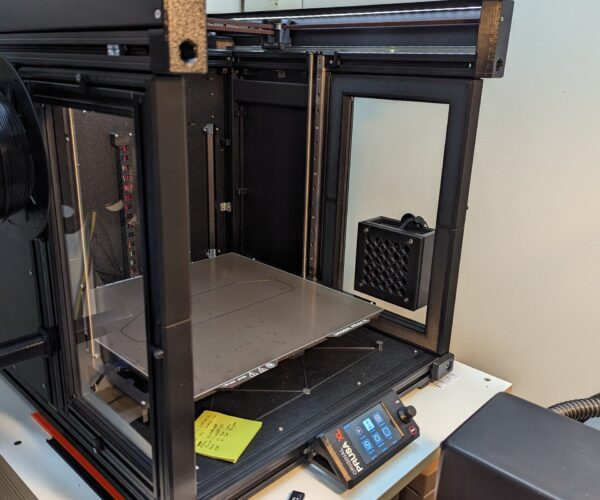
So I have finally given myself the okay to install the two lower side panels. I was waiting on the 1/2in x 1/16in single sided foam tape to arrive for the installation. I left a few mm tolerance on the top of the panel frames. I didn't want to take a chance of spreading the upper and lower rails changing the geometry of the printer. The thin foam tape give the frame and the upper rail a little buffer while tightening the removable panel frame without putting stress on the upper rail.
RE: Ideas to make enclosure for XL Multi Tool
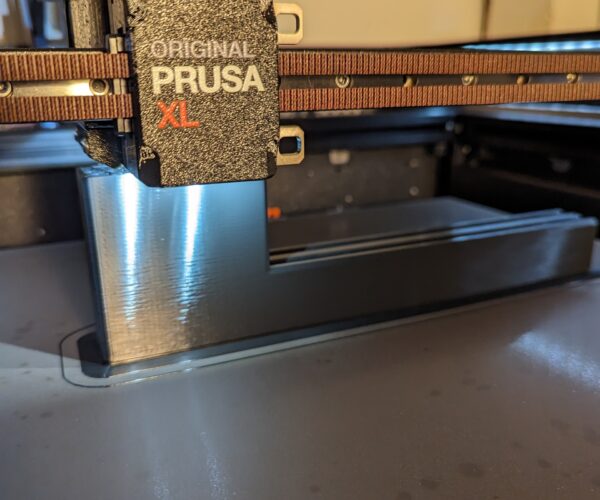
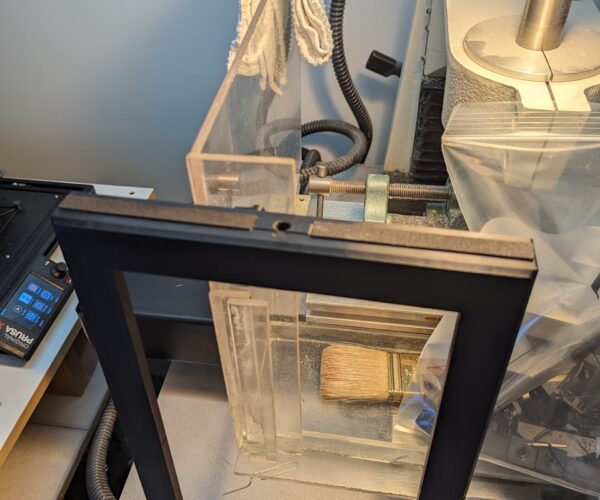
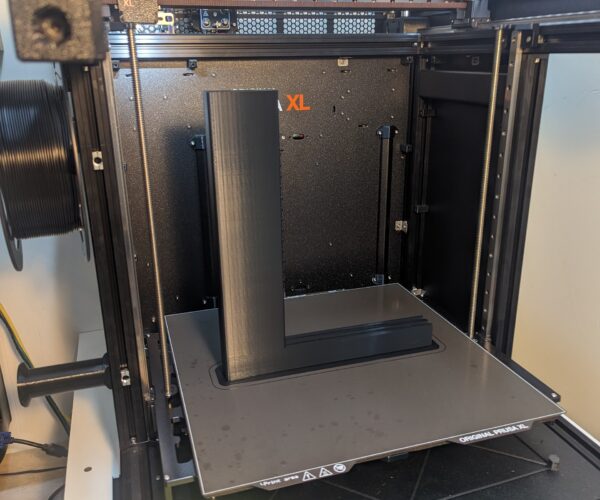
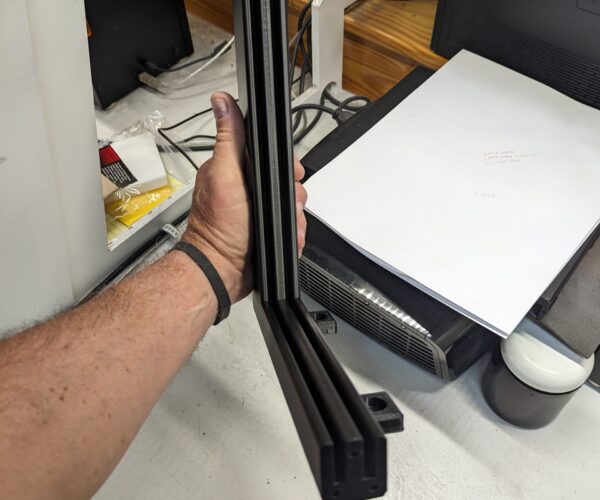
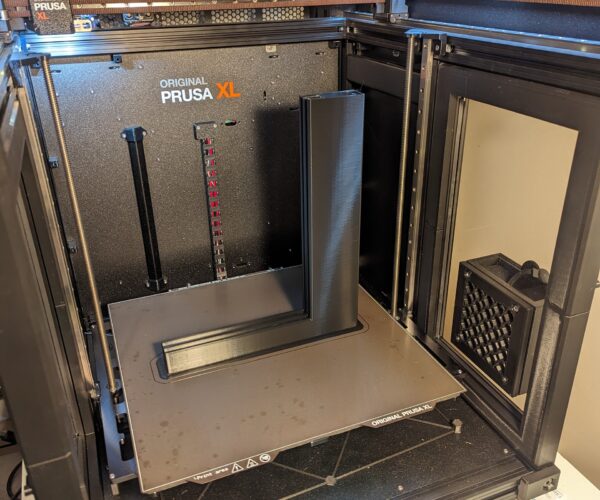
So I was super impressed with this print! I was pushing the z axis. I was also worried a little about the vertical rail being so tall and narrow, I thought The print might pop off the sheet before it was complete. The print for the lower left front rail is 310mm tall x 255mm wide x 30mm deep. Since I am opting for the acrylic vertical sliding panels you can see the two built in grooves for for the sliding panels. When finished the upper part of the enclosure above the upper rails will lift off in one piece for easy access if needed. Just a note all of the holes for the pinning and attachment points are printed in place.
RE: Ideas to make enclosure for XL Multi Tool
Hi,
Do you plan to heat it actively. Because I think passive for this huge room is not enough
RE:
If I need to I will. I have printed some ASA parts with good results without the enclosure but they will be better with the enclosure. I am hoping with a tight enclosure built close to the build platform I won't have too. Only time will tell. If I need to I will.
RE: Ideas to make enclosure for XL Multi Tool
I am hoping for 25C to 35C. I will monitor the temp to see where lands when enclosed. Just with the 2 side panels I can feel a little difference.
RE: Ideas to make enclosure for XL Multi Tool
I would like 60C but not sure if it will not affect the other parts of the printer ( in the enclosure).
I need the big build room from the xl but mainly for technical filaments, PC, Nylon, etc
RE: Ideas to make enclosure for XL Multi Tool
With active heating, as much as I like MME's design, I wouldn't use PLA for printing the enclosure frame. Definitively not if the temperature inside surpases 50C, but even staying around 40-45C I'd choose other filaments. PETg would be OK, but ABS/ASA is better.
RE:
With active heating, as much as I like MME's design, I wouldn't use PLA for printing the enclosure frame. Definitively not if the temperature inside surpases 50C, but even staying around 40-45C I'd choose other filaments. PETg would be OK, but ABS/ASA is better.
Funny you should say this. That's the idea. As mentioned above I have printed some ASA with decent results. I am hoping to reprint the parts needed with ASA with the passive heat in this enclosure. I don't think I could print these parts in ASA without a enclosure to begin with. This is a good project to get all the parts fitted correctly before I bite the bullet and try ASA. I have the ASA sitting in my shop waiting!
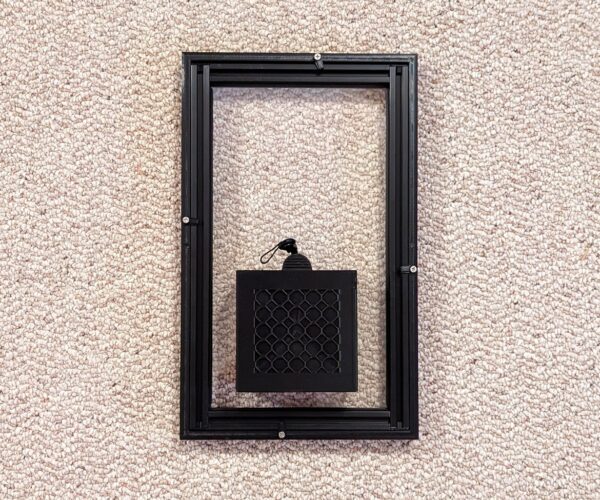
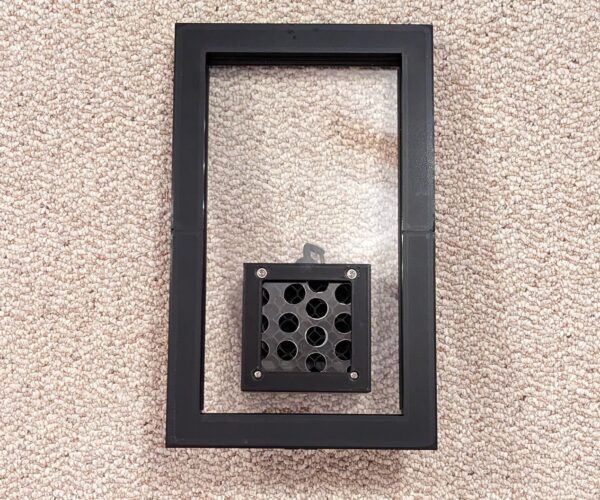
I know some will say it's a big waste of time but on the contrary it gives me a chance to fit everything properly and cheaper. So far the only part I have had to reconfigure was the inside the enclosure filter mount. That was for asthmatics.
RE: Ideas to make enclosure for XL Multi Tool
Should have been aesthetics!! Dang spell correct!!
RE: Ideas to make enclosure for XL Multi Tool
But a filter for asthmatics makes sense as well. 😊
RE: Ideas to make enclosure for XL Multi Tool
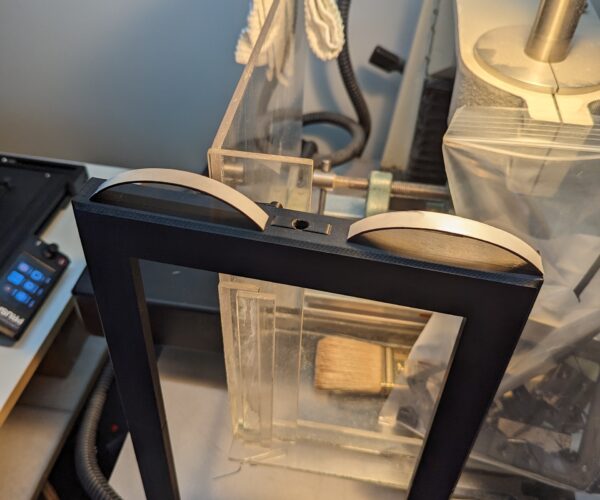
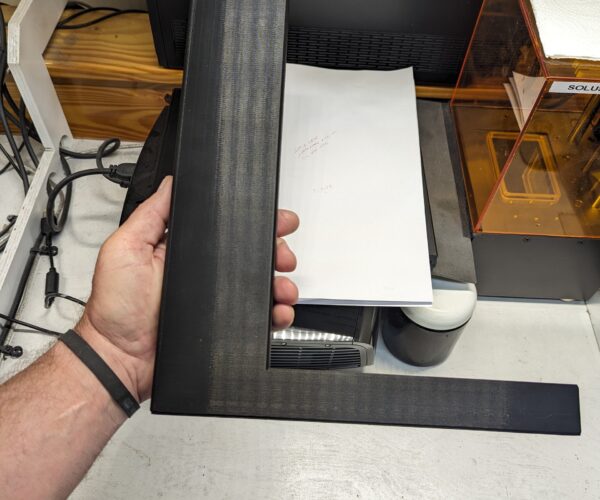
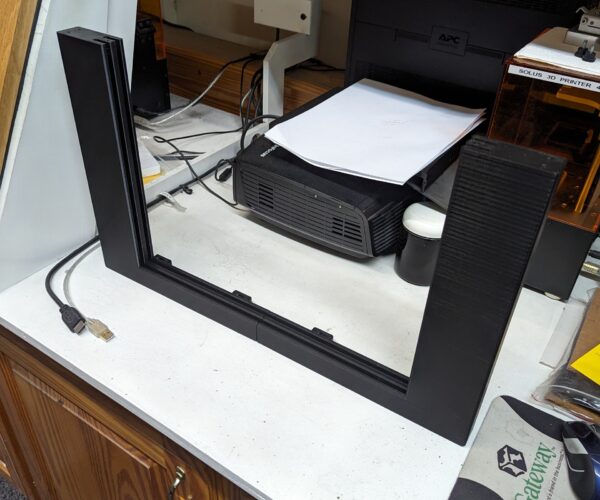
I came to the shop last night to start the 13 hour print for the front right lower part. I pulled it first thing this morning and it looks great. A few pics below.
I am now printing the lcd housing extensions.
RE: Ideas to make enclosure for XL Multi Tool
This design is pretty slick. I can wait to see how you do the top.
--------------------
Chuck H
3D Printer Review Blog
RE: Ideas to make enclosure for XL Multi Tool
Thanks,
Definitely a work in progress! Can't work on it all the time like I would want to. Got to pay the bills.
