RE:
I have had people here ask me when I will be releasing the STLs and material list.
It has been pretty busy here at the shop but I have been working on updating the parts with my list of changes and making new STLs for the parts. I will have them numbered in the order they should be printed to optimize the assembly process.
I think I mentioned above that all the parts that were not printed were purchased on Amazon. This makes the parts readily available to almost everyone. I just want to make sure that all the small changes are done before I release the STLs.
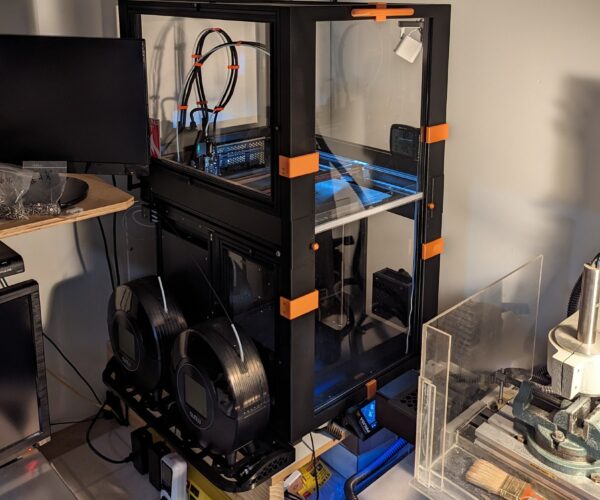
Also note that I have been doing some thorough testing using the PLA Prototype Enclosure. I have had no issues with any part of the enclosure and I have been printing ASA for the past few weeks. I don't see any issue with the enclosure being printed in PLA as long as you keep the internal temperature under 55C.
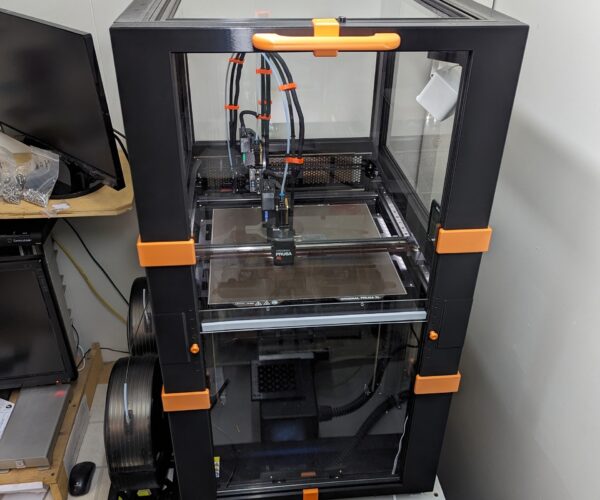
Due to the volume and design of the front face it dissipates the heat allowing the parts to stay well below the glass transition stage. The frames that hold the T2020 acrylic panels have been perfect and stay cool. This is do to the T2020 aluminum frames working as a heat sink. I have had no issues removing the top part of the enclosure. It lifts straight up and you only need 10 inches of clearance above the top to remove it. You can remove a few panels to lighten the top if you need to.
There is no vibration at all in the enclosure and it really firms up the printer platform. The printer is also quieter than before the enclosure was added.
I hope this answers a few questions that I have received about this enclosure.
Thanks
RE: Ideas to make enclosure for XL Multi Tool
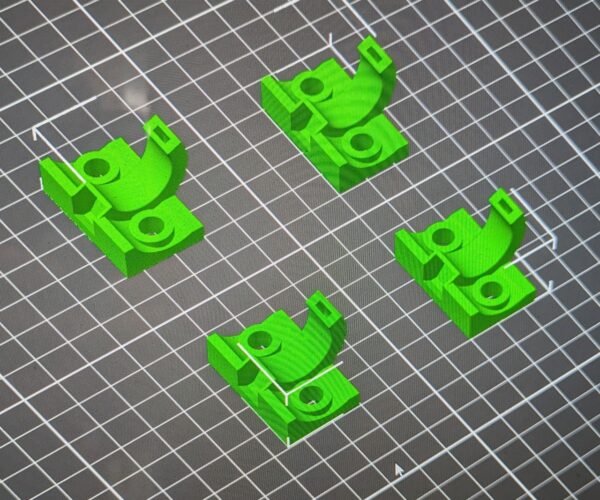
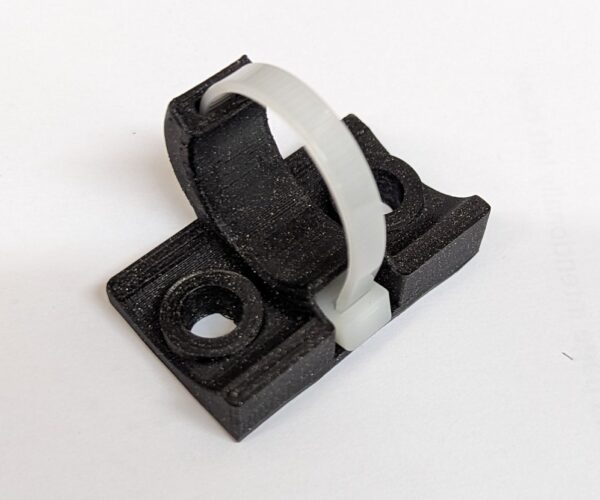
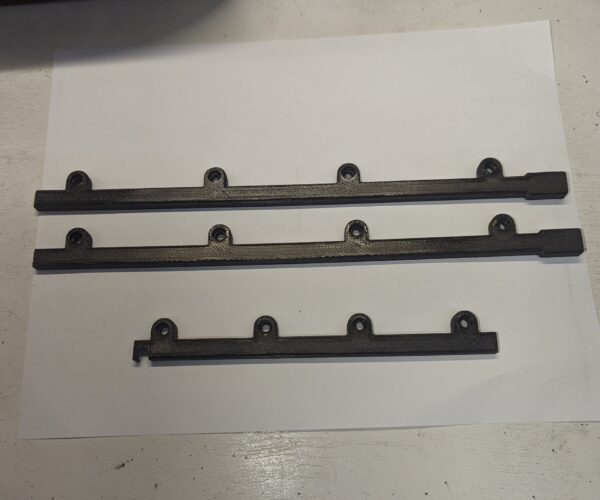
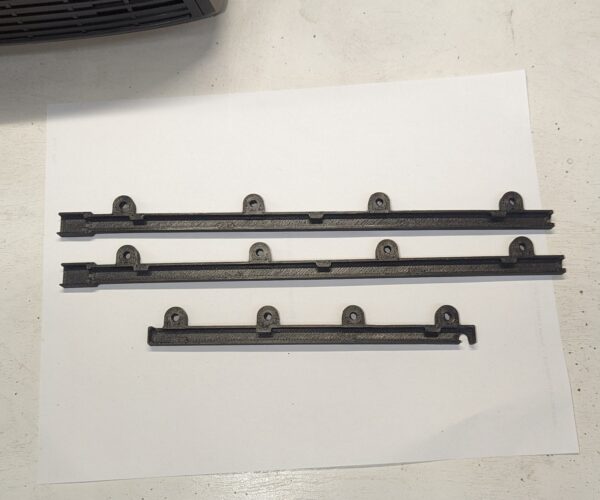
I just designed the holders for the BlazeCut. It takes 4 anchor points. You just run their high temp wire ties through these. These holders will be mounted to the inside top of the upper right panel frame.
Lots of little stuff!!
RE: Ideas to make enclosure for XL Multi Tool
I will be adding the T050e BlazeCut suppression system. It came in last week. I will install it and the vent panel at the same time when the top is removed. I just felt for the small price it is worth it for piece of mind if nothing else.
RE:
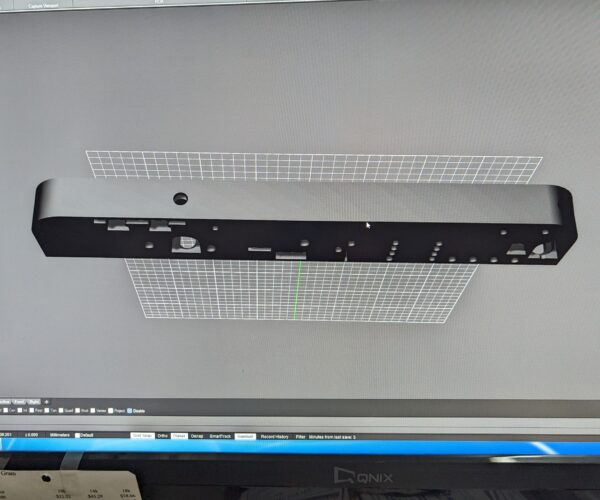
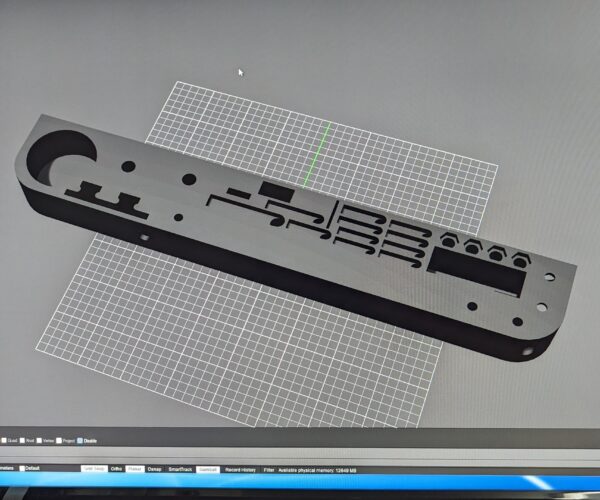
I have been working on some final small parts for the accessories that are going to be installed on the printer.
My list is getting short!!
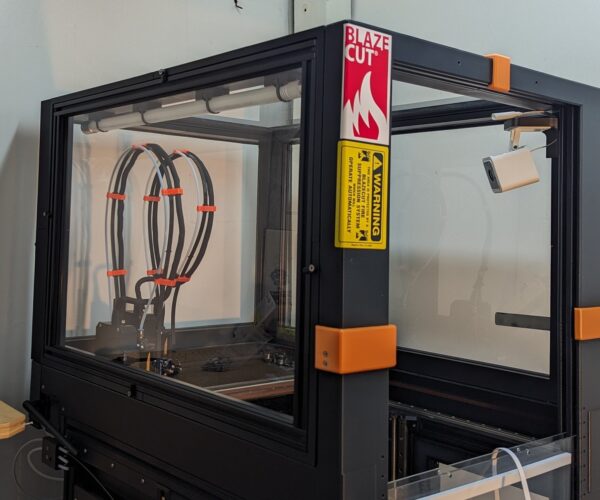
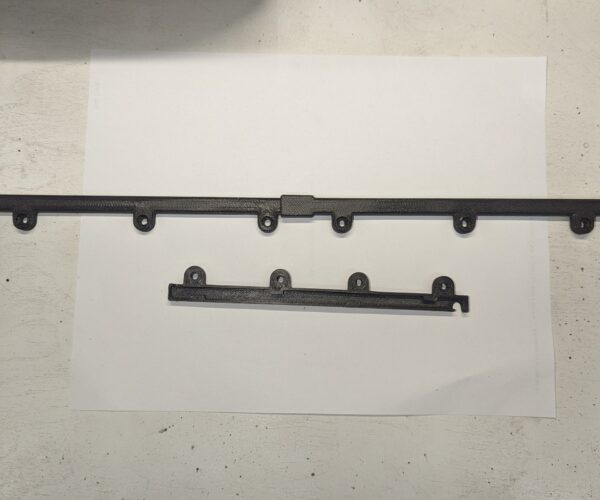
These are the holders for the BlazeCut T050e. They will mount on the upper left corner of the enclosure. The wire ties go through them to hold the BlazeCut in place. These are printed in ASA.
I still have to print the silicone strip holders that will be mounted to the bottom of the rear vent cover.
RE:
Okay for those that wanted to have a idea on how much this enclosure has cost? I did some quick math this morning this is the cost of everything for the basic full enclosure with the hepa/carbon side filter. It does not include the temp meter, Nevermore air scrubber, WYZE camera, filiment driers, BlazeCut, or hour meter for the Nevermore.
The total to date excluding taxes is $575.00.
This includes all the Sunlu PLA, all the nuts bolts and screws, all the acrylic, the T2020 aluminum extrusion with the assembly hardware, the glass edge channel seal, foam tape, all the stainless assembly pins, and the 4" hepa filter.
That's quick math and I added a a $25 buffer.
That will give you a idea what it cost to make this enclosure. Of course any accessories you add will add to the cost!!!!😁😁😁
I like accessories!!!
RE: Ideas to make enclosure for XL Multi Tool
would have been nice if the Repbox TT, had the exact same footprint as the XL, so it could have been used as a table for the XL, and reduced the overall footprint with the rolls on the sides.
RE:
Hello everyone. I know this thread is getting a little long and drawn out. I just wanted everyone to see all the steps of this enclosure process.
I took a little time this morning and went to the shop to install a few of the last parts of this enclosure. I am kind of excited that this journey is almost over!
Last week I finished printing the back lower vent cover and gates as well as the BlazeCut holders in ASA. These are the parts I installed this morning.
First I removed the hat/top part of the enclosure. Since it is not bolted on and it uses guide pins it was very easy to lift off and work on away from the printer.
It is also nice that the panels are removable by the 4 small locking tabs. This make access to the inside a breeze. All the mounting holes and nut holders were printed in place so all I had to do is add the 1/16 inch one sided foam to the frame then drop the nuts in and assemble.
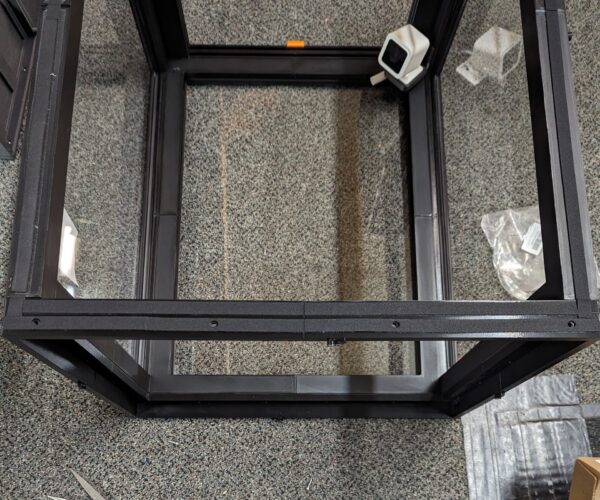
Here you can see the foam tape applied. I just used a hole puncher to punch the holes where the m3x12 mm hex heads go through.
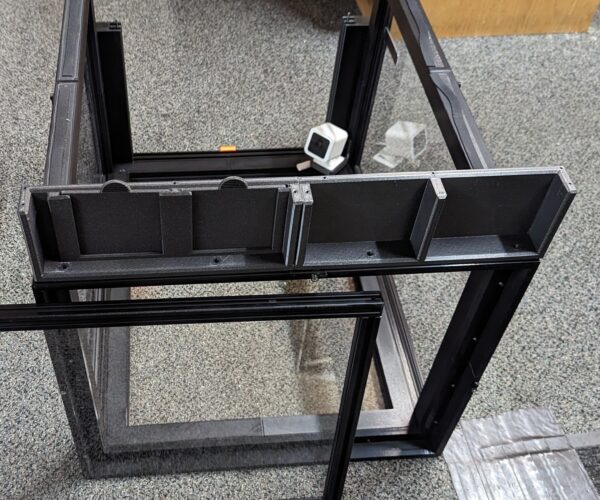
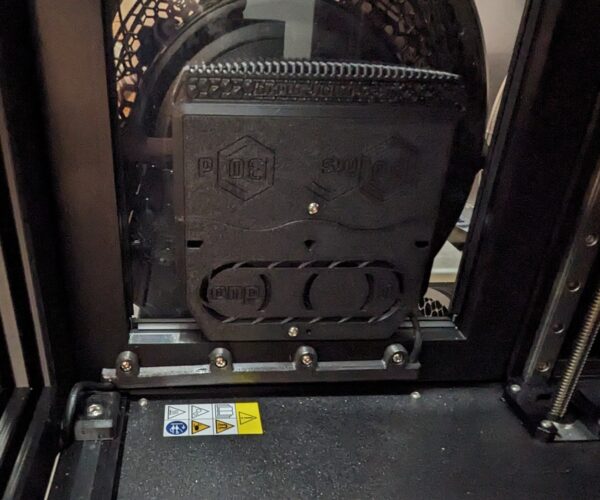
Here is a pic of the assembled vent cover and gates. With the panel removed for access.
Since there is a opening underneath the the vented area I opted for flexible 1/8 inch high temp silicone. It was cheaper and better than printing the piece out of TPU. I made it in two pieces in case I want to add more Nextruders. You can also see the cutouts for the wiring and filiment tubes. You can also see the hold down strips which are groved for the silicone strips. These were printed in ASA.
Here is a pic underneath the vented area showing how the flexible silicone strips work. They conform to the underneath very nicely.
RE:
Next was installing the BlazeCut T050e. I opted to install it with the top of the enclosure on the printer.
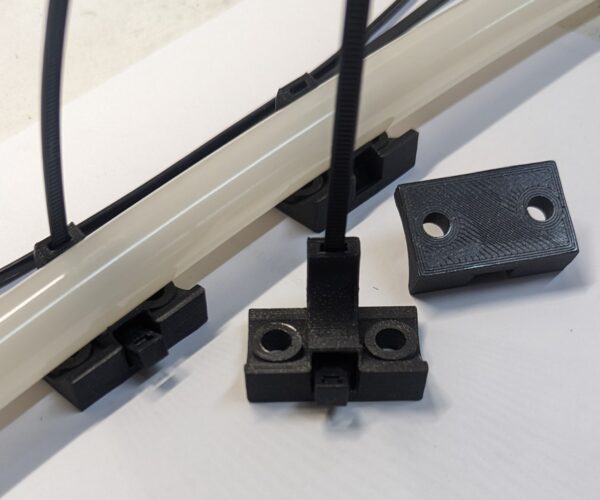
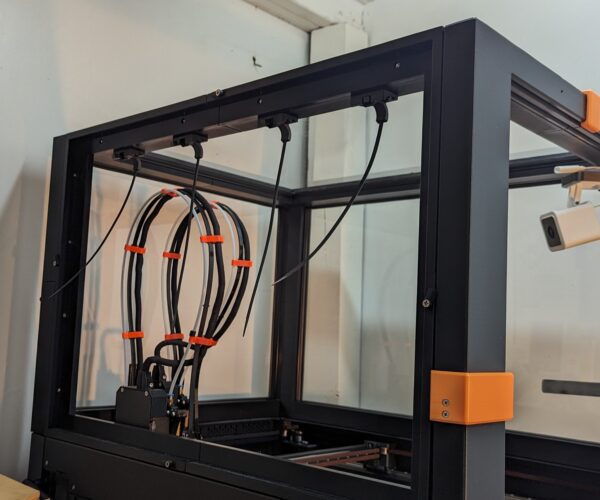
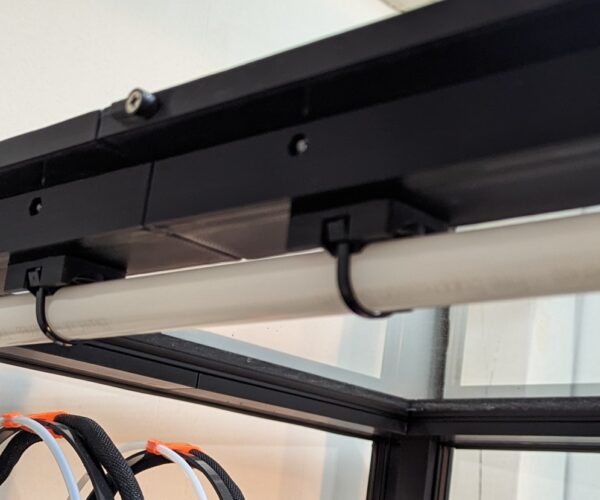
This pic you can see the mounts installed. Again with the side panel removed it was easy to access and mount the parts to the upper frame of the enclosure.
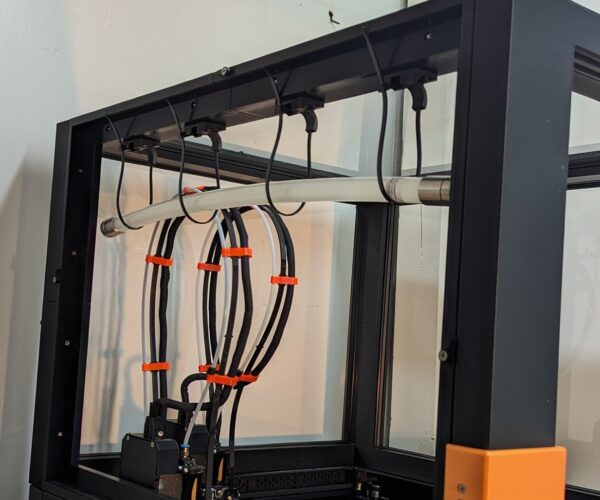
In this pic I started the high temp zip ties that came with the BlazeCut. Then just laid the T050e in place to tighten and adjust.
All that was left to do was tighten the zip ties. And adjust.
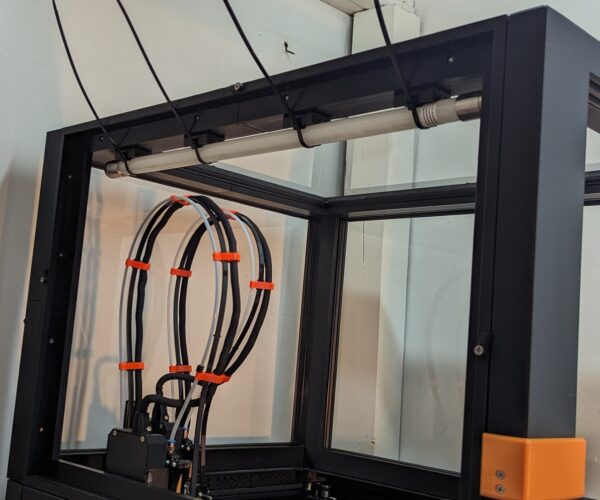
Snipped off the ends and slid the big end of the zip ties into the pocket of the mounts.
And that is complete.
RE: Ideas to make enclosure for XL Multi Tool
I did find a small internal heater to preheat the enclosure. I need to test it to see if it preheats well enough. I have been using a small ceramic heater but it is to large to leave in the enclosure.
Then all need to do is print some wire covers and she will be done!!
😎😎
RE: Ideas to make enclosure for XL Multi Tool
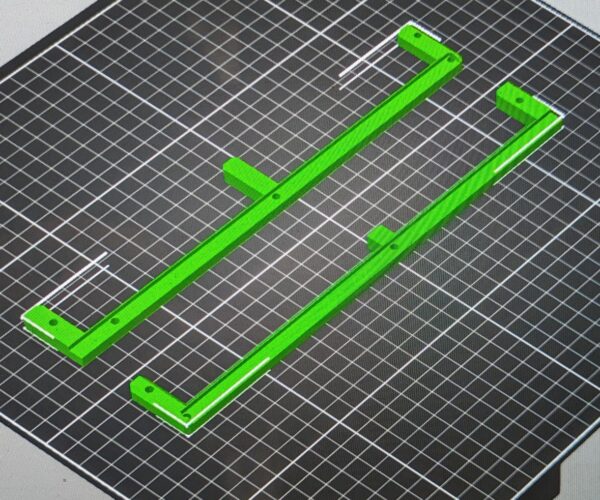
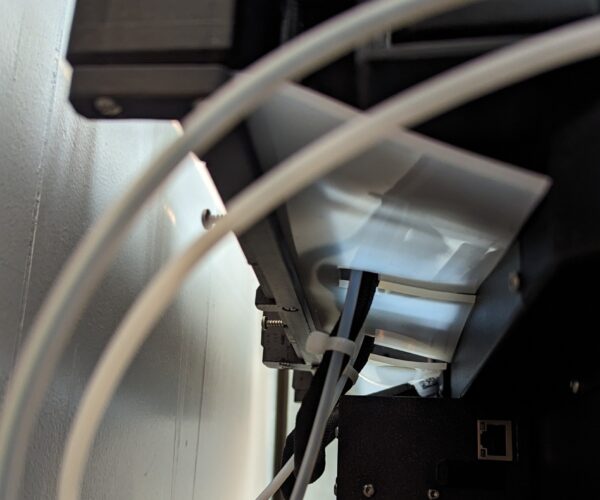
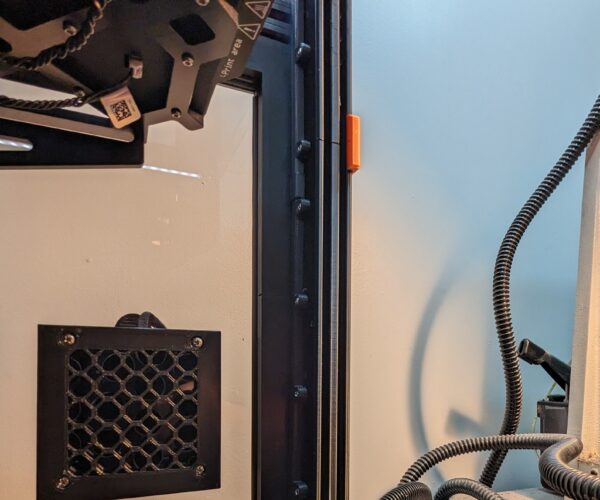
Just a quick post. I was able to install the wire shields which were printed in ASA. It's nice that the camera has a disconnect plug up near the camera. The camera wire is covered up to the top of the printer rail. The shields just tidy up the enclosure and keep the wiring out of the way.
I am going to install a disconnect to the Nevermore air scrubber. The disconnects are really nice as you don't have to undo all the wiring to access things if you have to remove something. I will use some weather proof automotive disconnects. They are cheap and easy to find.
Pic of the wire shield on the camera wire.
Pic of wire cover on the Nevermore air scrubber wire.
It seems the enclosure will be better than any enclosure one can buy commercial in future
as spoken many times this is a really great job hope for the stl when it is completed. But is it necessary to use so many screws for this tiny wire shields ? 🙂
One thing which is absolutely necessary is still missing! Why?
There is a need for a sign plate with your sign as the developer like Joe or a sculpture as basement for the top grip
😎
RE: Ideas to make enclosure for XL Multi Tool
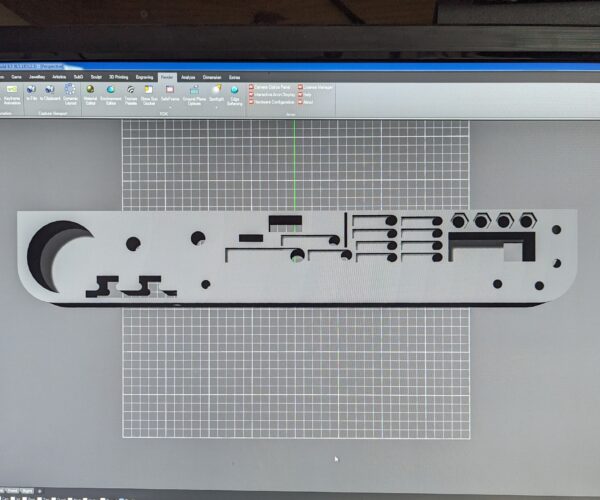
As if I didn't have enough to do! I decided to make a tool holder for the side of the printer. It will mount to the printers T3030 rails extrusion. It will hold all the XL Prusa tools plus a a set of nozzles and a few other things.
RE:
as spoken many times this is a really great job hope for the stl when it is completed. But is it necessary to use so many screws for this tiny wire shields ? 🙂
@o-knode Thanks for the compliment. The STLs will be available hopefully by the end of the month. The walls on the wire shields are pretty thin and a little flexible. I didn't want the wire shields to bow out away from the enclosure. Probably could have gotten by with a few less!!
😁😁😁
RE: Ideas to make enclosure for XL Multi Tool
@MME: I am also thinking about a BlazeCut for my upcoming XL enclosure. After a quick look I only find the 2 or 3m version here in Germany.
Before I contact BlazeCut for a german distributer, I would like to ask here, if someone has a source for the BlazeCut system in Germany or at least inside the EU?
RE: Ideas to make enclosure for XL Multi Tool
I believe the T025e or the T050e will fit in most enclosures.
RE: Ideas to make enclosure for XL Multi Tool
Just discovered that Prusa has the T025e in their shop. But for the XL you will either need two T025e or one T050e according to the selection guide at BlazeCut.
The XL has appr. 0,177m3 room inside the enclosure and the T050e is capable for 0,18m3 electrical fire. So exactly the wright size.
Several car part shops sell the 2m and 3m version of the T-model for the engine room fire protection. But 2m seems to be a little bit oversized for the XL 😏 . I assume, that the T050e will sooner or later also appear in the Prusa shop.
