Bed is higher in the Front
Hi,
i just build my XL 2T Printer and everything works as intended. But when i printed the file that uses the whole bed i saw that the Z-Asis is rising and lowering all the time. I observed it a bit longer and saw, that when the printer is moving from front to back the z-axis is rising, and moving from back to front it is lowering. I measured that the Bed is 4 mm lower at the Back.
Is there a way to tune it a bit that front and back are more equal? The printer is compensating the difference with no issue, no failures in the 2 prints i tried, but i would prefer it to be closer to 0 difference. I build it from the Semi-assambled stage, so it is possible that i skipped a step, but i think there was just "put the bed on the z-axis spindles, turn them equal distance and put the 4 Screws in the corner of the bed to attach the Z-Brackets (the things that slide on the rails)". No adjusting as far as i remember.
RE: Bed is higher in the Front
4mm difference is huge. I'd verify if the profiles are assembled correctly: no gaps, perpendicular.
RE: Bed is higher in the Front
I measured from the bottom of the printer to the top of the bed, i dont know what could cause this. I measured some distances like from the Z-Axis extrusion, top and bottom, to the front of the printer and they are equal on the left and the right. I cant see any gaps in the Extrusion parts to the base or the XY Part, nothing is loose as far as i can see, the bed is fixed on the Bedholder on the Z-Axis with the 4 Screws. The Z-Axis is build as specified in the manual, fixed on the left, rotary on the right.
RE:
I cant edit my post anymore, so i will post some measurments in a new post. I measured with my Ruler (Zollstock) so not very exact.
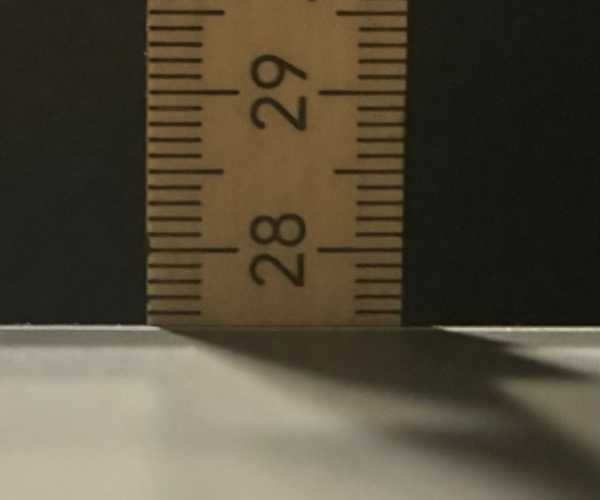
Back height:
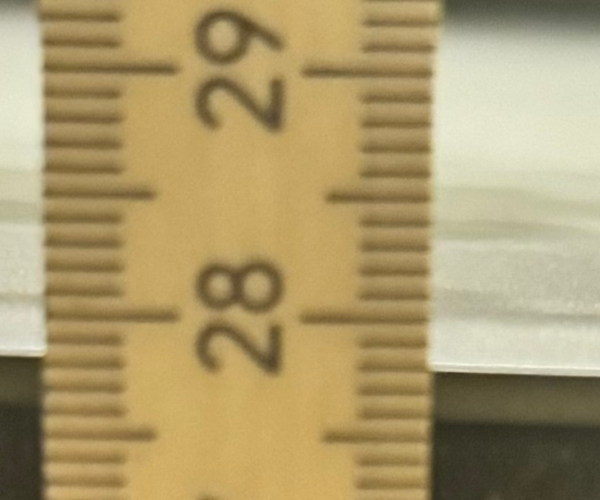
Front height:
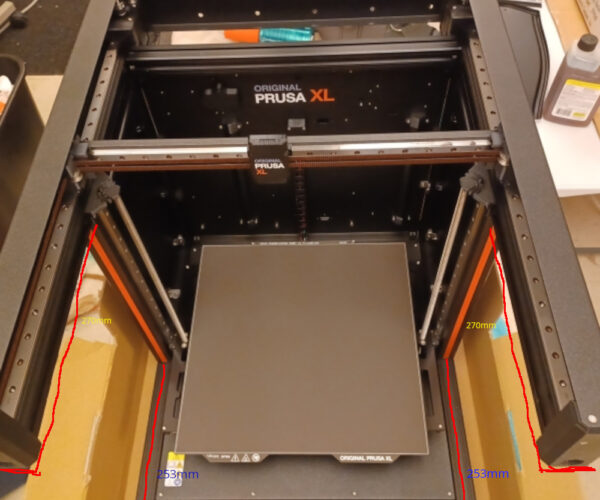
Distance Z Extrusions to Front: 270mm on top, 253 at the bottom, kind of hard to read here. But the top is longer so that should be good. Not my Picture, just used for illustration.
RE: Bed is higher in the Front
Moin,
I still think that you might have a gap at the connections between vertical and horizontal profiles. There is also the possibility that the left z-support bracket is not properly aligned on the z-carriage. But I recommend to recheck the frame first
The lower left and right profiles must be parallel to the upper ones. If possible, please use something more precise than a folding rule (Zollstock). A (very expensive) spirit level is useful but few people have one. With a mason's spirit (normale Bau-Wasserwaage) you can only measure coarse difference. If you have a cheap 150mm calliper (Meßschieber) and some rectangular piece of e.g. 300mm length you can mesure the differences in height between the horizontal profiles at the front and at the back. Mesure directly onto the profiles, not the cover strips.
All 4 vertical profiles must be perpendicular to those. A steel square for toolmakers (Schlosserwinkel) is useful to check that.
The distance from the bottom to the bed is less important. More interesting is the distance between a nozzle and the bed. If the bed is nearly on top and the printer is switched off you can move the head carefully around an see or measure the distance. Never touch the bed with your fingers though. Never rotate the z-spindles by hand after they have been calibrated. But you can attach a short strip of sticky tape to the bottom of both spindles to better observe when they rotate and roughly how far. They have 4mm pitch so that your 4mm height difference from front to back would make the spindles rotate by a full revolution.
The timer for editing a post expires after about 5 minutes. That is normal.
RE: Bed is higher in the Front
Hi, first thanks for the help so far.
I had to first buy batteries for my digital caliper, but now i measured some points and there seem to be differences on the Frame of about 2mm from Front to Back. Left to right i found no meaningful differences. But i will take a bigger caliper from Work on Monday, because i`m not Satisfied with the accuracy of what i have measured. I will buy a square today and try that next.
I tried to find gaps in the Extrusions meeting points with a feeler gauge and found one where i could get a 0.15mm gauge between extrusions, all others are so tight that i can`t get a 0.05mm gauge in between. I can`t imagine that that would cause the 3mm difference over the 360mm of the bed, but i will try to loosen and realign/re tighten the Extrusions and check with a square before.
You mentioned a spirit level. Can you recommend one that isn`t too expensive but sufficient? I googled and i found some for 80 €uro for 20/30cm with 0.02mm/m accuracy and i don`t know if i want to pay that much for a tool i don`t know if i will ever use again.
RE: Bed is higher in the Front
Apart from checking with a square, whether the vertical profile/guide is perpendicular to the (upper) horizontal profile/guide, please obviously check with the square whether the heat bed aluminum plate is perpendicular to the vertical guide as well. Is your heatbed bent substantially?
If you can not stick a 0.05 feeler gauge into the gap that sounds fine. A single 0.15mm feeler gauge put into gap between the profiles might be a gap <0.2mm. With a distance of 240mm between the profiles we get 0.3mm for the bed size of 360mm. Of course, even that alone can not cause an order of magnitude higher 3mm difference.
A good spirit level @0.02mm/m for 80 EUR sounds like a bargain. I would be easily precise enough for the build plate with its roughly (1/3)m size. In your case, its probably enough to have a decent square though.


