Resin temperature and adhering to the print bed
Had an interesting chat with Charlie at Monocure 3D about resin curing for my brand new SL1. He told me that UV light cures resin by changing the pH, and that temperature has no effect on curing unless the temperature falls below freezing... of the resin, which is about -10 to -15 degrees C. This is because at resin freezing temperatures the photopolymer degrades. I put this to the test:
My first prints were in Sydney which is a little warmer. Here are Prusa calibration test prints printed at ~170C, which look fantastic. All these prints are cleaned in Methylated Spirits. I’m saving the good stuff until later. You’ll see they get a matt slightly white finish, which doesn’t matter to me.
Caveat; I had lots of failed prints too, but I’m leaving them out to aid in understanding.
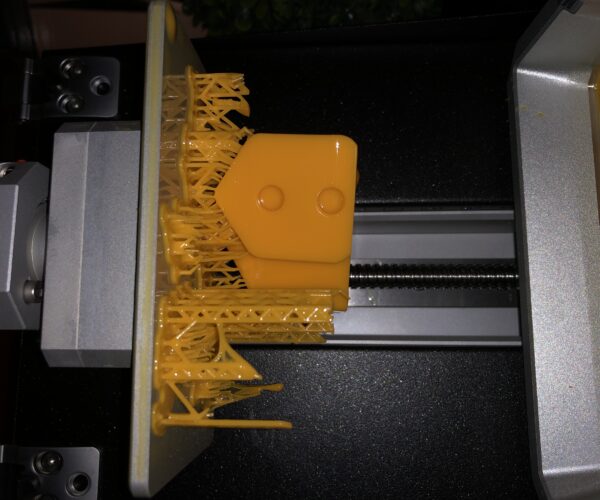
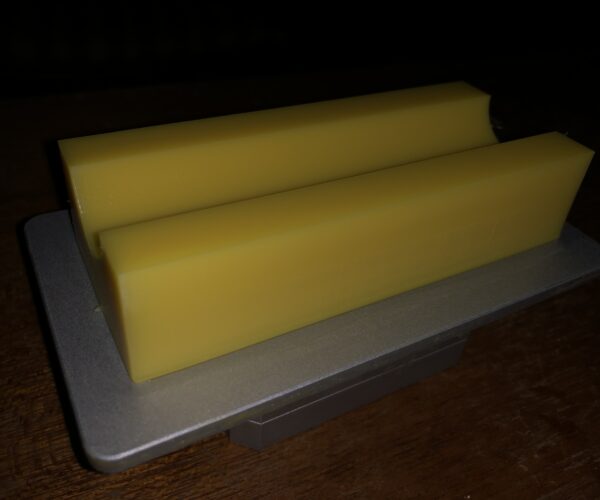
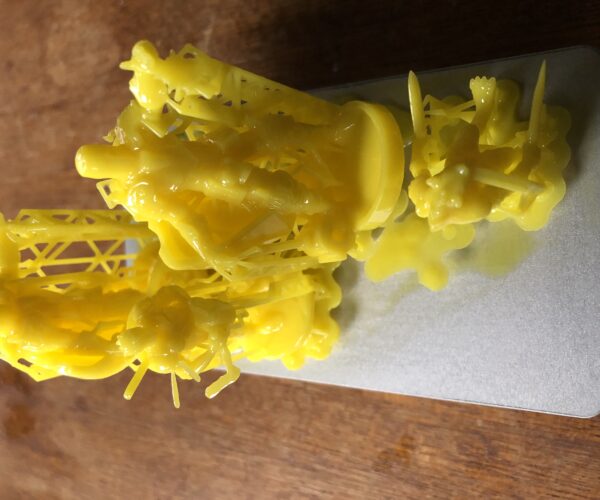
Next up is a print started at 15 degrees C with supports. Its of four miniatures and a Platform Drip Holder, all from Thingiverse;
Strangely, none of the miniatures printed. Ok, a foot printed. Yes, the supports adhered to the print bed, but not the miniatures. The Platform Drip Holder printed with a crack. Usable, but not 100%.
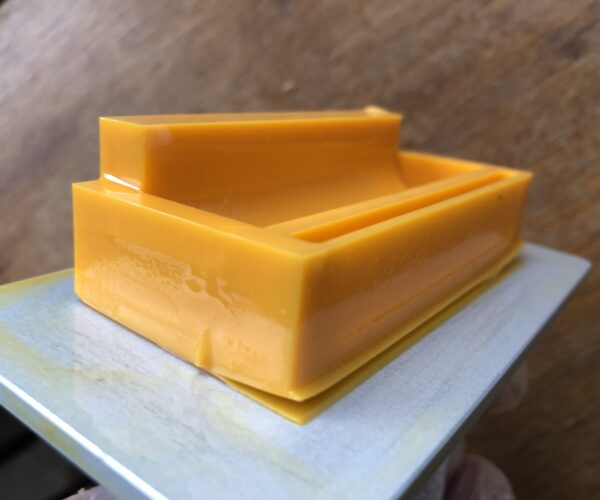
Last of my Sydney prints, again at ~150C with supports, was a larger part I CADed myself. This print was unsatisfactory, as it was warped. The supports failed to support it, particularly at the ends;
Back in Canberra, which is several degrees colder than Sydney at this time of year, I initially left my resins overnight; ~1 degree C. Thinking this is probably not a good idea I moved them to a warmer room, just to be safe.
I finally started that last print again, this time at a chilly 100C, with supports and I used Monocure3D Platebond. Nb. All of my following prints used Platebond. A tip for young players; Platebond only worked if I applied Platebond to the build plate and then ran the build plate through a drying (UV) cycle in the CW1. If I ever forgot this step the print failed. An alternative you might like to try is to finely sand the build plate with ‘wet and dry’ sandpaper. Watch the video at https://monocure3d.com.au/product-category/platebond/ for an explanation. I should also point out that I had to apply Platebond every time I printed, although Charlie had said some of his customers were able to get 3 or 4 prints from every application.
The first layers were set to 60 seconds, and subsequent layers to 10 seconds. The following morning after 4.5 hours printing I had this;
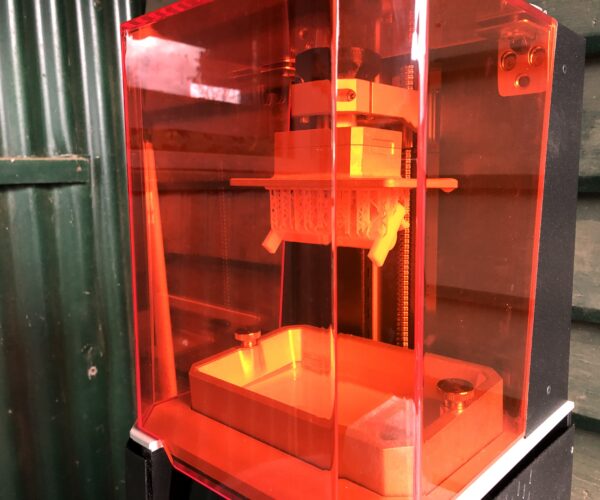
Yes, a successful low temperature print, although I had popped a blanket over the top to try and keep it warmer whilst it printed. The ‘blanket’ is the black plastic I cut off the box when I unboxed the SL1. It is a convenient cube shape. The temperature would have been around 30C when it finished printing last night, except that it would have been warmer under the blanket.
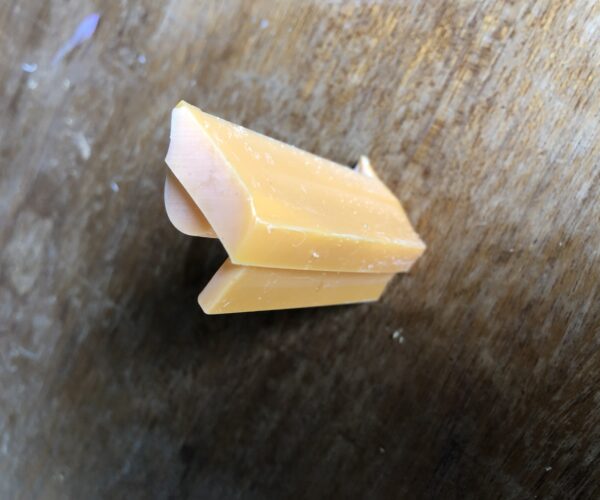
A close examination shows the supports parted from the part at either end, so I am clearly having a problem with supports adhering to the part, rather than supports adhering to the build plate.
It also occurred to me that rotating my part 450 made for a larger cross-section than if I simply laid it flat. It doesn’t make sense to me that surface tension or Van-der-Waal forces would pull a smaller cross-section off the build plate, but leave a larger cross-section on the build-plate. I would have thought it would be the other way round, so I tested it, by laying my next print flat, without any supports nor pads;
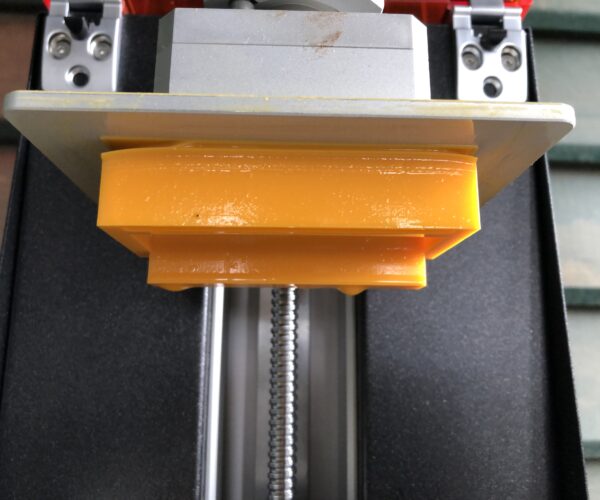
Laying flat worked! Again at 100C, although it warmed up to 120C by the time this print finished. This particular print is 92x43x30mm, with the 92x43mm side adhering to the print bed. In this next photo, you can see that it parted largely on one side close to the build platform. Not only that, but the finish is better than with supports, and it is far quicker! 2.5 hours cf 4.5 hours, since it is not as tall!
I was at a loss as to why these first layers were wider than the rest of the part, as they weren’t sliced that way.
Here’s the next print, again with Platebond, but laid flat without supports and pads, starting at 120C. I’m still printing at 60s for first layers and 10s for subsequent layers as reverting to 35s/7.5s defaults failed. Also, I ran out of the Prusa Orange Tough which was supplied with the SL1, so mixed in Prusa Super Low Odour Yellow Tough. PrusaSlicer estimated that the yellow resin would be 15 minutes quicker, so not amending the exposure times shouldn’t be detrimental. Its also less viscous, which helps with finer detail.
Charlie made the point that the guys wanting to print out miniatures want the resin to be less viscous (runnier), so the resin runs easily off each layer and tiny features become more exposed. Resin becomes less viscous as it gets hotter, so if you’re printing miniatures heating the resin may be the way to go. Doesn’t fit my use-case, so I kept on with low temperature printing.
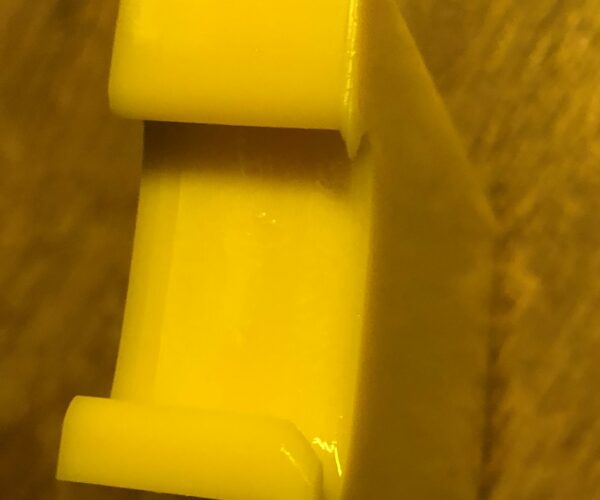
In this next photo the layers are not parallel to the print bed?!?... but if the FEP is not parallel to the print bed then surely only an edge would print?
I went and found my level and levelled the printer. Maybe this will fix it?
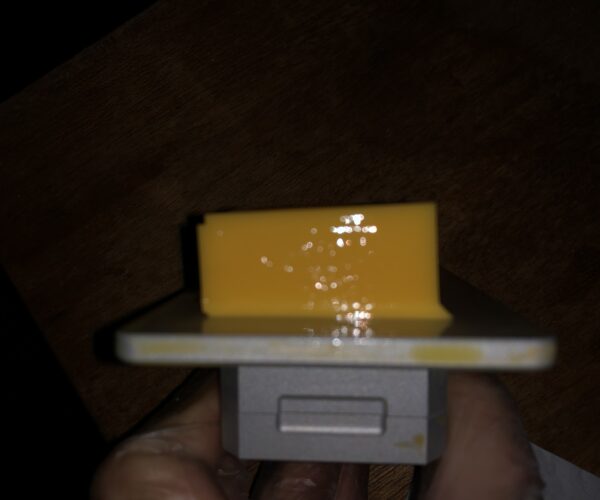
The other side provides another observation; The first layers have shifted to one side;
Let’s hope levelling the bed fixes it.
I’ve kicked off another print, which will take another 3.5 hours, dropping from 100C now to around 30C. Time for dinner and bed.
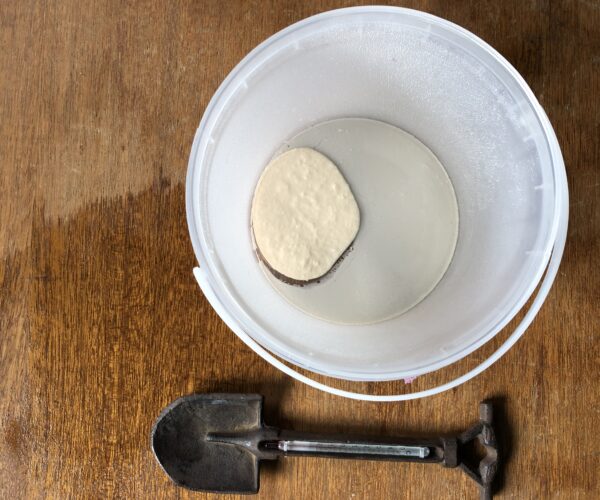
Oh, and by the way, I left the ‘dirty’ methylated spirits in a sealed transparent container in the sun and the resin precipitate hardened and settled to the bottom, leaving this sludge.
It does mean I can keep re-using the methylated spirits, though, as I poured it back into the CL1 tub sans precipitate.
RE: Resin temperature and adhering to the print bed
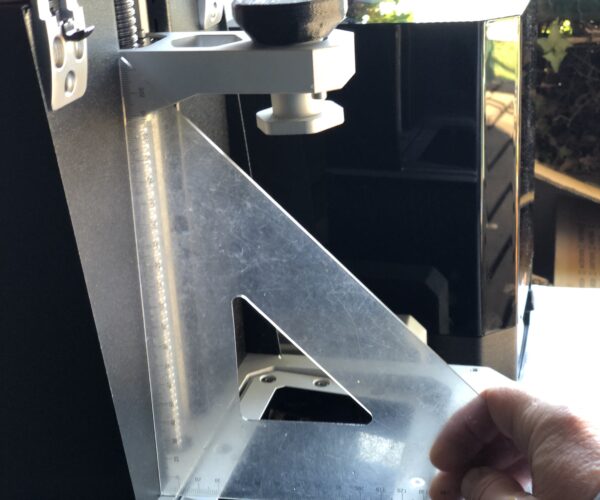
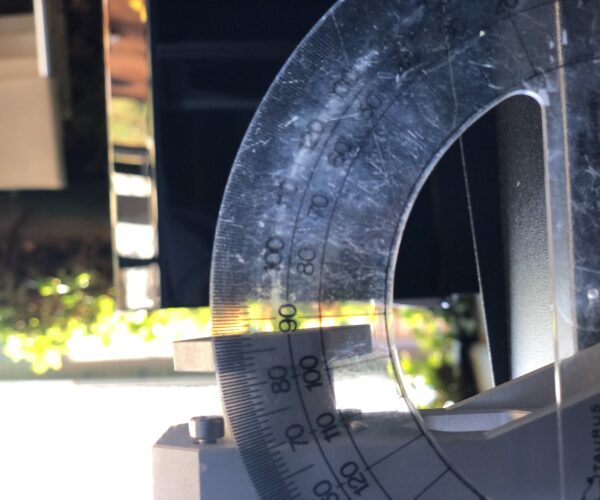
Turned out that my linear guiderail is not perfectly vertical…
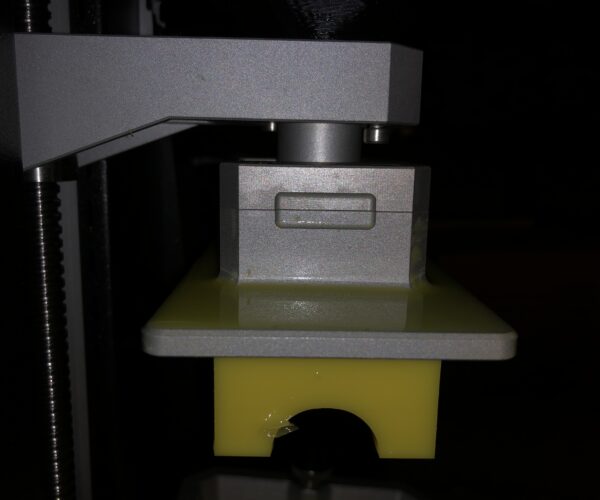
I surmised that this is why my print bed was about 1.50 from the horizontal after a print. You can see how its not parallel to the cantilever;
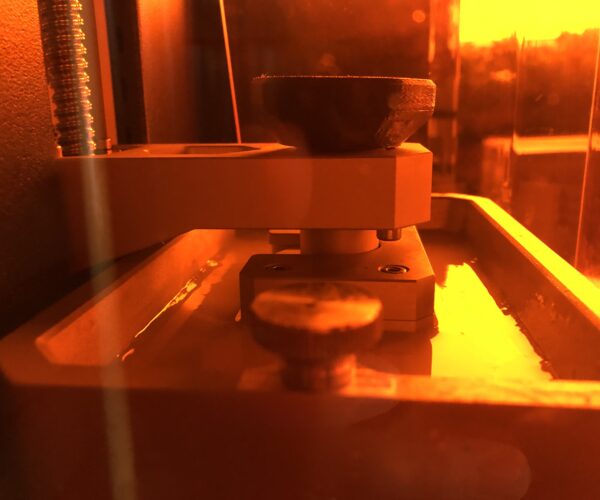
I tried setting the resin tank both higher and lower, but this just made the prints worse. Here its set as high as it will go;
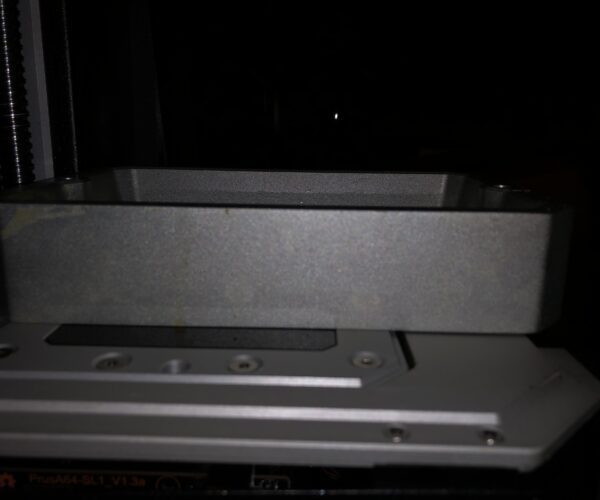
Finally, I noticed that calibrating the printer would make the print bed horizontal, but it was no longer horizontal after a print.
Next time I calibrated the printer I tightened the cantilever bolt much harder than I’d been tightening it.
This made all the difference, as now the print bed remains horizontal, and the printed part has sharp corners, as CADed. This exposure time was 90s/15s.
Its excellent that the calibration process compensates for misaligned vertical guide rail!
This next print was started at 2am at 50C with 60s/10s exposure times. Yes, you’re right. I couldn’t sleep, I was so excited. Incidentally, the temperature had risen to 50C by the time this print finished 5 ½ hours later;
Apparently, this print would have come out better if the resin had been less viscous, which is what would happen at higher temperatures. I could have also used 0.025mm layer height. Using the PrusaSL1Viewer, I reckon could have also reduced the amount of support material.

