How do I fill/remove holes?
Hi Everyone,
I’m trying to print this. But I want to fill/remove the holes. I’ve tried searching and searching, but I can’t find any way to do it. Am I out of luck?
Thanks for any help!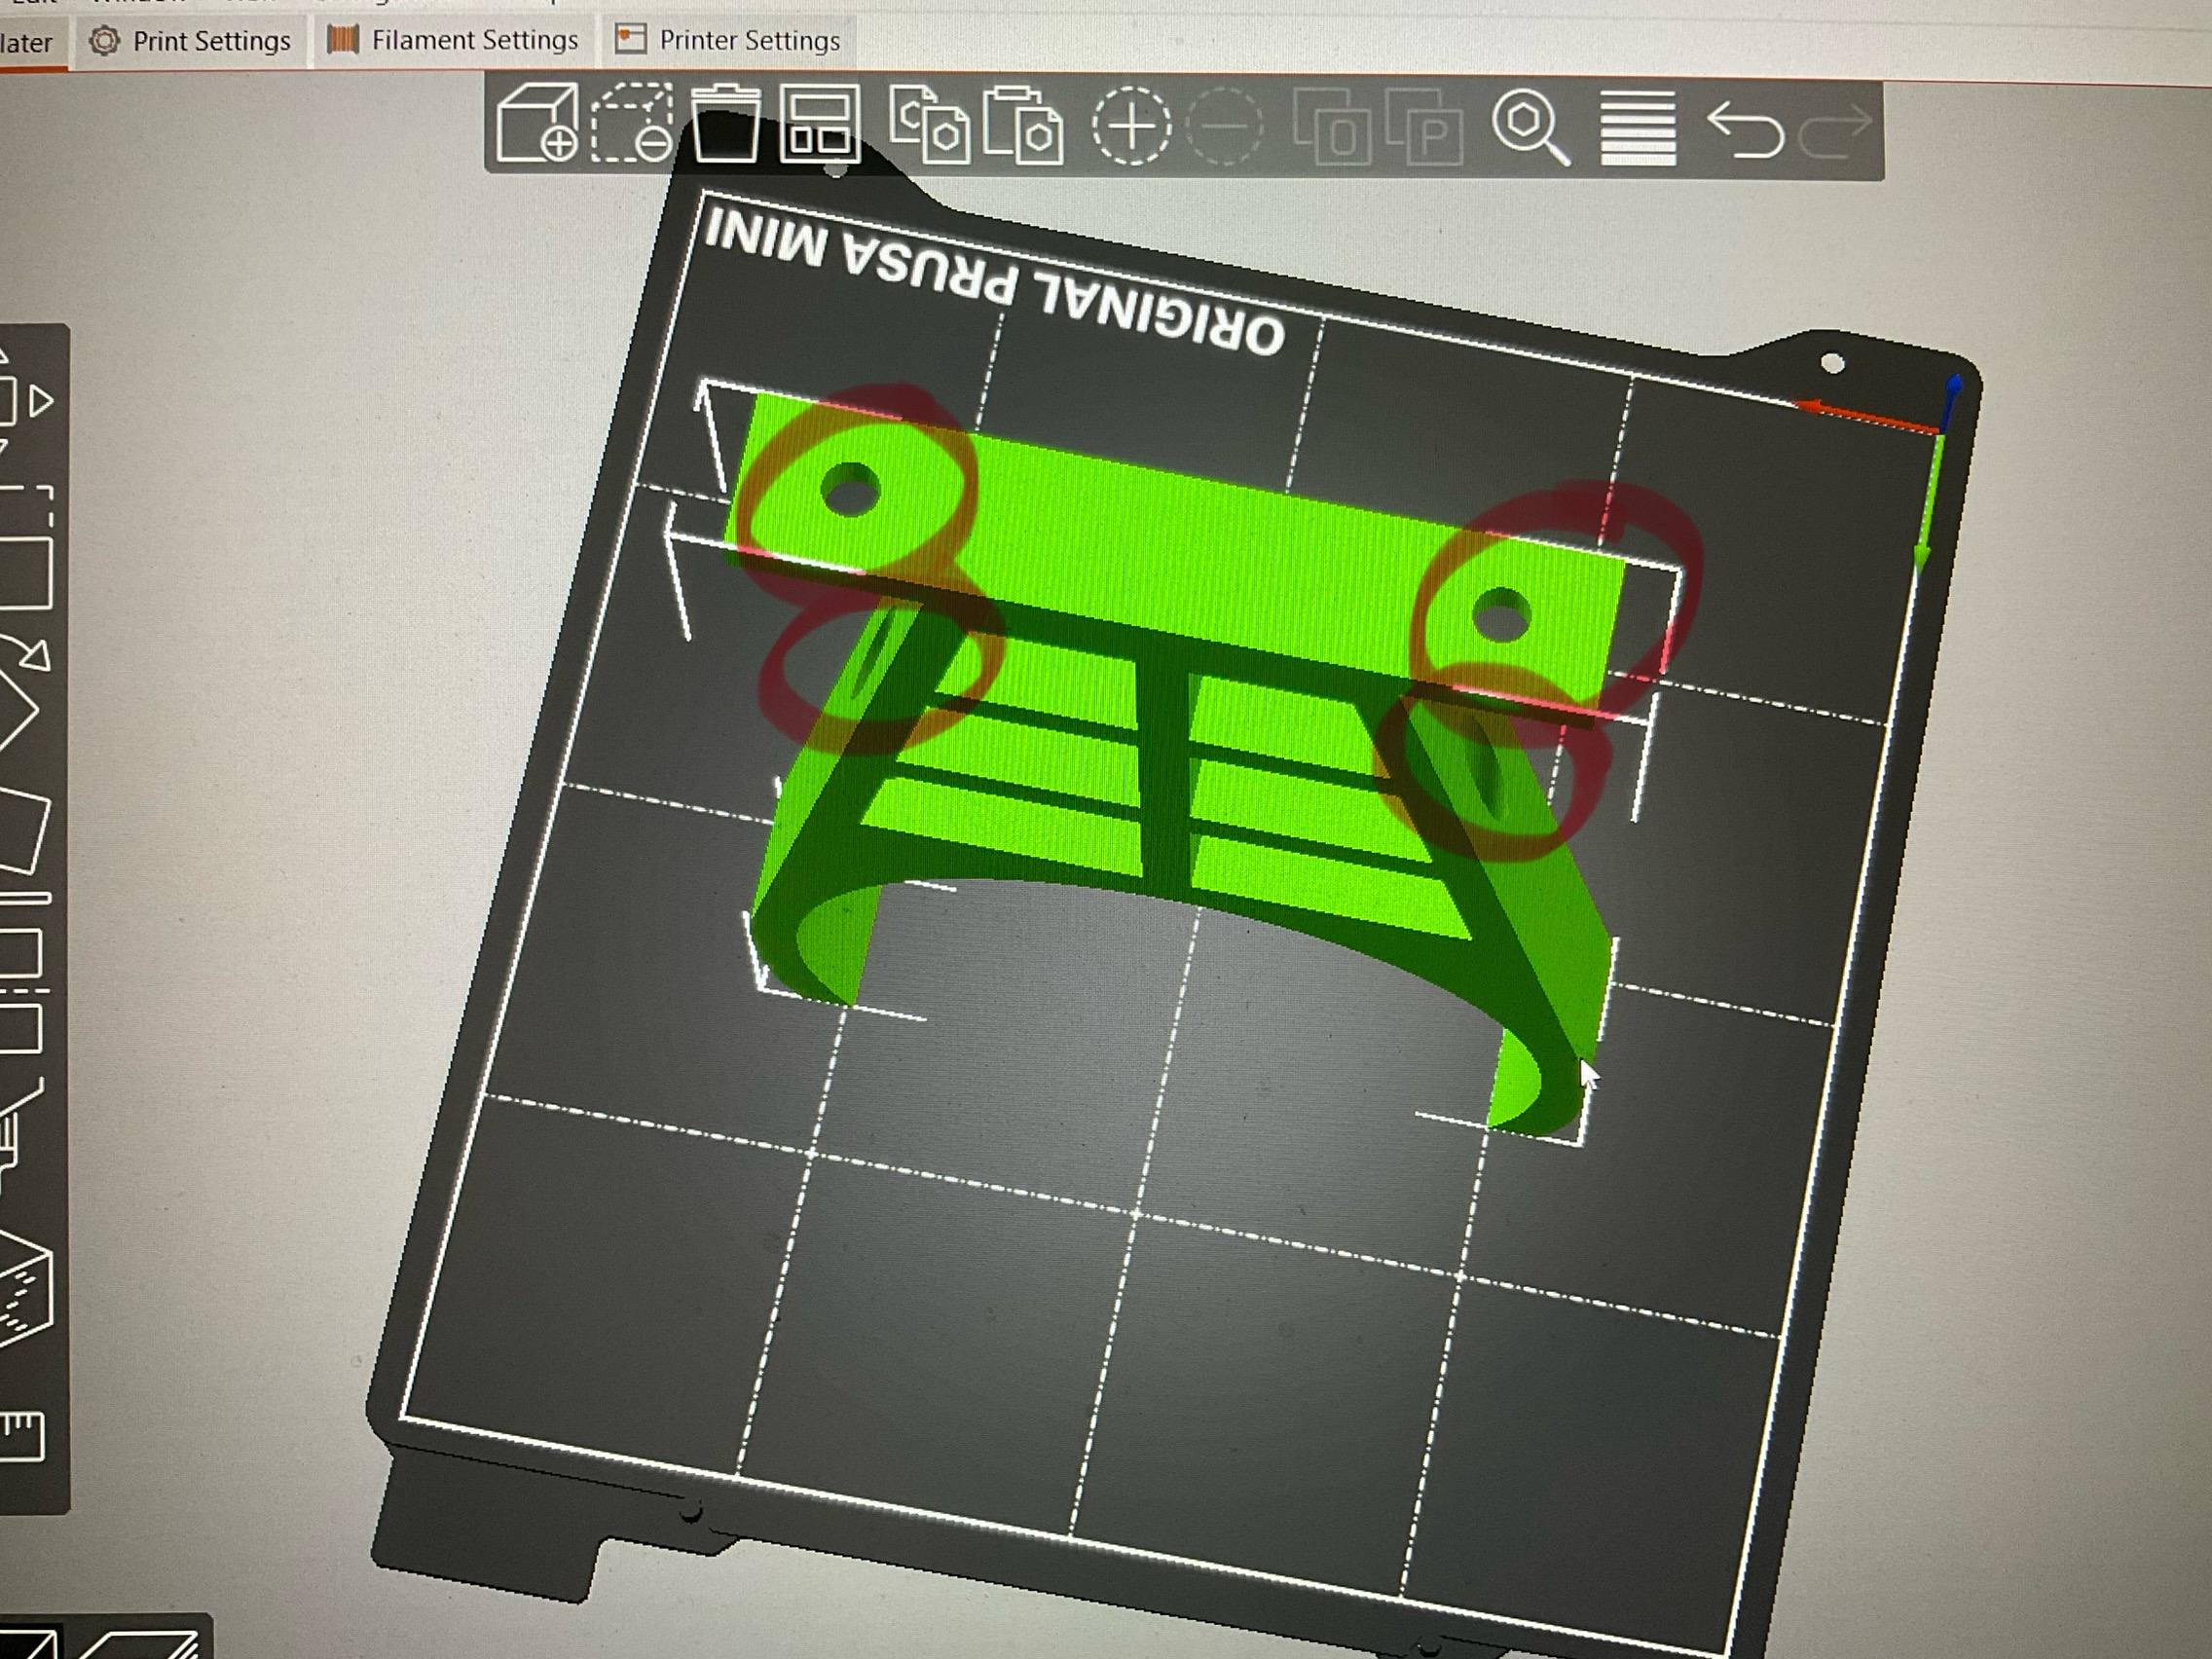
RE: How do I fill/remove holes?
Easiest would be to change that in CAD, but if you don't have a CAD file for this, you can try this.
Right-click on the part, choose Add part > Cylinder, then move and scale that cylinder until it fills out one of the holes at the top. Check in slicer preview that it will print smoothly with no steps. Then choose Ctrl+c, Ctrl+v to copy the cylinder for the second hole. A second cylinder will show up in the panel on the right. Select that and move it to the second hole.
For the holes below you could add a slab and tilt it until it is parallel to the surface there. Again move and scale until the hole is filled. You can move parts more accurately than with your mouse via the numerical input fields in the section "Part manipulation". After you have checked that everything fits you merge the parts. Select everything in the panel with the names of the parts and select "Merge" in the right mouse menu. If that does not work, you'll have to click first on "Split to objects" in the toolbar at the top. Then you can select and merge them. After merging you still can select a single component and move it around, scale it etc. if the slicing preview is not perfect yet.
RE: How do I fill/remove holes?
Thanks! Was able to do it!