WhamBam Enclosure Compatibility
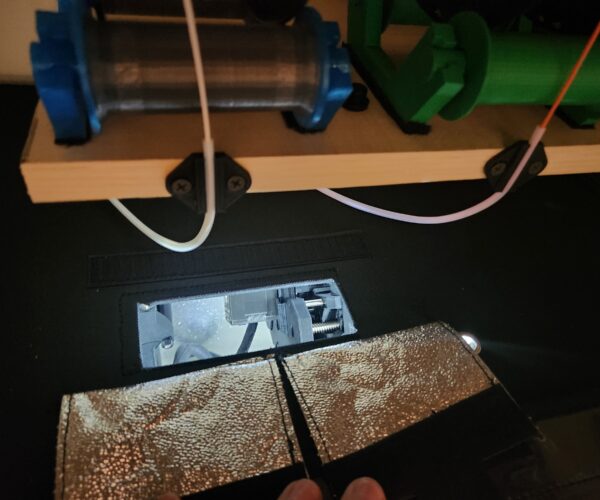
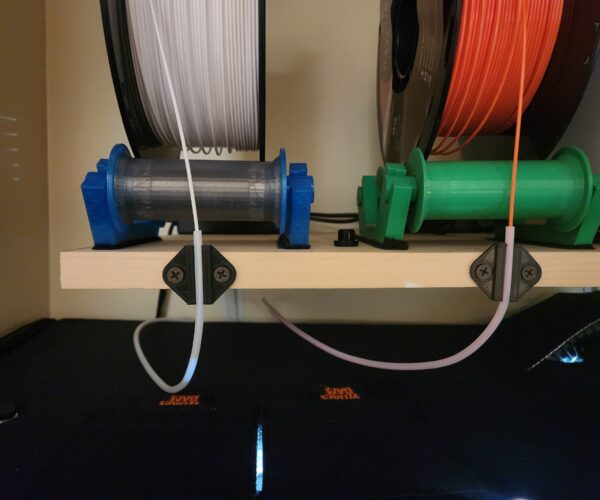
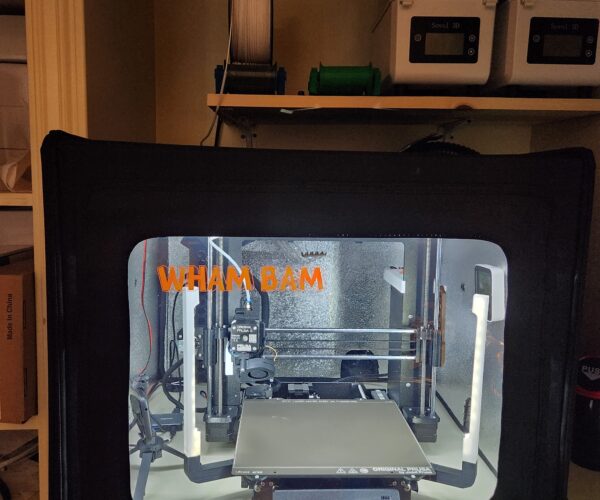
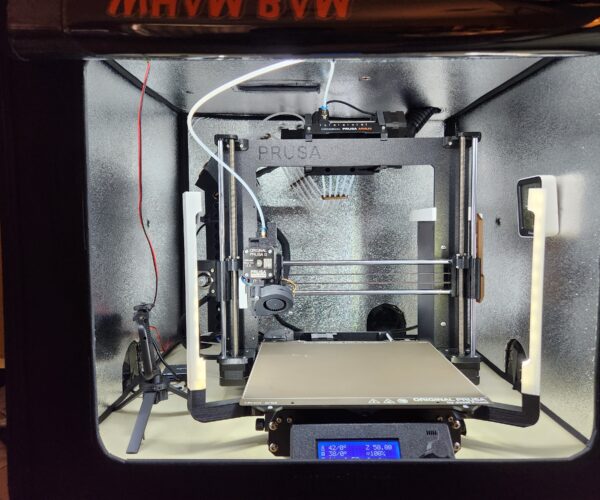
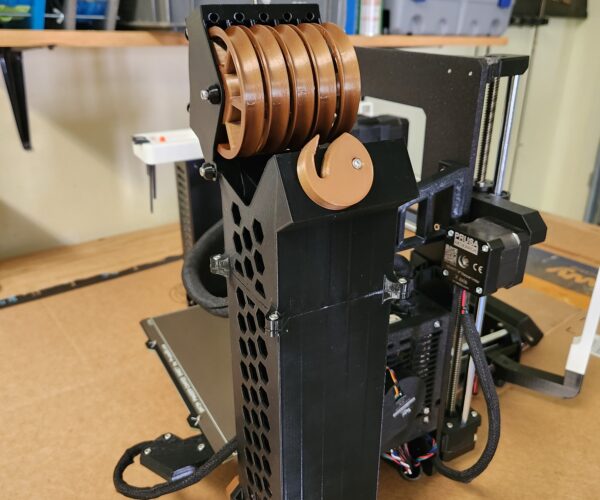
Since I could not find hardly any pictures or reviews with the whambam enclosure and MMU, here are a few pictures of my setup with the whambam. It's a little tight but it works. I wanted the whambam so I could easily fold it up flat for traveling and take the printer with me with buffer and everything in one go. I don't ever plan on printing with more than 2 colors but if I needed to, I would print from the dry boxes. The only improvements I could really see the whambam needs is a bigger window on top so the MMU can easily be worked on. Currently I have to lift up on the enclosure roof in order to adjust the MMU3 upright in the event something needs to be worked on.
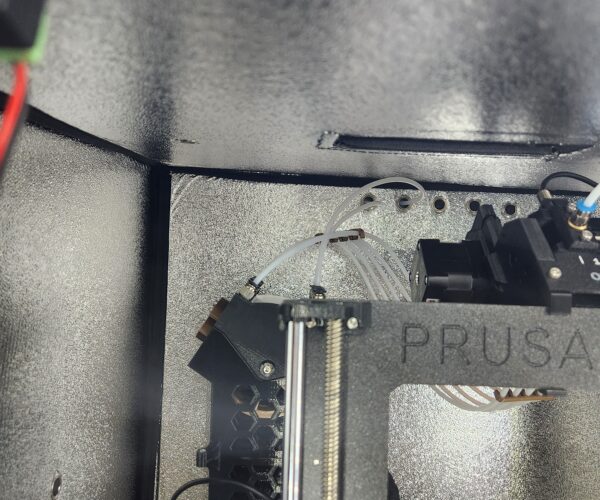
Loading filament through the RMU is not a COMPLETE PIA but it's not super easy either. Takes a little bit of blind feeding once you get it into the hole but again, not too hard. The RMU is a game changer for this type of setup(or any setup I would think) as the retracted filament length fits perfect in the buffer and the buffer is attached to the printer frame. Doesn't add much physical profile to the printer itself and is nice and clean.
I do plan on moving the vertical lights to the enclosure wall because currently they are kind of in the way when trying to reach around to the MMU or to grab my tools on the back right side.
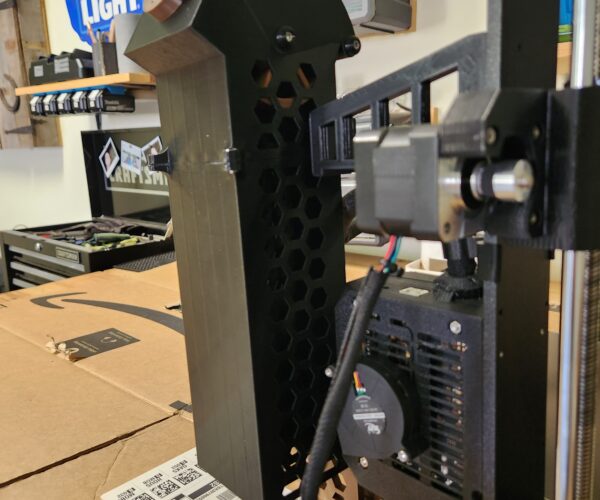
I added a prusa mini fan to my einsy box to help keep the board cooler. I just used a small drill bit and made some pilot holes in the plastic(being mindful not to screw into the board) then screw some M3 bolts into the plastic.
Hopefully this will help someone if you are on the fence about a wham bam because you have an MMU.
