MMU3/MK4 - LACK enclosure
I currently use the MMU2 with my MK3 and the LACK enclosure with the filaments on top. This setup has worked out really well for me.
I now have the MK4 (not yet in an enclosure) and the MMU3 on order.
Will Prusa be updating the Lack enclosure directions for this combination if needed (PSU outside the enclosure, buffer changes, etc)?
Teamwork,
Steve
RE: MMU3/MK4 - LACK enclosure
I have MK3S+ with MMU3 and it fits just fine in the modified MMU version of the lack enclosure. Buffer does not go inside.
RE: MMU3/MK4 - LACK enclosure
Thanks. I was more curious about the MK4. For my MK3 I moved the power supply outside the Lack enclosure and changed the heatbed cable to make the MK3 fit properly based on the Prusa supplied directions.. I was hoping that Prusa would include notes for the same info for the MK4.
Teamwork,
Steve
RE: MMU3/MK4 - LACK enclosure
i have the MMU2S+ with MK3S+ in a lack. Im going down the upgrade route for the MMU3 nd have printer the parts.
With the new wheels/5 filament how did you mount on the outside? would you mind sharing and posting some pictures?
thanks
RE:
@flyerdp
Curious how you are using the new buffer with the setup. I have the filaments on top of the enclosure. With the old buffer filaments enter at the front and leave at the back, the new buffer has the filament entering and leaving at the same side so some modifications will be required?
RE: MMU3/MK4 - LACK enclosure
I was about to post the same question when I saw this thread.I have the filaments on top of the Lack with the buffer behind them. It works well with the filament entering the front and exiting the rear of the buffer. The lure of easier loading with the new buffer is enticing but I haven't come up with an elegant way to position it.
Anyone have a good solution?
RE: MMU3/MK4 - LACK enclosure
Interestingly enough....
I just upgraded my MMM2-MMU3 for my MK3 with Lack enclosure. I had printed all the parts for the new buffer and was trying to figure out the best way of replacing it on the lack. I finally decided to keep my old buffer. Over time, I've found an extremely simple way to load the filament and the old lack setup works so well with the buffer on top.
I push the filament through the entry holes until it comes out of any exit point (rarely the final one). I then simply hold the end that comes out with one hand and then keep pushing the filament through until a loop appears at either of the exit areas. Grab the loop and extract it to get the tip. If it is the wrong exit, the bend in the filament is always correct to push it through from the exit area (again holding the tip that came out ) so it comes out the correct side.
Sounds way more complicated than it is. Easy Peasy once you understand it. No fiddling ever and it's fast.
I did add the mod to extend the holes at the exit so there is more room for fingers.
I am not sure if I have room for another Lack on my MK4/MMU3 (when it is available) and may give the new buffer a shot then but I am really happy with the old buffer.
Teamwork,
Steve
RE: MMU3/MK4 - LACK enclosure
Thanks Steve,
I load the same way as you. I did add the modified exit piece that will pivot out for easier access.
Guess I'll hang on to the old buffer at least for awhile.
RE: MMU3/MK4 - LACK enclosure
Sorry just saw this I meant to take a pic this morning but did not.
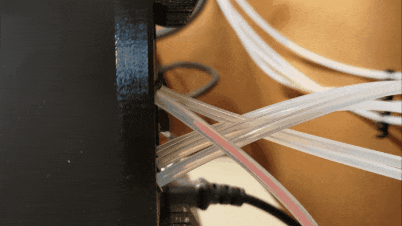
I did not mount the spools on top, I mounted them to a black shelf ~18 inches above so that it would be lighter to open and have enough room open all the way. I was imagining 5 full spools on there being quite heavy and needing to open often to maintain. I did buy some of the same plastic tubing in continuous length so it would reach from the top to the inside and used one of the sets that came with it as well to go up to the shelf.
I got some ~1/4 inch black foam material from hobby store and cut two pieces a couple of inches larger than the base of the buffer all around. I cut out the shape of the bottom of the of the buffer from one piece of foam so it could sit inside that hole. I made it about an inch bigger towards the front of the cabinet so it could slide forward because I then 3D printed a couple of "hooks" to keep it in place in the foam when open but needed that room to slide forward and lift out. I used a good adhesive to stick those hooks and the foam together and then stuck the whole thing to the top of the cabinet with 3M double sided adhesive.
I will edit or add picture later.
RE: MMU3/MK4 - LACK enclosure
Picture will be great! In my case I do not have the luxury of a wall behind the unit, or a table on the side so I did put the filament on top, as per the original design. It is heavy but I am amazed how well the latch holds it up without issue. With the filament on top, I can move the whole unit when needed.
I'd like to see your new option of buffer placement on top though. I might be able to place the filament on the sides of my unit.
Teamwork,
Steve
RE: MMU3/MK4 - LACK enclosure
Yes, the Lack is much sturdier than one would think. I have the original Prusa Enclosure with an MK4 on a Lack table - quite some weight, but no problem for the little wonder table from Sweden. 🙂
RE: MMU3/MK4 - LACK enclosure
Pardon our dust.... I had forgotten that I 3D printed those "C" shaped pieces and stuck them down rather than the foam to easily remove all of that. Double sided adhesive comes off easily with rubbing alcohols. It occurred to me while posting this that the shelf I printed to hold the filament dryer on the wall could possibly be modified a bit to be mounted to the Lack in some way to put the buffer on?


RE: MMU3/MK4 - LACK enclosure
Putting the filament on the shelf behind is very useful and it flows well. I have a window there, so I may try the buffer in your position with putting the filaments behind it. As long as the loop going over the top is not going to hinder the filament path.
Thank you for posting the pictures.
Teamwork,
Steve
RE: MMU3/MK4 - LACK enclosure
Agreed but I am a tall, big guy so reaching around the printer is a PITA. I made connectors that go through the table for power, the R-Pi for octoprint, the camera etc... etc.. so I could remove it.
Even with that on occasion I have had to take a the top off or even a top frame piece and the plexiglass to work on it in place. I did not want to have to wind up and take off a bunch of spools for that.
RE: MMU3/MK4 - LACK enclosure
That just goes to show that one 'size' does not fit all! I take my hat off to Prusa for producing the common denominator, but giving enough leeway that we can all add/modify for our personal reasons.
RE:
100%. they released their enclosure with "temp reporting" etc... and I had already added that so I decided I had no need for a new one. If you open the pic with the spools on the shelf and look at the top left of the front of the enclosure that is an LCD display with internal air temp and fan speed for a fan I put on a modded enclosure for the Einsy. There are two thermometers in it one for cabinet temp and one for Einsy temp to gauge control of the fan speed for the Einsy and an "air gate"
I built in this air gate next to where the wires go out the bottom so that it can suck in fresh air rather than recirculate. I wish It worked better but the cabinet still gets hot in summer here in Texas. I am thinking about an added air intake for the air filter body I built that is in the top of the cabinet Already learned my lesson so here are pics. Yes the filter fan is kind of big /odd but I like noctua for how quiet they are and I had one laying around that I wasnt using so its not purdy....


RE: MMU3/MK4 - LACK enclosure
Hey everyone,
I'm also using the IKEA Lack setup with MK3S+ and MMU3.
Originally I wanted to buy the MMU2 and build it in, but then the new MMU3 arrived and I wanted the latest, improved version for the MK3S+.I also recognised the problem with the filament buffer.
Both openings are now on one side - very unfavourable, because the new buffer can no longer be attached to the top of the Lack table as with the MMU2. The spool holders have also been modified, so the filament housings can no longer be used.
This is how I have managed so far: Filament buffer of the MMU3 built into the Lack table, next to the MK3S+ as shown by Prusa on the MMU3 pictures in the manual. Ok, but how do I get the filaments? The only way is to use a trick with an IKEA Billy shelf behind it. Here is a picture. It works, I have drilled new holes in the back of the Lack housing.
Unfortunately, printing large objects that take more than 2 hours will lead to "temperature error" messages with the MK3S+ unit. Everything else is working, I will ask Prusa Support to get rid of these error messages. The printer was used for months and very long prints without any error messages, they started right with the MMU3 usage.


RE:
I don't know to what extent this is still current, but since others will certainly have the same problems with loading the buffer with new filament, I would like to do a little advertising on my own behalf.
I developed a fork that allows loading the buffer without having to remove a buffer segment. To do this, simply push the fork from the front into the buffer element to be loaded and the filament can be pushed directly from the spool to the MMU unit.
This loading option also allows for simpler setups that were not possible before. For example, attaching the buffer next to or even above the printer (depending on the space available) within the enclosure or in a compartment underneath.
You can download the MMU loading fork here
To place the buffer on the ceiling, Chris Hill has developed a good solution that fits into the original Prusa Enclosure. You can find this here. 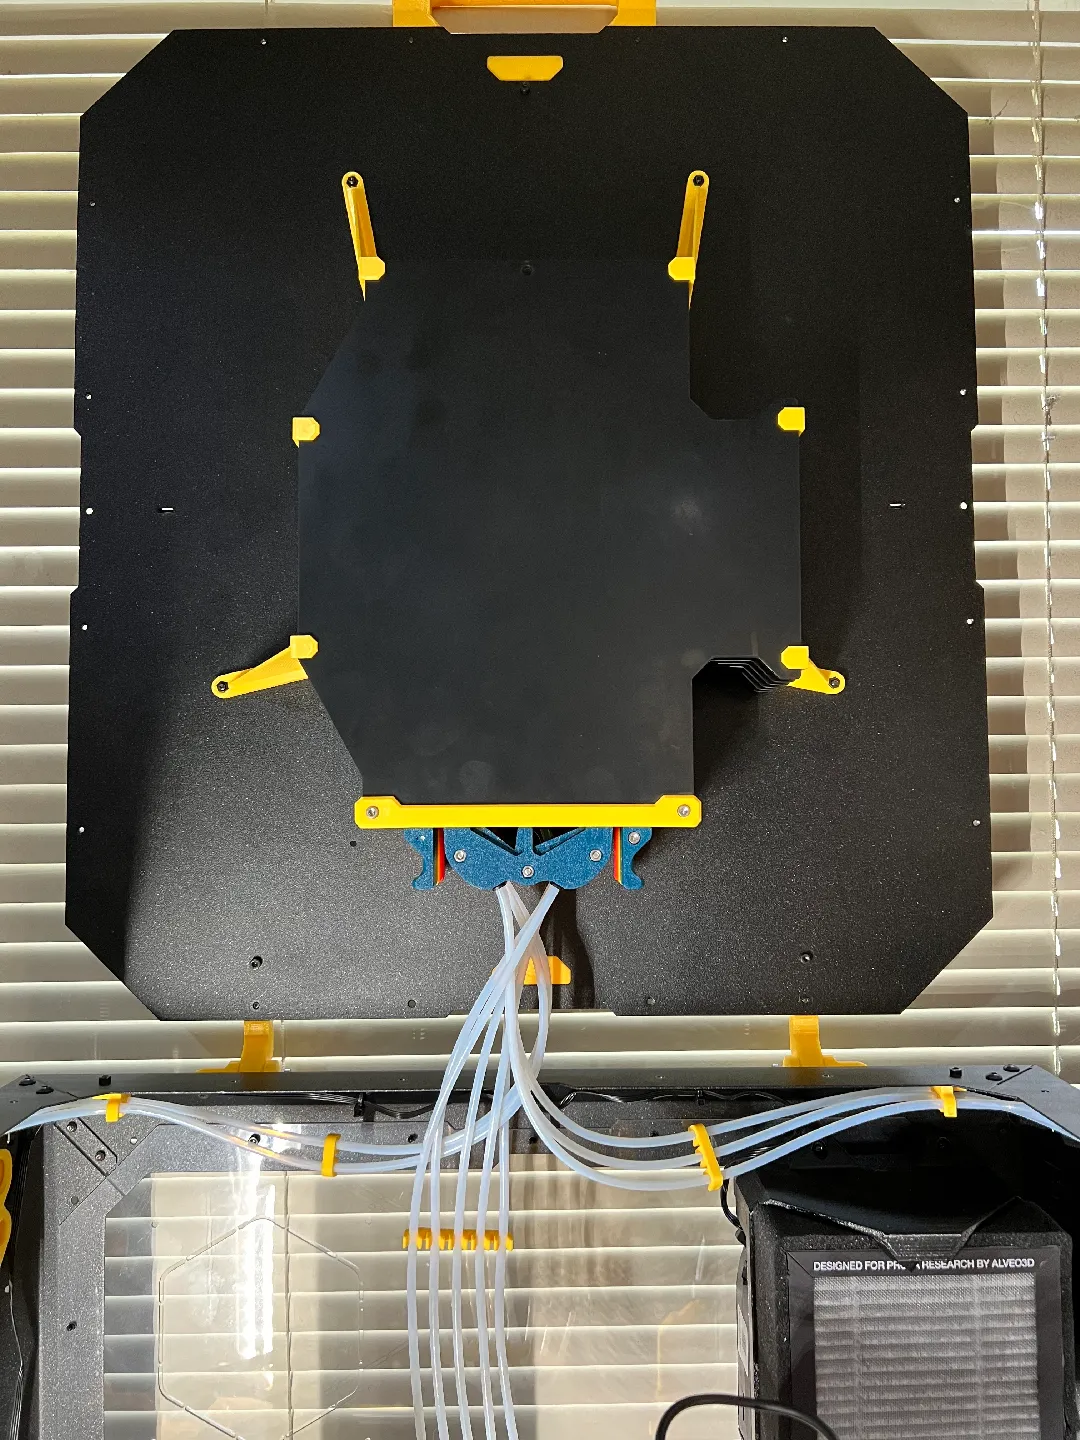
Printing PLA and PETG at the same time? See the Guide for MultiMaterialSupports ----- Ejecting Buffer cassettes is not satisfying? May the Fork be with you!
RE: MMU3/MK4 - LACK enclosure
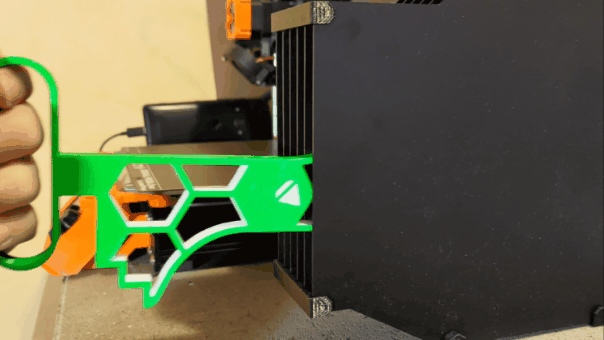
I've just finished my MK4/MMU3 build, and I use the LACK/MMU2 ( https://www.printables.com/model/3673-mmu2s-enclosure ) enclosure.
I've a paver stone under my printer & squash ball mods. I'm definitely going to have to mod something. The cutout on the underside of the lid is too small, and the un-cutout parts of it are in the way.
Hopefully its little more than open the hole up further.
My vague/nebulous goal is to mount the buffer on the lid, under an unoriginal dry box. I've a number of feet of 3.0mm ID PTFE tubing on order to do so.
RE:
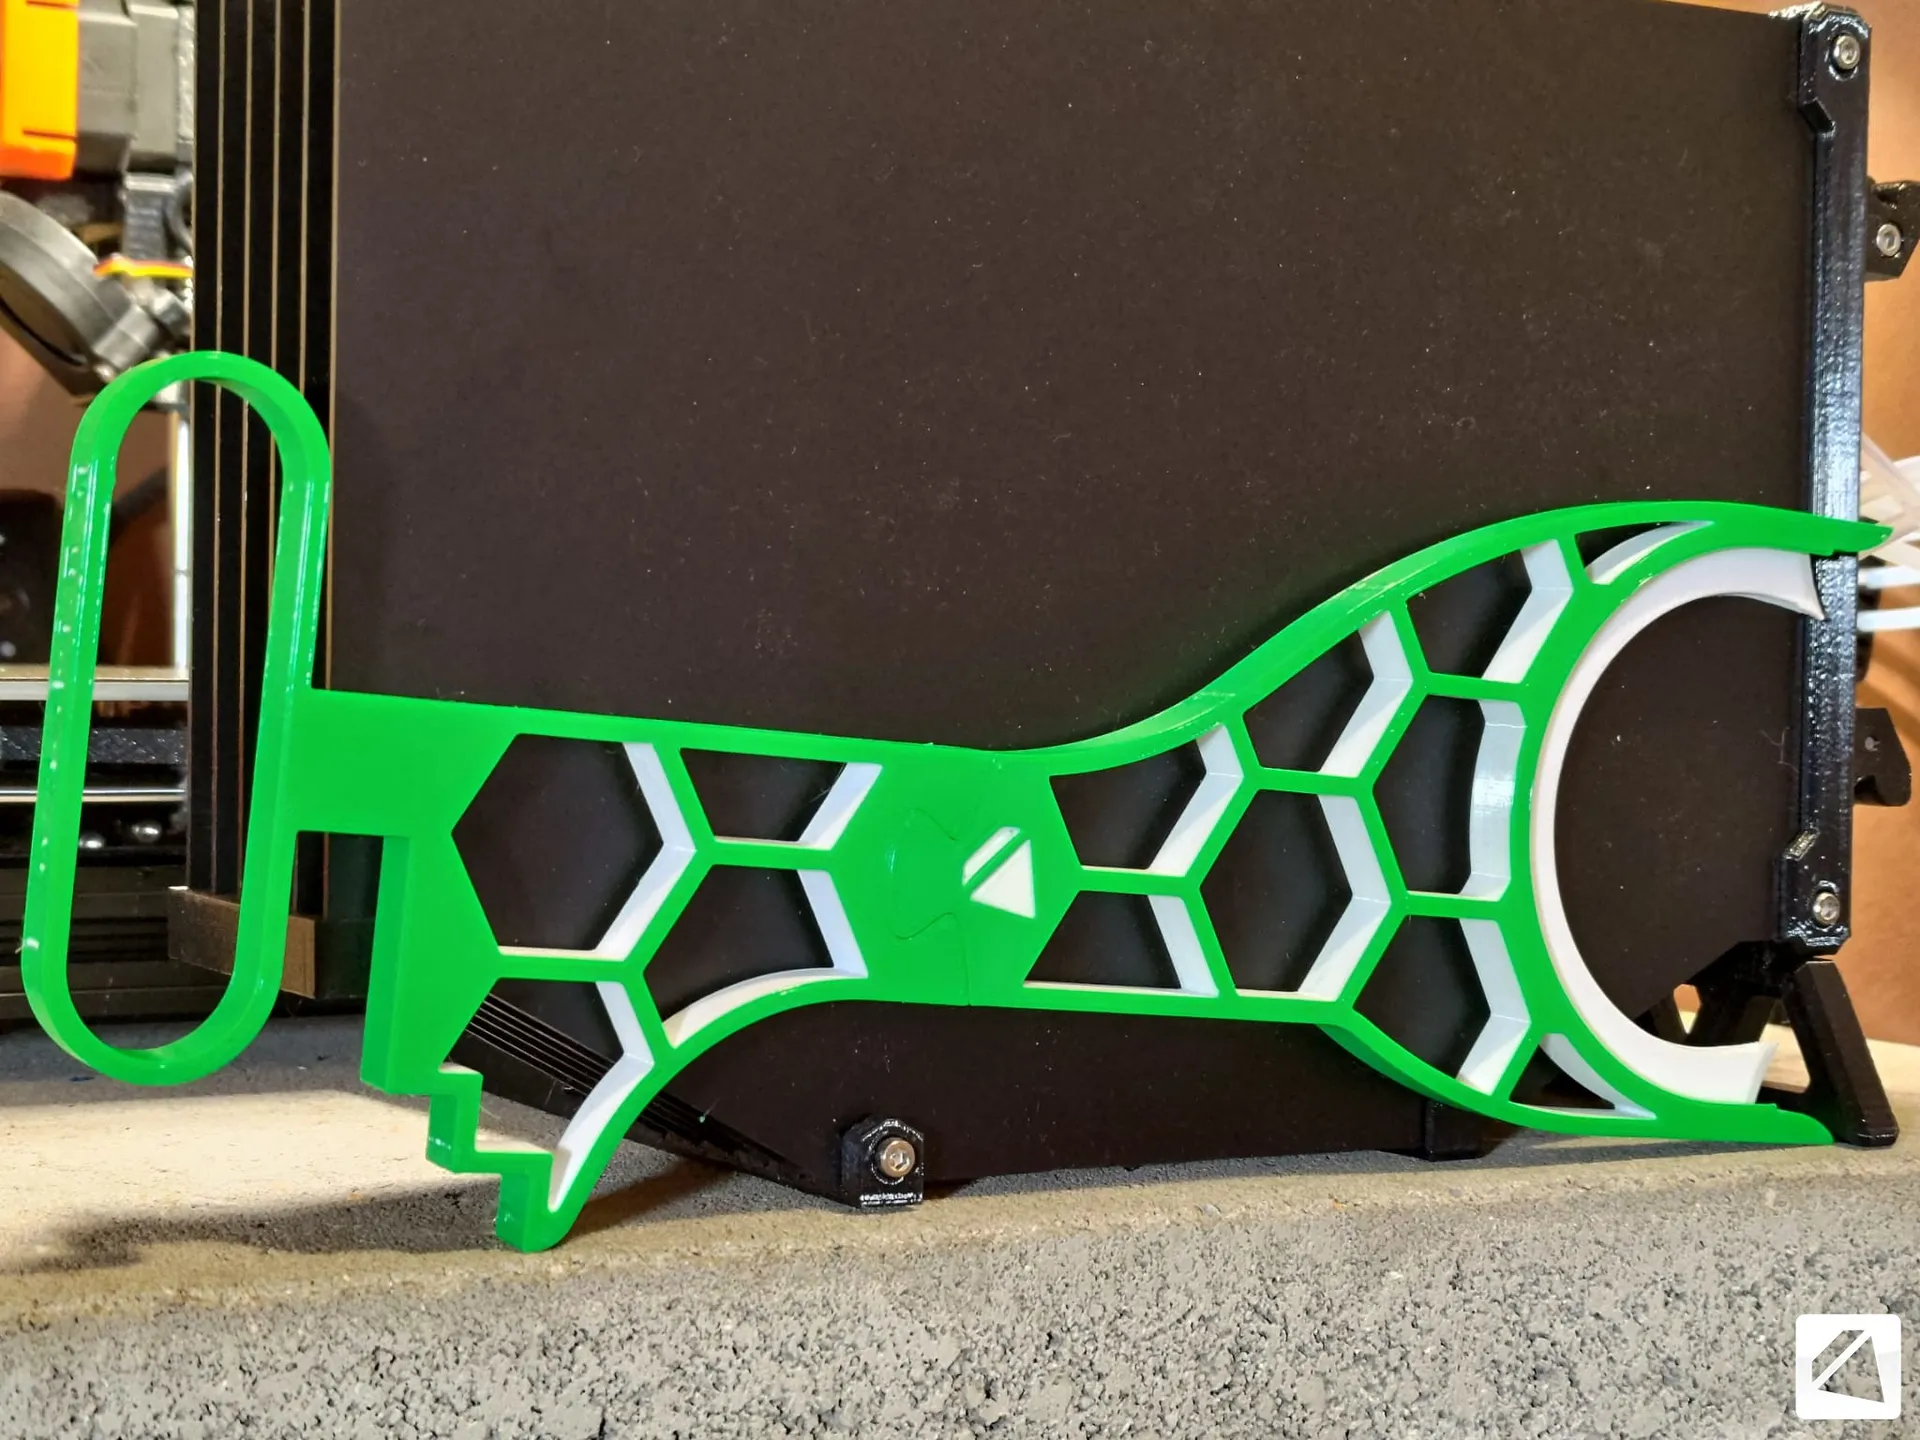
I did a modified LACK V1. My MMU is mounted on the top of the LACK, on the side. Makes it easy to get to. I have (an old) post about it here: https://forum.prusa3d.com/forum/postid/138334/ . Planning to do the same for my MK39/MMU3 which I am currently upgrading.
 3-Lack enclosure with top-mounted MMU.