Procedure for multi color printing?
While waiting for the MMU3 for MK4 kit to be released (not real soon, I know), I'm fooling around with what I've been able to understand about producing multi-color prints using OpenSCAD. I've been able to produce two independent stl files with one color in one files and the other color in the other file. What, exactly, do I do with them in PrusaSlicer? I can certainly select both of them to open at the same time, and PrusaSlicer appears to import them in the same place so they form the complete model, but where do I go from there? (Or is that not what I want to be doing?) I'm guessing I'll need a printer profile that knows about the MMU3 (which may not even exist yet for the MK4).
You need to have multiple extruders defined in the printer profile, then the parts can be allocated.
Printer Settings > General
Set up a dummy printer temporarily, or premptively upload the MMU profiles; then when you load your parts together they should behave as different, interconnected parts to which you can allocate different filaments.
Cheerio,
RE: Procedure for multi color printing?
Tom,
I don't know about compatibility of the MMU3 with the MK4 (I think it is....?), but I can tell you that the PrusaSlicer configured for the MMU makes multi-color prints VERY easy to slice. The interface is a breeze to understand. When you get set up, here's a big tip I've learned in my short time messing with it: Use the Bucket Fill function first for the color with the most facets to paint. From there, switch to Smart fill and finish the rest of your painting. Most of these terms will become readily apparent once you get the slicer configured.
I use SolidWorks for all my models. I initially tried making separate components for the different colors, but I've since abandoned that approach. I now build contiguous models and use the PrusaSlicer to paint the model as desired. It is WAY easier.
Thanks. Brad.
I now build contiguous models and use the PrusaSlicer to paint the model as desired. It is WAY easier.
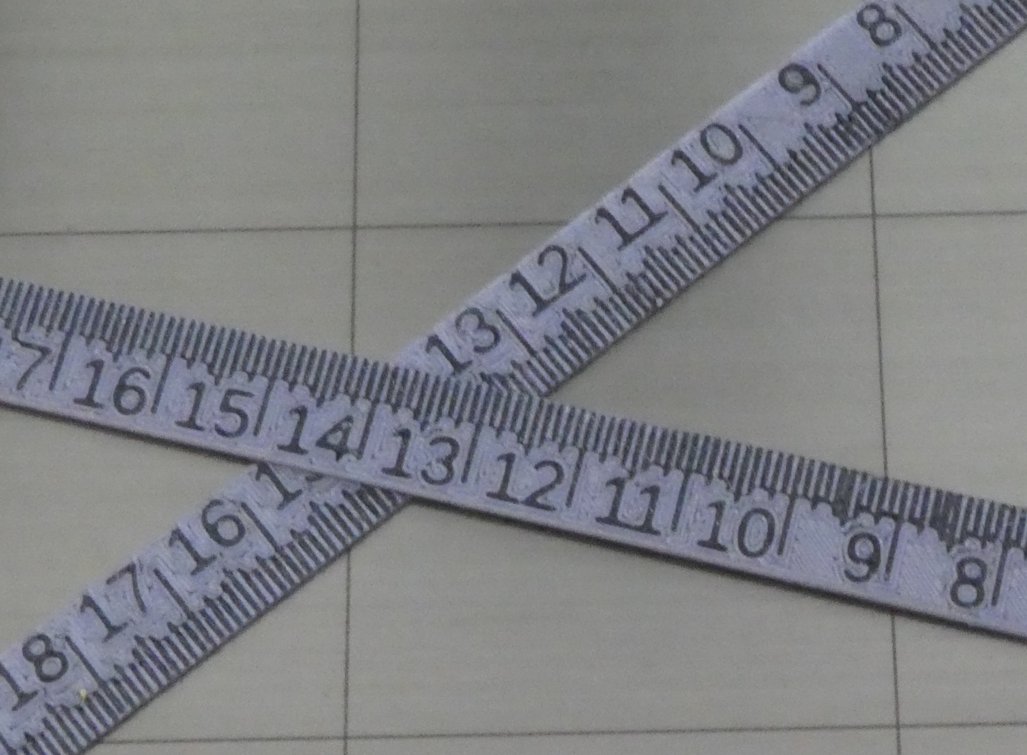
I disagree, I find it practically impossible. With the original CAD it's easy to place labels, graticules and indicators exactly where they are needed parametrically and programmatically. Painting them in Prusa Slicer is a nightmare. Here is an old example I need to update.
Cheerio,
RE: Procedure for multi color printing?
If you color an existing model or a model with very little different color the PrusaSlicer is doing a good job. For a new design I do the multicolor within the CAD program.
RE:
Diem,
If I were making those scales, I would either elevate or depress the graphics in CAD, then bucket fill the whole model silver, then smart fill the graphics in black. Leaving a small ledge at the edge of the scale that would include the graduations on the same level would make the graduations a single click of the mouse to paint them all.
A million ways to skin a cat, I guess.
Thanks. Brad.
A reasonable effect - but he work is done in CAD not PrusaSlicer and if you have the design in CAD to subtract from the base shape then it's trivial to also export it positive for the multipart method.
Cheerio,
RE: Procedure for multi color printing?
Diem,
I'm not sure I'm following what your getting at. Are you suggesting that once the graphics are depressed, there wouldn't be a need for coloring them?
Thanks. Brad.
It takes the same amount of design work to create the negative graphics shape as the positive - so creating the positive, exporting it as one stl then subtracting it from the subtrate and exporting the second stl is a trivial extra step - now you have flush graphics.
Here is a trivial example in OpenSCAD:
// OpenSCAD two colour graphic example

design="Graphic";
x=50;
y=20;
z=5;
thick=0.4;

positive=0;  //  0 or 1

if (positive){
  centeredpositive(x,y,z,thick,design);
} else {
  difference(){
    cube([x,y,z]);
    centeredpositive(x,y,z,thick,design);
  }
}

module centeredpositive(x,y,z,thick,word){
  translate([x/2,y/2,z-thick]){
    linear_extrude(height=thick){
      text(word,valign="center",halign="center");
    }
  }
}
All the design work is in the module centeredpositive - it could be as complex or intricate as you like, not just this simple text...
By changing the value of the variable 'positive' between 0 and 1 you either create the substrate with the design removed, or the design alone as a positive *already correctly positioned* ready to be exported to .stl for PrusaSlicer.
Cheerio,
RE: Procedure for multi color printing?
This works, I have been doing the same thing. In addition, you do not need to take the difference between the cube and text. I discovered if you import the cube first, and then the text, Prusa Slicer will figure out that you are subtracting the text from the cube. You don't have to do that step in OpenSCAD.