SUCCESS! How I resolved my MMU2 issues (MK2S -> MK2.5 -> MMU2 upgrade path)
Hello all,
I wanted to share my findings with others having the same, or similar, issues with the MMU2. Before reading any further, just know that my hardware upgrade path has been as follows: MK2S -> MK2.5 -> MMU2. And I have a Micro Swiss .04 hardened nozzle. No other mods/tweaks.
TL;DR
My solution was a combination of the following:
1. Switch out the heatbreak to the MK3 version: https://www.printedsolid.com/products/e3d-mk3-heatbreak
2. Definitely follow the advice in Chris Warkocki's video:
3. The only changes I've made to the default Slic3r Prusament PLA configuration are: "Loading Speed at Start" = 19, "Loading Speed" = 22
Please consider reading the rest of this post, as I'm sure many of you will benefit.
My Journey in Detail
Probably not unlike you, I have spent about a month trying to get my MMU2 to print reliably. I tried every combination of Slic3r settings. I watched Chris Warkocki's great Troubleshooting 101 video numerous times, and followed his advice exactly. I tried different brands of filament, including Prusament. I tried lowering the temperature as far down as 180 c., and as high as 220 c. I've read, and re-read, posts from this forum. I've monitored the MMU Github repo issues. Sound familiar?
I was at a point where I was confident that my filament path was clear of obstruction and any excess friction. And I felt I had done everything I could think of on the software side of things. I was left with the conclusion that Ramming and Cooling Steps seemed to have the most meaningful effect on the filament tips. But this is where I was stuck, and thoroughly frustrated. When I lowered the Ramming, the filament would get too stringy and inevitably jam during a load. When I raised the Ramming, the tips would come out better, but they'd be too fat causing it to jam on unload. I was damned either way.
Not wanting to give up, I recalled someone on these forums mentioning that the heatbreak on the MK2S/2.5 is slightly different than that of the MK3. Neither my MK2.5, nor MMU2 upgrade kits came with any new heatbreaks. So whatever heatbreak came with my MK2S originally is the one I had.
Whoever mentioned the heatbreak difference said they were going to try the MK3 version, and report back. I could be wrong, but I don't recall ever seeing their conclusion. Did it work for them??
What Worked for Me
Having no other option myself, I decided to give the MK3 heatbreak a try. After all, nothing else had worked. So I placed my order on Printed Solid, and it arrived the other day. I promptly installed it: https://www.printedsolid.com/products/e3d-mk3-heatbreak
I wanted to eliminate as many variables as possible with the new heatbreak. So in Slic3r I did the following:
1. Reset my copy of the Prusament PLA settings back to its defaults.
2. Changed the "Loading Speed on Start" to 19, and the "Loading Speed" to 20. (These seem to be universally accepted as the correct values to use).
3. Loaded up 4 rolls of Prusament PLA.
I have a simple model that allows me to print out a row of small blocks, each being a different color. It's what I've been using to quickly iterate on configuration changes, and seeing how it affects things. I kicked off this print, and studied it. As the MMU2 would switch colors, I'd push the recently-unloaded filament out and look at the tip. It seemed good, but I wasn't convinced yet.
I let this print finish, and to my surprise I didn't have any issues with loading/unloading. I once again pushed out each filament tip to inspect it. There was absolutely no stringing. And the tips no longer had the large bulge, which had previously been a tell-tail sign of inevitable jamming. The tips, to my surprise, actually looked... perfect.
Still not convinced, I loaded up the multi color version of the Kobayashi Fidget Cube. This is a print that I've never successfully printed before. It would typically jam during load/unload within 10 color changes. That wasn't the case this time. I monitored the tips during the print for the first couple of hours, and everything seemed to be working fine. Gaining confidence, I let it run for a couple more hours and checked again. Still fine!
I finally went to sleep and woke up this morning to a perfect print! This was two prints in a row where I didn't have a single jam or skipped layer! Clearly, something I did seemed to resolve the issues. And I am 100% convinced that one winning change, is in fact the MK3 heatbreak.
Conclusion
Will this fix your issues? Possibly. In fact, I'd venture to say "probably, yes" if my troubleshooting experience sounds anything like your own.
How can I be so confident after only a couple of prints? To that, I say, I was at the point with my troubleshooting/iterating that I could quickly tell from the shape of the tips whether or not I was going to have issues. That, and I've never had more than about 20 color changes before encountering a jam. There is a noticeable improvement in the shape of the tips after swapping in the MK3 heatbreak. No stringing, just perfectly shaped tips.
I feel like I'm FINALLY experiencing the MMU2 the way Prusa intended it! If you are at your wits end, and haven't tried this change yet, I strongly suggest doing so. It's a $20 part. And it would be great to get further confirmation from others.
This also begs the question: Why didn't Prusa include the MK3 heatbreak in our upgrade kits? If I'm right, in this being a fundamental reason why so many of us MK2S/2.5 users are having issues, they could have really saved a lot of people from the headaches.
I hope this helps someone else out there. This forum has been of tremendous value to me. And without it, I probably wouldn't have even through to try the MK3 heatbreak.
Does anyone have a specific model they'd like me to try printing? Maybe one that you personally have had trouble with? I'm just thinking it could help validate my findings, while simultaneously showing what could be possible for those in the same boat as I was
Re: SUCCESS! How I resolved my MMU2 issues (MK2S -> MK2.5 -> MMU2 upgrade path)
Thanks for sharing and welcome to the 20% of successful MMU2 users 😀
Often linked posts:
Going small with MMU2
Real Multi Material
My prints on Instagram
Re: SUCCESS! How I resolved my MMU2 issues (MK2S -> MK2.5 -> MMU2 upgrade path)
Thanks for sharing and welcome to the 20% of successful MMU2 users 😀
Sadly, 20% might even be optimistic! 😕 Luckily we have this community of people to help. I'd love to hear how others have resolved their issues, with the same hardware/upgrades I'm working with. I'm also curious to hear if anyone else has also had success with the MK3 heatbreak.
Re: SUCCESS! How I resolved my MMU2 issues (MK2S -> MK2.5 -> MMU2 upgrade path)
Sadly, 20% might even be optimistic! 😕 Luckily we have this community of people to help. I'd love to hear how others have resolved their issues, with the same hardware/upgrades I'm working with. I'm also curious to hear if anyone else has also had success with the MK3 heatbreak.
My assumption is based on this poll:
https://shop.prusa3d.com/forum/general-discussion-announcements-and-releases-f53/mmu2-will-it-ever-work-reliably--t26509.html
If you rebuild a heatbreak, you're also readjusting all the extruder parts. So it's hard to tell if it's only because of this part or a more accurate rebuild.
I realized that after upgrading my MK2S to MK2.5. I paid attention to stuff which I didn't knew during my first MK2 build. Double checking the alignments, placements, paths, tubes... . The more experience you gain and more understanding you gain for the process, more accurate is your build and issues are less likely.
Your way of fixing is the same I would have go. Trying everything in software/configuration first and then looking for the hardware issues. But many people are going the other way around and replacing hardware (extruder motor, ptfe tubes...) without knowing and understanding the process. It's very hard to help those people because they don't have original hardware setup anymore and it's hard to see what is actually happening on their printer.
Often linked posts:
Going small with MMU2
Real Multi Material
My prints on Instagram
Re: SUCCESS! How I resolved my MMU2 issues (MK2S -> MK2.5 -> MMU2 upgrade path)
Sadly, 20% might even be optimistic! 😕 Luckily we have this community of people to help. I'd love to hear how others have resolved their issues, with the same hardware/upgrades I'm working with. I'm also curious to hear if anyone else has also had success with the MK3 heatbreak.
My assumption is based on this poll:
https://shop.prusa3d.com/forum/general-discussion-announcements-and-releases-f53/mmu2-will-it-ever-work-reliably--t26509.html
If you rebuild a heatbreak, you're also readjusting all the extruder parts. So it's hard to tell if it's only because of this part or a more accurate rebuild.
I realized that after upgrading my MK2S to MK2.5. I paid attention to stuff which I didn't knew during my first MK2 build. Double checking the alignments, placements, paths, tubes... . The more experience you gain and more understanding you gain for the process, more accurate is your build and issues are less likely.
Your way of fixing is the same I would have go. Trying everything in software/configuration first and then looking for the hardware issues. But many people are going the other way around and replacing hardware (extruder motor, ptfe tubes...) without knowing and understanding the process. It's very hard to help those people because they don't have original hardware setup anymore and it's hard to see what is actually happening on their printer.
Oh wow, I hadn't seen that poll before. Interesting.
You hit on something. One of my hesitations in sharing my findings was basically because of something you said. I realized, that the simple act of tearing down and rebuilding the hot end with the MK3 heatbreak might have fixed my issues, for reasons other than the new heatbreak itself. I absolutely cannot rule that out entirely; it's possible.
What has me convinced that the heatbreak was the issue, is that the construction of the hot end is quite simple. There aren't a lot of variables. The heatbreak and nozzle screw in, and butt right up against each other. There are no moving parts there, just the path for the filament. I did also consider that maybe I reinserted the PTFE tube in the heatbreak differently. That is also possible. It would be hard to be sure.
And yes, it will be hard to assist others if they've have moved away from the stock components. There are so many variables that can impact the MMU2's operation already. When you introduce non-standard parts, it complicates things further. I'm not saying it's wrong to swap out parts, upgrade, etc. I'm mainly pointing out that, if you are determined to fix your MMU2 issues, you should go back to basics. Eliminate any variables you can.
At least the MK3 heatbreak gives others one more thing they can try. 🙂
Re: SUCCESS! How I resolved my MMU2 issues (MK2S -> MK2.5 -> MMU2 upgrade path)
Hey folks. I figured enough time had passed with the MK3 heatbreak, that I should post an update.
I continue to have hassle-free prints. The color changes are happening without user intervention, which is SO nice. I've printed out several more things since my first post, and none of them exhibit any skipped layers or anything like I was seeing before the new heatbreak was installed. I haven't had a single jam on load/unload. Everything is just running smoothly.
Since I've finally achieved successful prints, I AM starting to find other areas where I need to tweak things. These are in the realm of, what I would call, "the simple stuff". For example, the screws holding down the top part of the MMU2 seem to back out on their own over time. Another issue I have found is severe color bleed across certain colors. But this can be addressed via the "Purge Volumes" feature in Slic3r.
Here are a few pictures of tips/prints I've done. You can see the color bleed issue on the sheep. One has slightly less color bleed, after tweaking the Purge Volumes.
Re: SUCCESS! How I resolved my MMU2 issues (MK2S -> MK2.5 -> MMU2 upgrade path)
Hmmmm... I cheated,
I got the MMUv1 to MMUv2 upgrade, and as my MMUv1 is working well, I fitted the upgrade to the Mk3 either way, I should be Ok, because the MMUv1 heatbreak is supposed to the Mk3 heatbreak... I used a spare full size stepper for the filament drive, and a spare extruder motor foe the idler drive... that worked OK but there was a lot of wire to hide, so I swapped the extruder motor out for a pancake motor, and that seems to be working ok too... I can now use the original extruder motor for the spare mk2, whenever I get round to building it
Regards Joan
I try to make safe suggestions,You should understand the context and ensure you are happy that they are safe before attempting to apply my suggestions, what you do, is YOUR responsibility.Location Halifax UK
Re: SUCCESS! How I resolved my MMU2 issues (MK2S -> MK2.5 -> MMU2 upgrade path)
Hmmmm... I cheated,
I got the MMUv1 to MMUv2 upgrade, and as my MMUv1 is working well, I fitted the upgrade to the Mk3 either way, I should be Ok, because the MMUv1 heatbreak is supposed to the Mk3 heatbreak... I used a spare full size stepper for the filament drive, and a spare extruder motor foe the idler drive... that worked OK but there was a lot of wire to hide, so I swapped the extruder motor out for a pancake motor, and that seems to be working ok too... I can now use the original extruder motor for the spare mk2, whenever I get round to building it
Regards Joan
If I'm following correctly, does that mean users who started with MMU1, and upgraded to MMU2, should already have the correct heatbreak? If so, that would be good for that information to be spread.
In my case, MK2S -> MK2.5 -> MMU2, I never received a different heatbreak in any of my kits. I suspect Prusa just didn't account for this, but don't know that for a fact.
Joan, do you just have the one MMU kit on an MK3? I'm trying to determine if you have an alternate solution that would allow users along the same upgrade path as myself to have some success through other avenues.
Re: SUCCESS! How I resolved my MMU2 issues (MK2S -> MK2.5 -> MMU2 upgrade path)
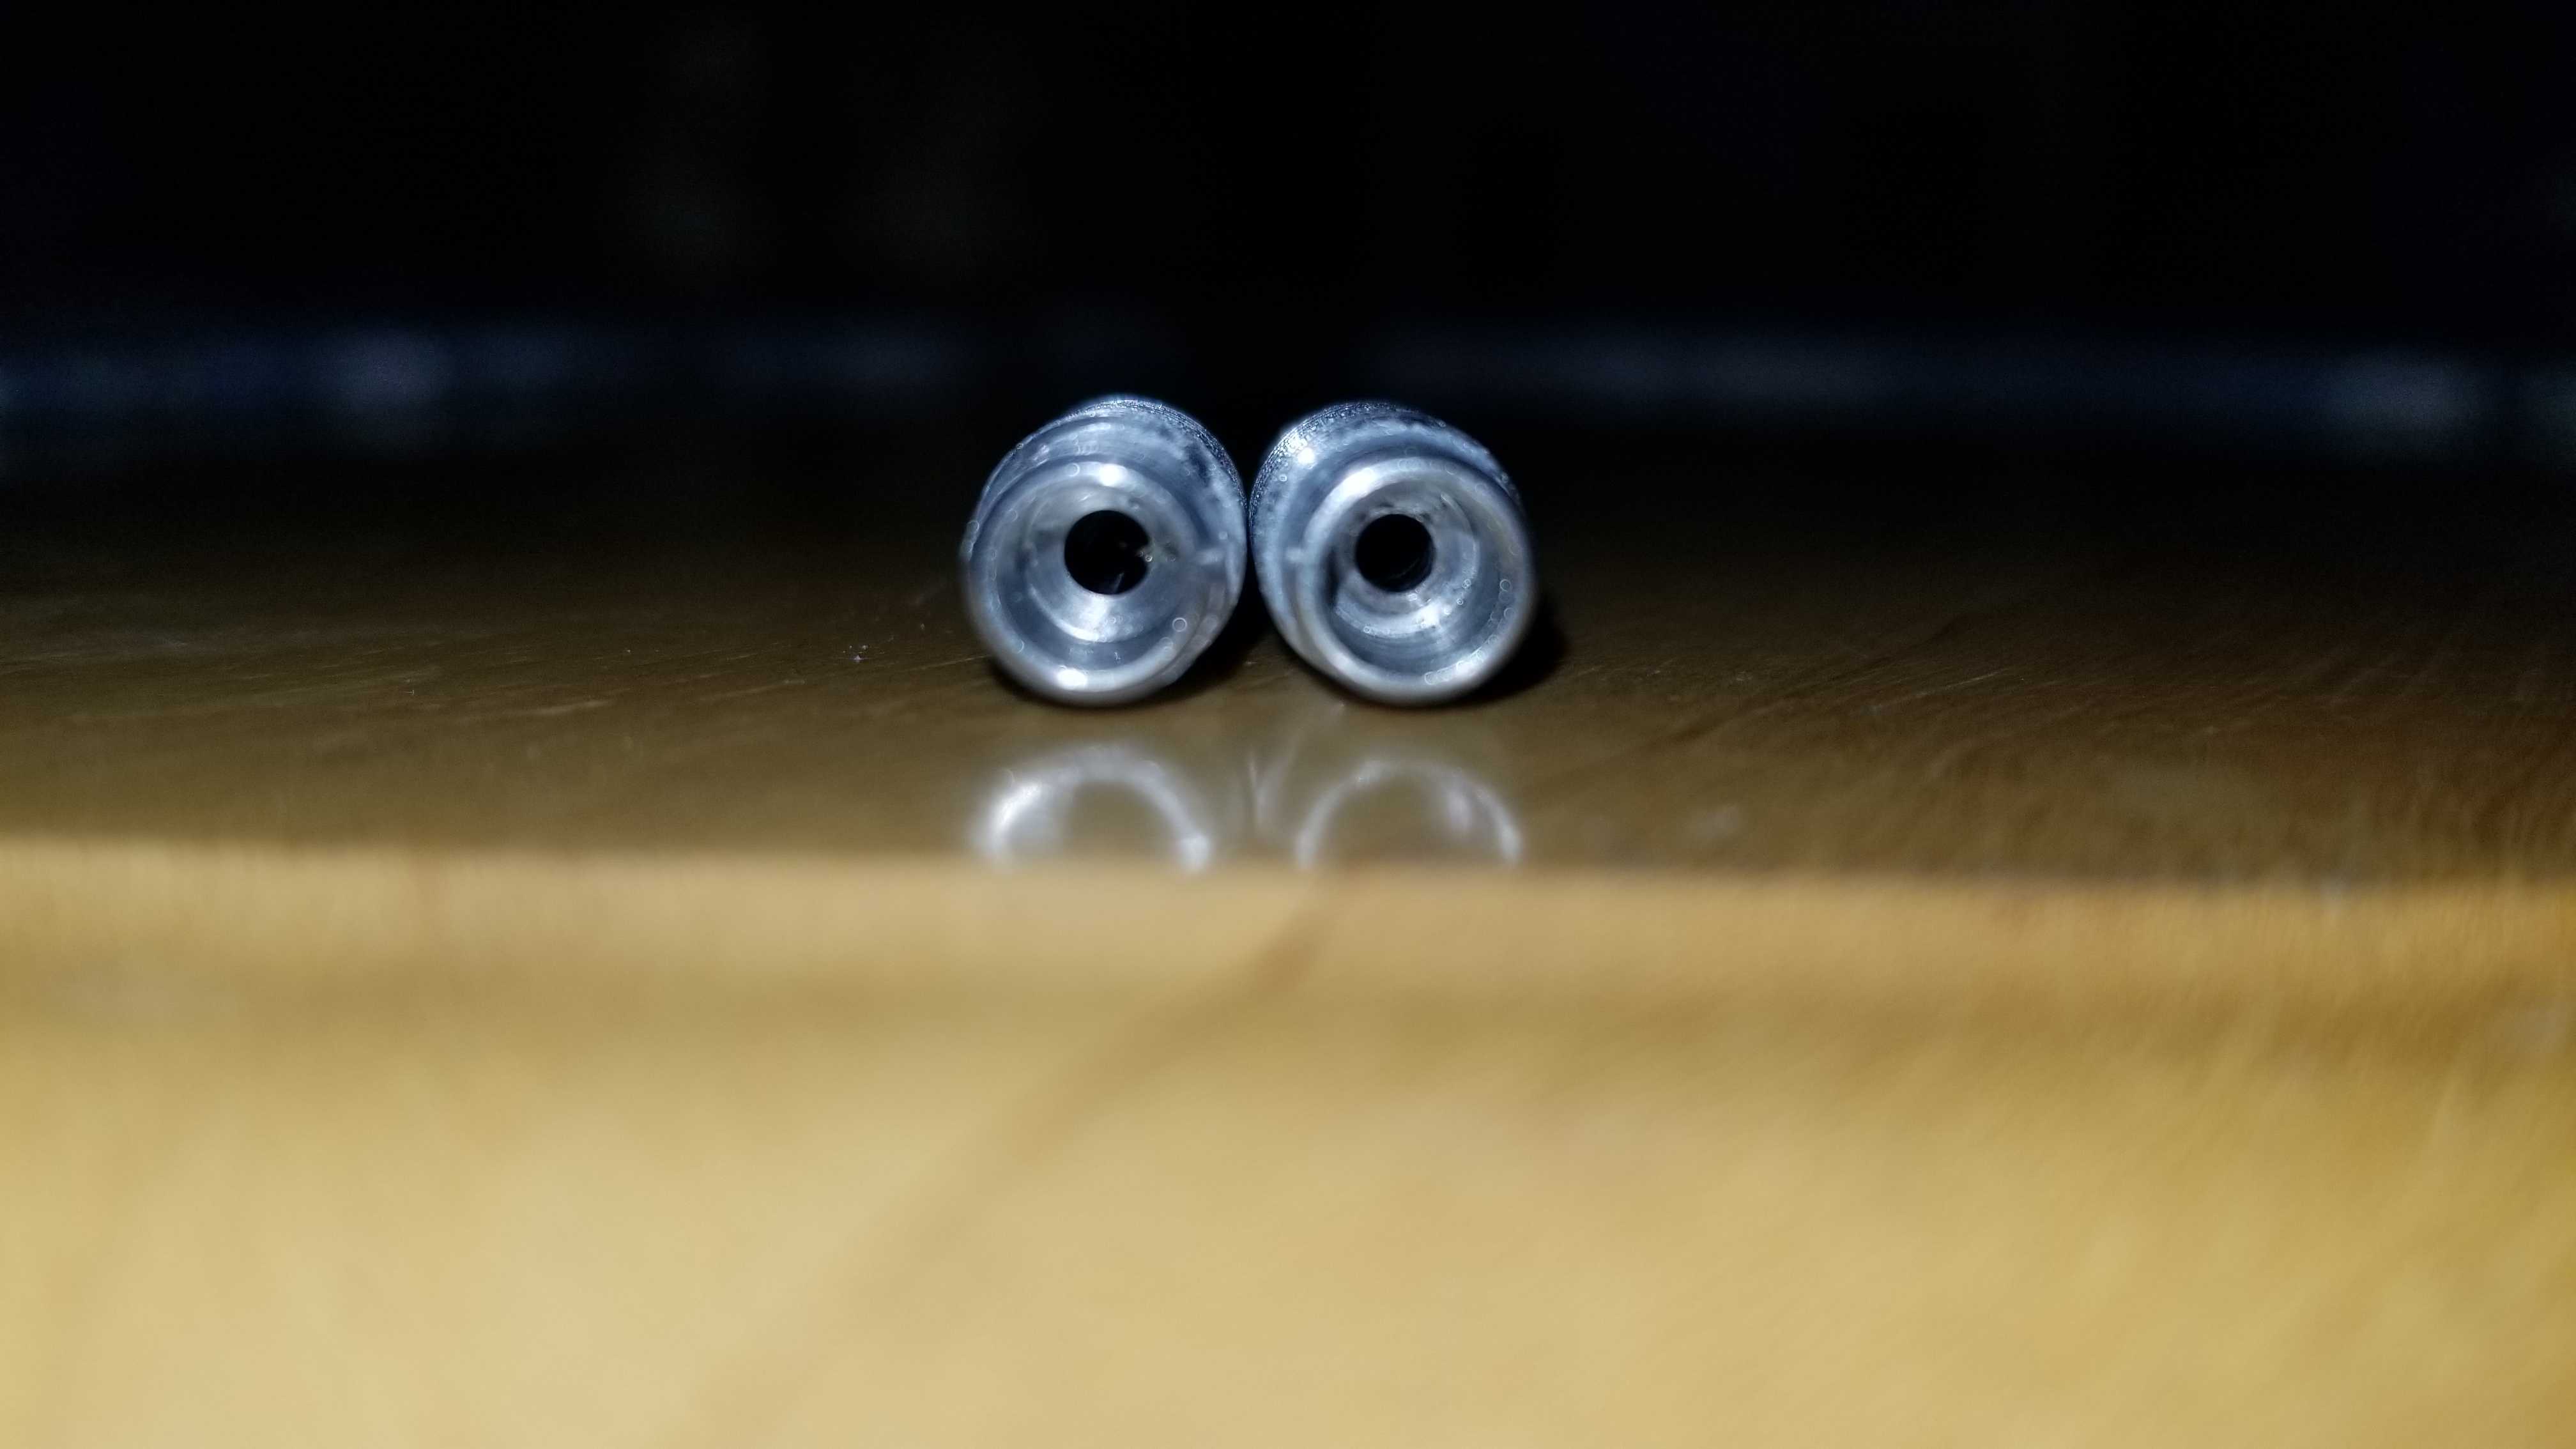
I thought it would be good/interesting to do a side by side comparison of the MK2S heatbreak, and the MK3 heatbreak. Visually, I didn't see much if any difference. When I broke out my calipers though, I found that the hole at the bottom of the heatbreak was a different size.
Left: MK3 heatbreak with a 2.2mm hole. || Right: MK2S heatbreak with a ~2.6mm hole

Other pictures just showing there aren't obvious visual differences, other than that bottom hole. Still MK3 heatbreak left, right is the MK2S one.

Re: SUCCESS! How I resolved my MMU2 issues (MK2S -> MK2.5 -> MMU2 upgrade path)
Switching to the mk3 heatbreak worked for me too. I've had other problems which have caused me grief but it was a huge difference in the tips after changing the heatbreak.
Re: SUCCESS! How I resolved my MMU2 issues (MK2S -> MK2.5 -> MMU2 upgrade path)
Joan, do you just have the one MMU kit on an MK3? I'm trying to determine if you have an alternate solution that would allow users along the same upgrade path as myself to have some success through other avenues.
Hi Eric,
I originally bought an MMU1 for My Mk2 printer. initially this was a poor solution for me...
In despair I ordered the upgraded MMU1 but it never materialised and my order was changed to an upgrade between the MMU1 and MMU2
I also had to buy the Mk2.5 Upgrade to make my Mk2, compatible with the MMU2 upgrade.
the MMU1 to MMU2 upgrade comes with ONLY ONE Stepper motor you are supposed to re utilise three motors from the old MMU1 setup
One motor to convert the MMUv1 printer back to direct drive extruder,
One for the MMU2 Idler cassette
One for the MMU2 Filament drive hobbed wheel shaft
in the mean time, Prusa eventually came good and provided a new 4 into one multiplexor and cooling tubes for my MMUv1 and that started printing properly... Yaaaaayyyyy!
Rather than break that and perhaps have no colour printing capability, I chose to put the MMU1 to MMU2 upgrade on my Mk3 ( also 24volt power supply is reputed to make the MMU work quieter than 12 volts)
So... I was in a bit of a dilemma... I was to stepper motors short...
At this point I crimped connectors onto a cheap chinese stepper motor, and looted a spare Mk2 Prusa kit for it's OEM extruder stepper motor...
Assembled everything and stsrted trying to get the MMUv2 working.... (there was a lot of cable from the original stepper motor to try and hide)
I could not get the MMU into service mode to adjust the Bowden lengths.... And speaking to Shane on Chat, didn't help a lot... he said the MMU Controller was not behaving... so he arranged to send a replacement....
Meanwhile, I played with what I had...
My filament was feeding too far, and clashing with the Bondtech... I couldn't shorten the filament feed, but I could lengthen the Bowden tube...
and I changed the initial load speed to 19mm/s, and the load speed to 21mm/s, cooling moves to 3 and ramming time to 4 seconds
And it was better but not good...
SOOOOOOOooooo! I loaded ZeroBeast Firmware into the printer and MMU2. THIS WOULD allow me into service, and I only needed to adjust one filament...
It was much better, but still occasional jams...
Then it got it's knickers in a twist and insisted in flashing errors on filament 5, even after restart, or reset, or reload firmwares, or reload standard firmwares run a print, then reload zerobeast...
then the replacement controller board arrived, so I replaced the controller, loaded the proper prusa firmware, entered service mode, which worked, tuned the five filament / bowden lengths and ran a print, it was Ok
I then tried to tidy the wiring with a second chinese stepper replacing the pillaged extruder motor... (It didn't work... re crimped one connector and it was better but still intermittent, so I stuck my hand into the spares box and out came a thinner stepper motor... tried that, and all is good... no excessive spare cabling to hide. quieter knocking when the idler assembly knocks against the endstop and numerous successful prints since the change
So as I write,
My Mk2 printer is on my left, it still has the MMUv1 attached, and has the Mk52 12 volt heatbed with Powder coated build plate. (Can't do XYZ configuration because two of the sense points are in different positions to the Mk42 heatbed that is supposed to be there... and...
My Mk3 printer is on my right, it has the MMUv2 attached, with the OEM selector motor and leadscrew, plus a pancake motor on the Idler cluster and a Chinese stepper on the Filament drive wheels...
All of the long PTFE has been changed to 2.5mm x 4mm... all of the tiddley bits are stock ptfe... the cold end liner is a new PTFE tube which came with the upgrade. and it has a 24volt Mk52 heatbed with Stickered Build Plate.
The filament reels are on a shelf,above and behind the printer.. and the anti feed back arms are still in the kit box, having never been fitted...
And my spare mk2 is sulking in the washroom store area, minus several important parts of it's anatomy... (Still hope for a recovery...)
Joan
I try to make safe suggestions,You should understand the context and ensure you are happy that they are safe before attempting to apply my suggestions, what you do, is YOUR responsibility.Location Halifax UK
Re: SUCCESS! How I resolved my MMU2 issues (MK2S -> MK2.5 -> MMU2 upgrade path)
I just want to confirm what eric experienced. I installed my MMU1 extruder (same heatbreak of MK3) and since then, I can use my MMU2 without any issues. I had a MK2->MK2S->MK2.5->MK2.5+MMU2.
I did the exact same thing, reset the parameters of slic3r to standard just after installing my new extruder (because I've tried everything I could with the software parameters before...) and inspect my filament tips for the first hour of printing. I knew it would be successful because I've never had a so good filament tip, and filament load/unload was running very smoothly compared to my prints with my old extruder.
Nothing else was changed to my printer, so I guess the heatbreak was the issue. I think that worths the try if you're experiencing a lot of issues with your MMU2+MK2.5.
P.S: I've posted before that success in other poll to expose all my unsuccessful prints, but now I would like to say that everything is solved 😀
My youtube channel about the Prusa I3 MK2 https://www.youtube.com/channel/UCz-zQZcKcvEDdd9C9hOKYWg
Re: SUCCESS! How I resolved my MMU2 issues (MK2S -> MK2.5 -> MMU2 upgrade path)
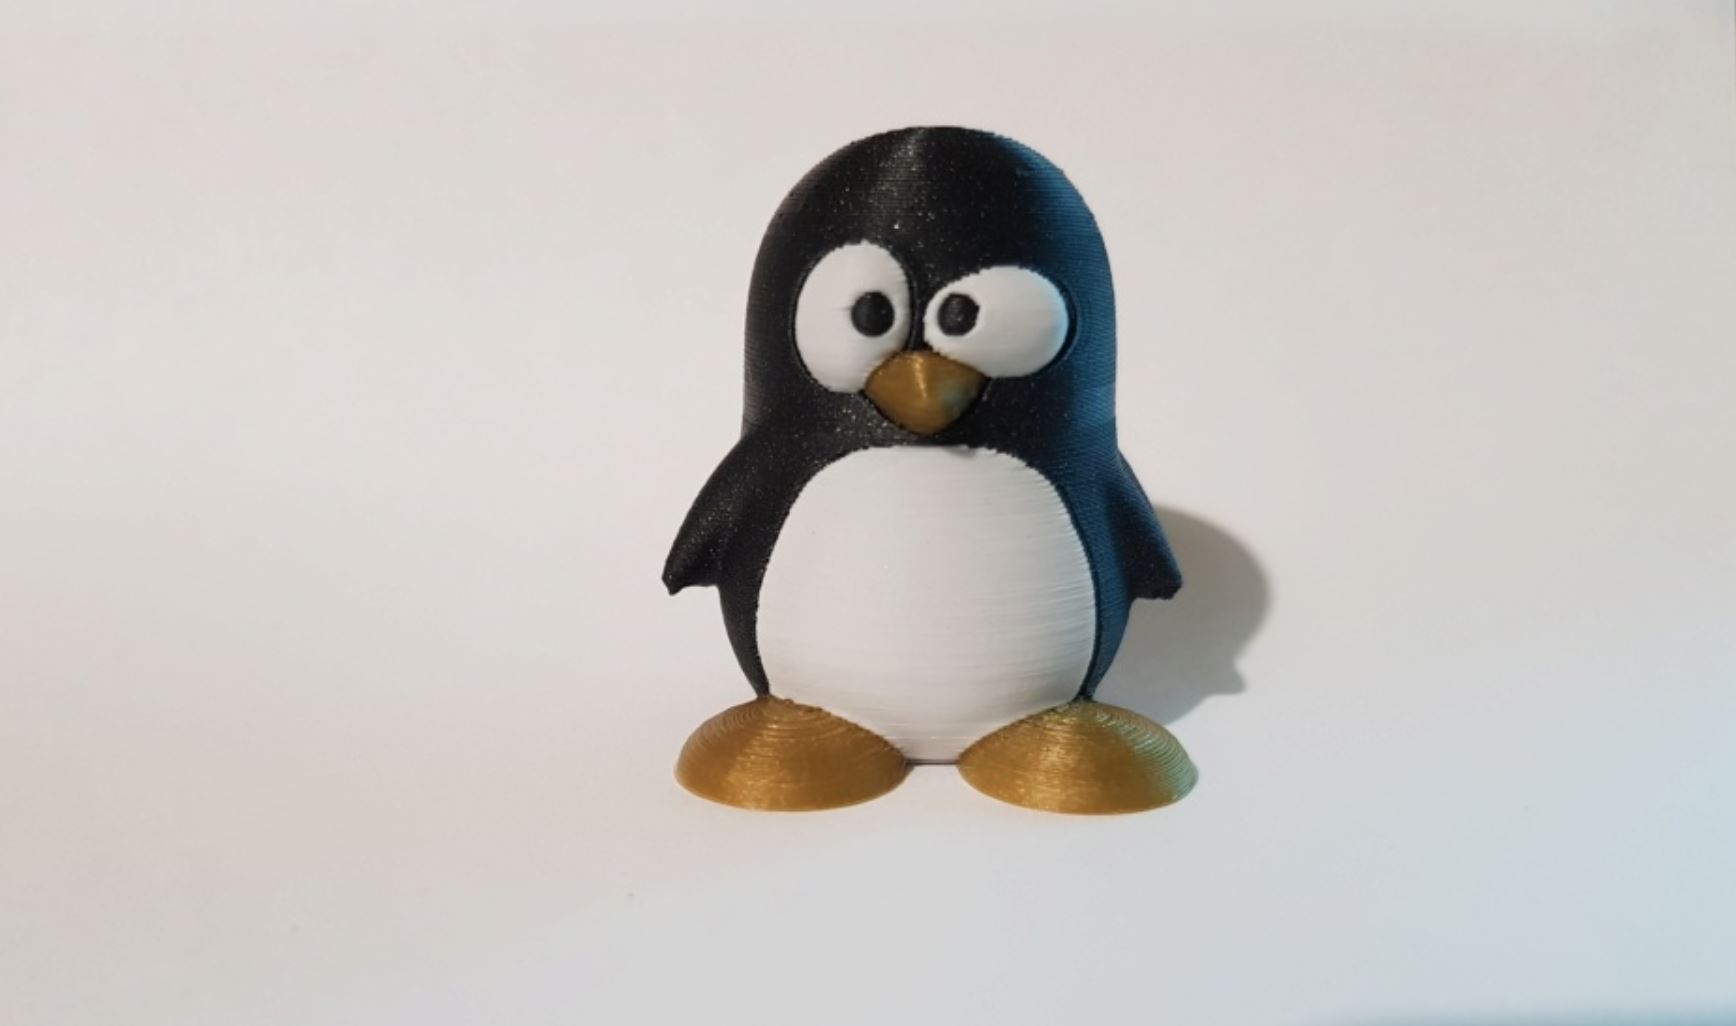
Here a some successful prints:
The penguin:
A marvin that I modified to print flawlessly:

The lizard:

My youtube channel about the Prusa I3 MK2 https://www.youtube.com/channel/UCz-zQZcKcvEDdd9C9hOKYWg
Re: SUCCESS! How I resolved my MMU2 issues (MK2S -> MK2.5 -> MMU2 upgrade path)
And even some personalized ABS pens:

My youtube channel about the Prusa I3 MK2 https://www.youtube.com/channel/UCz-zQZcKcvEDdd9C9hOKYWg
Re: SUCCESS! How I resolved my MMU2 issues (MK2S -> MK2.5 -> MMU2 upgrade path)
I just want to confirm what eric experienced. I installed my MMU1 extruder (same heatbreak of MK3) and since then, I can use my MMU2 without any issues. I had a MK2->MK2S->MK2.5->MK2.5+MMU2.
I did the exact same thing, reset the parameters of slic3r to standard just after installing my new extruder (because I've tried everything I could with the software parameters before...) and inspect my filament tips for the first hour of printing. I knew it would be successful because I've never had a so good filament tip, and filament load/unload was running very smoothly compared to my prints with my old extruder.
Nothing else was changed to my printer, so I guess the heatbreak was the issue. I think that worths the try if you're experiencing a lot of issues with your MMU2+MK2.5.
P.S: I've posted before that success in other poll to expose all my unsuccessful prints, but now I would like to say that everything is solved 😀
Nice! Your prints look great!
Re: SUCCESS! How I resolved my MMU2 issues (MK2S -> MK2.5 -> MMU2 upgrade path)
Works great! I bought the heatbreak from printed solid and it solved all my fat tip issues. For the first time in 2 months of banging my head on this, I finally have complete prints without missing layers or jams!
Josef Prusa, I hope you have read this thread, you guys really need to include the MK3 heatbreak with the MMU2 kits.
Thanks!
Re: SUCCESS! How I resolved my MMU2 issues (MK2S -> MK2.5 -> MMU2 upgrade path)
Hi everyone,
Where are you guys sourcing the MK3 heatbreaks from? My printer has gone from MK2S (using extruder it came with) --> MK2S MMU1 (using the replacement extruder *this* kit came with --> MK2.5 (back to the original extruder) --> MK2.5 MMU2 (no extruder change) and I'm having a heck of a time getting this MMU2 to work correctly. I'm not entirely sure if the heatbreak is my issue here, but I'm not against trying it out to see if the issue goes away.
I found these on the E3D site:
https://e3d-online.com/v6-heat-break
and there is the whole hot-end:
https://e3d-online.com/v6-all-metal-hotend
You can only purchase the modified heat break direct from PR, although you do have one already from the MMU1 extruder.
Peter
Please note: I do not have any affiliation with Prusa Research. Any advices given are offered in good faith. It is your responsibility to ensure that by following my advice you do not suffer or cause injury, damage…
Re: SUCCESS! How I resolved my MMU2 issues (MK2S -> MK2.5 -> MMU2 upgrade path)
You can only purchase the modified heat break direct from PR, although you do have one already from the MMU1 extruder.
Peter
That is not correct. The modified versions are here too.
Re: SUCCESS! How I resolved my MMU2 issues (MK2S -> MK2.5 -> MMU2 upgrade path)
That is not correct. The modified versions are here too.
Apologies, I had thought that E3D were not allowed to sell the modified part.
Peter
Please note: I do not have any affiliation with Prusa Research. Any advices given are offered in good faith. It is your responsibility to ensure that by following my advice you do not suffer or cause injury, damage…