Re: SUCCESS! How I resolved my MMU2 issues (MK2S -> MK2.5 -> MMU2 upgrade path)
Too bad.. stil failure after some more testing. Again it couldn’t pull out the filament from the extruder because it got stuck in the small ptfe tube near the sensor..
Guess need to further tweak the filament settings.. 😕
Hopefully the MMU2S upgrades fixes this as it would be able to detect the filament at the extruder side.
update: adjusted ‘cooling moves’ from 1 to 3 and lowered temp to 195, so far the tips are perfect. In the prior failed print the tips had tiny strings which might have contributed to the failure. Also the tips are smaller now.
Still some filament specific tweaking needed, hopefully this print (other model) will complete.
Grr.. some stringy filament got stuck in the MMU2 sensor.. it skipped loading one color because of it. It did ask for user attention, but then resumed with the next color.. if only we had an option to redo the last layer 😐
Re: SUCCESS! How I resolved my MMU2 issues (MK2S -> MK2.5 -> MMU2 upgrade path)
Can you describe how your prints are failing? Is it on load? On unload? Have you gone back to stock MMU2 Slic3r profiles after the new heatbreak? Have you calibrated your bowden tube lengths for each filament position? Have you ensured a low-friction path from the spool to the MMU2 for each filament?
Sorry for the late reply... My failures are a result of load/unload. I'm using stock Slic3r profiles with the new heatbreak. I have calibrated my bowden tube lengths for each filament position and verified that the pathways are indeed low-friction.
I'm getting fat-tips in some cases, but a majority of the failures seem to be that the MMU2 pulley grinds a chunk out of the filament for every single load to extruder.
For example:
I have filament loaded into F1 and F2. I print from SD card and the printer heats up and loads F1 to the extruder... the MMU2 pulley forces the filament into the extruder bondtech gears which results in the MMU2 pulley continuing to turn, grinding away a piece of the filament. This results in future unload/load failures because the filament will not be able to be moved past the MMU2 pulley due to there being nothing for the pulley to work against because a chunk was ripped out earlier. It doesn't seem that the bowden lengths are being followed correctly... One method I'v tried is to intentionally calibrate the bowden length short so that the filament just pokes into the extruder bondtech gear area - but I've had limited success with this as well.
I can deal with the tips later - I'm currently struggling with the issue described above and can't seem to figure out what I'm doing wrong. I think I'm done trying to figure out the issue and will probably build the spring buffer system that a number of folks have made. It seems to work quite well.
Re: SUCCESS! How I resolved my MMU2 issues (MK2S -> MK2.5 -> MMU2 upgrade path)
Have you changed the values for "Loading speed at the start" to 19 and "Loading speed" to 22?
These are found in Slic3r Filament Settings/Advanced and you need to do this for all filaments.
Peter
Please note: I do not have any affiliation with Prusa Research. Any advices given are offered in good faith. It is your responsibility to ensure that by following my advice you do not suffer or cause injury, damage…
Re: SUCCESS! How I resolved my MMU2 issues (MK2S -> MK2.5 -> MMU2 upgrade path)
Have you changed the values for "Loading speed at the start" to 19 and "Loading speed" to 22?
I did this and as a result the Bondtech gears are more forcefully pulling the filament into the hot-end right? Hear some ticking/cracking noise from the MMU2 unit during this as I guess it pulls the filament while the MMU2 hobbed gear still has grip on the filament. Trying to understand why this loading speed would make a difference.
Combined with lowering the temp (tuned during print down to 196 degrees to get rid of stringing at the tip) and increasing 'cooling moves' from 1 to 2 my current print is going great so far.
1 missed layer due to broken filament at the end of the spool holder (it's old filament becoming a little brittle, I guess the new 'filament buffer' will address the issue of 'stress' on the filament during unload as well), had nothing to do with a 'fat tip' or anything.
Re: SUCCESS! How I resolved my MMU2 issues (MK2S -> MK2.5 -> MMU2 upgrade path)
Trying to understand why this loading speed would make a difference.
The MMU pushes the filament at 2 different speeds and with decreasing power settings. So, if you match the speed of the Bondtech to the MMU, the loads are smoother. The 'S' version overcomes this issue.
Peter
Please note: I do not have any affiliation with Prusa Research. Any advices given are offered in good faith. It is your responsibility to ensure that by following my advice you do not suffer or cause injury, damage…
Re: SUCCESS! How I resolved my MMU2 issues (MK2S -> MK2.5 -> MMU2 upgrade path)
Trying to understand why this loading speed would make a difference.
The MMU pushes the filament at 2 different speeds and with decreasing power settings. So, if you match the speed of the Bondtech to the MMU, the loads are smoother. The 'S' version overcomes this issue.
Peter
Ah thanks, yes it makes sense now.
My print failed btw, not sure why. Will try once more with fresh filament from a single brand. Although I should wait for the MMU2S upgrade to arrive..
Re: SUCCESS! How I resolved my MMU2 issues (MK2S -> MK2.5 -> MMU2 upgrade path)
Have you changed the values for "Loading speed at the start" to 19 and "Loading speed" to 22?
These are found in Slic3r Filament Settings/Advanced and you need to do this for all filaments.
Peter
Is this still necessary with MMU2S or do you recommend the factory settings?
Re: SUCCESS! How I resolved my MMU2 issues (MK2S -> MK2.5 -> MMU2 upgrade path)
Is this still necessary with MMU2S
No. And neither is MMU calibration. On loading Bondtech gears are kept turning and MMU feeds a set distance from FINDA at a "higher" speed, then continues to feed at same speed as Bondtechs until the IR sensor triggers. MMU then disengages and Bondtechs take over the loading.
Peter
Please note: I do not have any affiliation with Prusa Research. Any advices given are offered in good faith. It is your responsibility to ensure that by following my advice you do not suffer or cause injury, damage…
Re: SUCCESS! How I resolved my MMU2 issues (MK2S -> MK2.5 -> MMU2 upgrade path)
Have you changed the values for "Loading speed at the start" to 19 and "Loading speed" to 22?
These are found in Slic3r Filament Settings/Advanced and you need to do this for all filaments.
Peter
Thanks for this. I didn't see this post until I had solved my issue by making a mechanical filament buffer on the end of the selector... See video of it in action (30 second mark):
While it's ridiculous that I've had to do this, i'm very pleased with the results and it's completely stopped the filament from having chunks sheared/ground out of the side when the MMU2 pulley tries to force the filament into the extruder.
PJR - Would you mind reaching out to the developer team you have access to and ask them why the MMU2 pulley seems to push so much more filament into the extruder than what's calibrated during the bowden tube length calibration routine? I suspect that someone who's writing the code has one of these printers and theirs doesn't do what a lot of ours do... Maybe the MMU2 pulley is supposed to push the filament past the Bondtech gears in the extruder? Maybe the spring tension is too high on the extruder preventing this from happening?? It's quite bizarre, as FW 1.0.2, 1.0.3, 1.0.4-RC1, 1.0.4-FINAL all behave in this way...
Re: SUCCESS! How I resolved my MMU2 issues (MK2S -> MK2.5 -> MMU2 upgrade path)
PJR - Would you mind reaching out to the developer team you have access to and ask them why the MMU2 pulley seems to push so much more filament into the extruder than what's calibrated during the bowden tube length calibration routine? I suspect that someone who's writing the code has one of these printers and theirs doesn't do what a lot of ours do... Maybe the MMU2 pulley is supposed to push the filament past the Bondtech gears in the extruder? Maybe the spring tension is too high on the extruder preventing this from happening?? It's quite bizarre, as FW 1.0.2, 1.0.3, 1.0.4-RC1, 1.0.4-FINAL all behave in this way...
The "S" version resolves all these issues; the Bondtech is kept turning during tool change (except for the first load) and the speed is matched with MMU drive. MMU is also self-calibrating for length.
This has been possible by putting the sensor trigger on the Bondtech idler door, rather than the MMU having tot guess when the filament is loaded into the Bondtech, and the MMU firmware "learns" the feed length to the sensor trigger point.
For the non-"S" MMU firmware, I amended the code to change the speed and power after the loading point. But I do understand that not everyone can do that. I never really received a satisfactory reply to the questions I had regarding firmware/speeds 🙁
Peter
Please note: I do not have any affiliation with Prusa Research. Any advices given are offered in good faith. It is your responsibility to ensure that by following my advice you do not suffer or cause injury, damage…
Re: SUCCESS! How I resolved my MMU2 issues (MK2S -> MK2.5 -> MMU2 upgrade path)
I'm looking forward to the MMU2S upgrade. I've ordered mine thanks to the free coupon Prusa sent everyone. I think I'll probably keep my filament buffer in place even with the MMU2S as a safeguard. If I see that 100% of the issues are gone, I'll take it off. The spring tension is pretty tight - so I don't have to worry about messing up the self calibration that will be in the MMU2S setup.
As always, thanks for all the help.
Re: SUCCESS! How I resolved my MMU2 issues (MK2S -> MK2.5 -> MMU2 upgrade path)
Thanks,
I am at my wits end, but this may very well be the light at the end of the tunnel! 😀
Fair farren
Re: SUCCESS! How I resolved my MMU2 issues (MK2S -> MK2.5 -> MMU2 upgrade path)
I don't blame you. After debugging a product that was beta tested, I basically gave up and haven't touched the printer in a couple of weeks now. At this point, all I have to do is get the tips looking correct though. I saw a mod where a user was equally frustrated and made his own filament cutter that sat on top of the extruder body, which was quite interesting...
Re: SUCCESS! How I resolved my MMU2 issues (MK2S -> MK2.5 -> MMU2 upgrade path)
Thank you Eric!
It looks like my MMU2 is finally printing without me babysitting it.
I upgraded from an old MK2 last year and haven't had one successful print.
The last week I have been troubleshooting to see if I finally could get it to print like it should. I got it to the point where it would load filament reliably into the hotend, but most times it would get stuck.
I found your post and took the hotend from my MMU1 printer and put it in my MMU2 printer. Even if it has just printed for a couple of hours I can tell that this is most likely the solution to my issue.
I have ordered a MK3 heatbreak for my MMU1 printer, but I had another spare MK2 hotend that I installed while waiting on the new heatbreak. And the MMU1 has also been printing without issues.
TL;DR
Switching to a MMU1/MK3 heatbreak solved my issue!
That's great to hear! I just finished the MK2.5S/MMU2S upgrade yesterday. I'll be curious to see how it prints after that. They finally have a working filament sensor at the extruder!
Re: SUCCESS! How I resolved my MMU2 issues (MK2S -> MK2.5 -> MMU2 upgrade path)

After 5 months I finally have a successful MMU2 print!
The first one is 11 hour MMU2 print with MMU1 hotend.
The second is MMU1 printed the day before with the same hotend.
Last one is MMU1 with a MK2 hotend. It jammed after about 5 hours. The tip got too big to fit into the cooling tube on the MMU1. I tried to cut the end several times, but it kept jammimg. It could be heat creep in the hotend, but it have printed great since I got it with the other hotend.
So for me the solution is definitely the MMU1/MK3 hotend.
The last change I did to the MMU2 printer was to swap the hotend. Before that it would jam after a few filament changes every time. Now it printed for 11 hours with the same filaments without any issues at all.
I've ordered a MK3 heatbreak for my MMU1 printer. I have a MMU2 upgrade kit that I might use if the MMU2 printer continues to print great.
Re: SUCCESS! How I resolved my MMU2 issues (MK2S -> MK2.5 -> MMU2 upgrade path)
After 5 months I finally have a successful MMU2 print!
The first one is 11 hour MMU2 print with MMU1 hotend.
The second is MMU1 printed the day before with the same hotend.
Last one is MMU1 with a MK2 hotend. It jammed after about 5 hours. The tip got too big to fit into the cooling tube on the MMU1. I tried to cut the end several times, but it kept jammimg. It could be heat creep in the hotend, but it have printed great since I got it with the other hotend.
So for me the solution is definitely the MMU1/MK3 hotend.
The last change I did to the MMU2 printer was to swap the hotend. Before that it would jam after a few filament changes every time. Now it printed for 11 hours with the same filaments without any issues at all.
I've ordered a MK3 heatbreak for my MMU1 printer. I have a MMU2 upgrade kit that I might use if the MMU2 printer continues to print great.
Awww yissss! That's fantastic. Glad that worked for you too. 🙂
Re: SUCCESS! How I resolved my MMU2 issues (MK2S -> MK2.5 -> MMU2 upgrade path)
I'm hoping that the MMU 2.0 S upgrade will fix my problems. I haven't been able to get it running since I bought it. The biggest issues are resistance in several areas including the tubes themselves.
I'm using Prusament and I can feel the resistance in the tubes. Then there's the fitting on the spool holder, not loading from the spool tube to the extruder tube.
A month ago I had my main board for the MMU replaced because it failed, but I haven't tested anything because I'm waiting for the upgrade.
I'm looking forward to my first print after receiving my order June 2018.
Re: SUCCESS! How I resolved my MMU2 issues (MK2S -> MK2.5 -> MMU2 upgrade path)
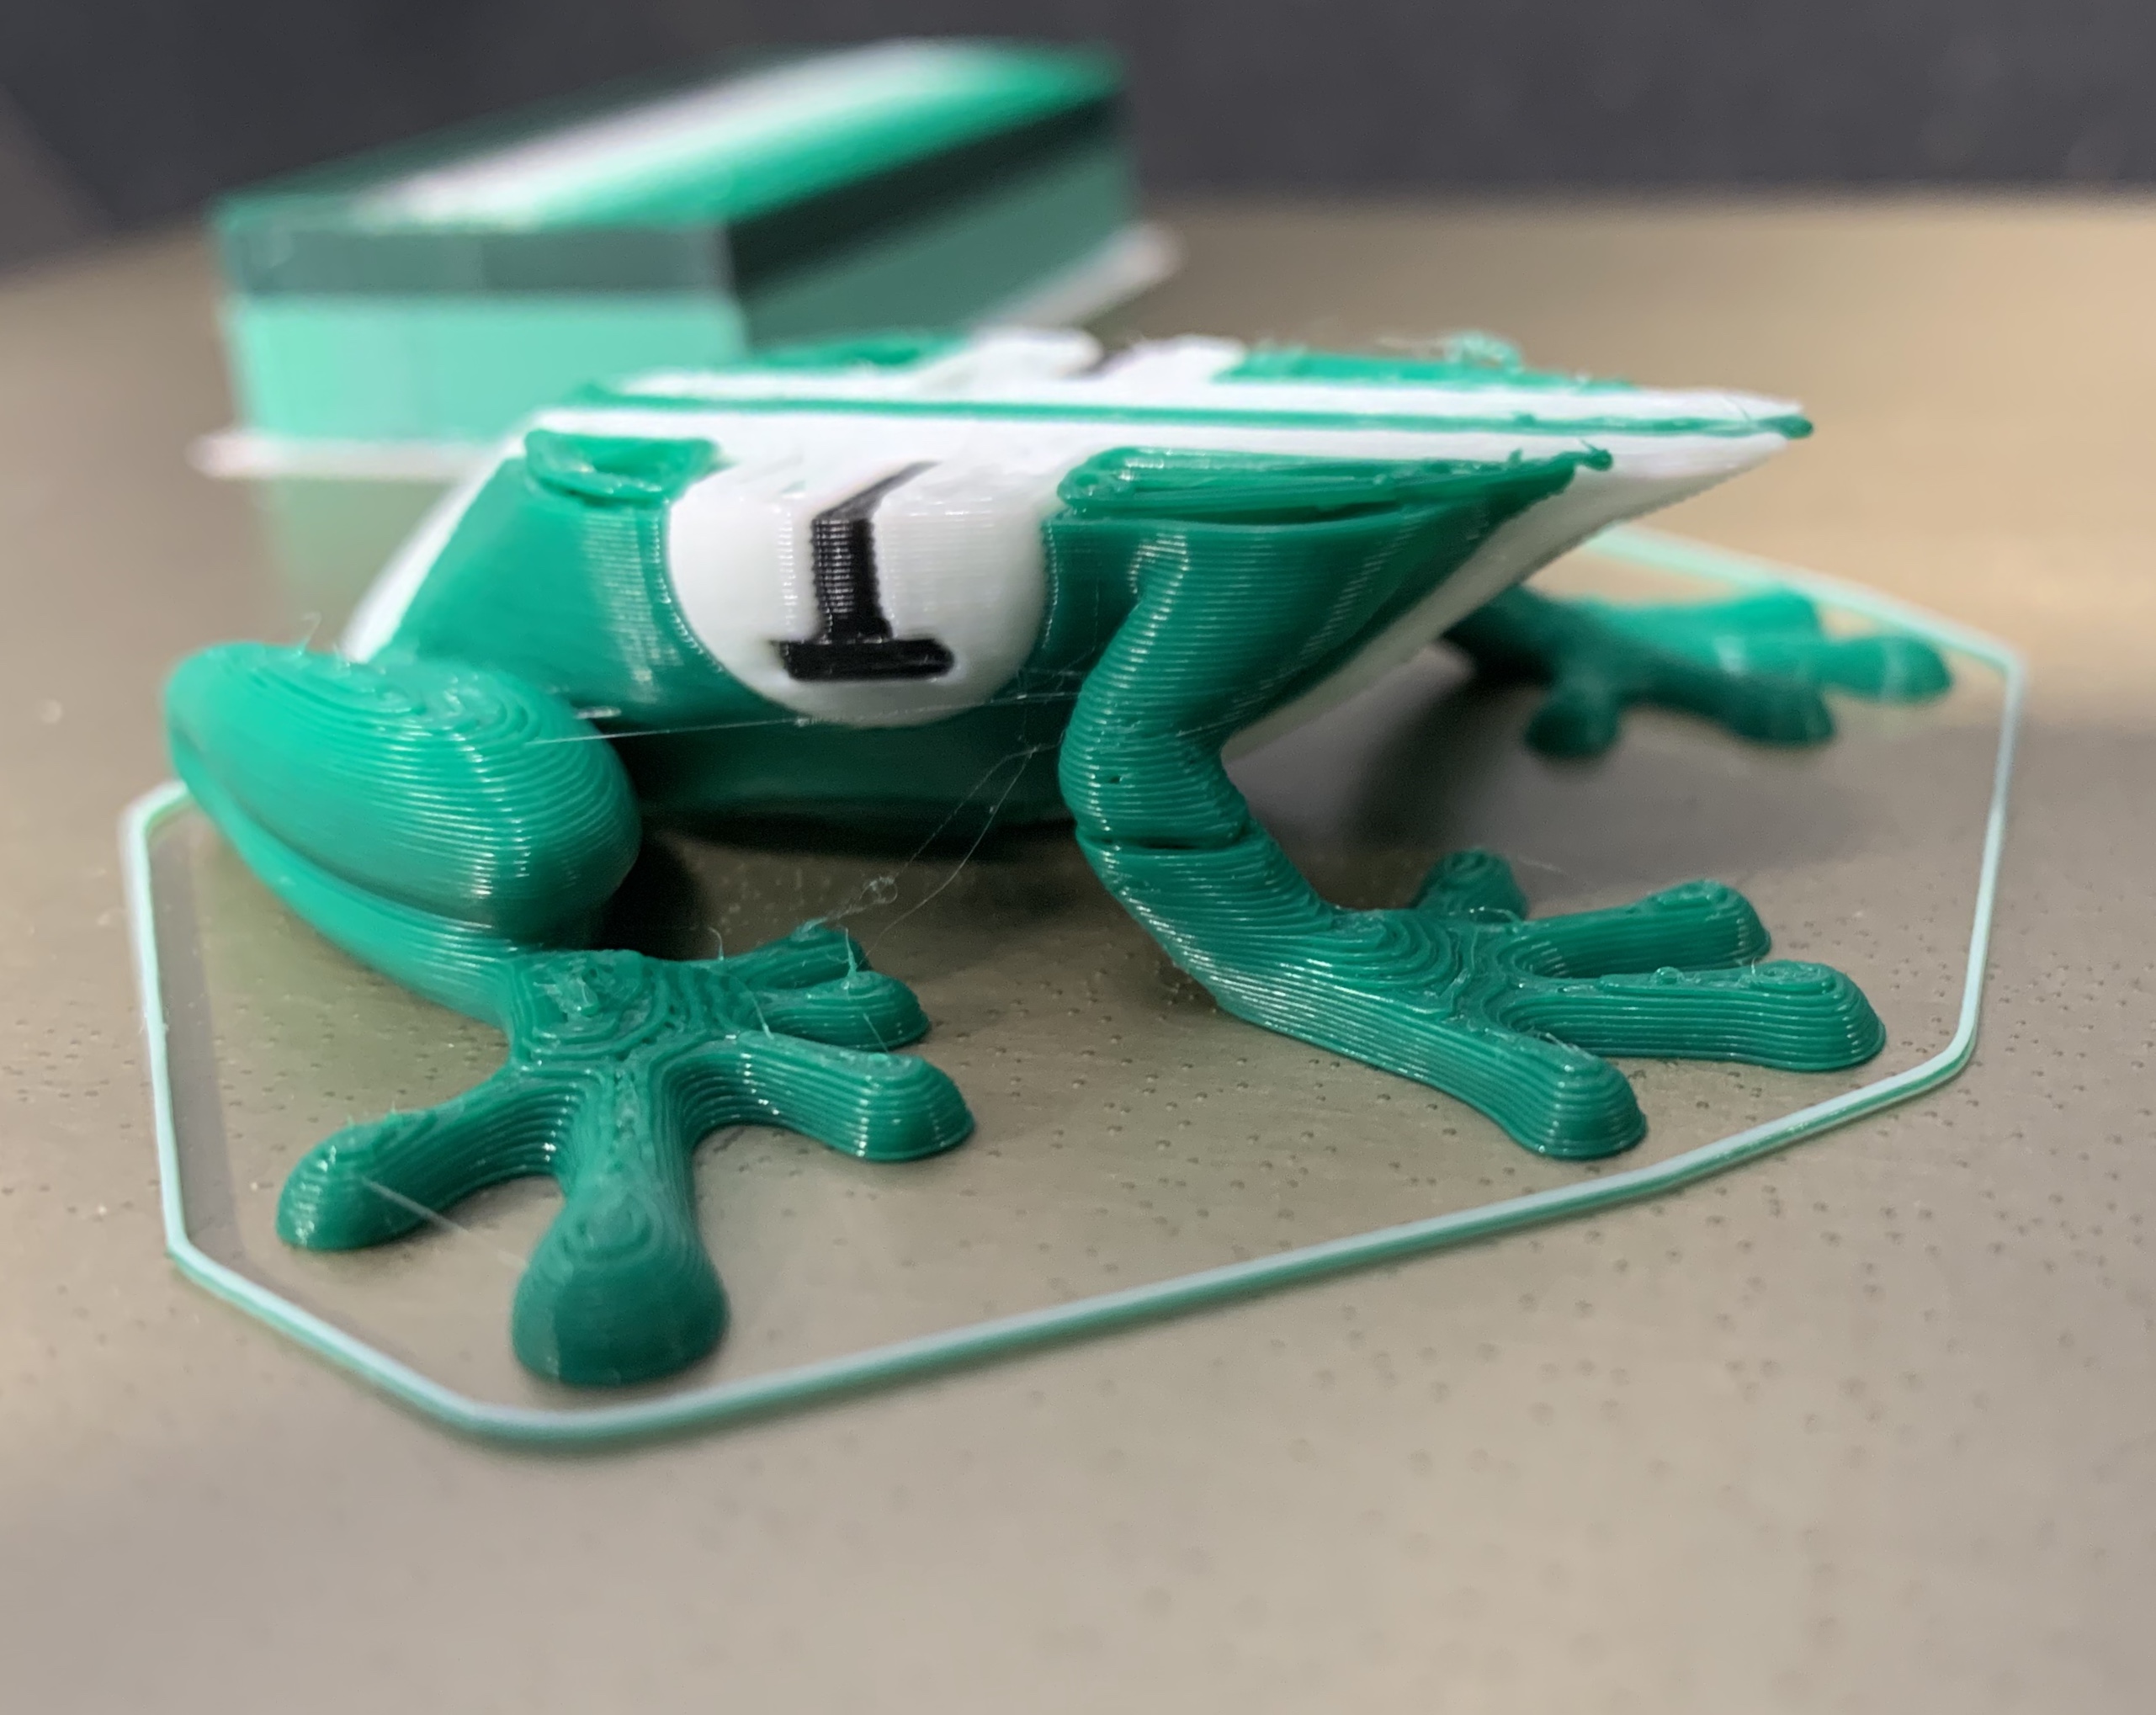
Is that a free model from the internet? It's magnificent!
XL (5T) / CORE One L / CORE One / MK3S+-MMU3 / MK3S / Mini / SL1S
Re: SUCCESS! How I resolved my MMU2 issues (MK2S -> MK2.5 -> MMU2 upgrade path)
Is that a free model from the internet? It's magnificent!
It's this model from thingiverse, but I have remixed it so I could print the "vine" in a different color. I can upload the remix later today.
https://www.thingiverse.com/thing:3419336
Edit:
Here is my remix
https://www.thingiverse.com/thing:3552169