Idler positioning not correctly
I have a MK3s+ with an MMU2s. After inital install, all printed pretty well, both in single mode and in multi material mode. No significant problems with filament changes.
Lately, I encounter a somehow strange behaviour. When I switch on the printer with an empty MMU, no filaments loaded, then load a filament (doesn't matter, which slot), everything works fine. When I start a print, select the just loaded filament, it will be loaded from the MMU into the extruder. If I print again, without turning the printer of, it will also work.
When I switch on the printer with an already loaded filament (to the MMU), then start a print, the filament will not be transported from the MMU to the extruder. It is, as if the idler/pulley combo doesn't align correctly and thus the filament isn't forwarded. The same is, if I load more than one filament.
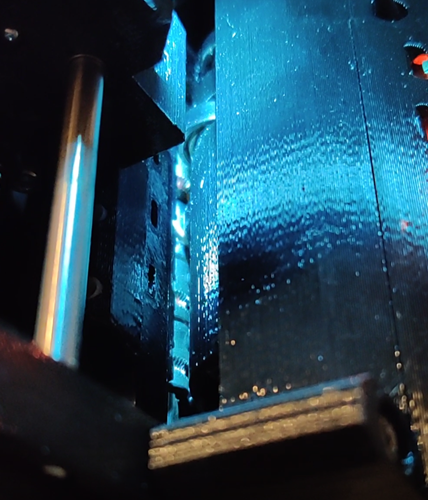
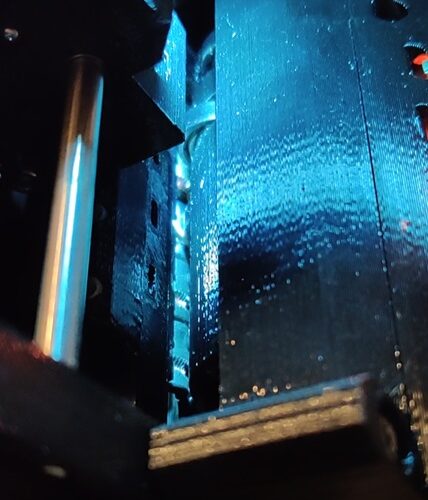
Here a two screenshot from two videos I took:
First is, when it works correctly (freshly loaded filament), the second is, if it doesn't work. I believe, that the position of the wheels from the idler is different, despite the identical filament slot being selected.
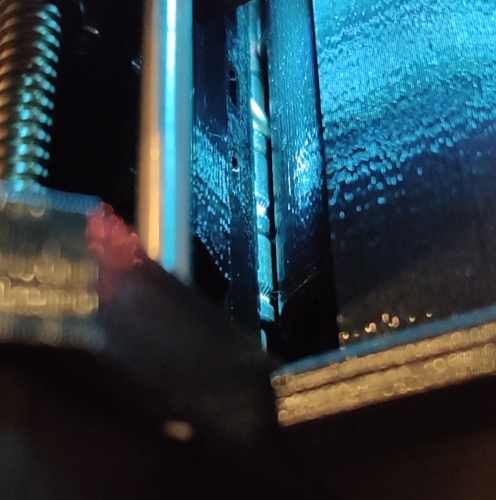 When it doesn't work correctly
I'm running PS2.3.3, FW 3.10.0 and 1.0.6. Any ideas, what I could do to get it going again? Greatly appreciated!
Malte
Photos might help
Photos are worth a thousand words. I would post one.
--------------------
Chuck H
3D Printer Review Blog
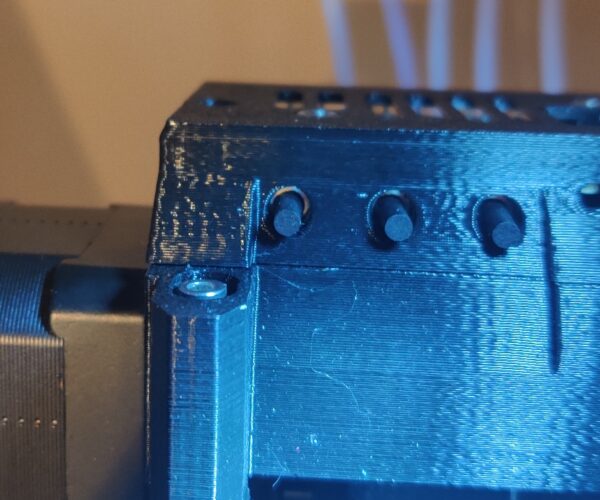
Could it be you have the idler tension screws (the two screws with springs on the mmu) to tight?
The heads of the screws should just flush with the printed part. The MMU doesn't need a lot of tension to work.
With the screws to tight the idler could have problems homing as it has to roll over the already loaded filament.
Tension screws
I loosened the tension screws so they were level with the printed part. That didn't change anything.
But while I manipulating there I saw, that the idler slipped at some position. At the end, the screws holding the idler motor shaft in position were loose. Re-positioned the motor and got the screws tight again, and it seems to work now.
Thanks for the help.
Good to see you got it working again. But keep an eye on those screws you tightened. Over tightening of these screws can cause the idler to crack. When that happens you will have to re tighten the screws over and over again.
If the problem returns or if feel the screws are loose again after some time, you will have to re print the idler.
RE: Tension screws
I was careful and will just re-check every now and then. I just think I was a little bit to careful when assembling the MMU.
Thanks.
RE: Idler positioning not correctly
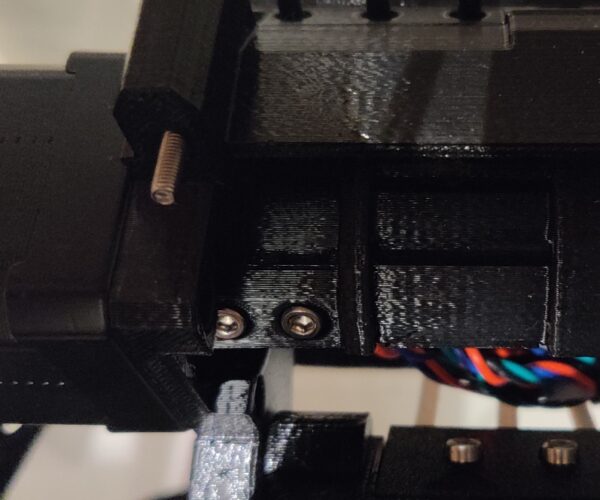
I've had this problem ever since I first tried to upgrade my MMU2S to MMU3 firmware. Today I got it working for the first time after I noticed in the above photo that the two screws that hold the idler barrel (the "tube" with the 5 ball bearings on it) to the stepper shaft are too long. Their heads stuck out way more than in the photo.
- I opened the top of the MMU, giving access to the screws that hold the stepper motor (on the left) to the MMU housing
- I loosened both idler screws (the ones on springs)
- I loosened all four screws tightening the stepper motor (on the left) to the MMU
- I loosened and removed both screws that hold the idler barrel to the motor shaft
- I pulled the stepper motor shaft out of the barrel
- I carefully put the stepper motor shaft back into the barrel, taking care to align the flat part of the shaft with the flat part of the hole on the side of the barrel
- I used two slightly shorter screws to tighten the barrel to the motor shaft. The tops of the screws are almost flush with the barrel
- I firmly reattached the stepper motor back to the MMU housing
- I tightened the idler screws to be flush with the MMU housing, or ever so slightly below it
- I closed the top of the MMU
Now, for the first time ever, I can successfully run my MMU2S on MMU3 firmware.
