Report on a couple of MMU2S tweaks.
I had planned for this to take the majority of the day today, but in reality it was finished, tested, and working before noon.
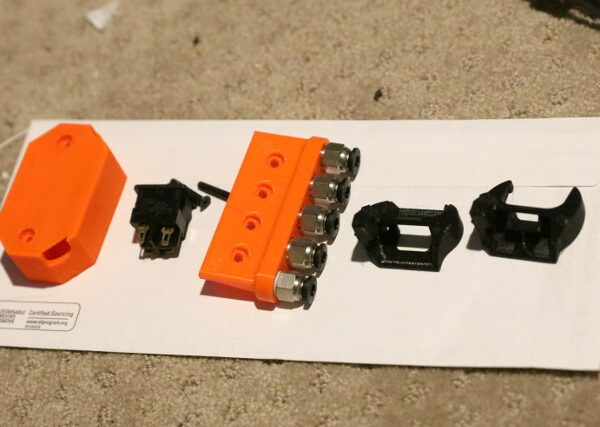
I had three things to do with the MK3S/MMU2S:
1. Install the on-off switch for the MMU2S.
2. Install the modified tube input manifold with the Bowden quick-release fittings.
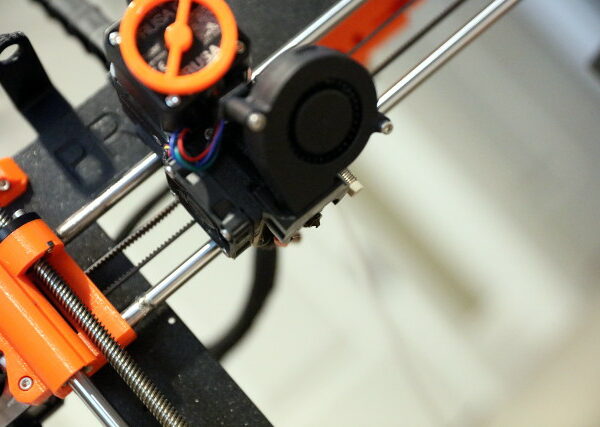
3. Install the remixed fan shroud to replace the stock one that was starting to droop.
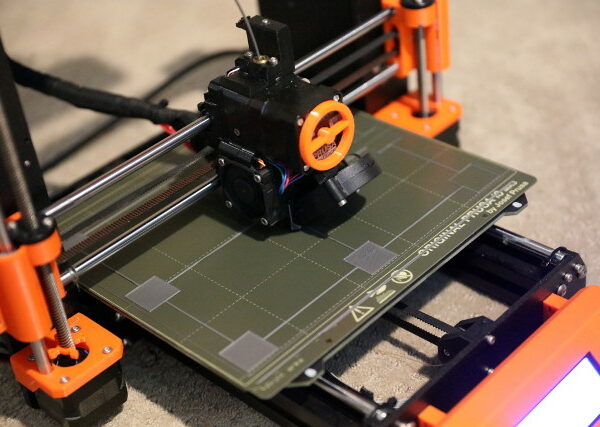
I got all of the pieces ready and the printer in the clean-room workspace (the spare bedroom floor).
First was the on-off switch.
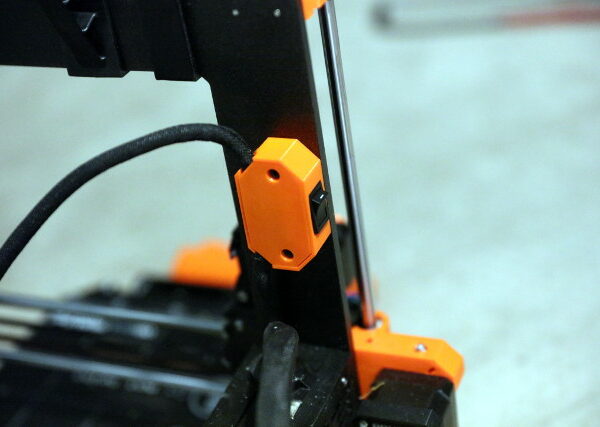
I had been unplugging the power connection from the MMU2S when I did not want to use it. That is a PAIN! It was a very simple job to add the switch using a housing from the Prints section here. The only thing that did not go exactly as planned was that I assumed that all I would have to break was the red (positive, hot) wire, but a quick check right after clipping it showed that it did not completely remove power from the MMU2S, so, since this was a DPST switch, I broke both the red and the black leads.
The switch housing mounted neatly on the rear of the frame, with two tapped holes, almost as if Prusa had intended it to be.
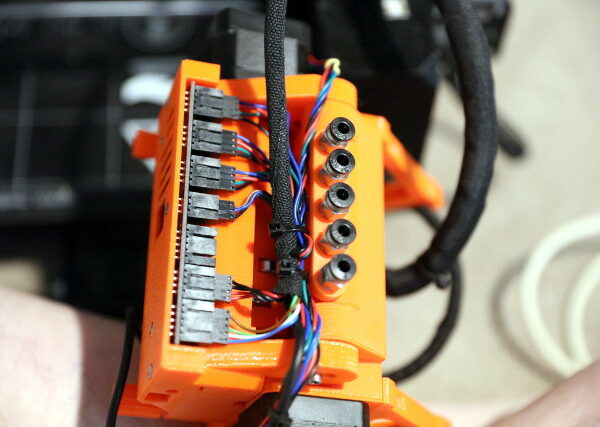
Next was the bowden tube manifold. Incredibly easy. Remove four bolts, pull the tubes out, bolt in the new one and check to be sure that tubes inserted fully and firmly into all of the inputs.
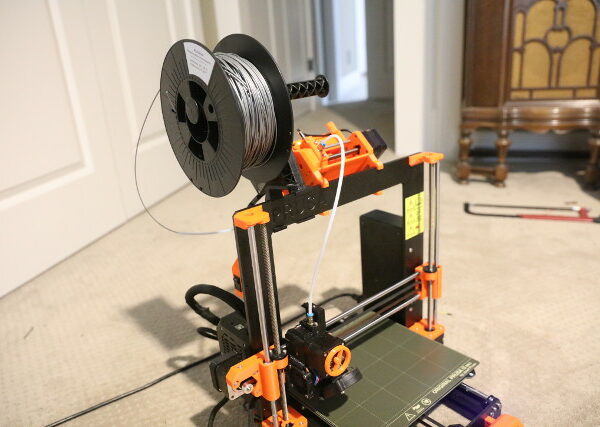
Next was a quick sanity check to be sure that the switch worked and that the filament loaded cleanly from the input tubes all the way to the extruder and unloaded cleanly. As expected, it 'swooshed' in and out with no binding or grinding.
Last was the remixed fan shroud, which was incredibly simple. This was printed with the new Prusa PC Blend. The most difficult part was getting the square nut out of the old droopy one so it could be inserted in the new one. It assembled firmly with the bottom parallel to the build plate. I had actually printed out a new stock shroud with the PC blend in case the remixed one did not work as expected.
They always say to run a Z calibration test right after doing anything to the extruder assembly. It came out clean and visually unchanged from the last one I had done long prior to this tweak.
That's about it, it was actually much easier and less time-consuming than I had expected.
RE: Report on a couple of MMU2S tweaks.
Thanks for sharing.
I remember having the disconnect MMU discussions in the past. Just cutting power/GND wires is not safe approach. All other wires are still connected and depending on pull ups/downs, you might still get current flows where there shouldn't be any. Especially missing GND could be problematic as signal wires will become GND wires.
Anyway this approach with a MOLEX connector is safer.
Often linked posts:
Going small with MMU2
Real Multi Material
My prints on Instagram
