Re: Must do mods for a new Mk3 build?
None are "must do" imo.
I have changed my printer quite a bit with my own part designs and tweaks just for learning, but it works pretty much as well as before.
I think the best two things I've done are.
1. bought a large paver stone that was big enough to hold the whole machine and more - maybe 16inx16in or 18in x18in, I don't recall. This eliminates the chance of the printer's Y carriage rods or bed going out of adjustment after any tweaks that might be done. It also helps prevent the printer from setting up vibrations with a wobbly table.
2. took the filament spool holder off the top of the machine and placed this elsewhere.
Results may vary - some people's machines might need new parts or adjustments to get the belts to track straight.
Re: Must do mods for a new Mk3 build?
virtually zero play in any axis.
Well, that alone is worthy of an upgrade. Do you have a link to where you purchased them from? I'd like to go to the same source as you so I can get exactly the same thing you got.
They were purchased directly from Misumi: https://us.misumi-ec.com
I'd suggest using their rods, as well, since they should be appropriately toleranced to work together.
The grease I used was recommended by Misumi and available from McMaster-Carr: https://www.mcmaster.com/#8670t14/=1do3m10
Hope that helps!
OK, but exactly which product numbers did you order from Misumi? They have quite a large catalog of pars.
Re: Must do mods for a new Mk3 build?
Well, that alone is worthy of an upgrade. Do you have a link to where you purchased them from? I'd like to go to the same source as you so I can get exactly the same thing you got.
They were purchased directly from Misumi: https://us.misumi-ec.com
I'd suggest using their rods, as well, since they should be appropriately toleranced to work together.
The grease I used was recommended by Misumi and available from McMaster-Carr: https://www.mcmaster.com/#8670t14/=1do3m10
Hope that helps!
OK, but exactly which product numbers did you order from Misumi? They have quite a large catalog of pars.
Misumi Bearings and Shafts:
(10) LMU8 Linear Bushings
(2) SFJ8-320 Rods
(2) SFJ8-330 Rods
(2) SFJ8-370 Rods
Re: Must do mods for a new Mk3 build?
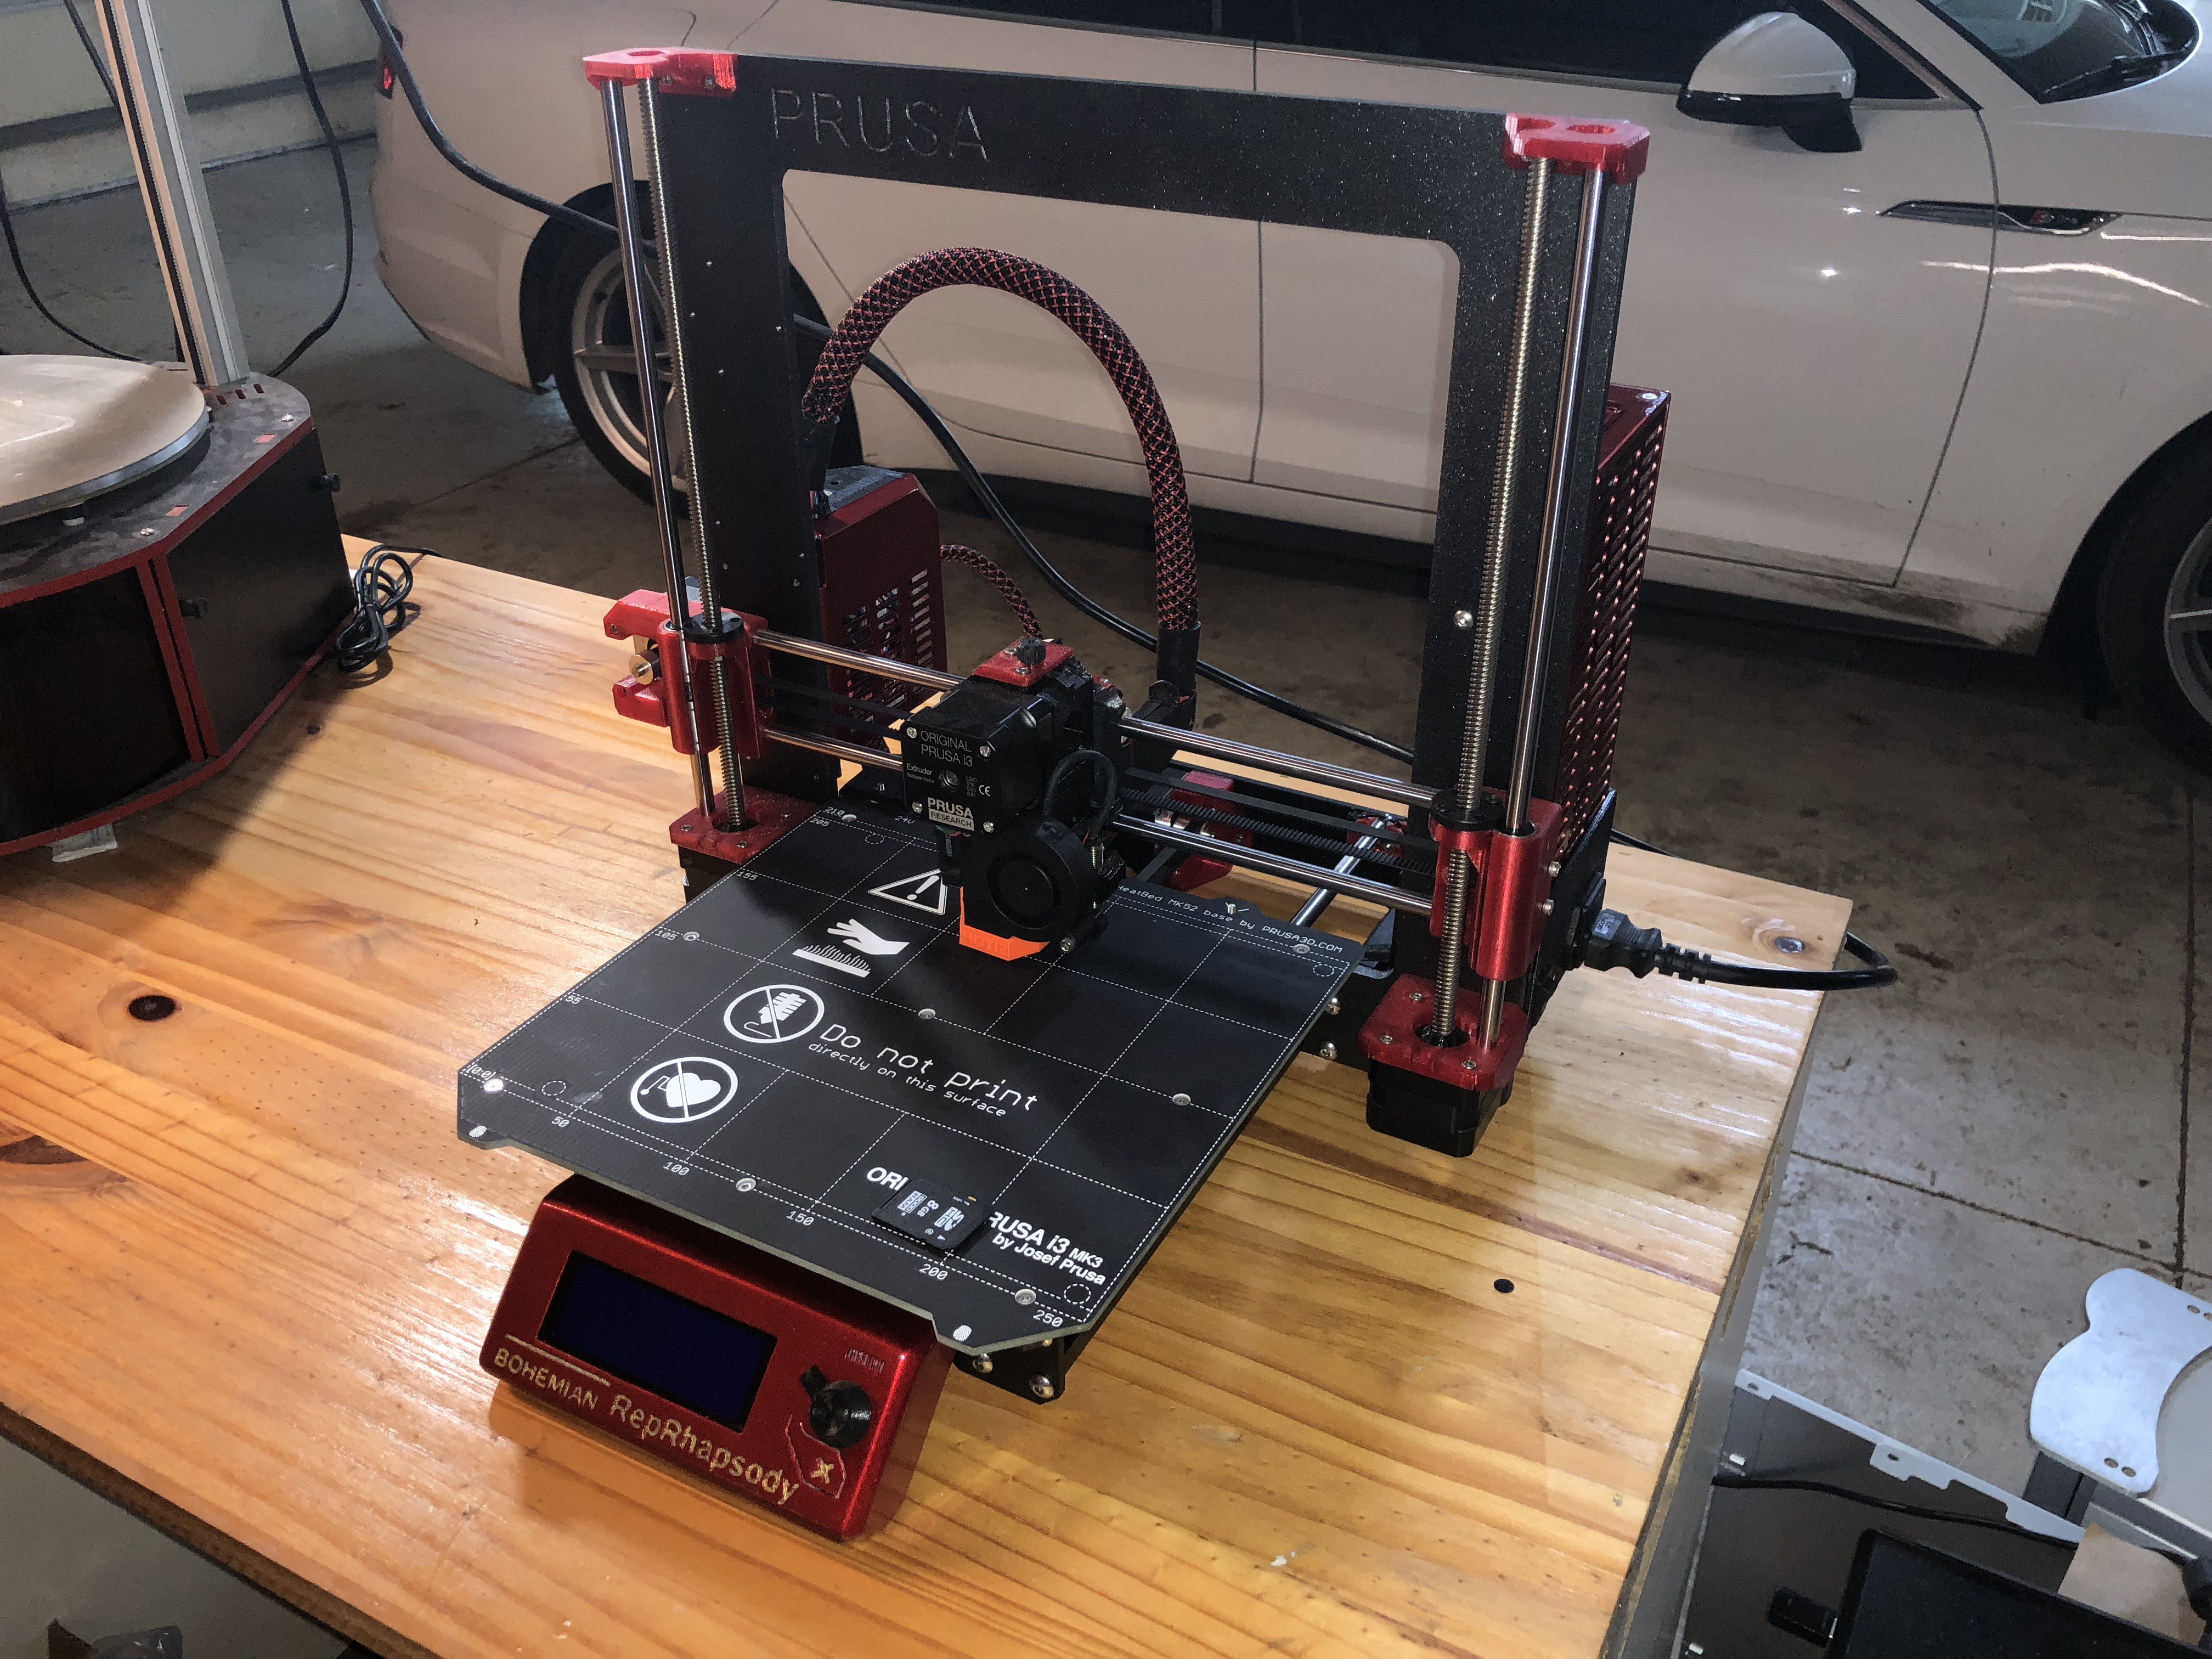
Got up and running the other night! Plugged in, flipped the switch, and everything worked (more or less) perfect. Took me about 6 tries to fully get through the calibration (basically minor corrections at most. Tighten/loosen a belt, poke a cable in a bit tighter here or there,etc...)
I made it through to the live z adjust a first layer calibration and it looked quite happy between -.800 and -.900. Digital caliper put me pretty close to .2mm, so I went on to try a print. I’ve honestly never printed a benchy before so I figured, wth! 🙂 came out excellent! A few aberrations here or there, but you’d have to look really close to see them! Printed a few other files to check and for the most part all looks good.
I’ve had a few oddities and bed crashes here and there (like having to manually push the y axis all the way back before starting a new print, else it probes the last 3 points first, crashes, probes, crashes, and probes again). For whatever reason, auto home only wants to work correctly if the front third of the y axis is ckosest to the extruder. Weird.
Any way, here’s some pics. Tonight I play with octopi the and calibrating the extruder! 🙂
Re: Must do mods for a new Mk3 build?
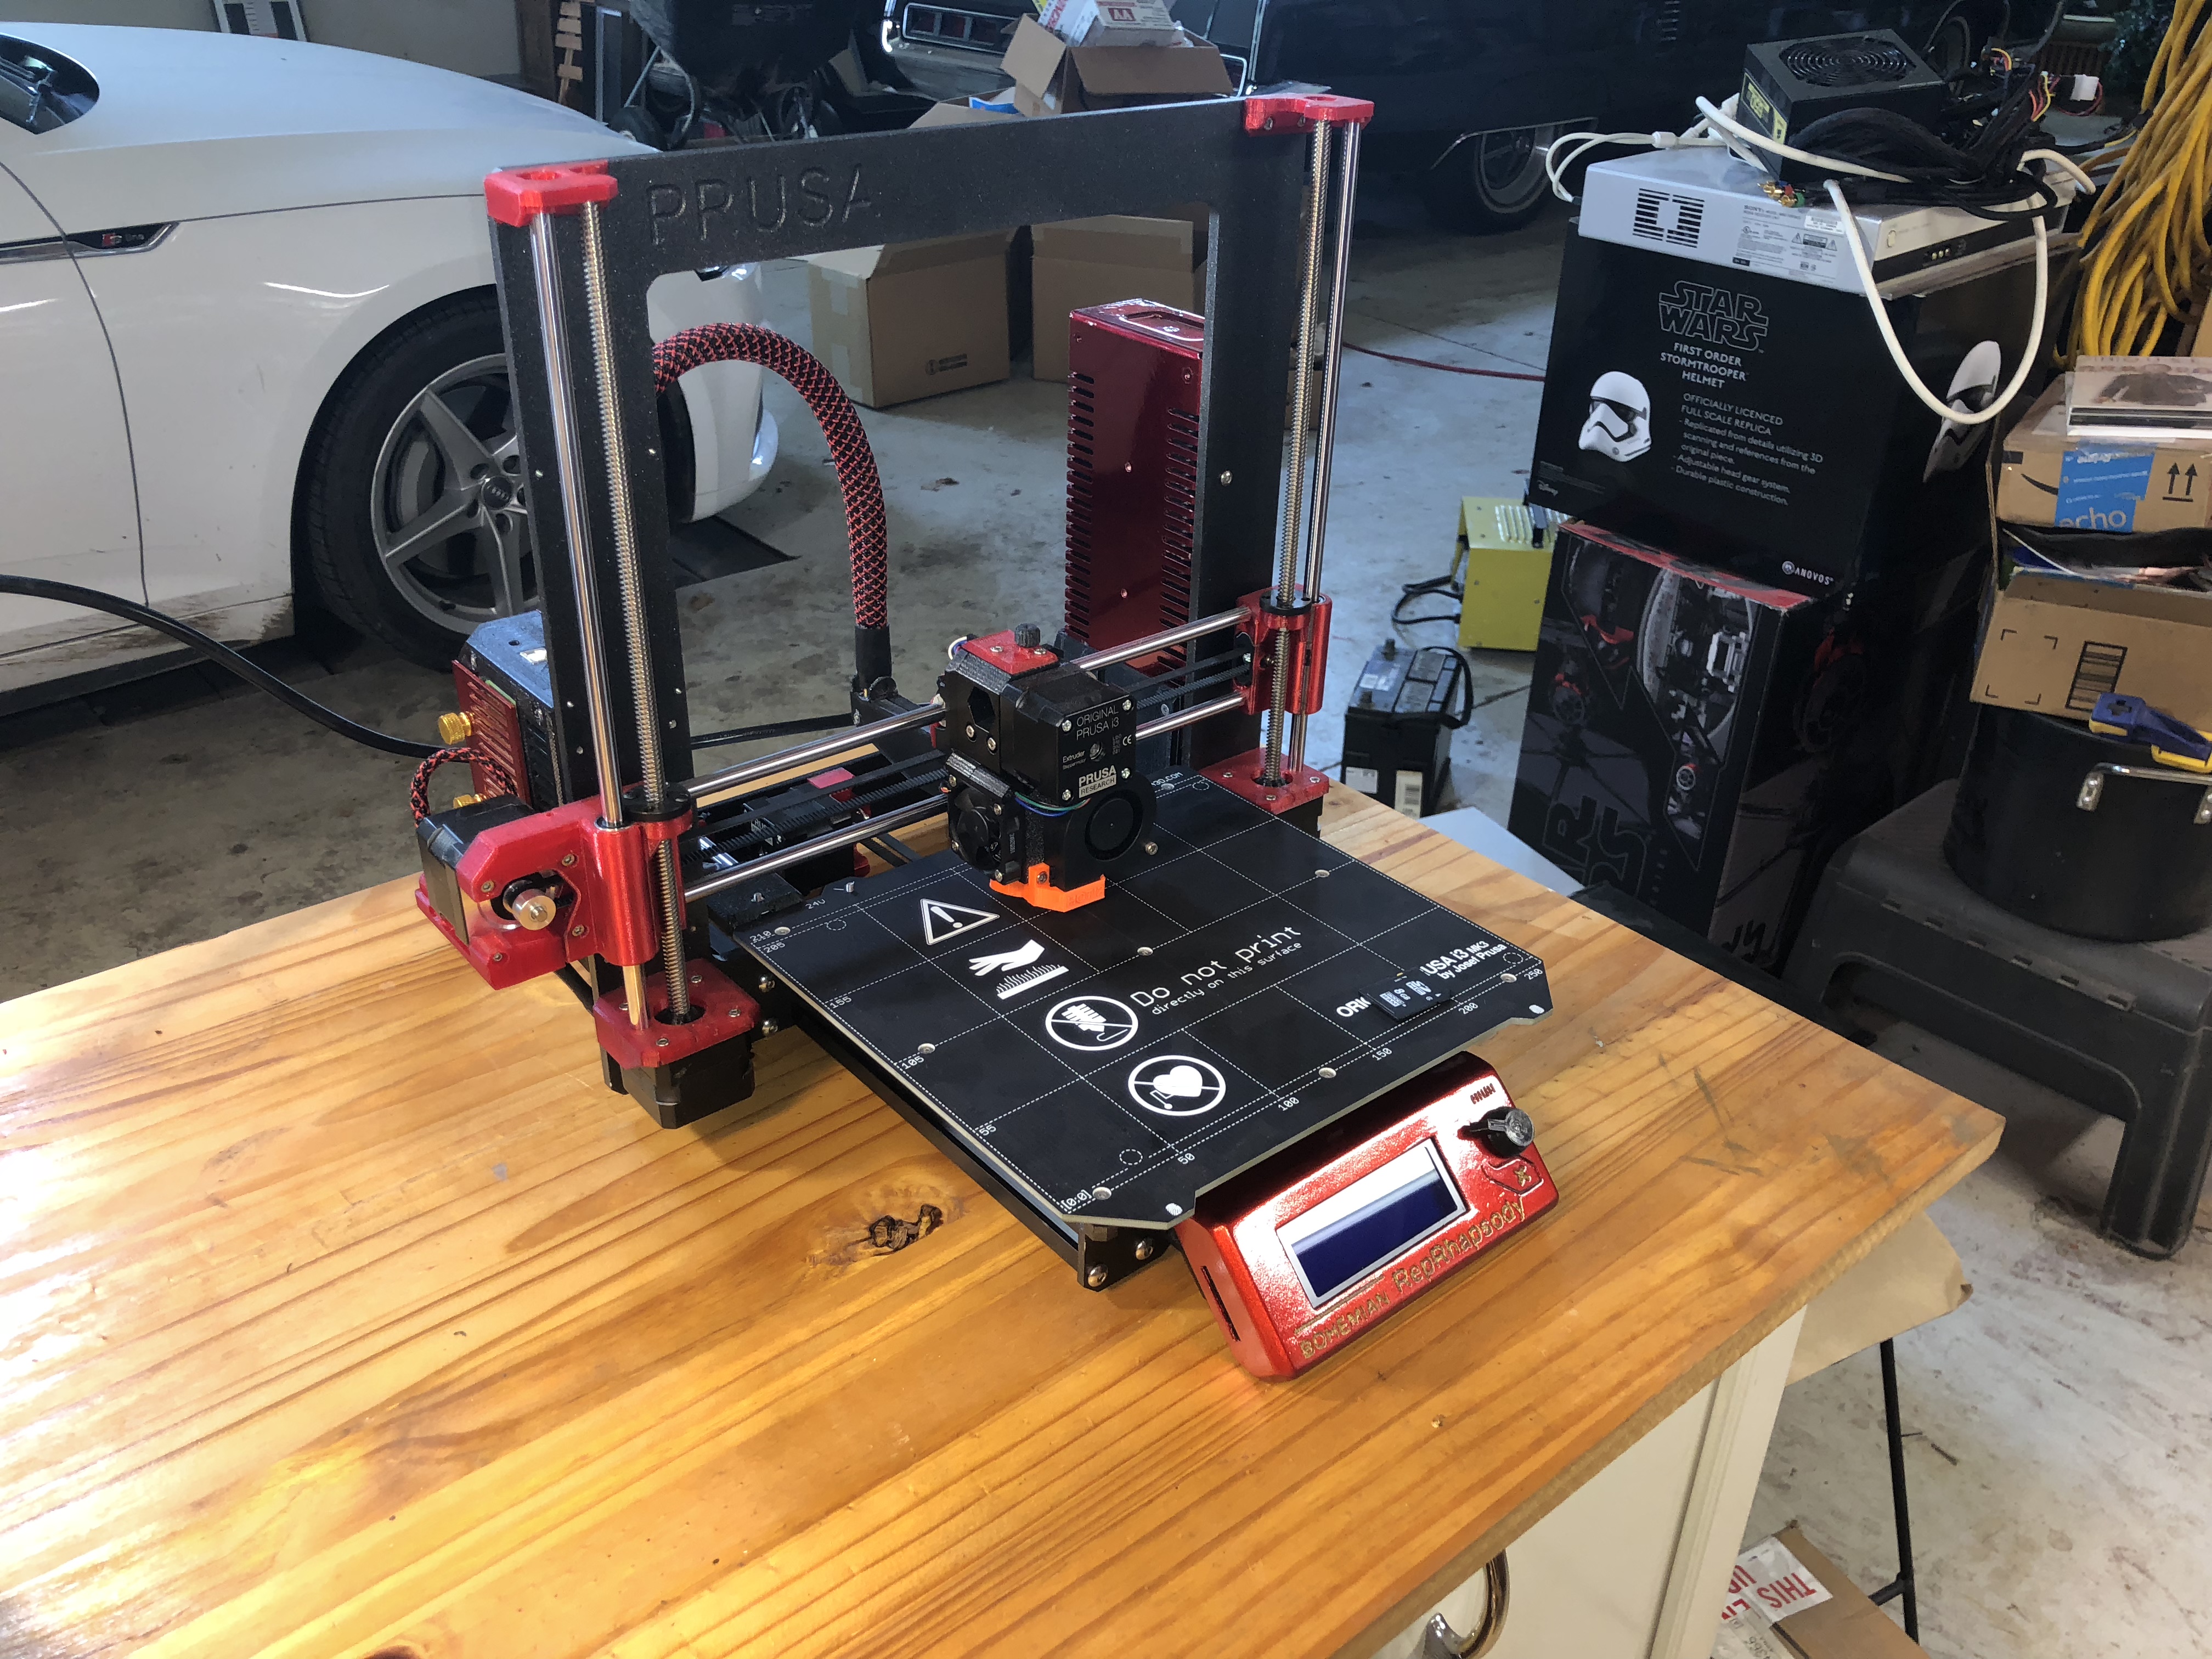
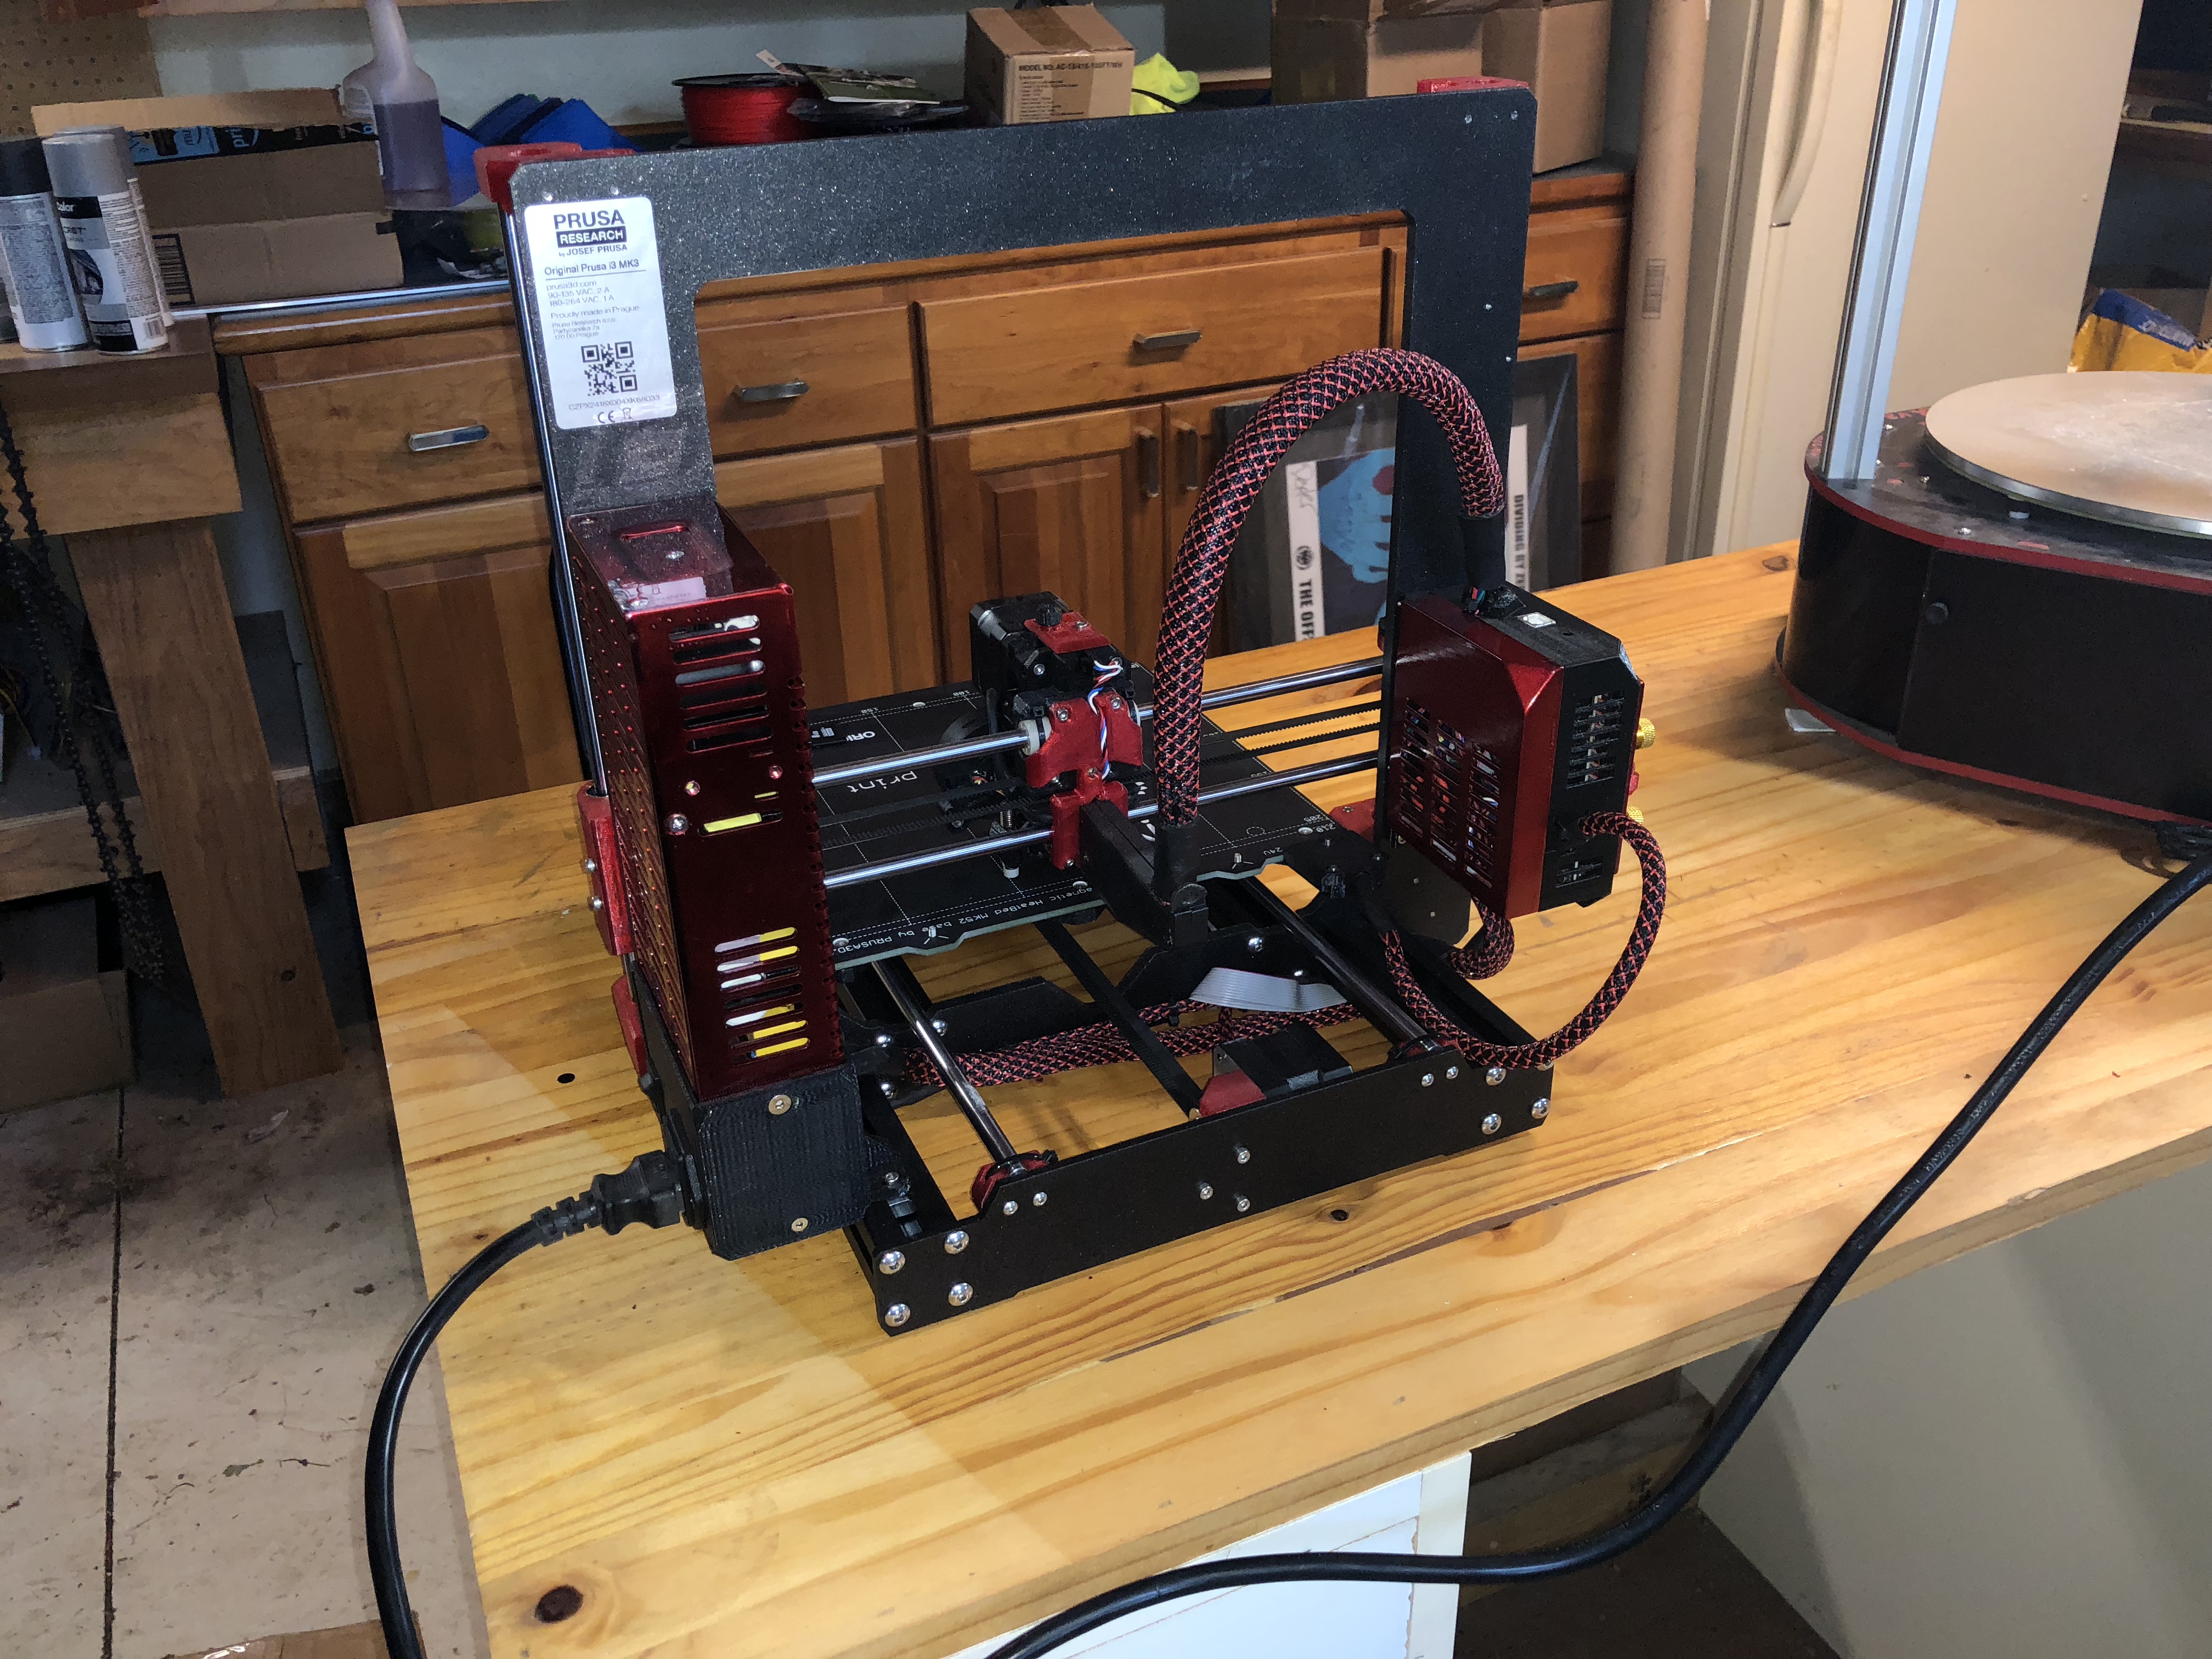
Gotta say I like the colour. I've got some translucent red but its a bit more transparent, so it comes out a lot lighter than this looks.
Did you also paint the PSU? Maybe its the paint I'm looking at.
Where did you get the cable wrap from?
Re: Must do mods for a new Mk3 build?
Has someone experienced reduced ringing with different (high quality) belts?
Re: Must do mods for a new Mk3 build?
Has someone experienced reduced ringing with different (high quality) belts?
IIRC, it was Tom Sanlanderer who said it, but he didn't define what a high quality belt was.
Maybe Polyurethane with Kevlar? https://reprapworld.com/products/mechanical/timing_belts/gt2x9mm_timing_belt_per_meter/
Re: Must do mods for a new Mk3 build?
Mine are minimal.
OctoPi. This is a must. I'm running a Zero W in a modified einsy enclosure ( https://www.thingiverse.com/thing:2757901 - I don't love this enclosure as the door doesn't seem to stay closed well, but it's already printed and assembled and not worth doing another.).
Pi Camera module in a printed holder (this one: https://www.thingiverse.com/thing:2782145 - camera mount only, not the Zero case) attached to the bed.
Clip-on filament guide (especially for PETG).
Extruder visualizer.
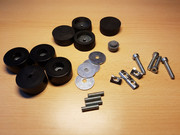
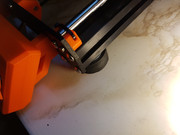
Better feet ( https://www.thingiverse.com/thing:2802540 ) with felt pads instead of the rubber. Noticeably less vibration.
Prusa Mesh Leveling plugin for OctoPi and wave washers (metal ones from Amazon).
And building the Prusa Lack enclosure - that will let me print higher temp stuff like PC and also move the filament off the top of the printer.
Re: Must do mods for a new Mk3 build?
Gotta say I like the colour. I've got some translucent red but its a bit more transparent, so it comes out a lot lighter than this looks.
Did you also paint the PSU? Maybe its the paint I'm looking at.
Where did you get the cable wrap from?
Thanks! Yeah, I used Matterhackers Translucent Red (spendy, but looks nice) Didn't have quite enough to finish all the parts I needed, hence the reason I decided to paint some. I painted the LCD cover, The RPi Door and the Einsy door (and I took the Power Supply apart and painted that as well). I used a Duplicolor Metal Cast rattle can. Primed and sanded, then sprayed 3 coats of the Metal Cast base coat (gives it a nice shiny aluminum/steel look), and then finished with 3 coats of the Red Metal Cast paint (which is essentially a transparent coat). Looks really good in person and matched really closely with the red printed parts (doesn't hurt that the translucent red petg has a nice, almost metal shine to it at certain angles). 🙂
Got the cable wrap off amazon https://www.amazon.com/gp/product/B071WF5NTN/ref=oh_aui_detailpage_o01_s00?ie=UTF8&psc=1 . used 1/2" and, I think, 3/8" (might have been 1/4"). I'll probably have to redo the Y axis. The end by the bed frayed a bit when I was doing it and it wasn't quite long enough for the Heat Shrink to hold it, so It's currently pulling out and looking like crap.
I've been printing and tweaking constantly all week and have really managed to dial this in proper for Maker Geeks PETG. Most of my problems mentioned above were due to the y belt being too tight. The numbers showed it a bit tight, but still in spec. Loosened it up and got it to 237 and it's buttery smooth now and no crashes like before. That being said, Crash detection is still spotty at best. I get an occasional crash detection (even though there wasn't any zits or anything anywhere to hit). had it happen twice on the Lack enclosure parts I'm printing on the second to last layer both times. Each time it resumed with a shift on the X Layer, but reported it as a Y Crash. Weird. with crash detection turned off I have had ZERO issues printing any thing that wasn't slicer related! 🙂
Re: Must do mods for a new Mk3 build?
My rubber foot mod
Re: Must do mods for a new Mk3 build?
I love the color scheme on your Mk3
From what i read... What about the Moon stepper motor for the z axis?
https://prusacommunity.com/to-the-moons-and-back/
Re: Must do mods for a new Mk3 build?
No mods required. Just take your time and assemble well by the guidelines.
The only mod I printed so far was the inlay for soft TPU. Except of that. Stock v2 parts which I got initially are working perfectly fine.
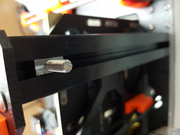
How do you tighten the tension of your X and Y belts? I've been thinking of creating a "C-clamp" like system that holds one side of the belt on the static side and the other belt is connected to the mobile side.
Tighten the clamp to tighten the belt. I've got the measurements down, but I'm guessing that the 3d printed parts might not be strong enough.
The only thing I need to figure out besides if it will break or not is how to mount the 2GT Timing Belt Aluminum Gear Clamp
https://www.amazon.com/gp/product/B071KKFG7S/ref=oh_aui_search_detailpage?ie=UTF8&psc=1
Maybe just get a hobby clamp and modify it.
Re: Must do mods for a new Mk3 build?
I did these:
I haven't really needed this yet but many folks complain about not being able to pull their filament out so I printed this extruder cover: https://www.thingiverse.com/thing:2748862
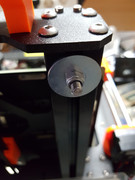
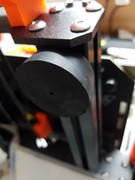
I also printed this y-axis tensioner: https://www.thingiverse.com/thing:2786671
Of note is that the stock pulley (on the newest mk3s) will not work with this tensioner but it worked fine with one that I had in my parts box. I could not seem to assemble the stock setup without the belt being ultra tight and causing layer shifts and this tensioner works well.
Haven't felt the need for any others yet.
Cheers
What did you do for tensioning of the X-axis?
Re: Must do mods for a new Mk3 build?
How do you tighten the tension of your X and Y belts?
Exactly by the guidelines. Once setup I never had to retighten them in the last two years. I'm not sure why you see a need for a more complex tighten mechanism.
Often linked posts:
Going small with MMU2
Real Multi Material
My prints on Instagram
Re: Must do mods for a new Mk3 build?
Has anyone mounted LED lighting to their printer? I have a ghetto lighting solution with a desk lamp right now, but I'd ideally like something that moves with the print head and/or is mounted on the sides and top of the vertical frame. I was thinking of printing an enclosure for some LED strips so they only light up the print bed and don't blind me.
Re: Must do mods for a new Mk3 build?
How do you tighten the tension of your X and Y belts?
Exactly by the guidelines. Once setup I never had to retighten them in the last two years. I'm not sure why you see a need for a more complex tighten mechanism.
nikolai, I've done that, but I can only get 285 or so out of stretching the belts. I'm thinking of some kind of tightener or a clamp to stretch it to the next tooth.
Re: Must do mods for a new Mk3 build?
Don't over-tight them. It puts a higher mechanical stress to the motors. The belt will also stretch over time in this case.
Often linked posts:
Going small with MMU2
Real Multi Material
My prints on Instagram
Re: Must do mods for a new Mk3 build?
Has anyone mounted LED lighting to their printer? I have a ghetto lighting solution with a desk lamp right now, but I'd ideally like something that moves with the print head and/or is mounted on the sides and top of the vertical frame. I was thinking of printing an enclosure for some LED strips so they only light up the print bed and don't blind me.
I installed something similar to this
https://www.thingiverse.com/thing:2856776
Mine actually comes out about 12 inches. I can't find the link just now. It was from a time before I had a thingiverse account. The light bar appears to be the same.
Re: Must do mods for a new Mk3 build?
Generally the mk3 is pretty good from scratch. However, there's a few mods I'd strongly recommend.
Probably the most important is an indirect filament sensor mod.
Here's my version:
https://www.thingiverse.com/thing:3223513
And on that page are a few links to stand along versions that don't require an extruder re-print.
The reason I recommend this mod is:
1) It means the filament sensor will work with all filaments.
2) It removes the possibility of filament getting into the sensor cavity and damaging the sensor.
3) Alongside 2, it heavily constrains the filament path above the bondtech, so that flex filament can't wander off and find other things to wrap around.
I'd also recommend printing the top cover (linked at the end of my thingiverse link), that allows you to run a reverse bowden/mmu tube all the way into the extruder body, and removing that short PTFE tube from the system. I think the fewer transitions the better.
Finally, if you're going to be printing hot materials (ABS, ASA, PC) regularly, then I'd also print the extruder body out of polycarbonate or ABS. The PETG body can melt with high temp printing.