RE: Experiences with split or dual part cooling fan shrouds?
You want to start with hotter temps at the bottom and cool off as you go higher in case the filament stops extruding at lower temps.
I create a separate printer profile (rename it when saving) for temp towers.
RE: Experiences with split or dual part cooling fan shrouds?
You want to start with hotter temps at the bottom and cool off as you go higher in case the filament stops extruding at lower temps.
That is a good point. The tower is designed inverted. Are you aware of another temp tower that has the engravings in reverse order, for better reference?
Prusa i3 MK4S Kit in Lack Enclosure
RE: Experiences with split or dual part cooling fan shrouds?
That is a good point. The tower is designed inverted. Are you aware of another temp tower that has the engravings in reverse order, for better reference?
I've used this one extensively, although I'm switching over to this one for the customization capability using OpenSCAD.
RE: Experiences with split or dual part cooling fan shrouds?
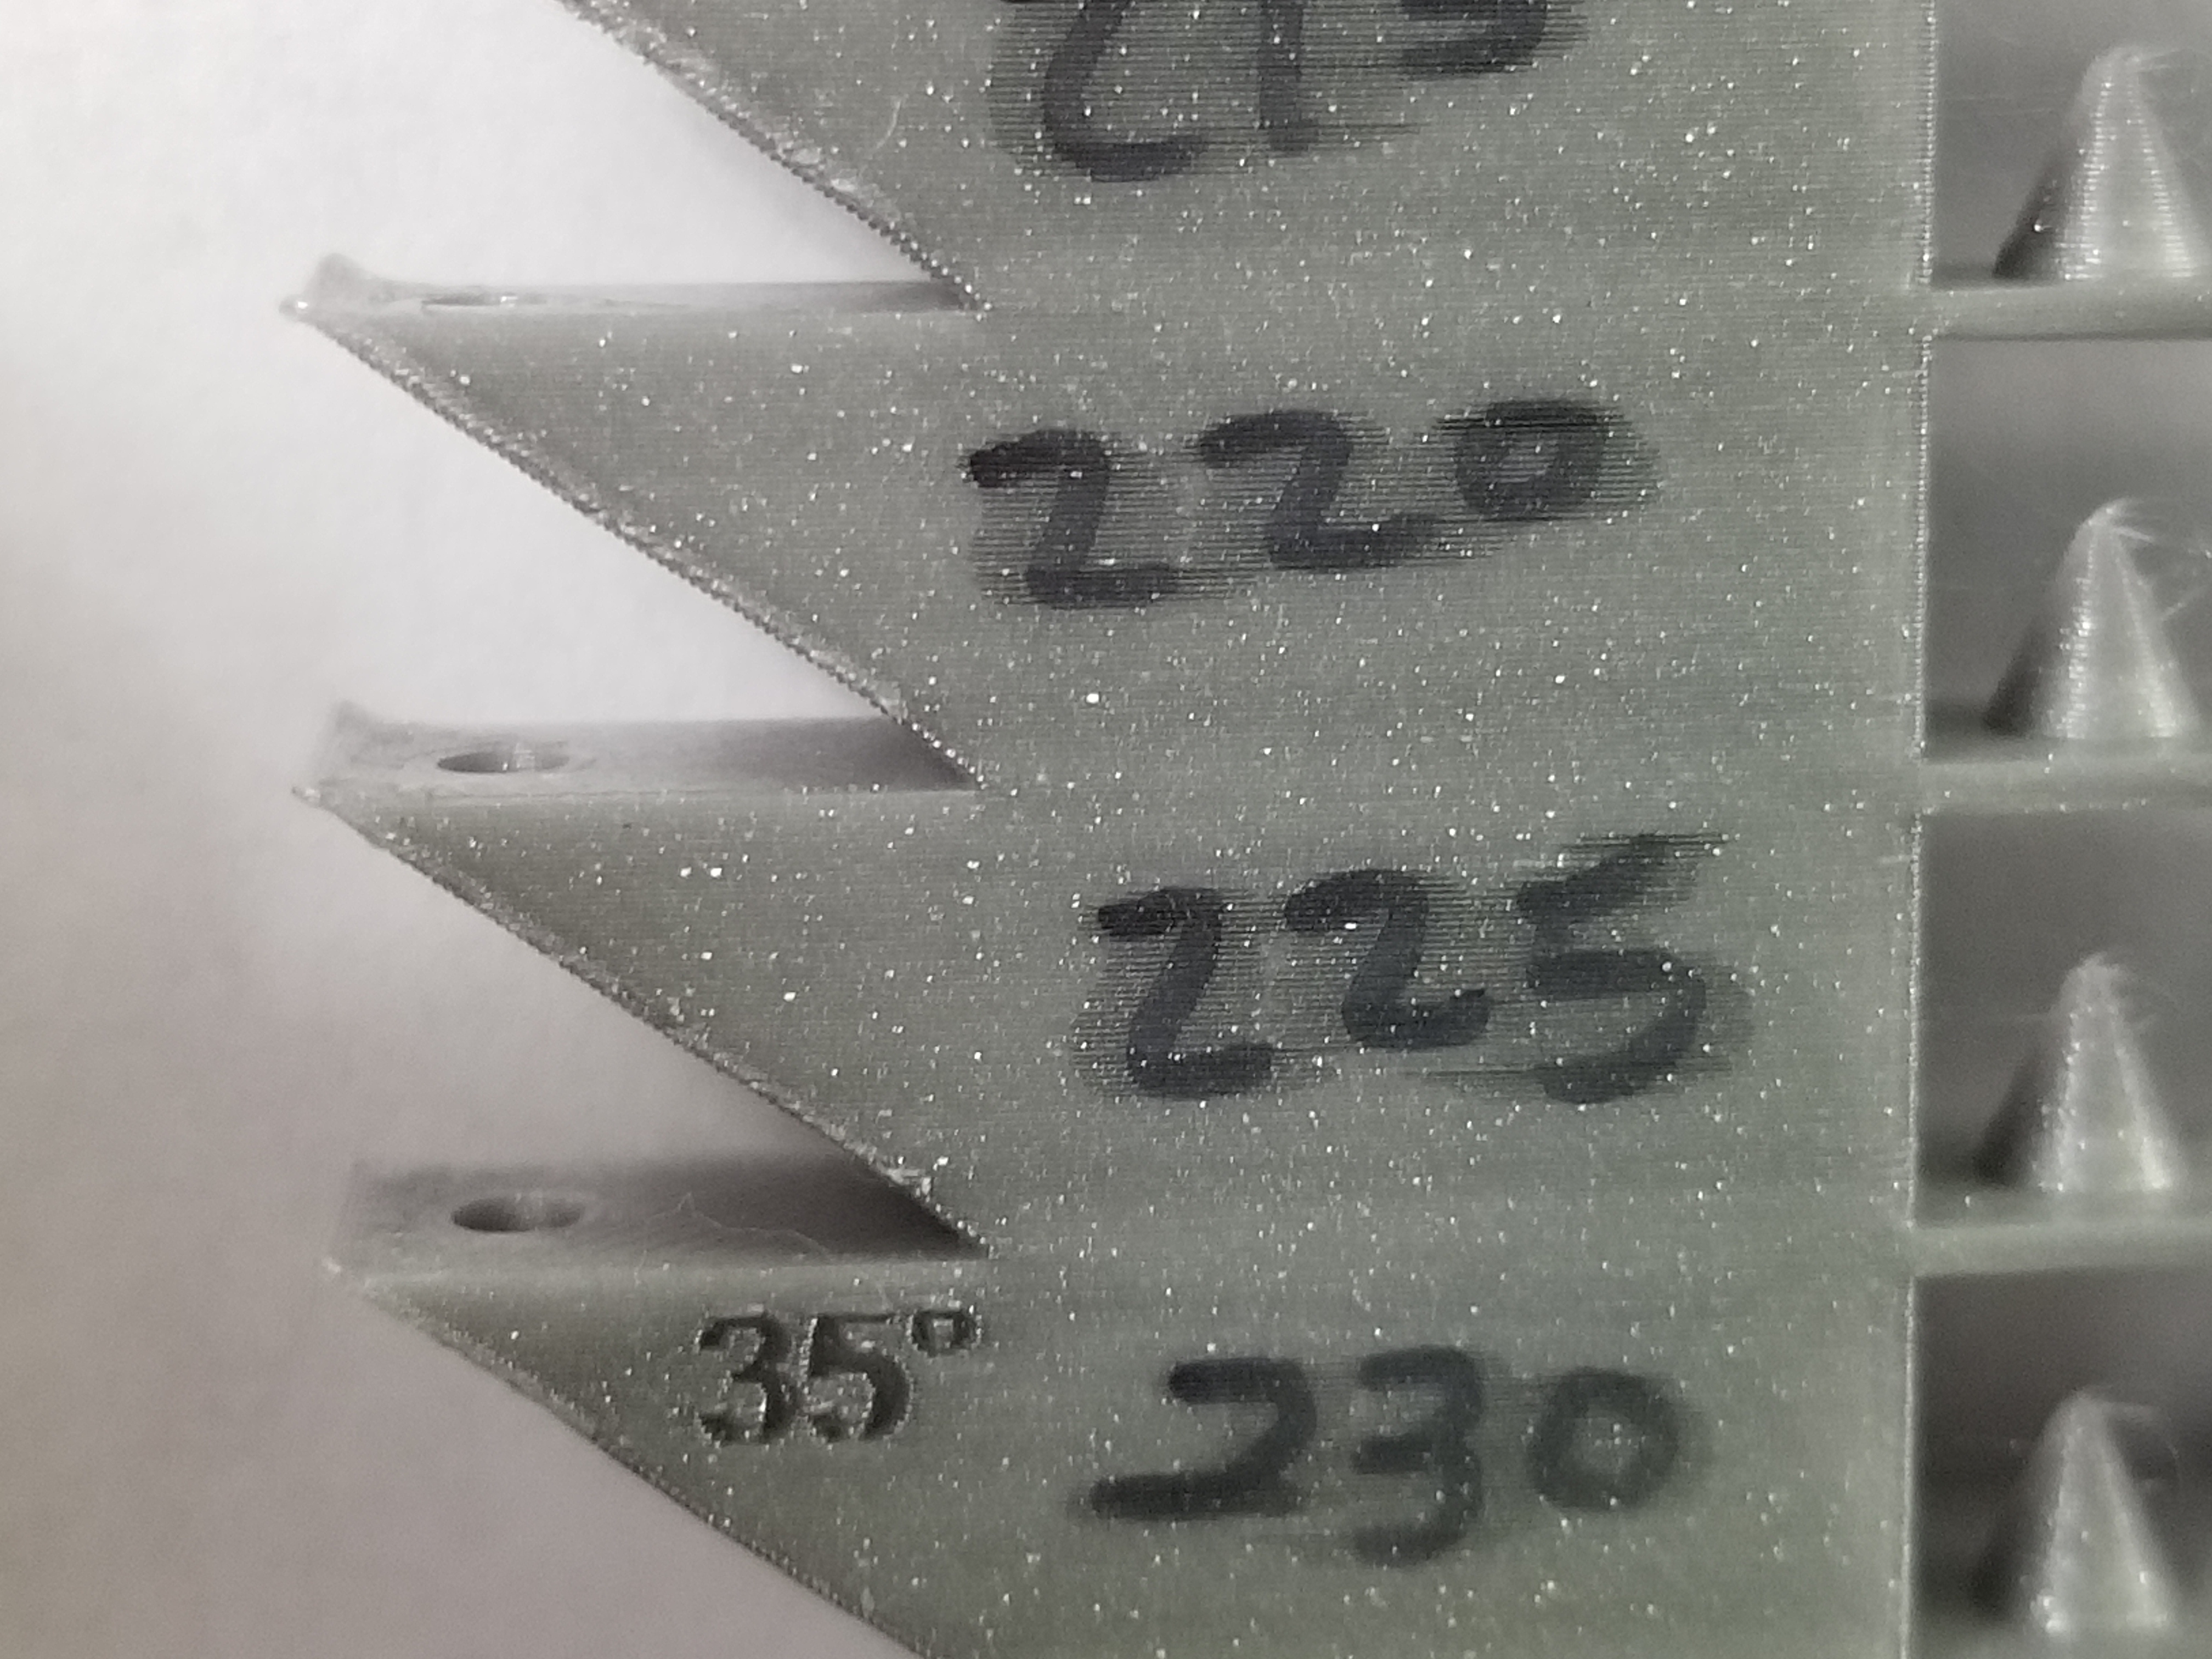
I printed a temp tower and strangely, the 230C portion looks to have behaved the best, in my opinion. I would like other opinions.
I included pictures that focused mainly on the overhangs.
I printed the Tronnic temp tower without any engravings, and set the temperatures to start at 230C at the bottom and end at 190C at the top. The tower was oriented with the numbered side facing front.
I confirmed the temperature changes on the display panel, during printing. The filament is the galaxy silver that came with my i3MK3S kit. I used the default Prusament PLA settings, apart from the custom gcode to apply different temperatures at different heights.
My observations:
- The rear tips of all overhangs, at all heights, have the same defect, but gets worse as the temperature is lowered; they all curve upwards at the rear.
- The sharp horizontal edge of each overhang is curved; the curve increases as the temperature decreases.
- The rear angled edges of the 35-degree overhangs are smooth.
- The rear angled edges of the 45-degree overhangs are rough at 205C and lower temperatures.
- The layering of the 35-degree overhangs seems to decay at 200C and lower temperatures.
- The layering of the 45-degree overhangs seems good at all temperatures.
- The long bridging looks to be equal at all temperatures; all imperfect.
- The short bridging (on the rear of the tower) seems best at 230C and 225C; not as flat at other temperatures.
- Stringing from the cones looks to be equal at all temperatures.
I seem to have a problem with the quality of whatever is to the rear of the extruder, if it has fine detail, such as a point or sharp edge. Higher temperatures seem to decrease the amount of defects to the rear of the extruder, when printing this temp tower.


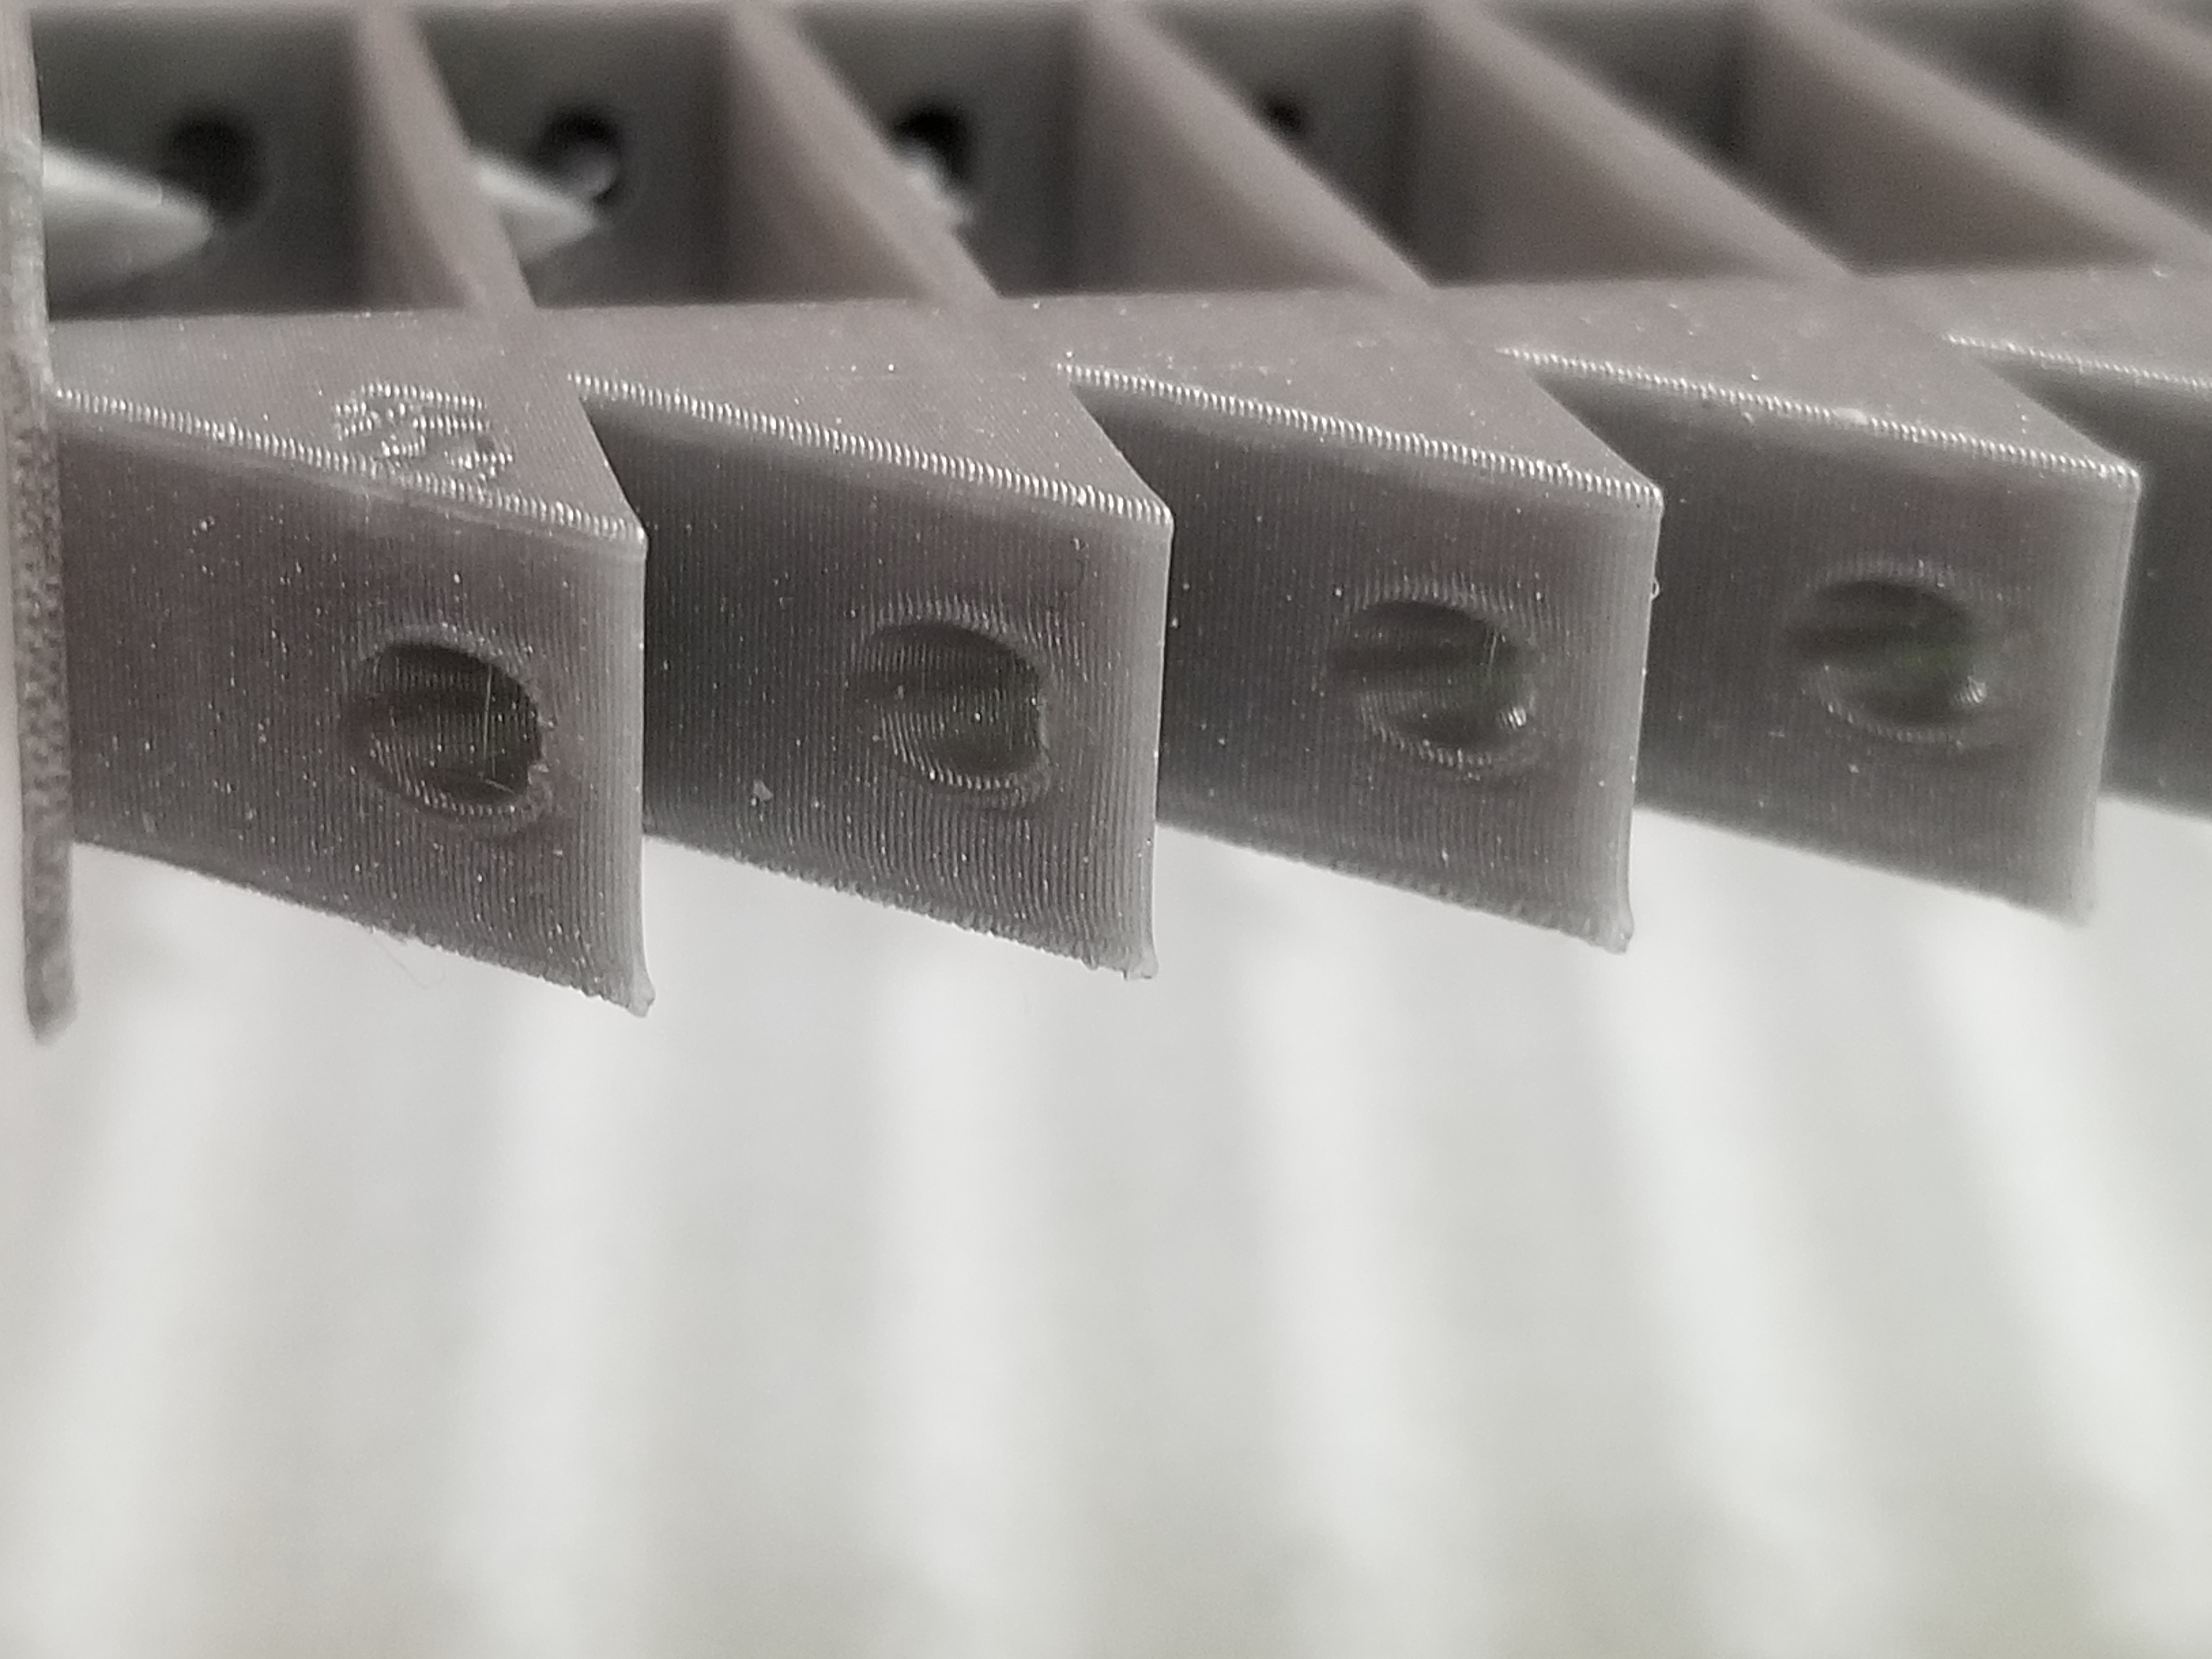
35-Degree Overhang


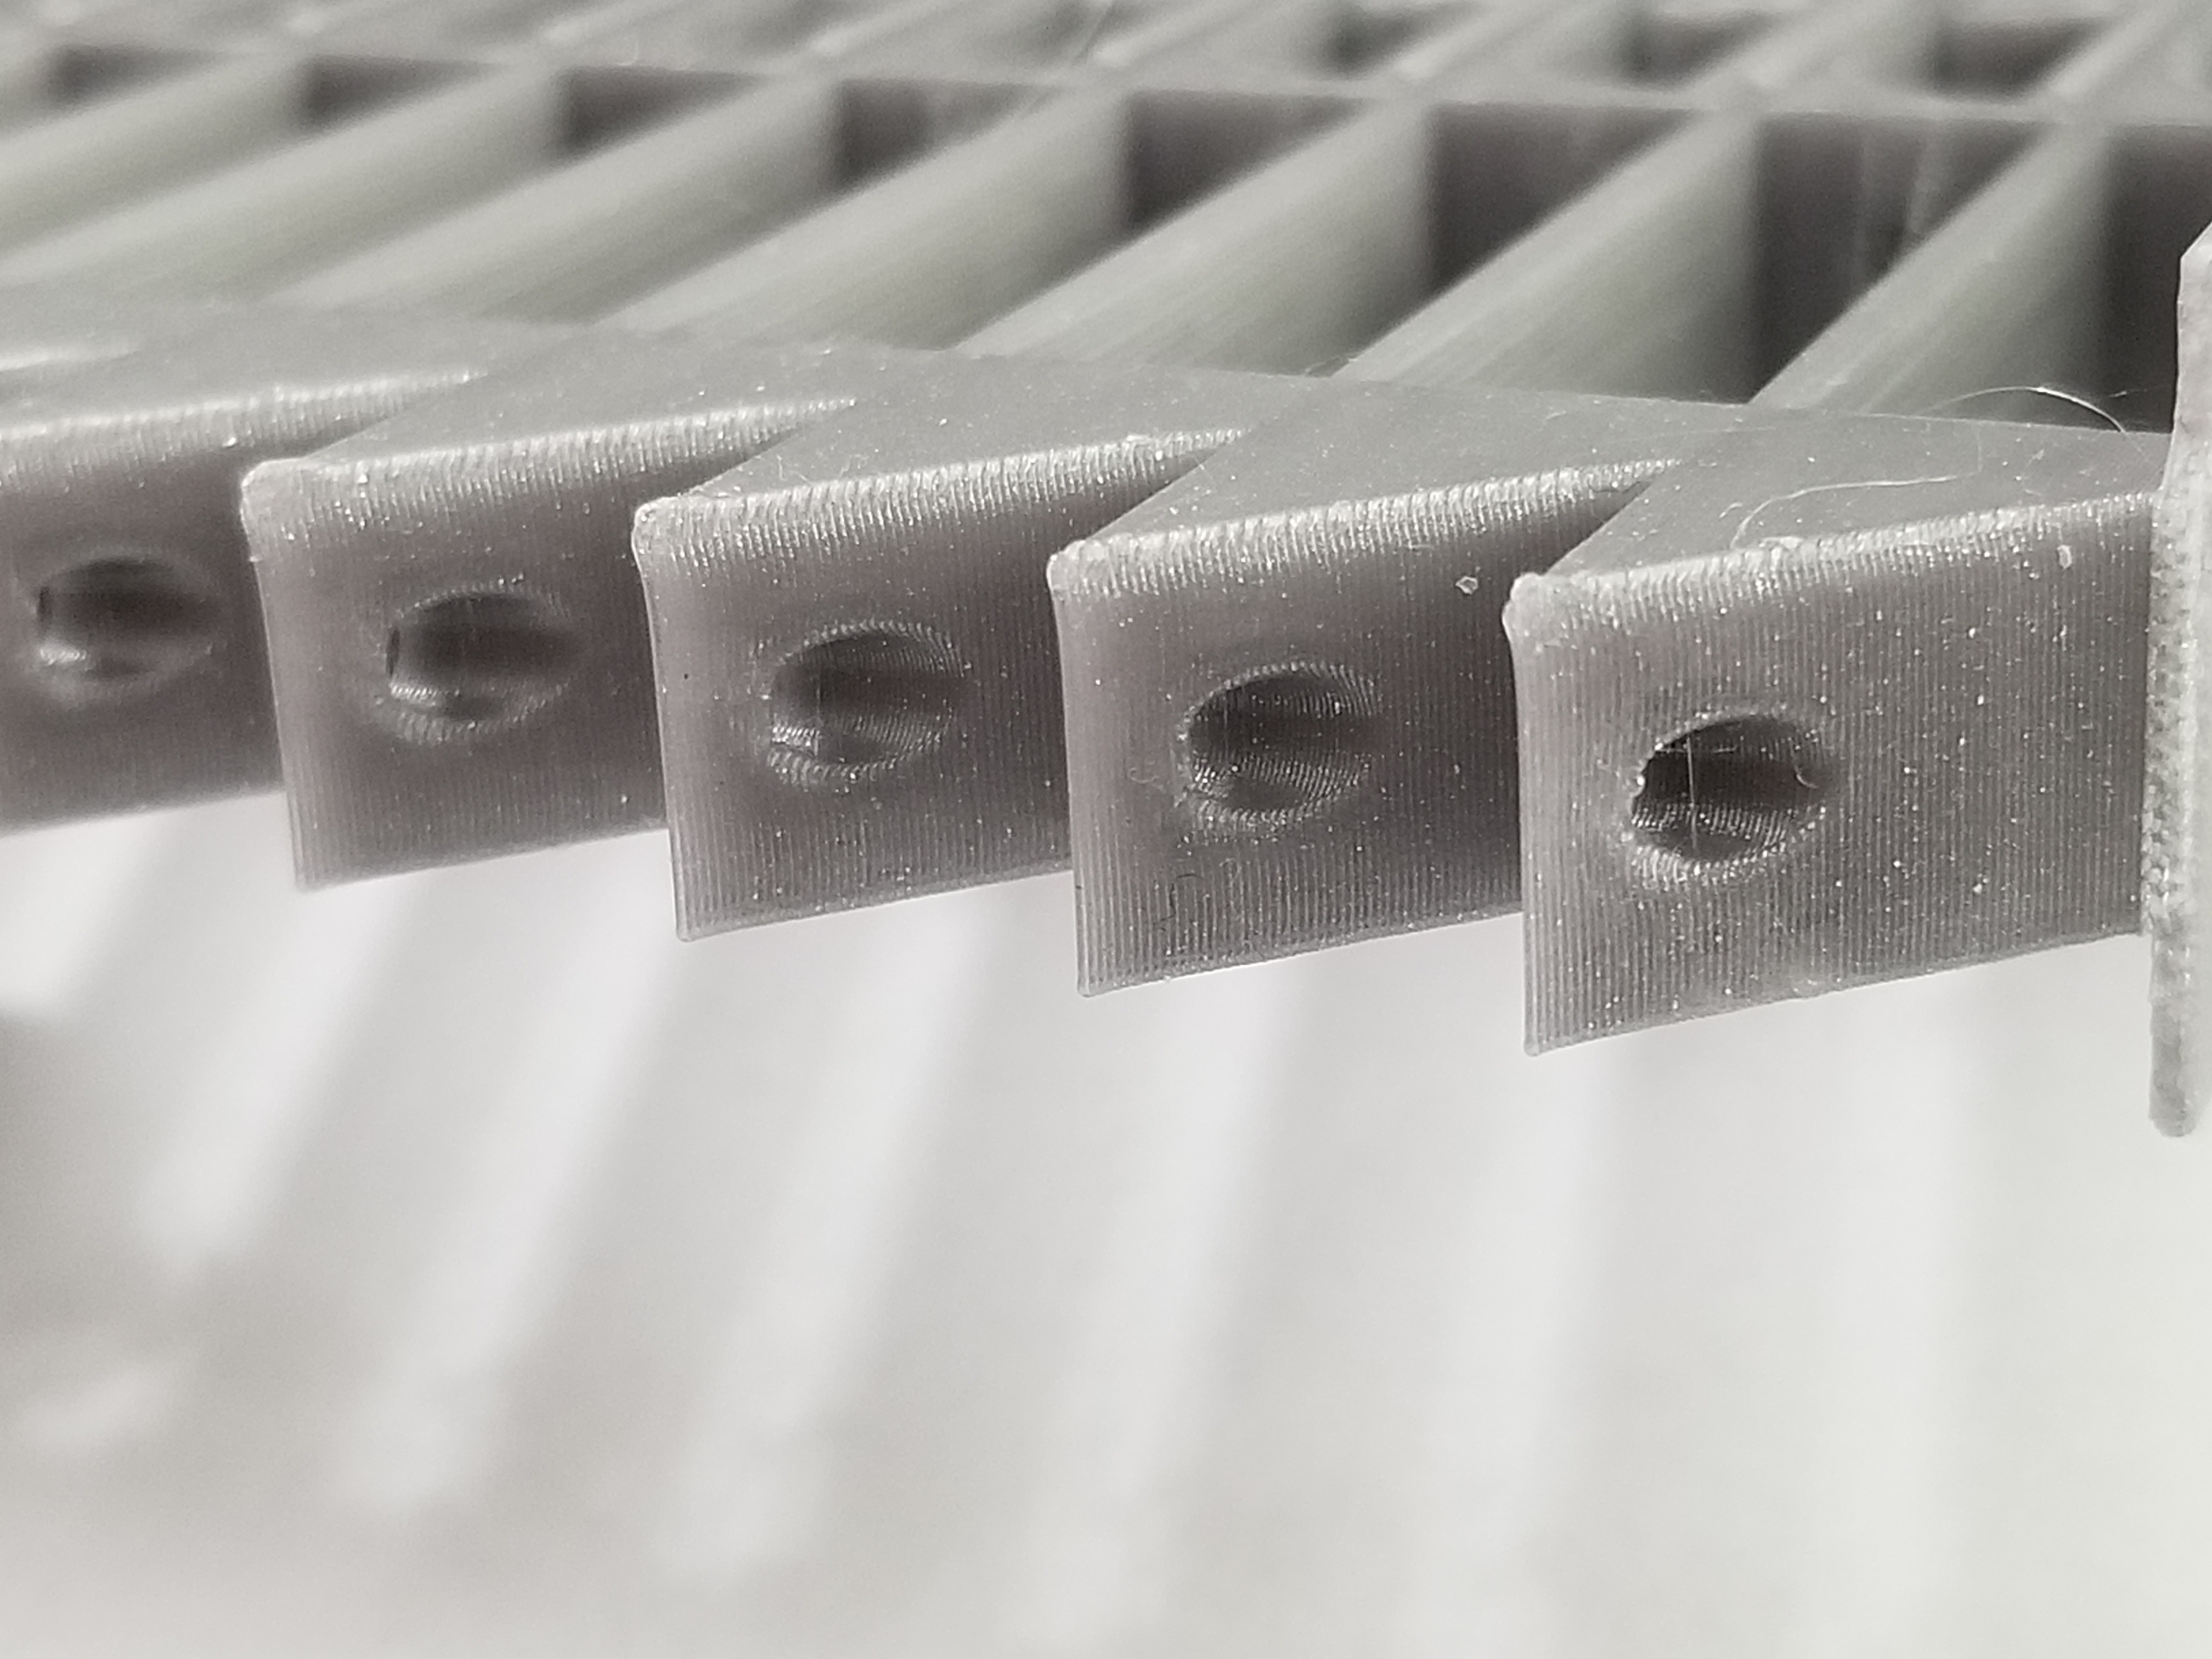
45-Degree Overhang

Prusa i3 MK4S Kit in Lack Enclosure
RE: Experiences with split or dual part cooling fan shrouds?
@t5montecarlo
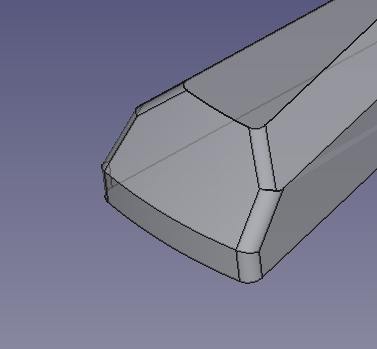
If you want to keep your "turntable base" design, you can improve the print quality by adding a 1 mm radius to the edge you are having trouble with.
Laser cutting, water cutting and even 3D printers perform better if sharp corners are replaced by a small radius. The machine then does not need to stop to change direction since the radius is only an extension of the transport path.
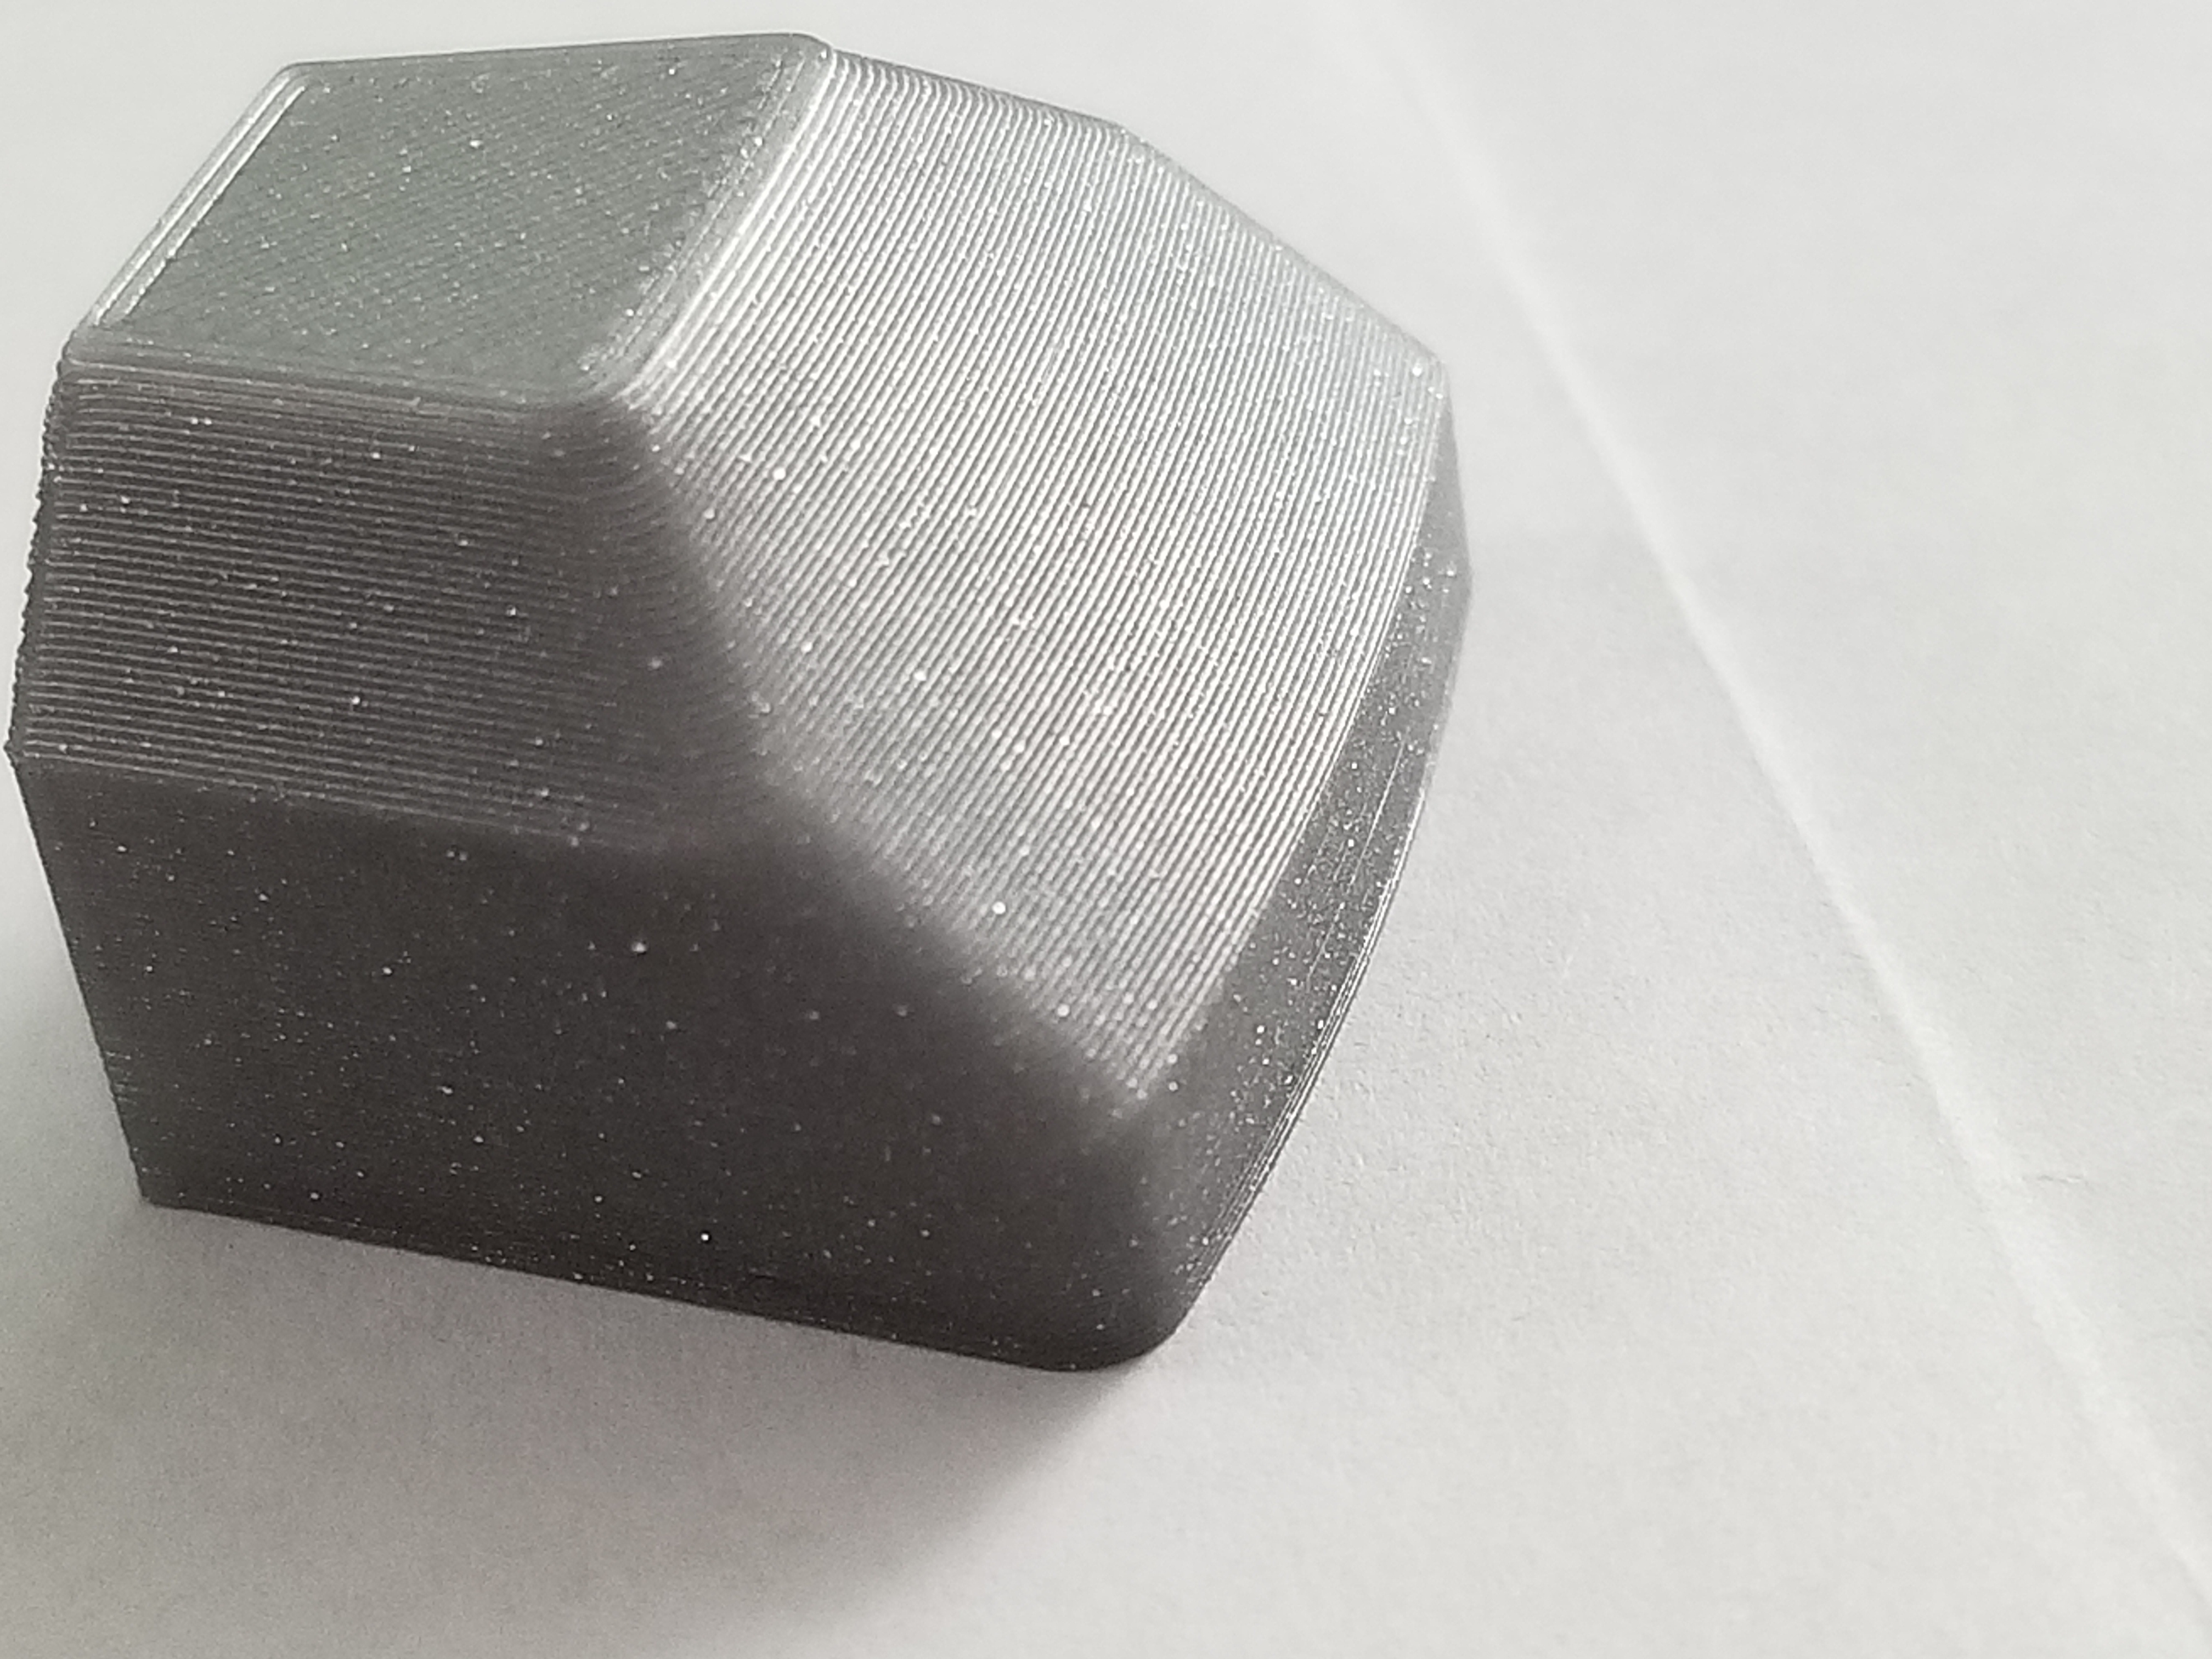
@rhdreambox, I applied a 0.077 (1.96mm) in fillet to the 3 sharp edges and the printed stub is perfect; no more distortion or rough surfaces.
Thank you very much for the recommendation.
Prusa i3 MK4S Kit in Lack Enclosure
RE: Experiences with split or dual part cooling fan shrouds?
@rhdreambox, I applied a 0.077 (1.96mm) in fillet to the 3 sharp edges and the printed stub is perfect; no more distortion or rough surfaces.
@t5montecarlo
It was nice to hear that your details got good in the end.
But .... you must know that it's now at least 45 years since the countries of the world decided to abandon inches and introduce the SI system with mm 😎
Bear MK3 with Bondtech extruder
RE: Experiences with split or dual part cooling fan shrouds?
@rhdreambox, I applied a 0.077 (1.96mm) in fillet to the 3 sharp edges and the printed stub is perfect; no more distortion or rough surfaces.
@t5montecarlo
It was nice to hear that your details got good in the end.
But .... you must know that it's now at least 45 years since the countries of the world decided to abandon inches and introduce the SI system with mm 😎
I printed the turntable base stub again, using the original Prusa duct and it had rough corners, even with the fillets. Then I reprinted the same stub with the same gcode, using your RHD CS duct, and the corners were nice and smooth!
Until now, I didn't think your RHD CS duct made any difference, but it did with this part. Thank you for making that duct. 👍👍👍 (though it is now difficult to see the print; I like to see how the first layer is doing, that there are no blobs or no strings beneath it from the priming strip.)
Circa 1971 or so, we began to learn the SI system of measurement in school, but the US government decided it was not a good idea. I do agree that in mechanical engineering, the SI system made computations much simpler and logical, but in machining and everyday measurement, the imperial system is still second nature to me. The downside is that I have had to buy nearly twice as many tools for the garage.
Prusa i3 MK4S Kit in Lack Enclosure
RE: Experiences with split or dual part cooling fan shrouds?
Thank you @t5montecarlo for appreciating the CS fan duct 🙂 Yes it is unfortunately that it is difficult to make a good fan duct which also does not hide the nozzle. It is easier with a vertically mounted fan, but now the fan is mounted at an angle which makes it much more difficult. But I am currently testing a much smaller fan duct on my MK3 with Bondtech extruder. This fan duct I used when I printed out your test item. But it is not yet adapted to the MK3S.
Bear MK3 with Bondtech extruder
RE: Experiences with split or dual part cooling fan shrouds?
@rhdreambox, your draft looks very similar to the original Prusa MK3S duct, apart from the missing hooked parts at the ends of the side ducts.
If your CS duct were shallower, it may make it easier to see the nozzle and the print, but I don't know how it would impact the flow modeling. The flow velocity may be increased, but don't know how that would affect its efficacy.
If you like, you may use my turntable base stub as a benchmark to see if the filleted corners print smoothly or rough. When I printed this part with your CS shroud, the corners are smooth, but they are rough with the original MK3S shroud (when the corners face the rear of the machine).
turntable base - (stub revised 2)_0.15mm_PLA_MK3S_36m.gcode
turntable base stub - revised 2.stl
Prusa i3 MK4S Kit in Lack Enclosure