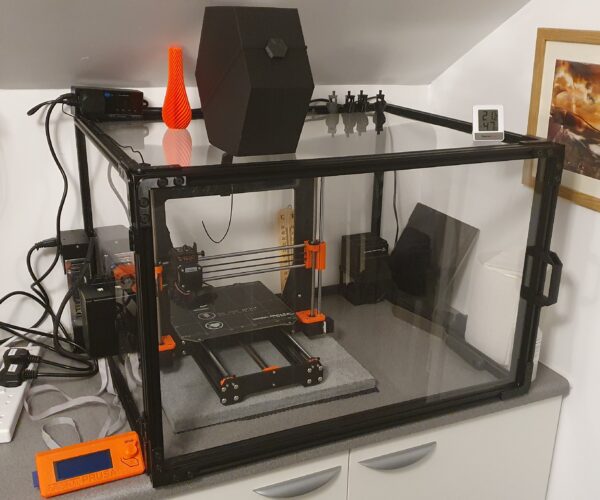
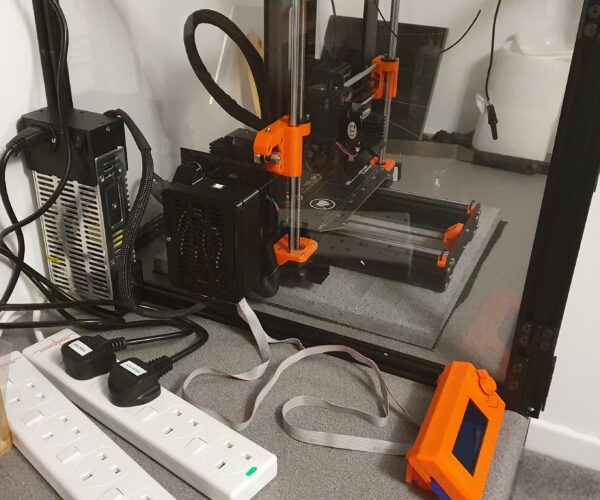
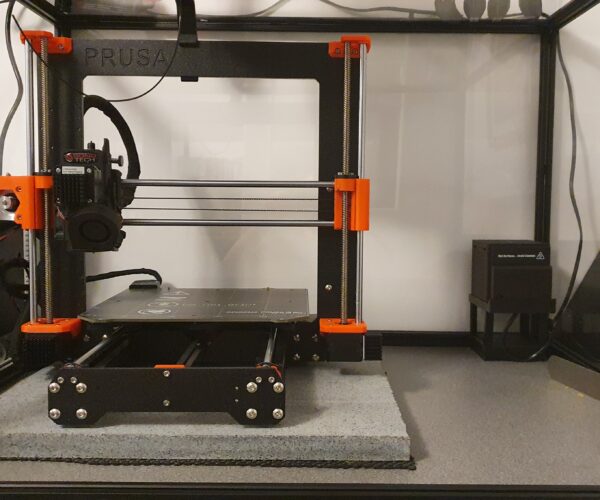
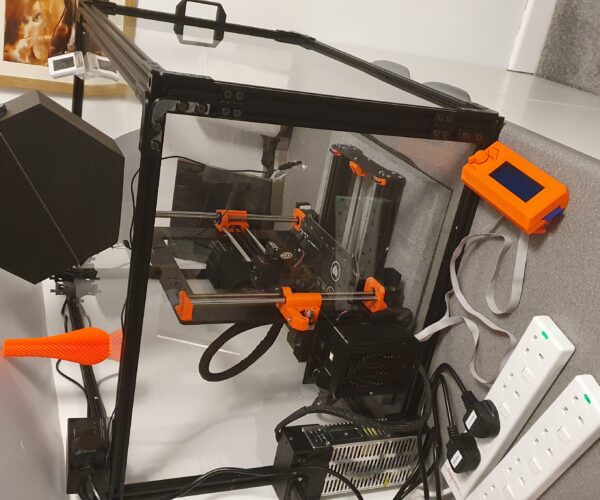
20x20 Enclosure Build Guide
Hi everyone, I've taken a lot of advice from this community over the years so I thought I'd give something back. I have just completed a temperature controlled 20x20 enclosure which I thought would be of interest to some people, so here's a (hopefully) handy guide. This will give you an enclosure 720mm wide, 620mm deep, 470mm tall.
Requirement
I've had a Lack enclosure (v1) for about 18 months now but I've never been 100% happy with it as I wanted something that:
- Looked purposefully built rather than re-purposed (not knocking the Lack design for a second, it's great)
- Had temperature control for ABS
- Was larger than the Lack enclosure
- Helped to reduce vibration
Printing Required
- Acrylic inserts (x120) [file attached]
- Optional L brackets (x20) [file attached]
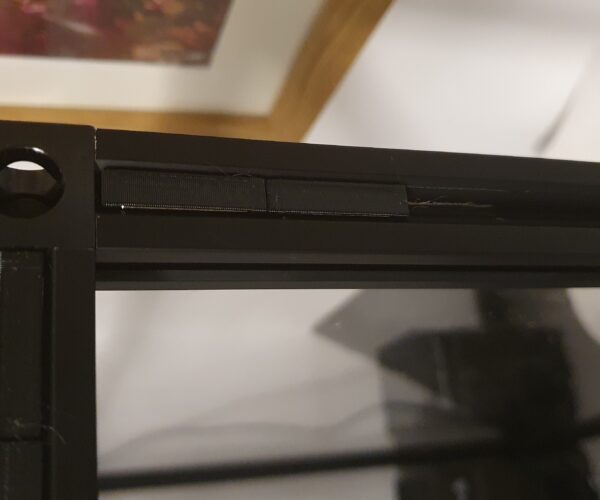
- Magnet carriers (x16) [file attached]
- New PSU top cover (2 parts) [file attached]
- New PSU bottom cover [file attached]
- New EINSY case [link in credits]
- New EINSY backplate and standoffs [file attached]
- Heater stand [file attached]
- Cable clamp [file attached]
- Optional filament guide [link in credits]
Skills/Tools Required
- Assuming you built the kit, the only other skill you need is soldering
- Screwdrivers, allen keys, soldering iron, wire strippers/cutters, drill, small files, masking tape, pencil
Assembly
Printer Stuff
- So step one is printing, so get to it! You’ll need the parts in the section above Please note That the acrylic inserts, magnet carriers, PSU covers and heater stand are a friction fit to the extrusion so I recommend checking it is a perfect fit for your extrusion before you disassemble your printer.
- Now get disassembling, you’ll want to remove the EINSY enclosure and all the associated wiring and also the PSU.
- For the PSU, changing the top cover requires completely removing the old one. If you are in any way uncomfy with this then leave the PSU alone for at least 24 hours to let any charge dissipate, or seek help (bit of a disclaimer comment there, stay safe!).
- It’s easiest to do the wiring extensions before you get the printer into the enclosure. To do them, identify the wires coming from the extruder bundle. You’re going to cut the connectors (at the EINSY end) off about 5 cm above the current connectors, splice in the new wiring, using the heatshrink to cover the solder joins.
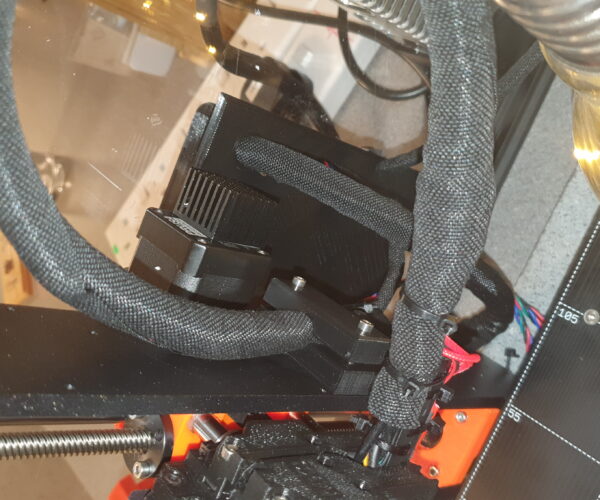
- Using the 2 M3x30 bolts, screw the cable clamp to the x-motor end of the frame, ensuring that the nylon filament goes into the angled hole and the cable bundle is not crushed. Tighten as required. You want to aim for the bundle to be clamped just when the textile sleeve from the extruder ends – effectively it’s the same length as it was when the old EINSY box was on. Now wrap the textile sleeve around the remaining length below the cable clamp which will go to the EINSY.
- The printer is done! Put it to one side
Enclosure Assembly
- The door is the easiest, so start with that. Place the panel in the extrusion slot and slide in the acrylic inserts, alternating inserts between one side and the other, a pair at each end and a pair in the middle.
- Ensure that on the inside face of the door you put two magnet carriers (with magnets) on the top edge, two at the top of the vertical, two at the bottom, and two on the bottom edge.
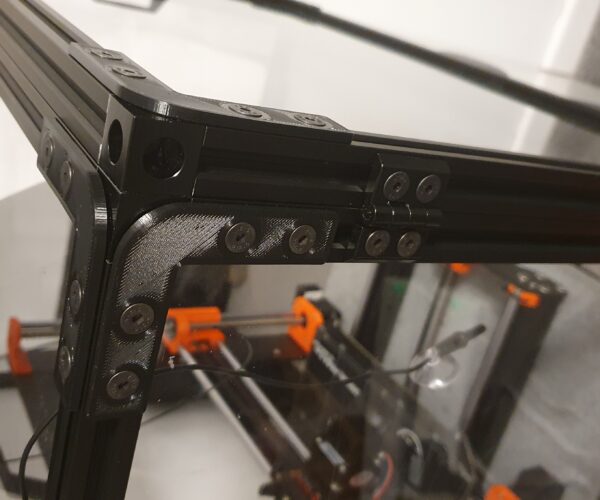
- Add two hinges, a door handle, and 4 L brackets on the outside of the door. It’s done! Put it to one side
- Assuming you’re going to put the printer in a similar position to mine, stick several pieces of masking tape on the area where you are placing the einsy and mark out the holes with the extruder bundle at the top.
- Note that if you move the EINSY further away than in my setup you may well need to extend other motor cables and the heatbed cables. I do not cover them in my bill of materials.
- Drill and file out the holes.
- Superglue on the plastic standoffs to the backplate, press in the heat-insert nuts, and check that the EINSY enclosure and backplate line up nicely with the holes. Good job!
- Now assemble the enclosure remembering to:
- Include magnet carriers on the front face to match the door
- Add the PSU to the extrusion groove on the back left edge
- Add the PSU to the extrusion groove on the bottom left edge
- Add the heater stand to the extrusion groove on the bottom inside edge
- Add L-brackets as desired
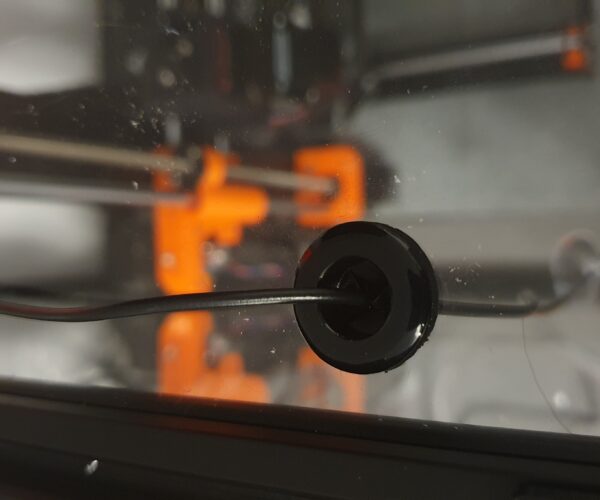
- Assuming you’re putting the heater and the temperate probe in the same places as me, drill and grommet a hole on the right side panel in the bottom right corner, and on the top sheet in the front left corner
Bring it all together
- Slide the PSU down the vertical and the bottom cover sideways so it’s all supported
- Get your enclosure to where you want it and get the printer inside too. I’m using an area of worktop with a non-slip mat and then a concrete slab but go with whatever your setup is.
- Fix the EINSY enclosure and backplate to the enclosure – ensure you’ve put the square nut for keeping the EINSY closed into the print, it’s a real pain if you forget and the wires are in!
- Thread all the printer cables through and connect them up to the EINSY. Tighten the cable clamps on the EINSY box
- Add braiding and heatshrink to the PSU cables to keep them tidy if you want, and connect to the EINSY
- Put the heater on the stand, connect wiring and run it out through the grommet to wherever your controller is
What’s left
- I haven’t found a control panel mounting solution I like yet, I’ll update this when I find one and install it
- Other than that, you’re done!
- Run a self test and a calibration to make sure all is well with your printer
- Enjoy the new enclosure 😊
Materials
- Black 20x20 extrusion – 450mm (x6), 600mm (x6), 700mm (x6)
- 3mm acrylic panels – 612x462 (x2), 712x462 (x2), 712x612 (x1)
- 3 way cube corner connectors for 20x20 (x12)
- Door handle
- Hinge for 20x20 (x2)
- M5x10 black hex countersunk (x20)
- M5x8 black hex countersunk (x6 plus another 80 if you’re using the L brackets)
- M5 drop-in tee nuts (x26 plus another 80 if you’re using the L brackets)
- 5x6mm neodymium magnets (x16)
- Hardware to fix the enclosure to your worksurface (I used x6 M5 tee-nuts and x6 bolts)
- Rubber grommets to fit a 3mm panel – size of your choosing
- Rubber grommets to fit a 3mm panel – size of your choosing
- Enclosure heater (I used a Stego CSL028)
- Temperature controller (reptile vivarium ones are fine)
- Wiring for heater and controller as required
- Braided sleeving and heatshrink if you want to wrap the PSU cables on the outside
- Cable extensions – about 30cm is enough, but go shorter/longer dependent on where you want the printer in the enclosure. Each unit below is one length. Note that I don’t bother with the filament sensor so add additional wiring if you want it.
- 16awg x2
- 24awg Red – x4
- 24awg Blue – x2
- 24awg Brown – x1
- 24awg Green – x1
- 24awg Black – x5
- 24awg Yellow – x2
- Heatshrink to go with the above for covering joins
- Extra length of textile wrap used for the extruder bundle
- A sprinkling of cable ties
- M3x30 (x2)
- Nuts and bolts for the EINSY case and PSU cover if you’re not re-using the existing ones
- M3x4 heat-insert nuts (x4)
- Superglue
- Black PETG filament
Credits
Filament guide - https://www.prusaprinters.org/prints/1299-filament-guide
EINSY case - https://www.prusaprinters.org/prints/7779-einsy-rambo-box-for-mounting-on-the-outside-of-an-
Lulzbot (for inspiration) - https://ohai.lulzbot.com/project/cat_guard/accessories/
RE: 20x20 Enclosure Build Guide
What is it that you have the printer sitting in inside the enclosure? It looks like the drawer liner used in tool cabinets and some sort of stone.
RE: 20x20 Enclosure Build Guide
A paving slab to reduce vibrations, and some non slip mat so it doesn't scratch the worktop if I ever move the enclosure and use that patch of worktop.
RE: 20x20 Enclosure Build Guide
Thanks. Copying the idea.
RE: 20x20 Enclosure Build Guide
Great guide. Thanks !
RE: 20x20 Enclosure Build Guide
Hey, this is a fantastic idea and I'm midway through my own version of this. Can you please re-add the 3d files though? It seems they were all removed in this thread. Or, if it's easier can you upload to Thingiverse or similar?
Thanks!!
