High in the middle on calibration
Have been trying to calibrate this sucker for over a week now, and it's still to no avail. Did the four corner method with everything heated as expected, and get the corners dead on with a business card. When I got to check the middle, you can get the card through and it's obviously to tight. I checked the sides across from the middle and it's the same thing, but not quite as severe.
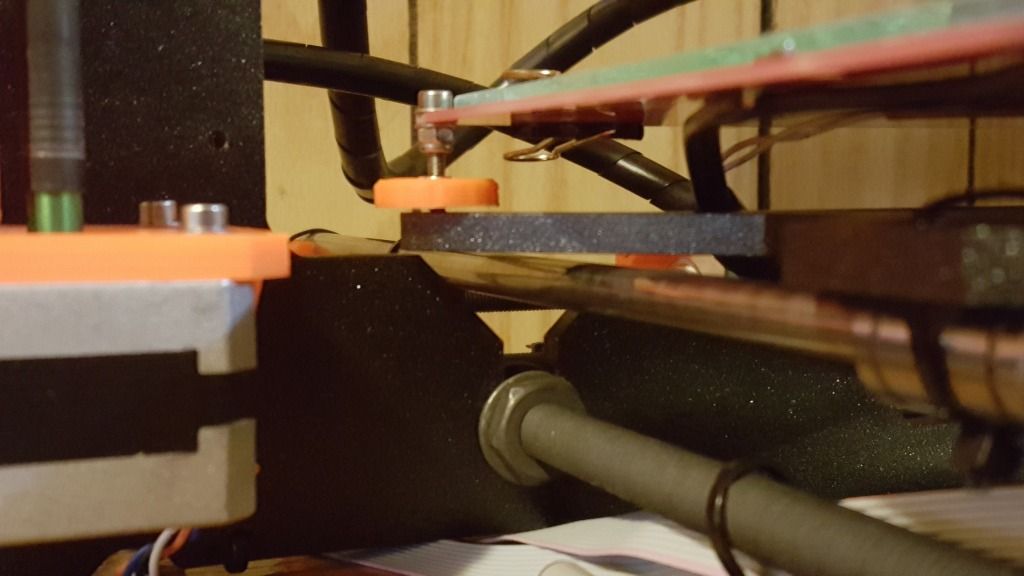
I just keep chasing my tail with the calibration as the thumbscrews can only do so much. One or more will always get a gap between it and the frame
when I adjust it so far. Should be able to see from the photo below.
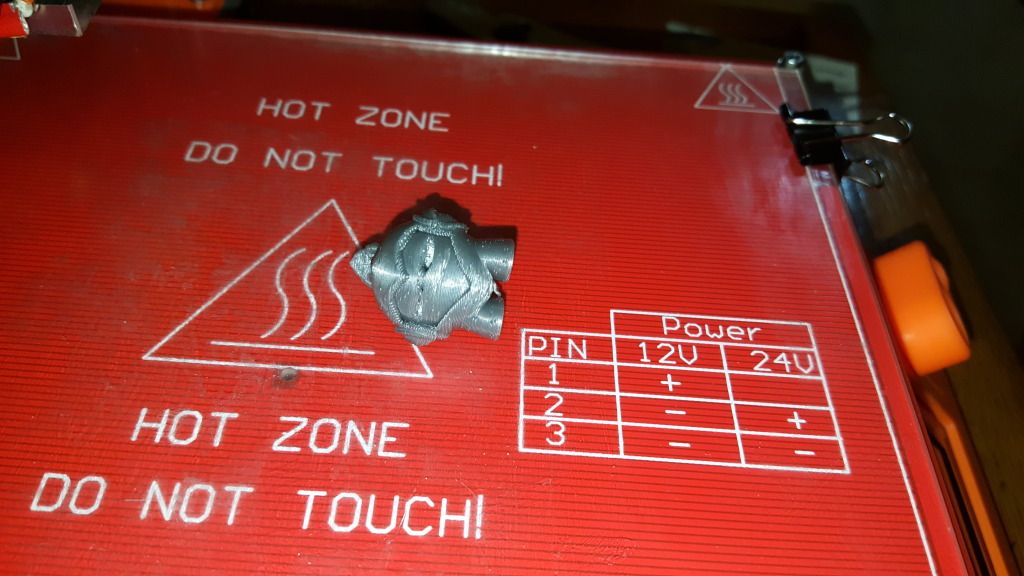
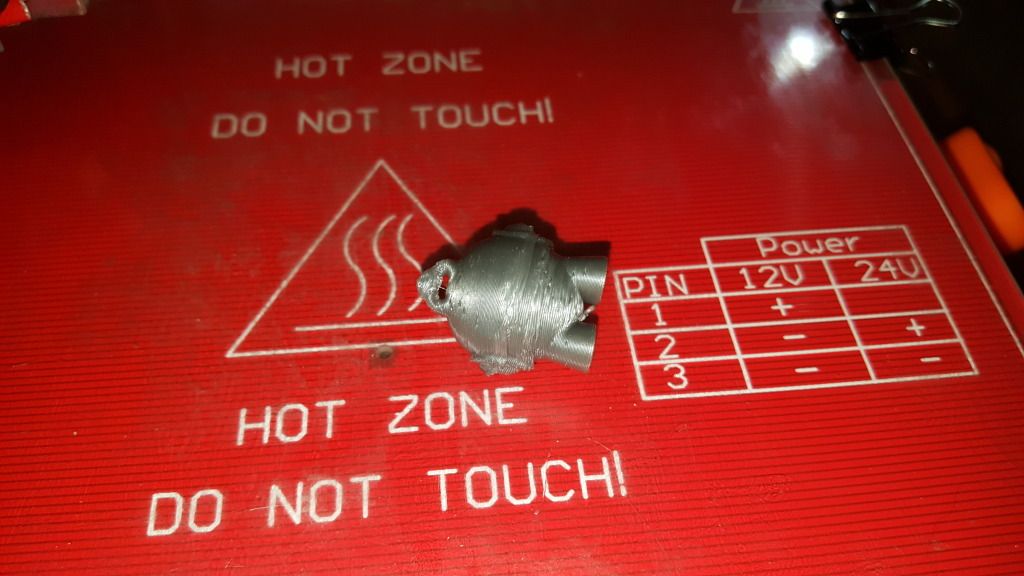
I can print to a degree as I was able to do a small calibration test which you can see below

After that, I tried printing Marvin and got horrid results. Assume that was because it's going out of whack it it prints higher?
The only thing that I can see off on the printer is the right threaded rod is a fuzz higher than the left. I had that issue which was addressed in a previous thread, and it was fixed. Now both are seated dead on top of the motor, but the right is somehow magically higher. I have gone ahead and ordered those flexible couplings a lot of people use, maybe that will help but I'm clueless as the threaded rods are seated and the top of the smooth rods are all flush.
Re: High in the middle on calibration
Adam
Ideally you need to have both ends of the X axis level. Do this by measuring from the Z rail to the Y rail at each side and then adjust by turning the right Z motor so that both sides are within 1 mm.
You may have to hold the left motor while you turn the right motor.
Regarding flatness of the glass; this is not unusual as it is almost impossible to make toughened glass flat, due to the extreme heat of the process.
Try turning the glass upside down. When you clip the glass onto the bed, it will be pulled against the heater and flatted out somewhat.
Having one adjuster not sitting on the Y chassis tends to indicate that the frame is slightly twisted. Make sure that all 4 feet are flat on the table. If not, put an object under one of the opposite diagonal feet and push down on the higher pair.
Peter
Please note: I do not have any affiliation with Prusa Research. Any advices given are offered in good faith. It is your responsibility to ensure that by following my advice you do not suffer or cause injury, damage…
Re: High in the middle on calibration
Oddly enough, the frame was twisted last week when I was actually able to print with better success. I have no idea how I managed to get it calibrated, but it printed fairly well at first.
I checked the frame about two days before I posted this message and it was higher on the right side... where the problems mainly were. Unless I really missed something, it should be perfectly seated now but I will definitely go back to check again.
I never though about flipping the glass as it came with one side pre-prepped. Will give that a shot as well.
With the X-Axis, I followed your advice from my previous thread and that took care of it to a degree. Even with the rods "flush" on top of motor, the right side stays high. Had to cut the shrink wrap to check, but it's seated as it should be and actually did'n't budge the with those test prints. That said, after evening up the right side with the left perfectly, it came up about 1mm on the right side again after printing.
I will check out the frame again shortly along with the glass and report back.
Re: High in the middle on calibration
Hi Adam
If the right hand side is losing level after printing, there are 2 possible reasons:
1. That the plastic connector is moving and the is a gap between motor spindle and the threaded rod.
2. That one of the Z motors is not properly synchronising with the other.
For the first item, there are 2 possible solutions:
1. Ensure that the plastic connector is firmly in place and that there is no gap, then shrink the heat-shrink, with an overlap at both ends. You really need to use a proper heat gun to get a good shrink - I use a re-work station heat gun at 230 degrees. Ensure that the shrink is tight at both top and bottom.
2. Replace the plastic connectors with aluminium ones. These can be somewhat problematic in themselves and you will have to print amended Z endstop holders to allow for the 25mm or so diameter connectors.
For the second item, there are also 2 possible solutions:
1. Check the motors and especially wiring to ensure the motors are properly matched and the wiring is not damages and secure. Possible replace a mis-matched motor.
2. Increase the current to the Z motors - this requires a recompilation of the firmware and is not advised unless you know exactly what you are doing.
Peter
Please note: I do not have any affiliation with Prusa Research. Any advices given are offered in good faith. It is your responsibility to ensure that by following my advice you do not suffer or cause injury, damage…