Complete Failure
I came home after being gone for 18 hours and was surprised to hear my i3 still buzzing away in another room on what should have been a 6 hour print with a burning smell in the air. As I got closer the smell intensified and found the entire print head was encased in more than 100 cubic centimeters of solid PLA encasing the nozzle, the sensor, the lower wires, and was completely fused to the print head body and smelling terrible and was very hot. The printer has otherwise worked well for the few days I have had it. What could have gone wrong, and what should I do?
Re: Complete Failure
- Proceed with caution as to not damage the MK2
- Pull out the hair dryer / hot air gun, take off plastic slowely
- - take care not to pull the thermister
- Post the a picture of what you attempted to print, maybe the thingiverse link
Re: Complete Failure
Failures like this can happen, for example when the part itself or sometimes even a support structure detached itself from the print bed. Or something warped, got knocked over, layers shifted or what not. Basically, whenever the currently extruding plastic starts sticking to the nozzle instead of the previously printed lines. Sometimes a bad STL with errors in it (happens alot when printing files from Thingiverse & the likes without checking it first for errors). Sometimes S..tuff just happens.
As for how to salvage your hotend, that part was already answered by David. Use heat, preheat the nozzle, use hot air, you said you printed in PLA so slightly above 60°C should get this blob to soften up, the extruder mount is printed in ABS and should be good to 100°C.
Go slowly and proceed very carefully where the cables are. If you end up breaking it, spare parts can be ordered from Prusa or the actual manufacturer of the hotend: E3D-Online.com (UK) or their various regional resellers.
Re: Complete Failure
Also, extra care when cleaning the pinda probe, the black tip can get detached and this is the hardest part to get replaced. I think only Prusa has replacements. Every other part can be source from multiple vendors.
Re: Complete Failure
➡ at least you have to take the whole extruder body apart.
💡 if there are any plastic remainders between heater block and extruder cover, you'll get a heat-bridge that can melt down your extruder cover.
btw.: i recommend some silicone protectors ("blue socks") for the heater block & nozzle. this avoids that filament and/or printed objects stick to the nozzle and/or the heater block. you can get them from e3d-online for a small obolus.
dem inscheniör is' nix zu schwör...
Re: Complete Failure
➡ at least you have to take the whole extruder body apart.
💡 if there are any plastic remainders between heater block and extruder cover, you'll get a heat-bridge that can melt down your extruder cover.
btw.: i recommend some silicone protectors ("blue socks") for the heater block & nozzle. this avoids that filament and/or printed objects stick to the nozzle and/or the heater block. you can get them from e3d-online for a small obolus.
I read some reports where those silicone socks came off during print, and caused exactly what they supposed to prevent.
Not sure if I would recommend those.
Re: Complete Failure
Thanks for the advice, I was about to give it a go, but then found that the cables are completely engulfed and wrapped in the blob. The PLA even worked its way up around all of the sensor and fan cables and into the metal heat sink. How can I try to remove it from where it is completely surrounding other objects? Also, I can see now that it is fused with the printed body of the head assembly with orange and gray plastic twisted together in at least one place. Can they be detached in any way other than by cutting them apart?
Lastly, I am a teacher and convinced my school to purchase this for our Lego robotics classroom; I had planned on having this device print some during the day and leave it to print other more complex objects at night. Now I have to ask for more money again from the school to buy replacement parts after just a few days of use. Being a public school teacher, I have minimal money to put into this of my own. Was I wrong to have assumed this device could be left alone? Because of its loud noise I can't use it in my math classroom, and I cant take it home at night either. How can I ensure this doesn't happen again overnight?
Re: Complete Failure
Make sure to get in touch with Prusa support, given your particular situation they may be able to help you one way or another.
- Gab
Re: Complete Failure
Print with the SD card. You can pause the print for 24 hrs (search this forum on the method which involves turning off the heat to the nozzle and print bed). You can also rotate the LCD knob to slow down the print to 10% at which point you will only hear the fans then print at 4X the speed when noise is not the issue, use these settings ( http://shop.prusa3d.com/forum/print-tips-slic3r-settings-kisslicer-model-repair--f12/speed-from-40mm-s-to-80-safe-on-mk2--t3388.html ).
I have seen worst print failures, once you heat the grey blob with a hair dryer it will become like soft gum and almost drip off. Go slow and no force except what a small child could generate w/ their bare hands.
There is a chance that it will take no replacement parts to get the MK2 working again... come back to this forum with photos when you hit a road block during any stage of the cleanup and/or repair.
What area / country do you live in. May be members on this forum may be willing to print replacement parts for you for free since it is for a good cause if you reach out.
Re: Complete Failure
Heat it up and use a scalpel to cut away sections perhaps?
Re: Complete Failure
It has been tedious work with a Dremel and soldering iron to slowly dig back to the head, but I think I am within an hour or two of reaching the wires. The process has been quite unpleasant with molten PLA being flung everywhere including my hair and ceiling. I have found that setting my soldering iron at 340F is hot enough to melt the PLA as quickly as possible without melting the electrical wires, but the iron is very slow considering the mass of the blob. I will post more as I near the end of my excavation.
Re: Complete Failure
don't you have a heat gun with temperature control at hand (picture below is only a sample, there are a lot of other brands)? that's very useful for other things too (like removing paint from old furniture or even (un)soldering smd parts), especially when you've got a clogged nozzle (at the hotend).
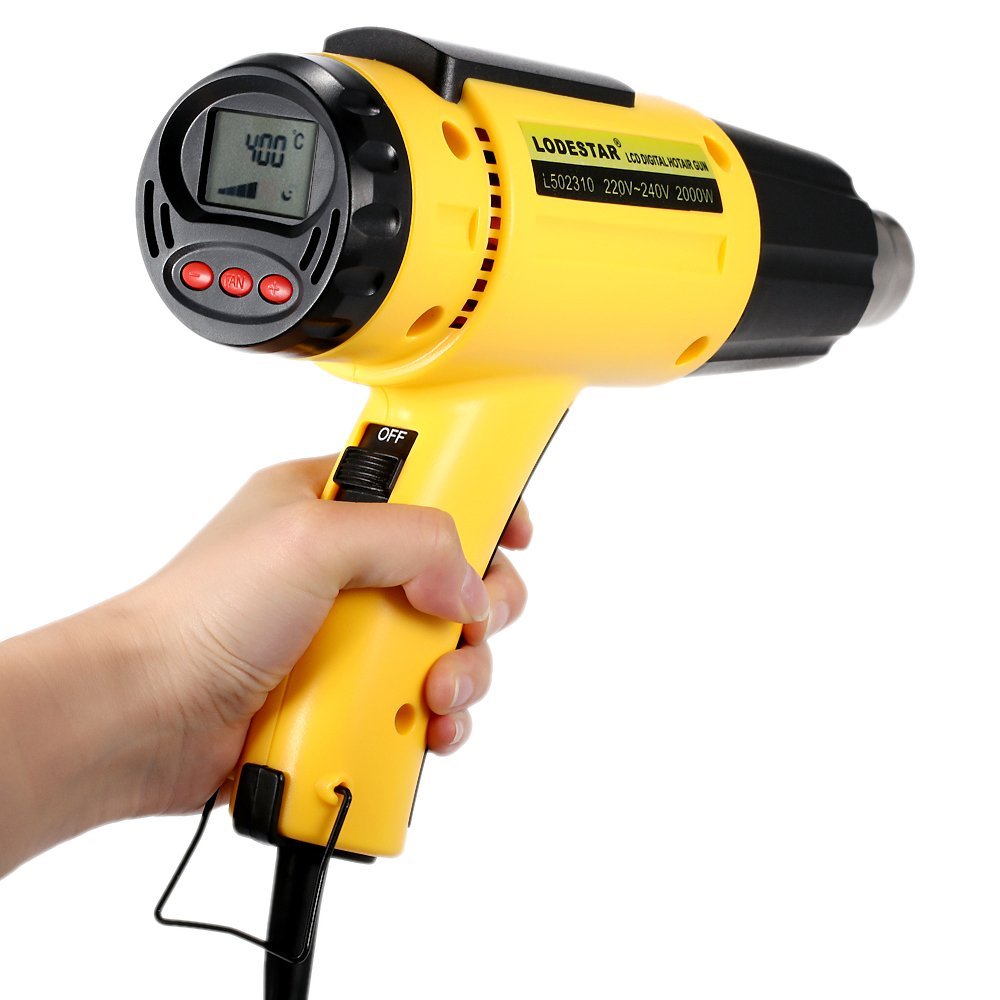
so you can heat up the pla (as mentioned before) with one hand and peel it off with some pliers or even tweezers in the other hand.
😕 personally i wouldn't use a soldering iron, because at one hand you can only heat up small areas and afterwards you can dispose the tip into the bin (because after contact with plastic material, you can't really solder with it anymore).
dem inscheniör is' nix zu schwör...
Re: Complete Failure
If you have a wax candle, you can use the heat from the open flame to get the thick parts of the grey blob off, but stop once you get close to the orange parts.
You could also take it outside and use a magnifying glass if the sun is bright enough.
With both procedures make sure nothing catches on fire. If you have a laser temp. gun use it to make sure things are not getting too hot.