ABS printing tip
Hi,
Different printing temperature creates change of optimum nozzle height. I adjust nozzle height using "Live Z" when I change printing material, i.e. PLA to ABS.
E-mail response I got last year.
It is possible that heating to 100C caused the bed to warp slightly, causing the offset you're currently seeing. PLA only prints with a bed at 50C, so this distortion might not have been present at all.
I suggest recalibrating at 100C, this should resolve the issue. You may need to adjust the probe to do this effectively. There's also the Bed Level Correction feature which will allow localised bed adjustment should you need it. You can find this in the LCD menu.
You gotta do recalibration first. Then follow the procedures.
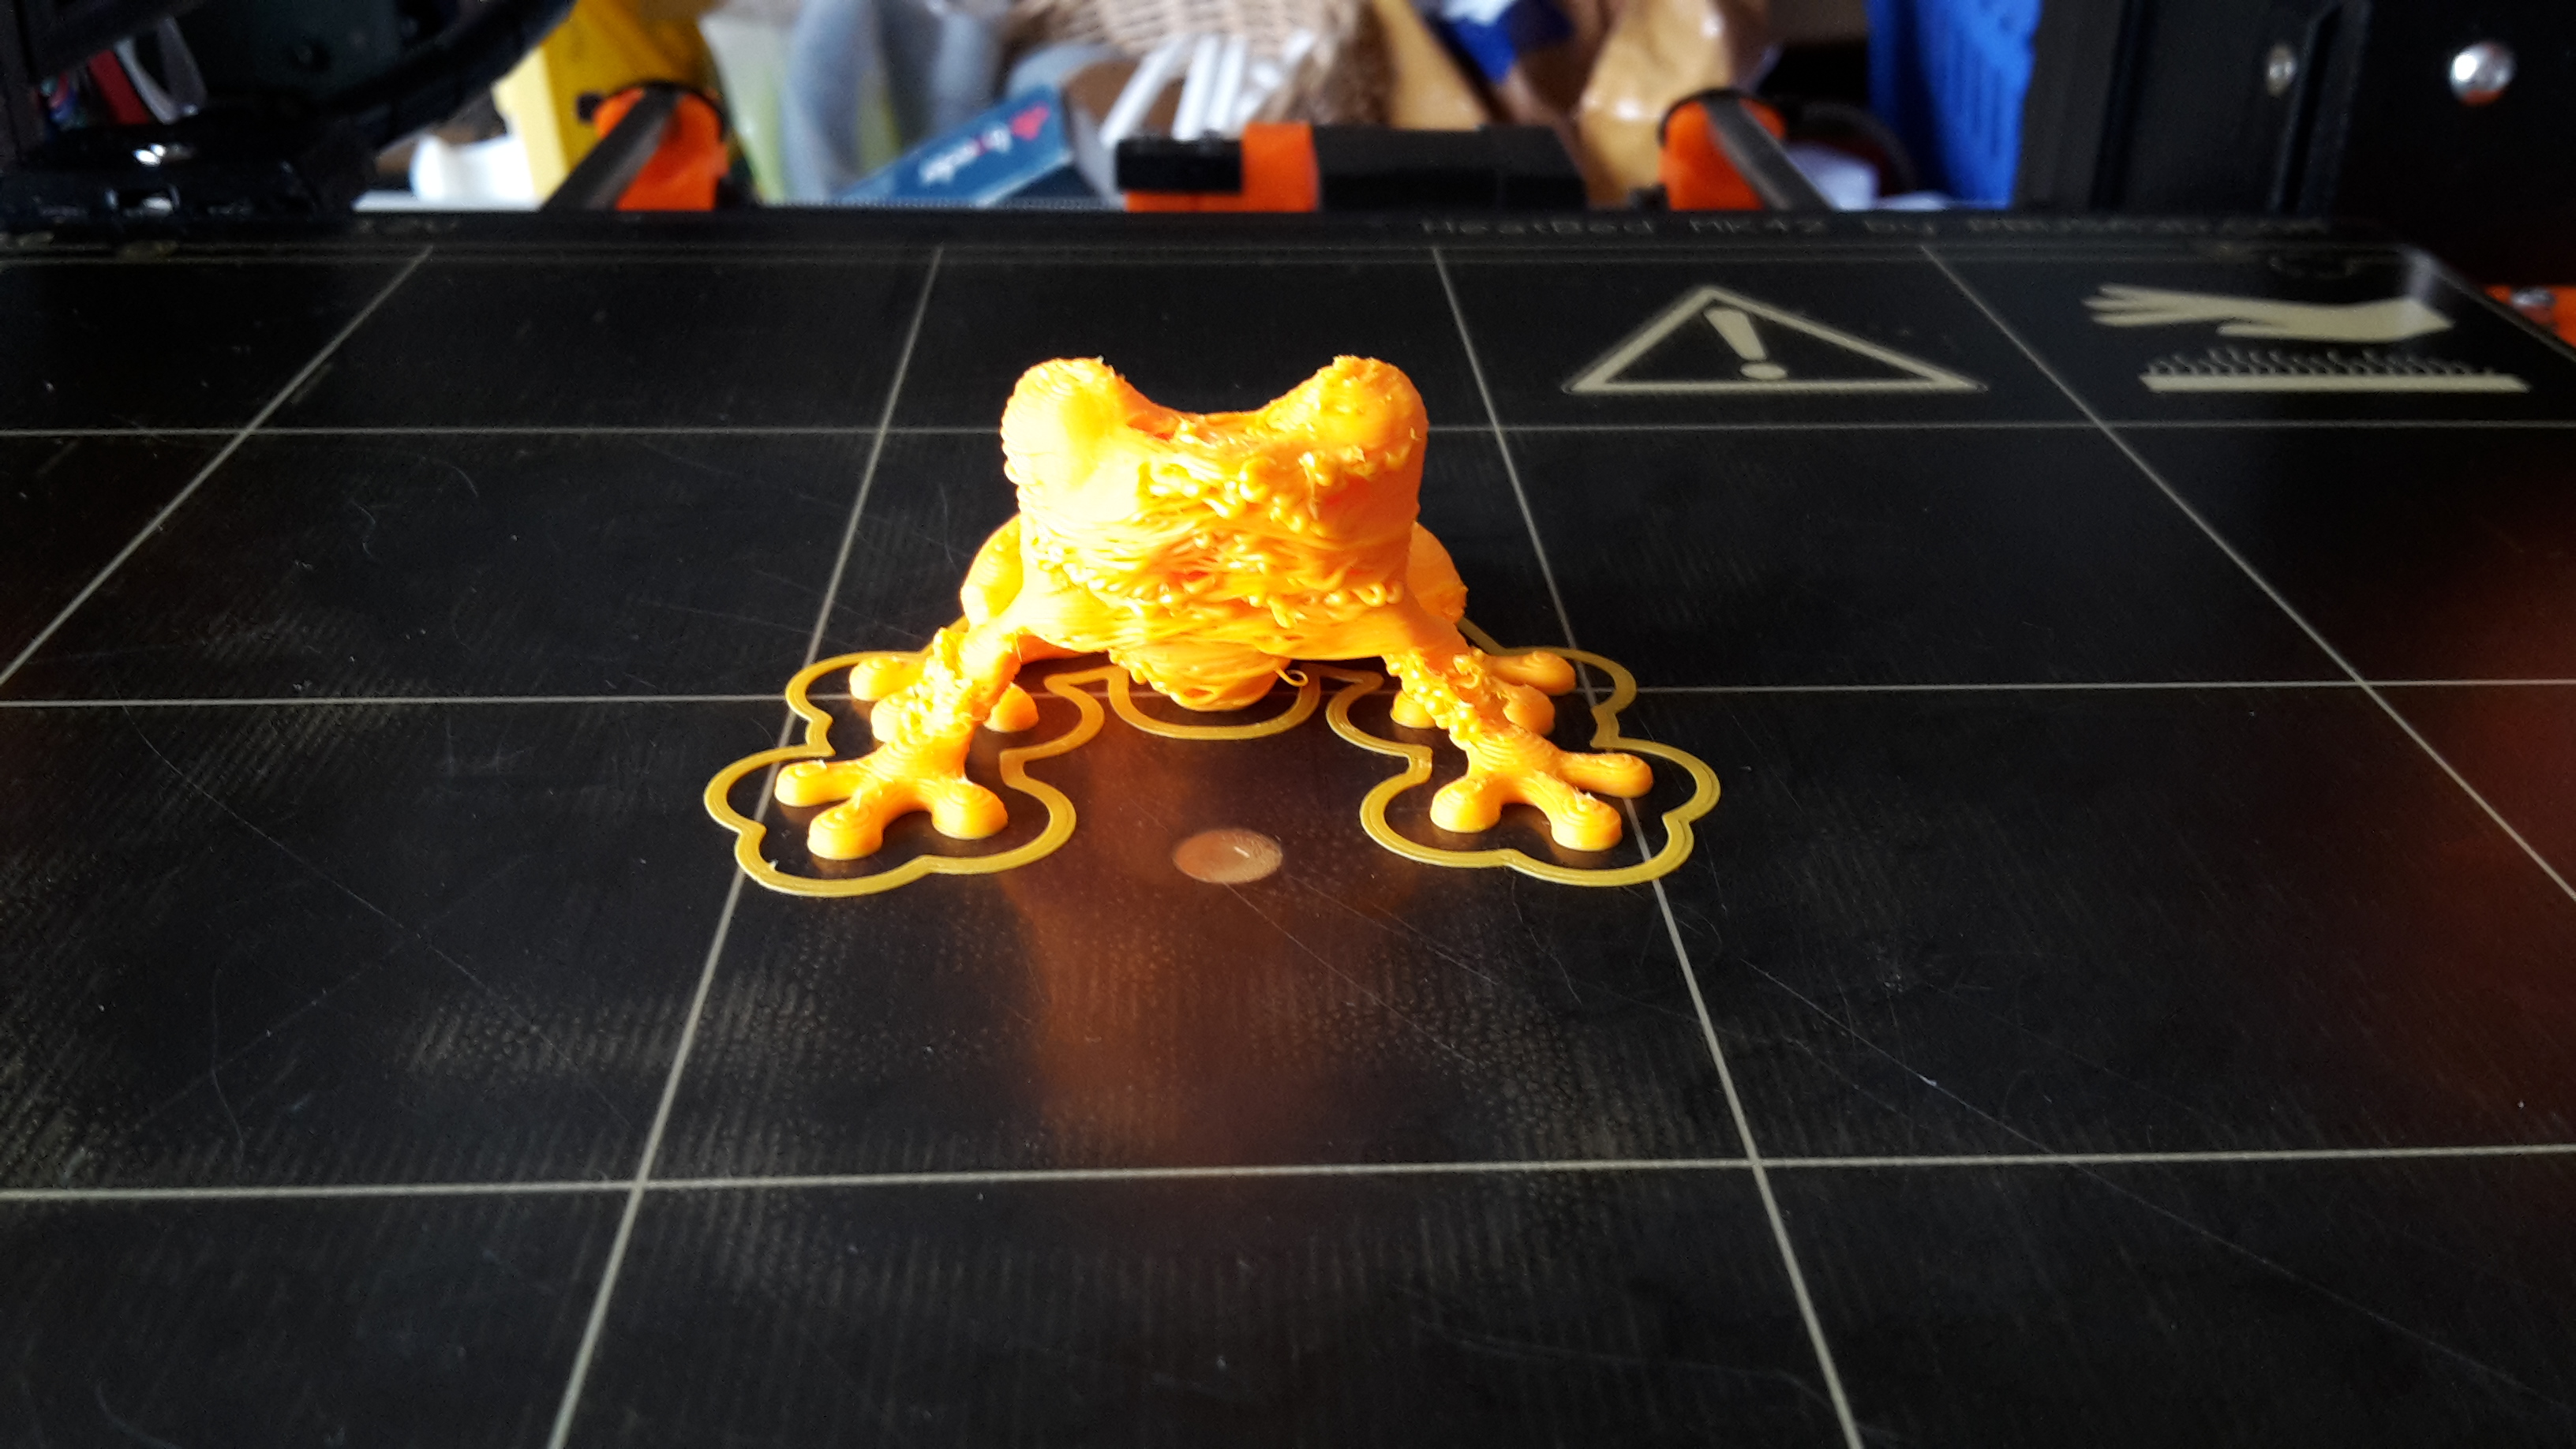
Poor adhesion of first layer creates lifting, and it makes deformed parts.

Failed print, thinner brim width and first layer height was too high.

Good first layer should create solid band of brim.


Solution I had found for good ABS printing are:
1. Clean the bed surface throughly before applying one layer of glue stick.


2. Raise the nozzle using "Moving Z axis" about 30 mm to prevent PINDA probe's faulty reading of auto bed level.
3. Apply one even layer of glue stick on printing area of the bed.
4. Start printing
Slic3r setting:
Before copying the gcode file to SD card, use Preview to check the nozzle path whether it makes unwanted hollow infill or not.
You might need to play with extrusion width of perimeters.

Thickness of one coat of glue stick is between 0.05 mm to 0.1 mm. Overlapping section will create thinner first layer.
First layer height: 0.35
Loops: 0
Brim width: 5 mm
Extrusion Width
Default extrusion width: 0.45
First layer: 0.45
Perimeters: 0.4
External perimeters: 0.45
Infill: 0.5
Solid infill: 0.5
Top sold infill: 0.5
First layer temperature: 100
Other layers temperature: 100
One coat of glue stick makes me running many sessions. For small parts I use previous coat over and over.
If the part is big and takes many hours, I suggest making a new coat.
Re: ABS printing tip
thank you for sharing your experience with abs !
💡
by the way: did you print your part in an enclosure... or with an "open" prusa i3 mk2 ?
looks as if there is no enclosure around...
❓
and furthermore: which abs did you use ? i've noticed that different brands behave different.
dem inscheniör is' nix zu schwör...
Re: ABS printing tip
@JeffJordan
I've printed in open air. I'm planning to build an enclosure soon.
I'll print big parts: motorcycle bodywork, protective gears, helmet, and etc.
> which abs did you use ? i've noticed that different brands behave different.
This was the first ABS spool I bought one year ago and have been collecting dust. 😀
One coat of glue stick last days!
Re: ABS printing tip
I am getting ready to do my first ABS prints. So from your experience you only used glue and no ABS Juice to get it to stick to the bed good?
Re: ABS printing tip
getting the abs "stick" to the PEI surface is not my problem. but acutally i've no enclosure for my mk2 (bought already the majority of parts, but couldn't find the space to build it so far).
for printing abs, it is recommended not to use a fan, because this will cause deformation and warping (especially with larger objects).
furthermore the problem with shrinkage might get severe when using a fan, which may cause problems when printing mechanical parts that need to be accurate.
so sunday night i managed to finish my ugliest print with abs ever ➡
obviously a candidate for the worst finished print of the week 
tried it with several other settings (like penguin's), but it always looked that bad, when no fan is used.
@penguin: did you use a fan at your prints ? i assumed that you didn't.... but looking a second time at your posts: you didn't mentioned the fan at all.
then i placed a small but powerfull heater blower (2000W) in front of the printer and cranked it up completely. after a while the hotends temperature reached 50°C and i started a print with fan (at 40% speed) and out came this fellow:
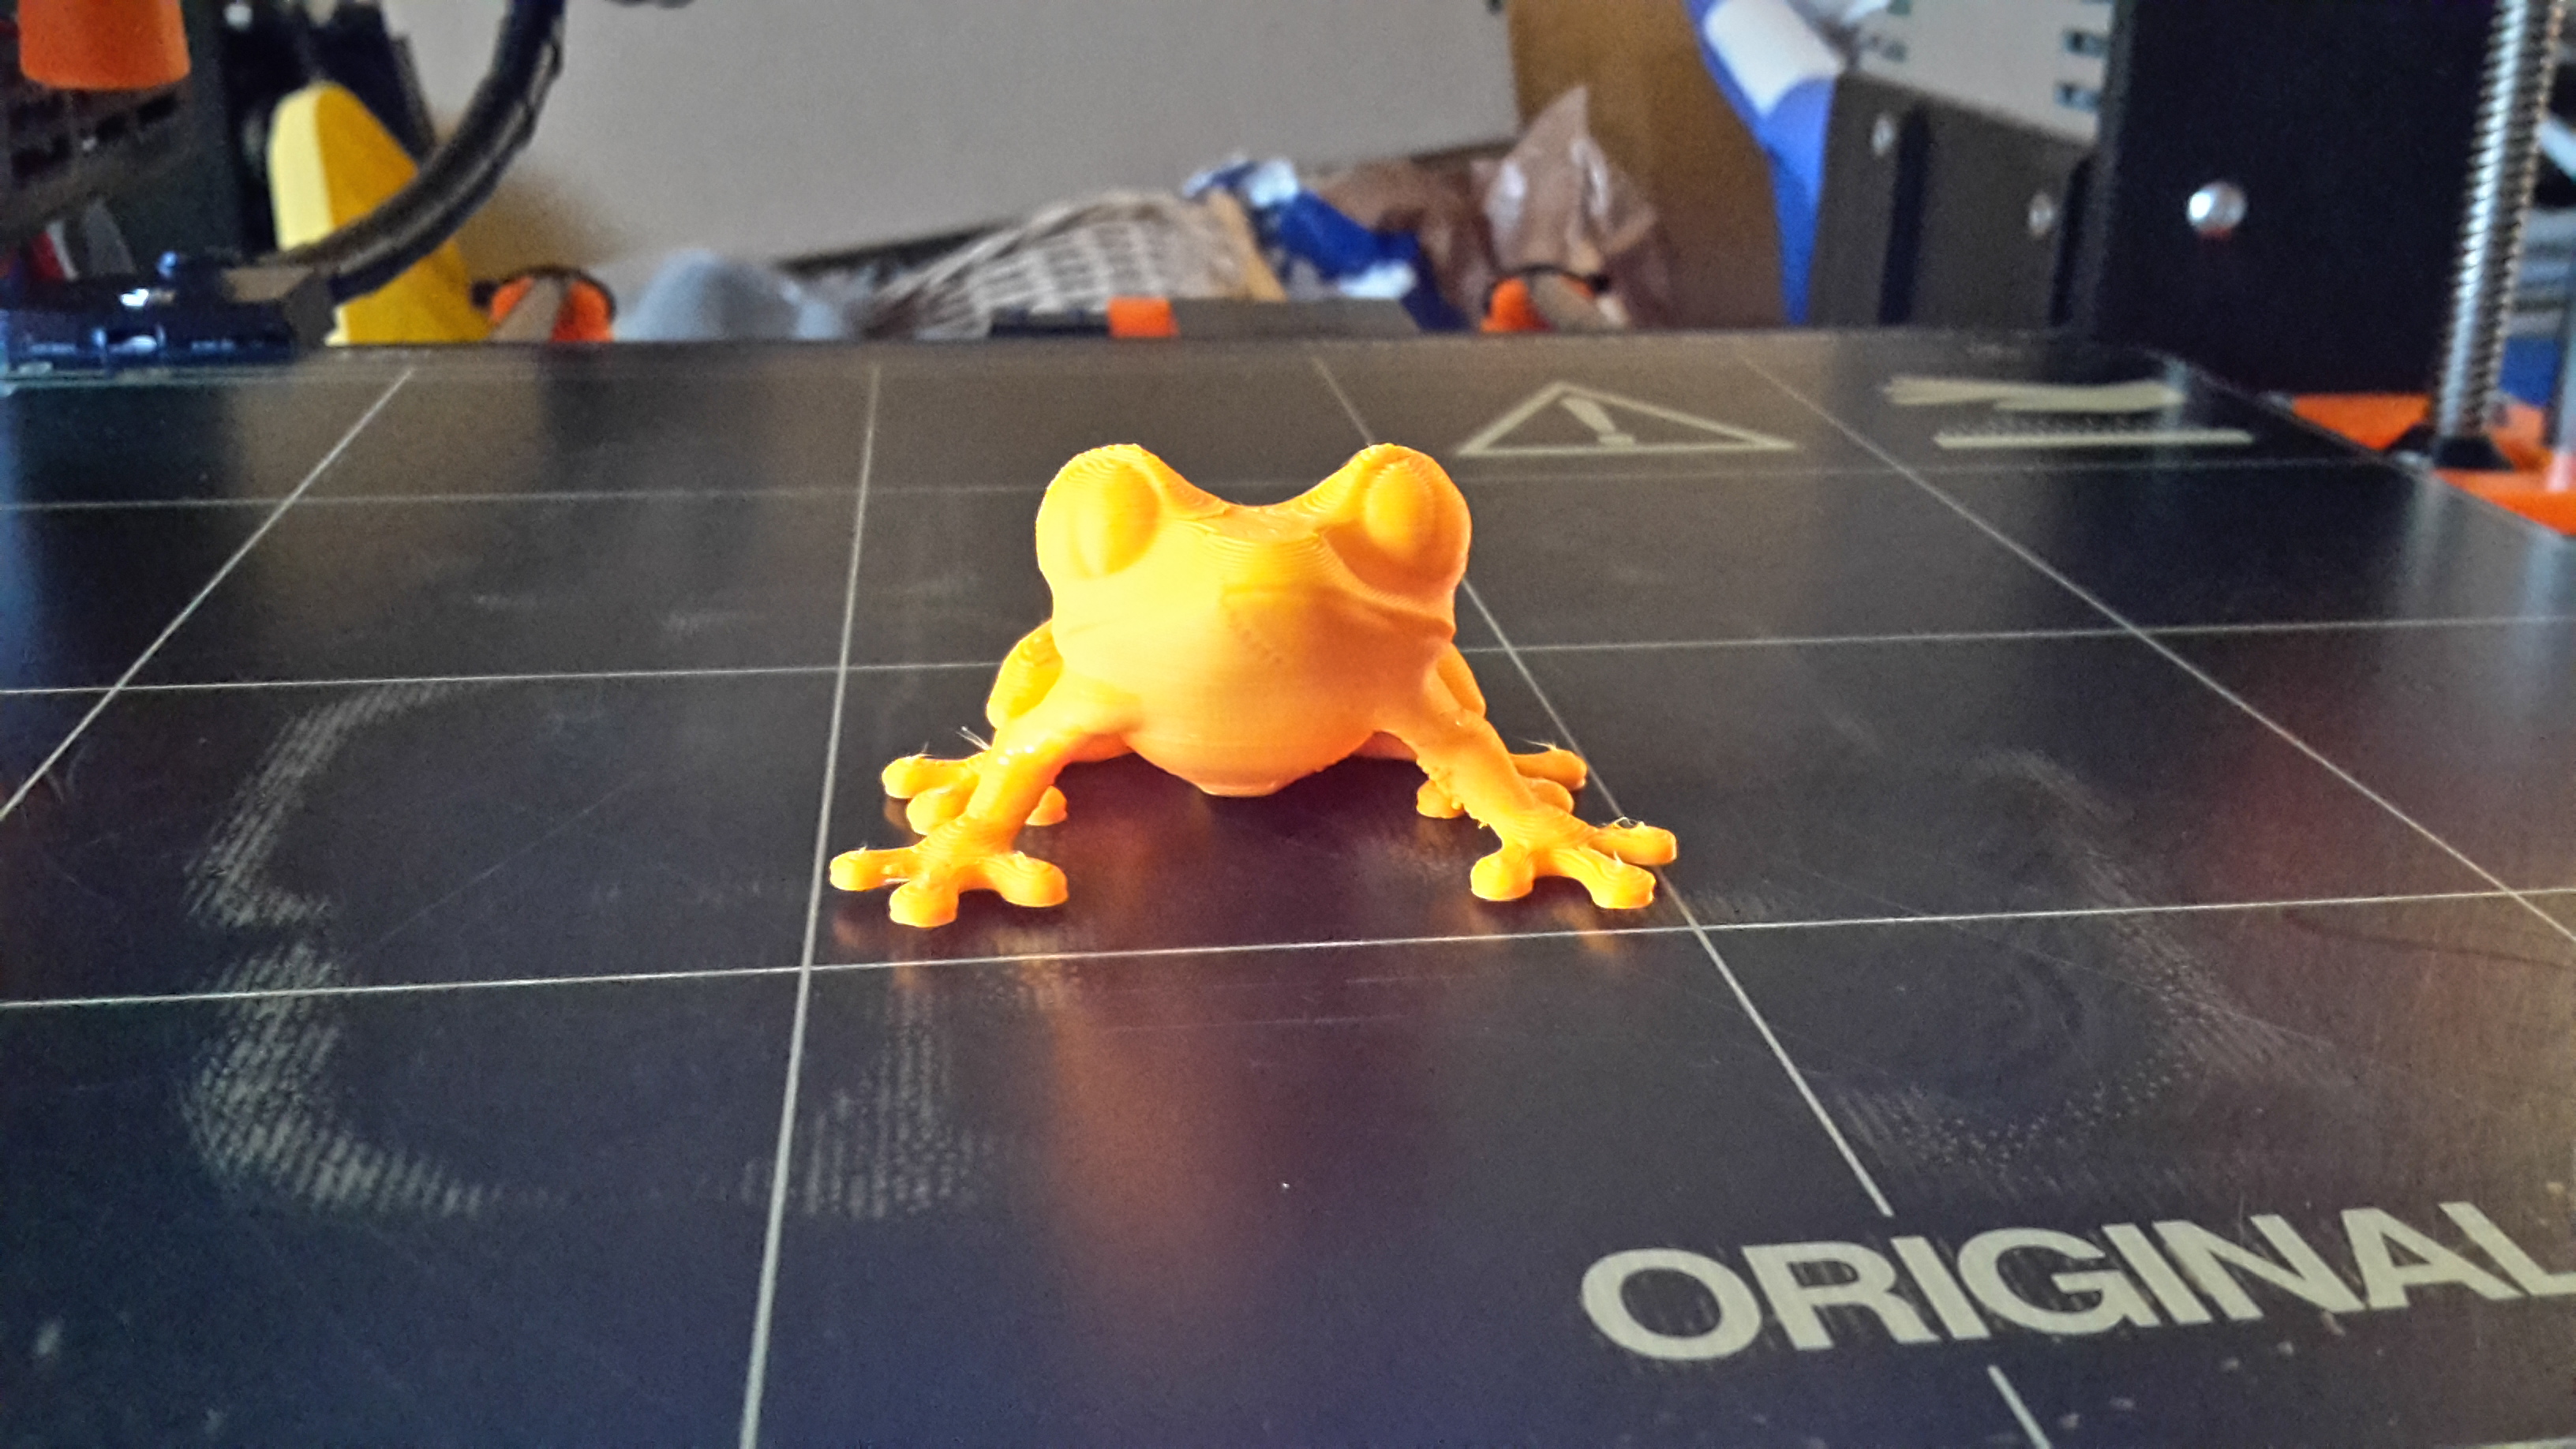
😀
nearly as good as the pla tree-frogs... but the layer adhesion was not perfect (one leg came off and i had to use a little bit of acetone based glue to fix it).
my goal is to print some abs spare parts (new extruder carriage for my mk2 and an mk8 project along the way), but as soon as there are some overhangs, i run into trouble with abs.
@all the ones out there who completed their enclosure: did you print inside your box with, or without fan when you need bridging ?
dem inscheniör is' nix zu schwör...
Re: ABS printing tip
Do you use the Glue as a release agent? My ABS prints stick to the bed so much that I feel like I need to do something about it
You can use a plastic bag over the printer as a "Chamber" and make prints a lot stronger. Open air prints still work for me but layer adhesion is not as good. Also I use the fan for bridges at 20%