Shifted Prints
I got an assembled Mk3 mid February, and the first couple weeks, I was happy with the results.
Yes, there were some things to be tuned, but generally it worked well. I went through my free spool of filament, happy with the keepers vs waste.
The new filament seemed to be slightly different, but still not horrible - I expected to have to do a bit of tuning only.
I had to go away unexpectedly for about 3 weeks, during that time the filament spool into a ziplock bag with desiccant inside.
When I came home, I installed the latest firmware: prusa3d_fw_3_1_3_mk3.zip and loaded the barely started (and hopefully dry) spool of filament.
Ever since, most prints have had weird layer shifts that I hadn't seen before.
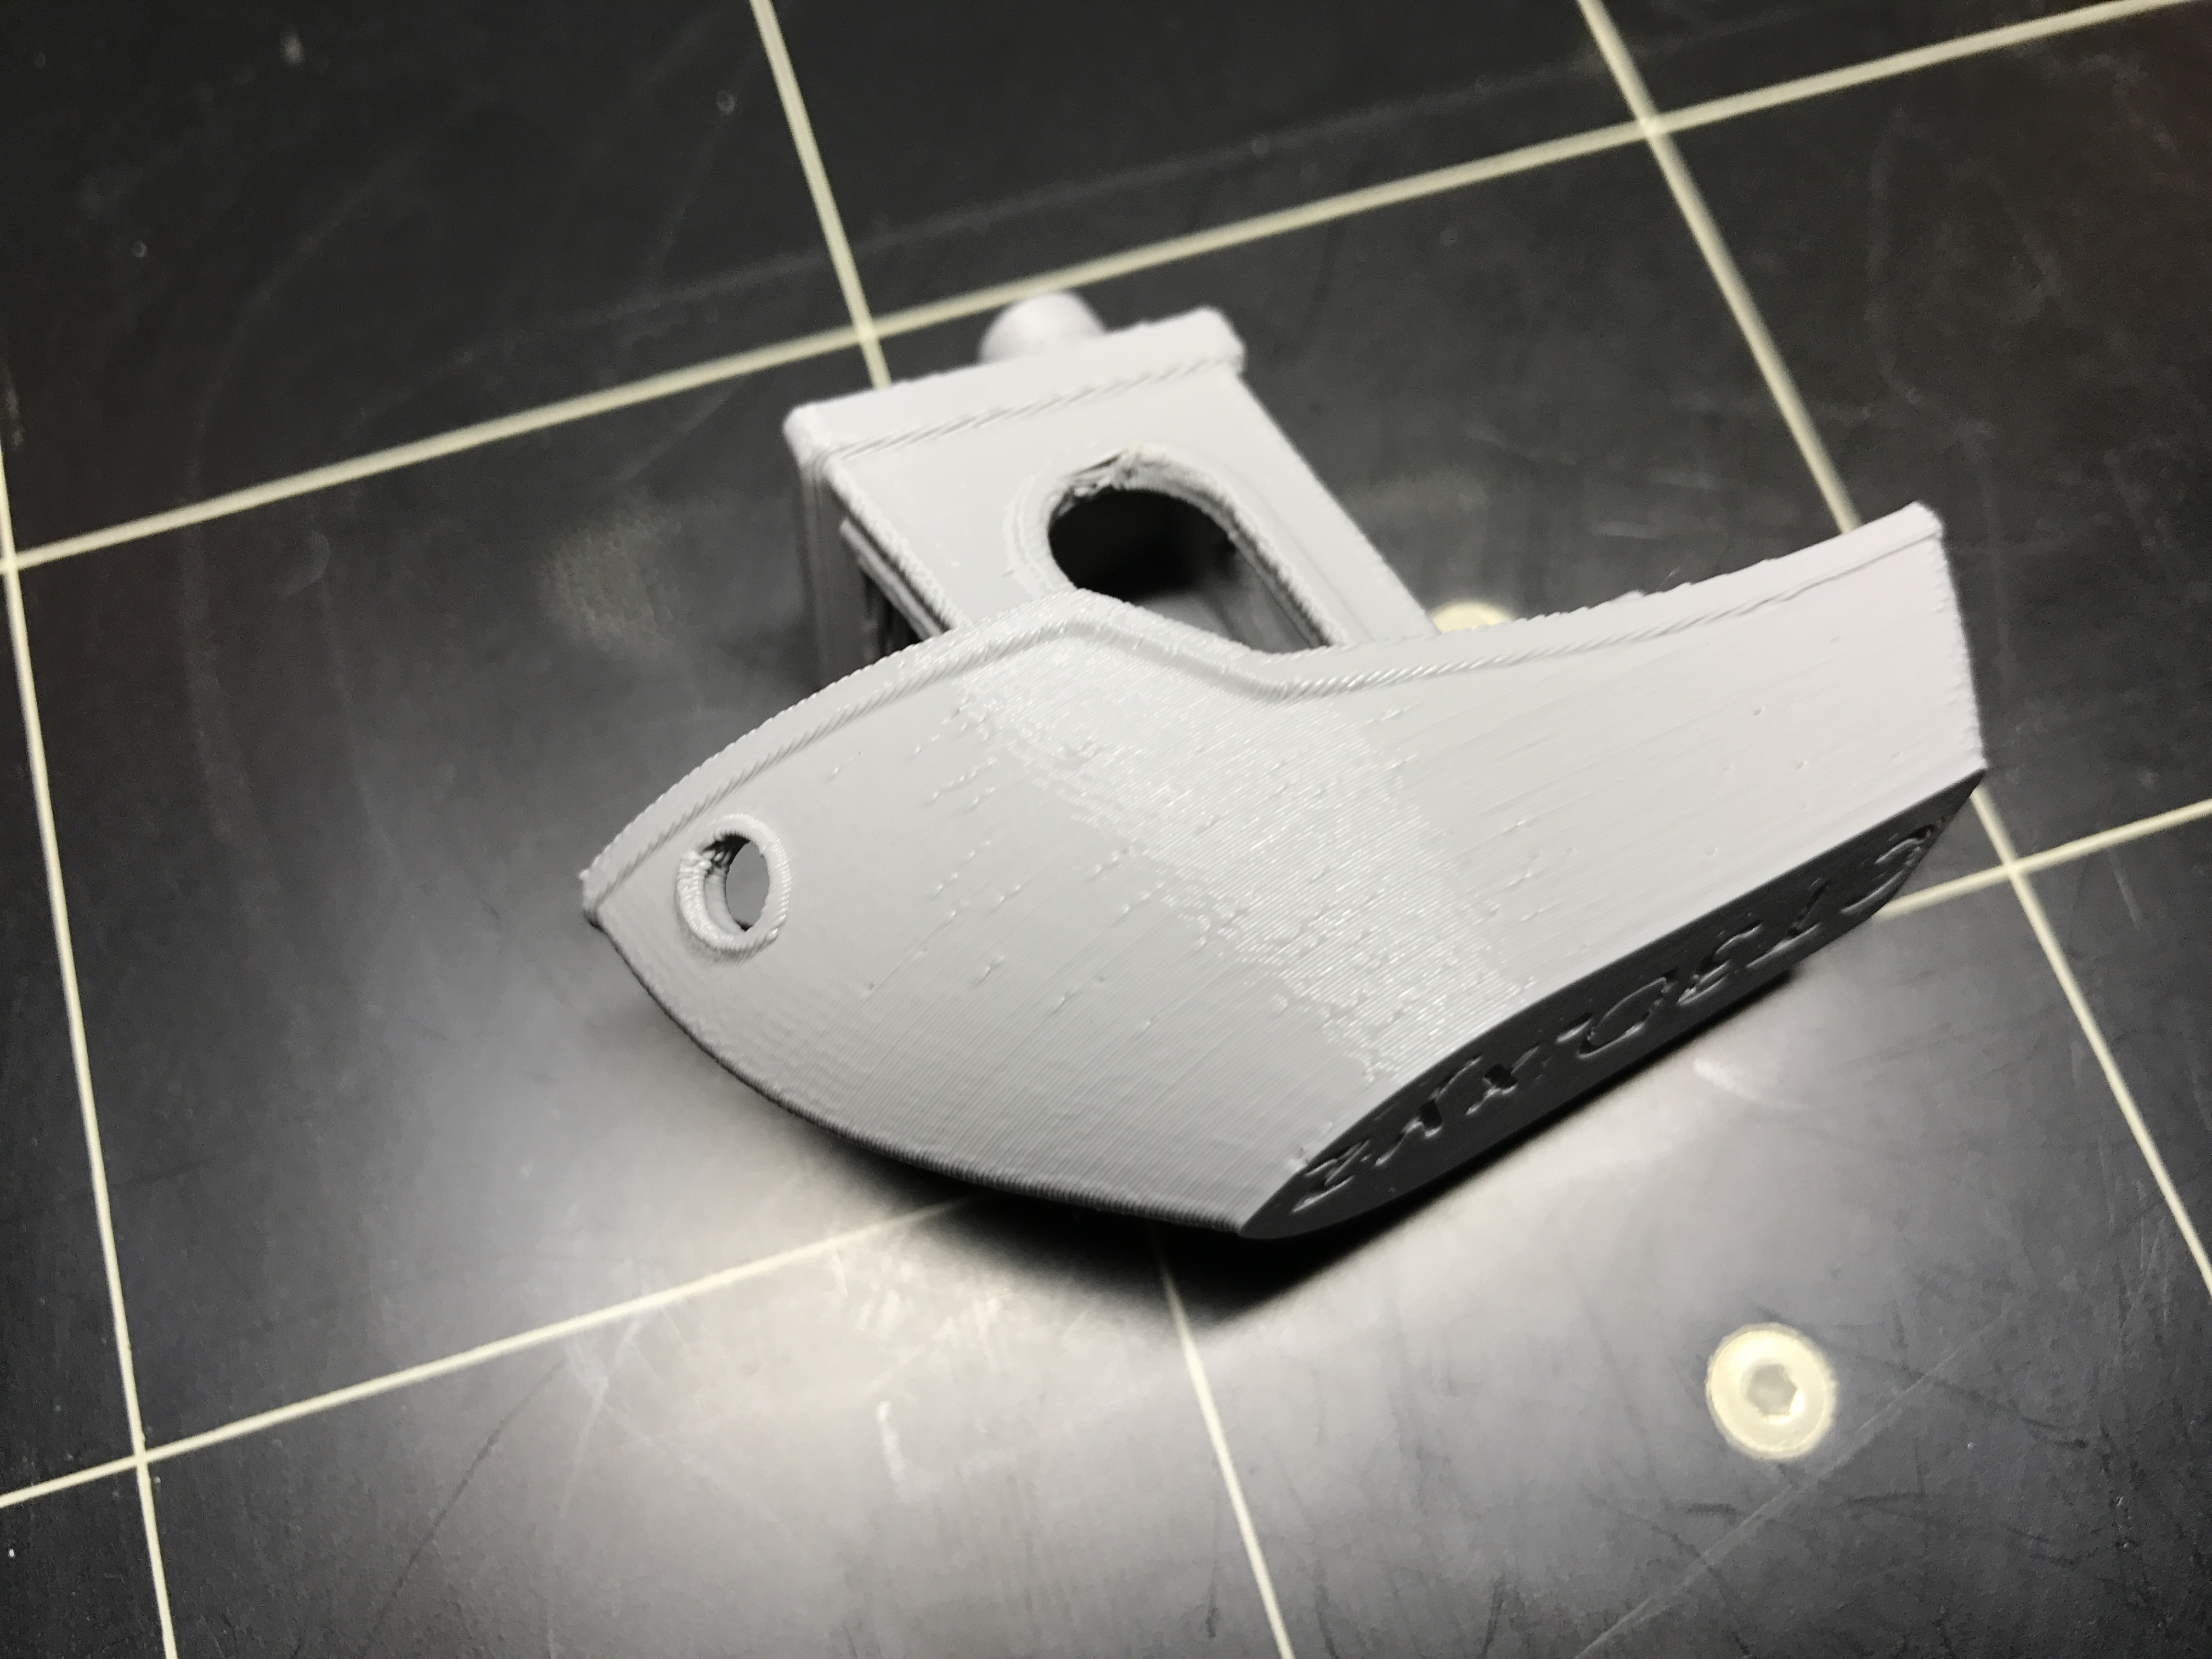
So I tried printing some of the gcode files from the SD card that came with the printer. The frog wasn't too bad, but the prusa logo shows the shift.
The picture is crappy, but you can definitely see how the letters have a significant shift to the right.
I tried to do a new XYZ cal, and after 3 iterations, I would always receive a fail message.
Is this an issue with the FW?
Any idea what is causing this and what I can do to fix this?
How can I get the cal to pass? The book implied lowering the PINDA probe, which I tried, but still failing.
(The book also says to loosen two screws to adjust the PINDA, but I can only find one...)
Anyway, trying to figure out what's happening... Any help would be appreciated.
Thanks in advance!
Re: Shifted Prints
I had some wierd things happen after a recent firmware upgrade.
doing a factory reset, deleting All Data, and uploading the firmware again, sorted the issue,
in lieu of other idea's, I would start there!
regards Joan
I try to make safe suggestions,You should understand the context and ensure you are happy that they are safe before attempting to apply my suggestions, what you do, is YOUR responsibility.Location Halifax UK
Re: Shifted Prints
Oh, first try it with collision detection turned off!
some folk have had problems with that...
if collision detection off sorts the problem, look for things which may interfere with axis travel, like zip ties hitting the frame or something getting in the way...
maybe lube the smooth rods
regards Joan
I try to make safe suggestions,You should understand the context and ensure you are happy that they are safe before attempting to apply my suggestions, what you do, is YOUR responsibility.Location Halifax UK
Re: Shifted Prints
I had some wierd things happen after a recent firmware upgrade.
doing a factory reset, deleting All Data, and uploading the firmware again, sorted the issue,
in lieu of other idea's, I would start there!
regards Joan
Thanks, I tried that.
Now it is failing the self-test for the X-axis...
It seems to go the whole distance across, and seems smooth, so not sure what the problem is.
Ugh...
Re: Shifted Prints
Try to loosen the center screw for the X (and Y) end pulley. If it is too tight, the wheel does not rotate freely.
Bear MK3 with Bondtech extruder
Re: Shifted Prints
Try to loosen the center screw for the X (and Y) end pulley. If it is too tight, the wheel does not rotate freely.
Thanks! I'll try that next, but it looks like it isn't easy to access that screw (need to remove the frame?)...
I did just tighten the X-axis belt. The Self-Test and XYZ cal is now passing. I'm printing the PRUSA logo again now, to see if the shifts remain or are fixed.
Crossing my fingers...
Re: Shifted Prints
Small things, big effects
Joan
I try to make safe suggestions,You should understand the context and ensure you are happy that they are safe before attempting to apply my suggestions, what you do, is YOUR responsibility.Location Halifax UK
Re: Shifted Prints
No you do not need to remove the frame, just Z-axis-top left and right. Screw the entire X unit manually up so that you reach the screw.
See MK3 Kit assembly page.
http://manual.prusa3d.com/Guide/4.+Z-axis+assembly/509?lang=en
When assembled again, do Z calibration (Calibration / Calibration Z)
Bear MK3 with Bondtech extruder
Re: Shifted Prints
No you do not need to remove the frame, just Z-axis-top left and right. Screw the entire X unit manually up so that you reach the screw.
See MK3 Kit assembly page.
http://manual.prusa3d.com/Guide/4.+Z-axis+assembly/509?lang=en
When assembled again, do Z calibration (Calibration / Calibration Z)
Thanks for the tip. I will wait on that, as I have had several prints work without problems since tightening the belt. But I’ll remember in case it crops up again.
