Re: New user issues
Your printer is assembled which is what you paid for. You are always going to have to tweak, modify, and tune in. It is all part of the hobby. Maybe 3D .
So no, when you order the assembled version it should not be on the user to be responsible to tweak and readjust and fiddle all kinds of things to get it running. Problem for the newbie is he also does not know all these many factors playing a role in successful 3D printing.
Agreed. And ultimately, there is a difference between learning to tune and maintain as you go vs trying to learn all up front just to get it working. One is gradual and rewarding, the other feels like work and can be frustrating.
Speaking of support I haven’t heard back from my email. I will try the probe adjustment and see what I get.
Re: New user issues
Loosen a little bit on the screw that holds the sensor. Then rotate the sensor counterclockwise 0.5 turn. The sensor will then lift 0.5 mm.
Make an XYZ calibration and then a First Layer Calibration.
Your Z level will probably change from -1.1 to somewhere around -500 to -600 (depending on how much you turn the sensor).
The final fine tuning is done with extremely small increments plus / minus 002 to 005 units.
Let's hear about the result.
Bear MK3 with Bondtech extruder
Re: New user issues
Loosen a little bit on the screw that holds the sensor. Then rotate the sensor counterclockwise 0.5 turn. The sensor will then lift 0.5 mm.
Make an XYZ calibration and then a First Layer Calibration.
Your Z level will probably change from -1.1 to somewhere around -500 to -600 (depending on how much you turn the sensor).
The final fine tuning is done with extremely small increments plus / minus 002 to 005 units.
Let's hear about the result.
So I have moved it a 1/4 turn maybe. And it’s possible I’m missing something but the attached wire that’s siliconed or glued in prevents much more rotation. I’d be putting serious strain on the wiring if I rotate further. Any thoughts there?
Re: New user issues
It looks like that the part has been loosened during printing, hence the big lump of plastic.
Clean the steel sheet so that the filament attaches properly. Wash the steel plate with a mild soapy solution, rinse and wipe the sheet.
A mild soap solution always works and usually better than isopropanol.
And what is your Z level now? Have you found the right Z-level?
Bear MK3 with Bondtech extruder
Re: New user issues
It looks like that the part has been loosened during printing, hence the big lump of plastic.
Clean the steel sheet so that the filament attaches properly. Wash the steel plate with a mild soapy solution, rinse and wipe the sheet.
A mild soap solution always works and usually better than isopropanol.
And what is your Z level now? Have you found the right Z-level?
I’m at the point where I clean the sheet more than I print (I’ve tried a soapy water scrubbing as well as denatured alcohol, never touching the print surface while installing). I believe the problem is still the Z level but I’m not tenured enough to be sure. Problem is the wire (pictured above) is under tension and preventing much more probe movement. I don’t want to pull it loose from wherever else it’s fastened and wind up with larger issues...
Re: New user issues
OK the bed is clean, then we concentrate on the Z level. Prusa's own function to adjust the Z level is not good. You have too little time to fine-tune the level.
Make a square of 75x75 mm and 0.2 mm thick (or use my attachment).
When you print it, you have plenty of time to calibrate the Z level. The surface is so large that you can see the results of at least four level adjustments during a printout.
The printed square should be dense. You shall not see any light between the strings.
When it starts to look great, you're adjusting in small increments plus / minus 002 to 005 units.
To get a good result, you may need to redo this again several times.
Bear MK3 with Bondtech extruder
Re: New user issues
OK the bed is clean, then we concentrate on the Z level. Prusa's own function to adjust the Z level is not good. You have too little time to fine-tune the level.
Make a square of 75x75 mm and 0.2 mm thick (or use my attachment).
When you print it, you have plenty of time to calibrate the Z level. The surface is so large that you can see the results of at least four level adjustments during a printout.
The printed square should be dense. You shall not see any light between the strings.
When it starts to look great, you're adjusting in small increments plus / minus 002 to 005 units.
To get a good result, you may need to redo this again several times.
Awesome, thank you! I’ll give this a shot. You’re certainly right about the Prusa tool. It seems good for confirming where you’re at but not for making any adjustments.
Re: New user issues
Awesome, thank you! I’ll give this a shot. You’re certainly right about the Prusa tool. It seems good for confirming where you’re at but not for making any adjustments.
I forgot to mention that before doing the calibration, you should preheat your printer (Preheat PLA) for ten minutes so that the heat bed and sensors can assume the correct working temperature. It has a big impact on the resault.
Bear MK3 with Bondtech extruder
Re: New user issues
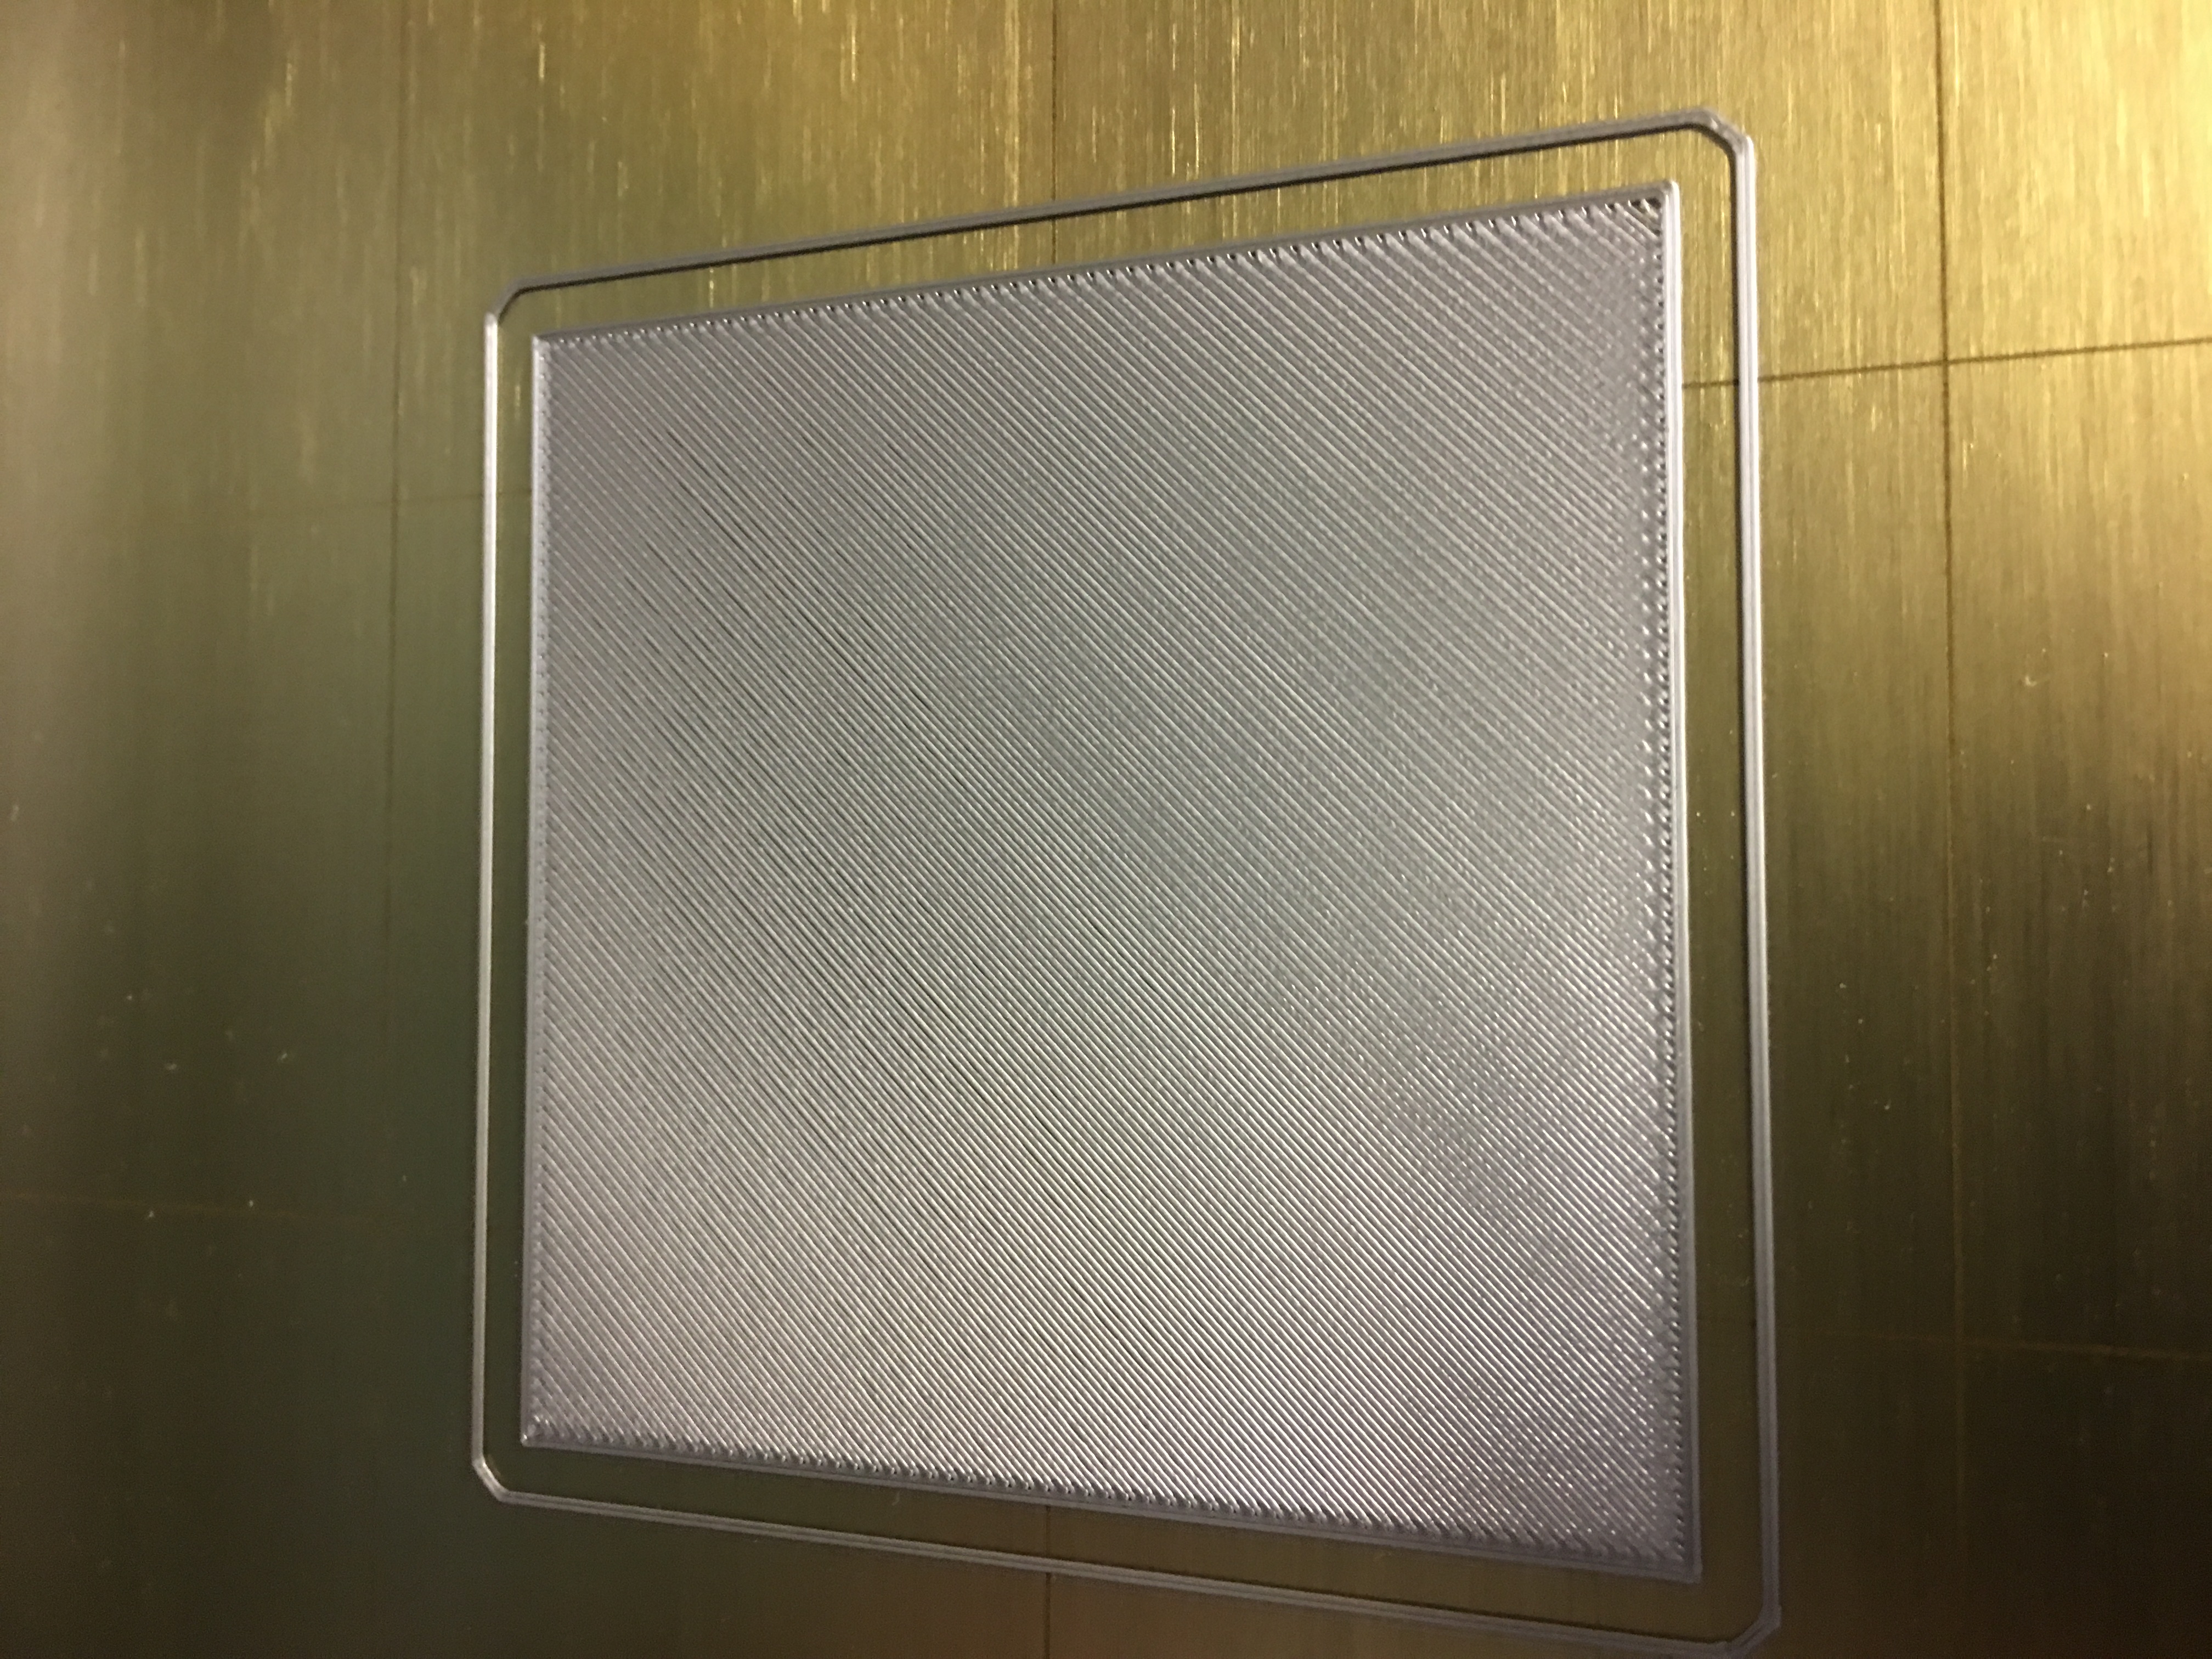
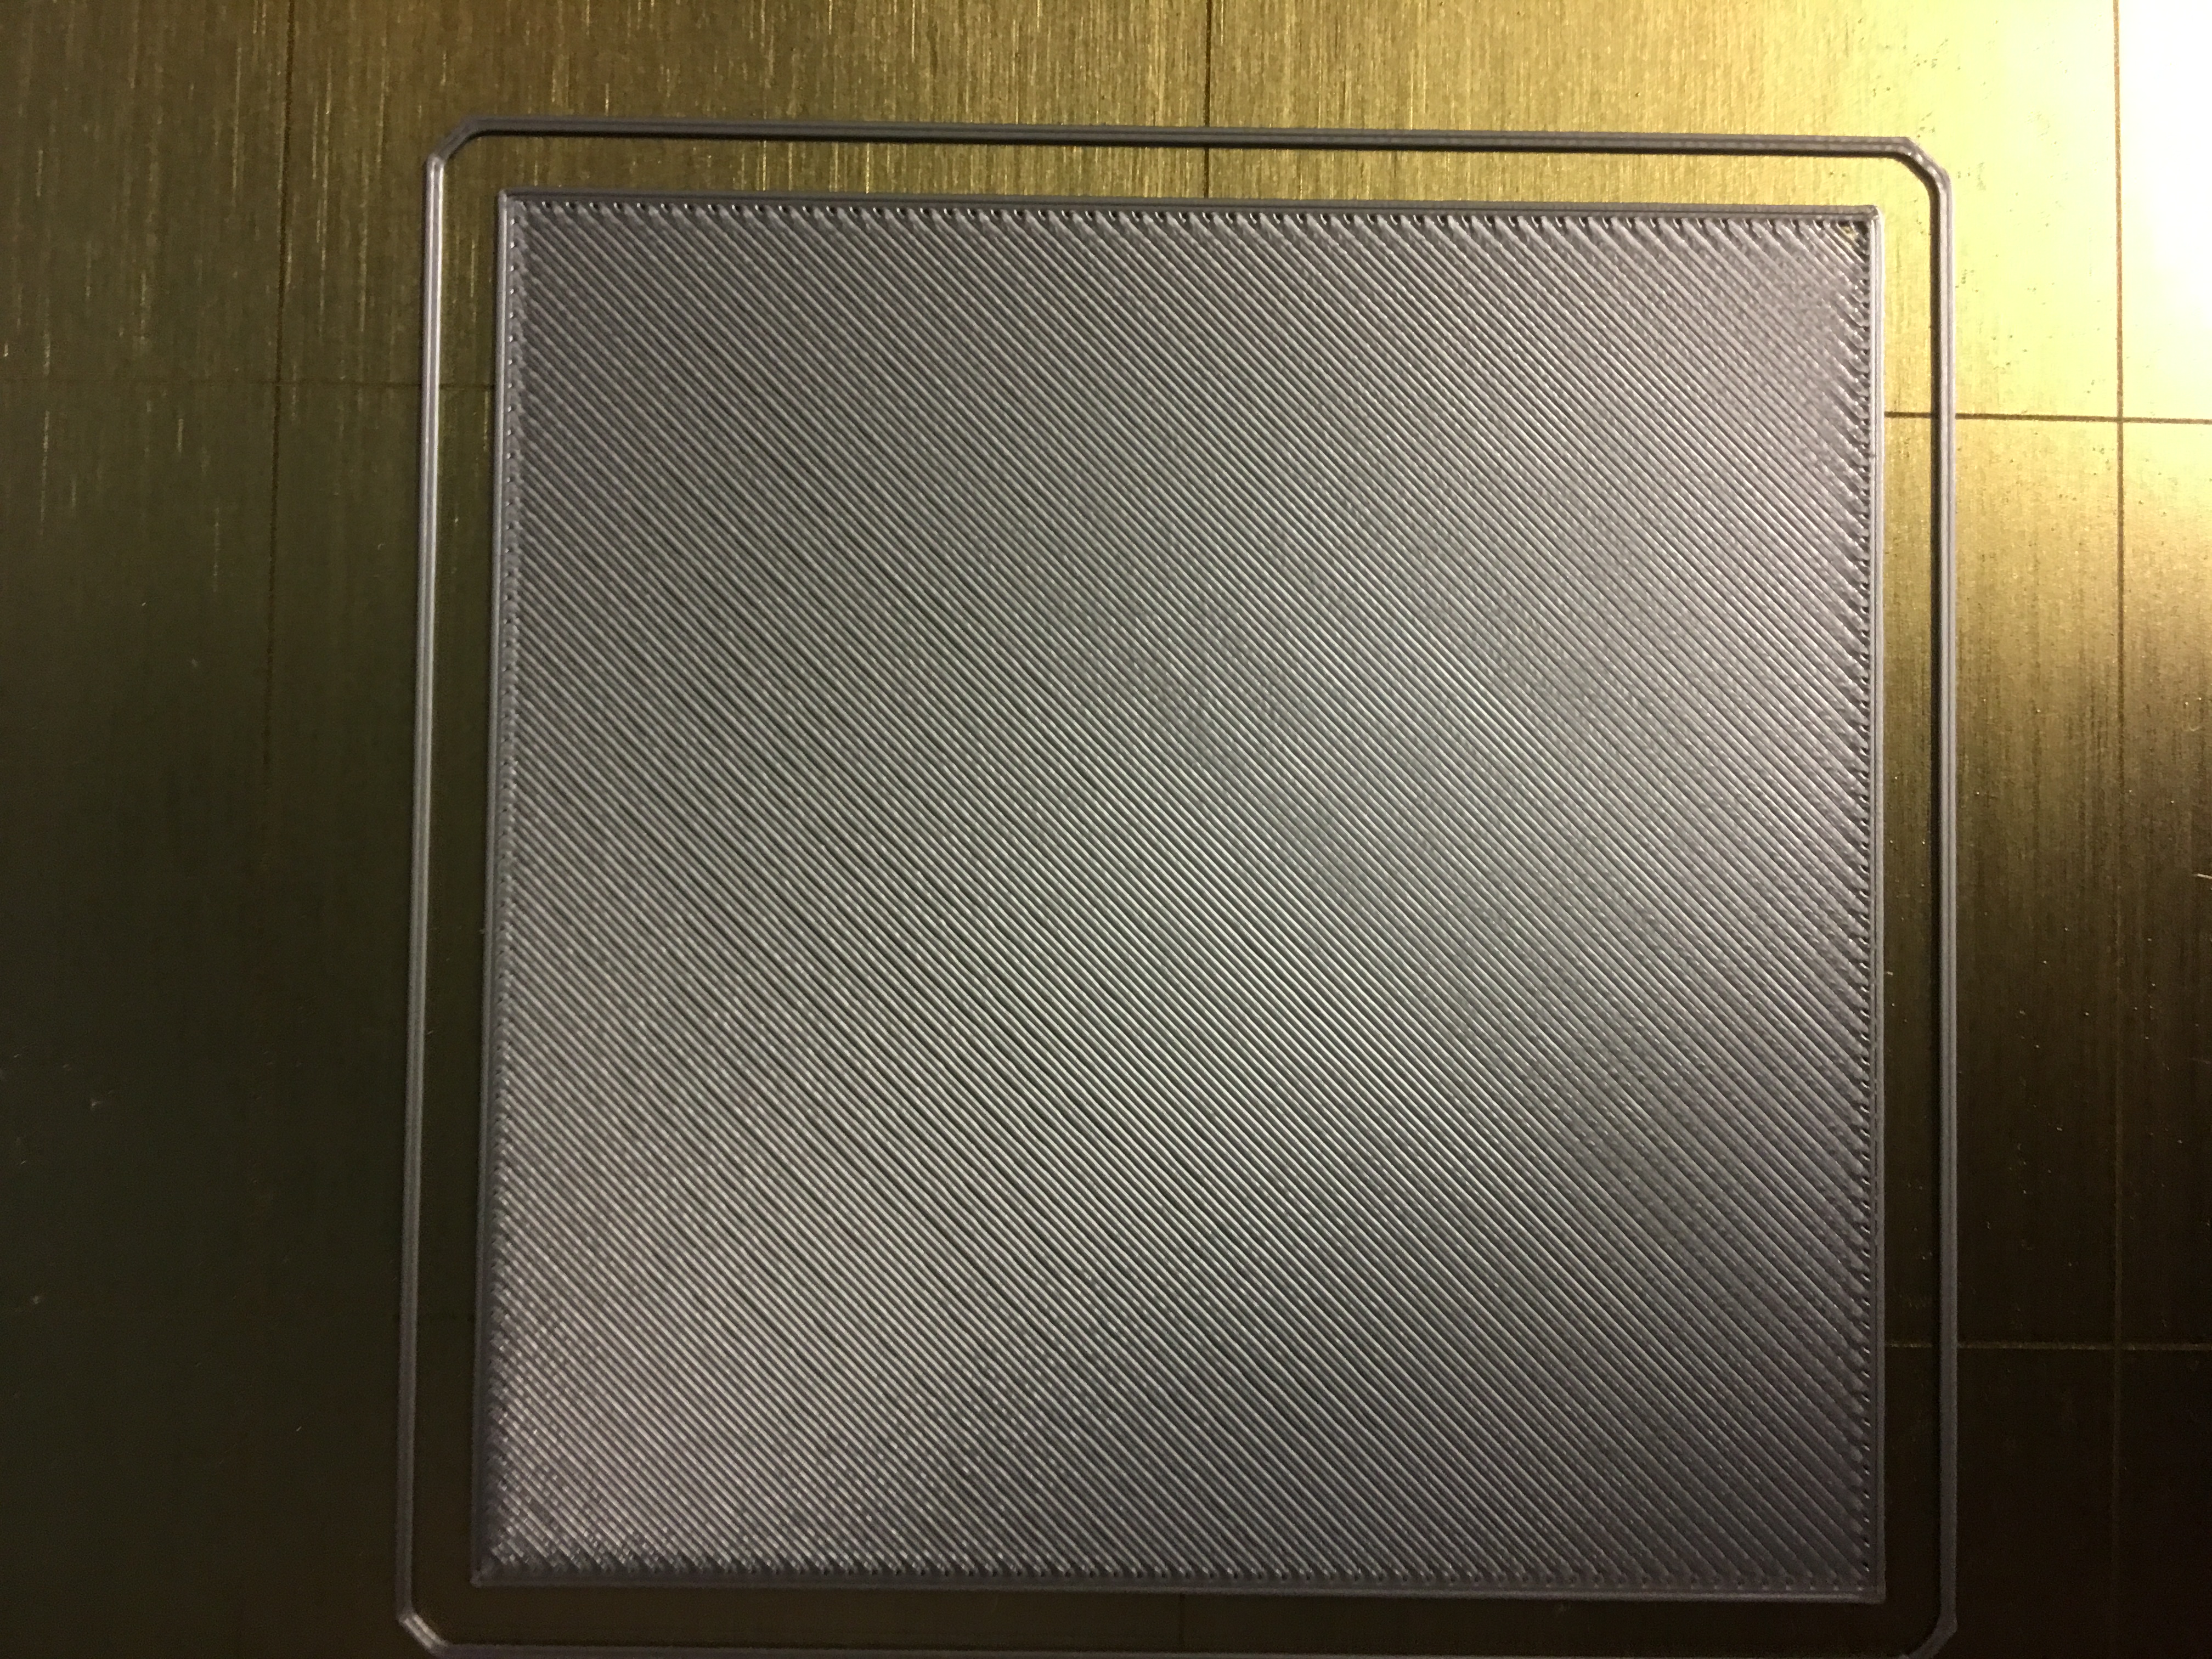
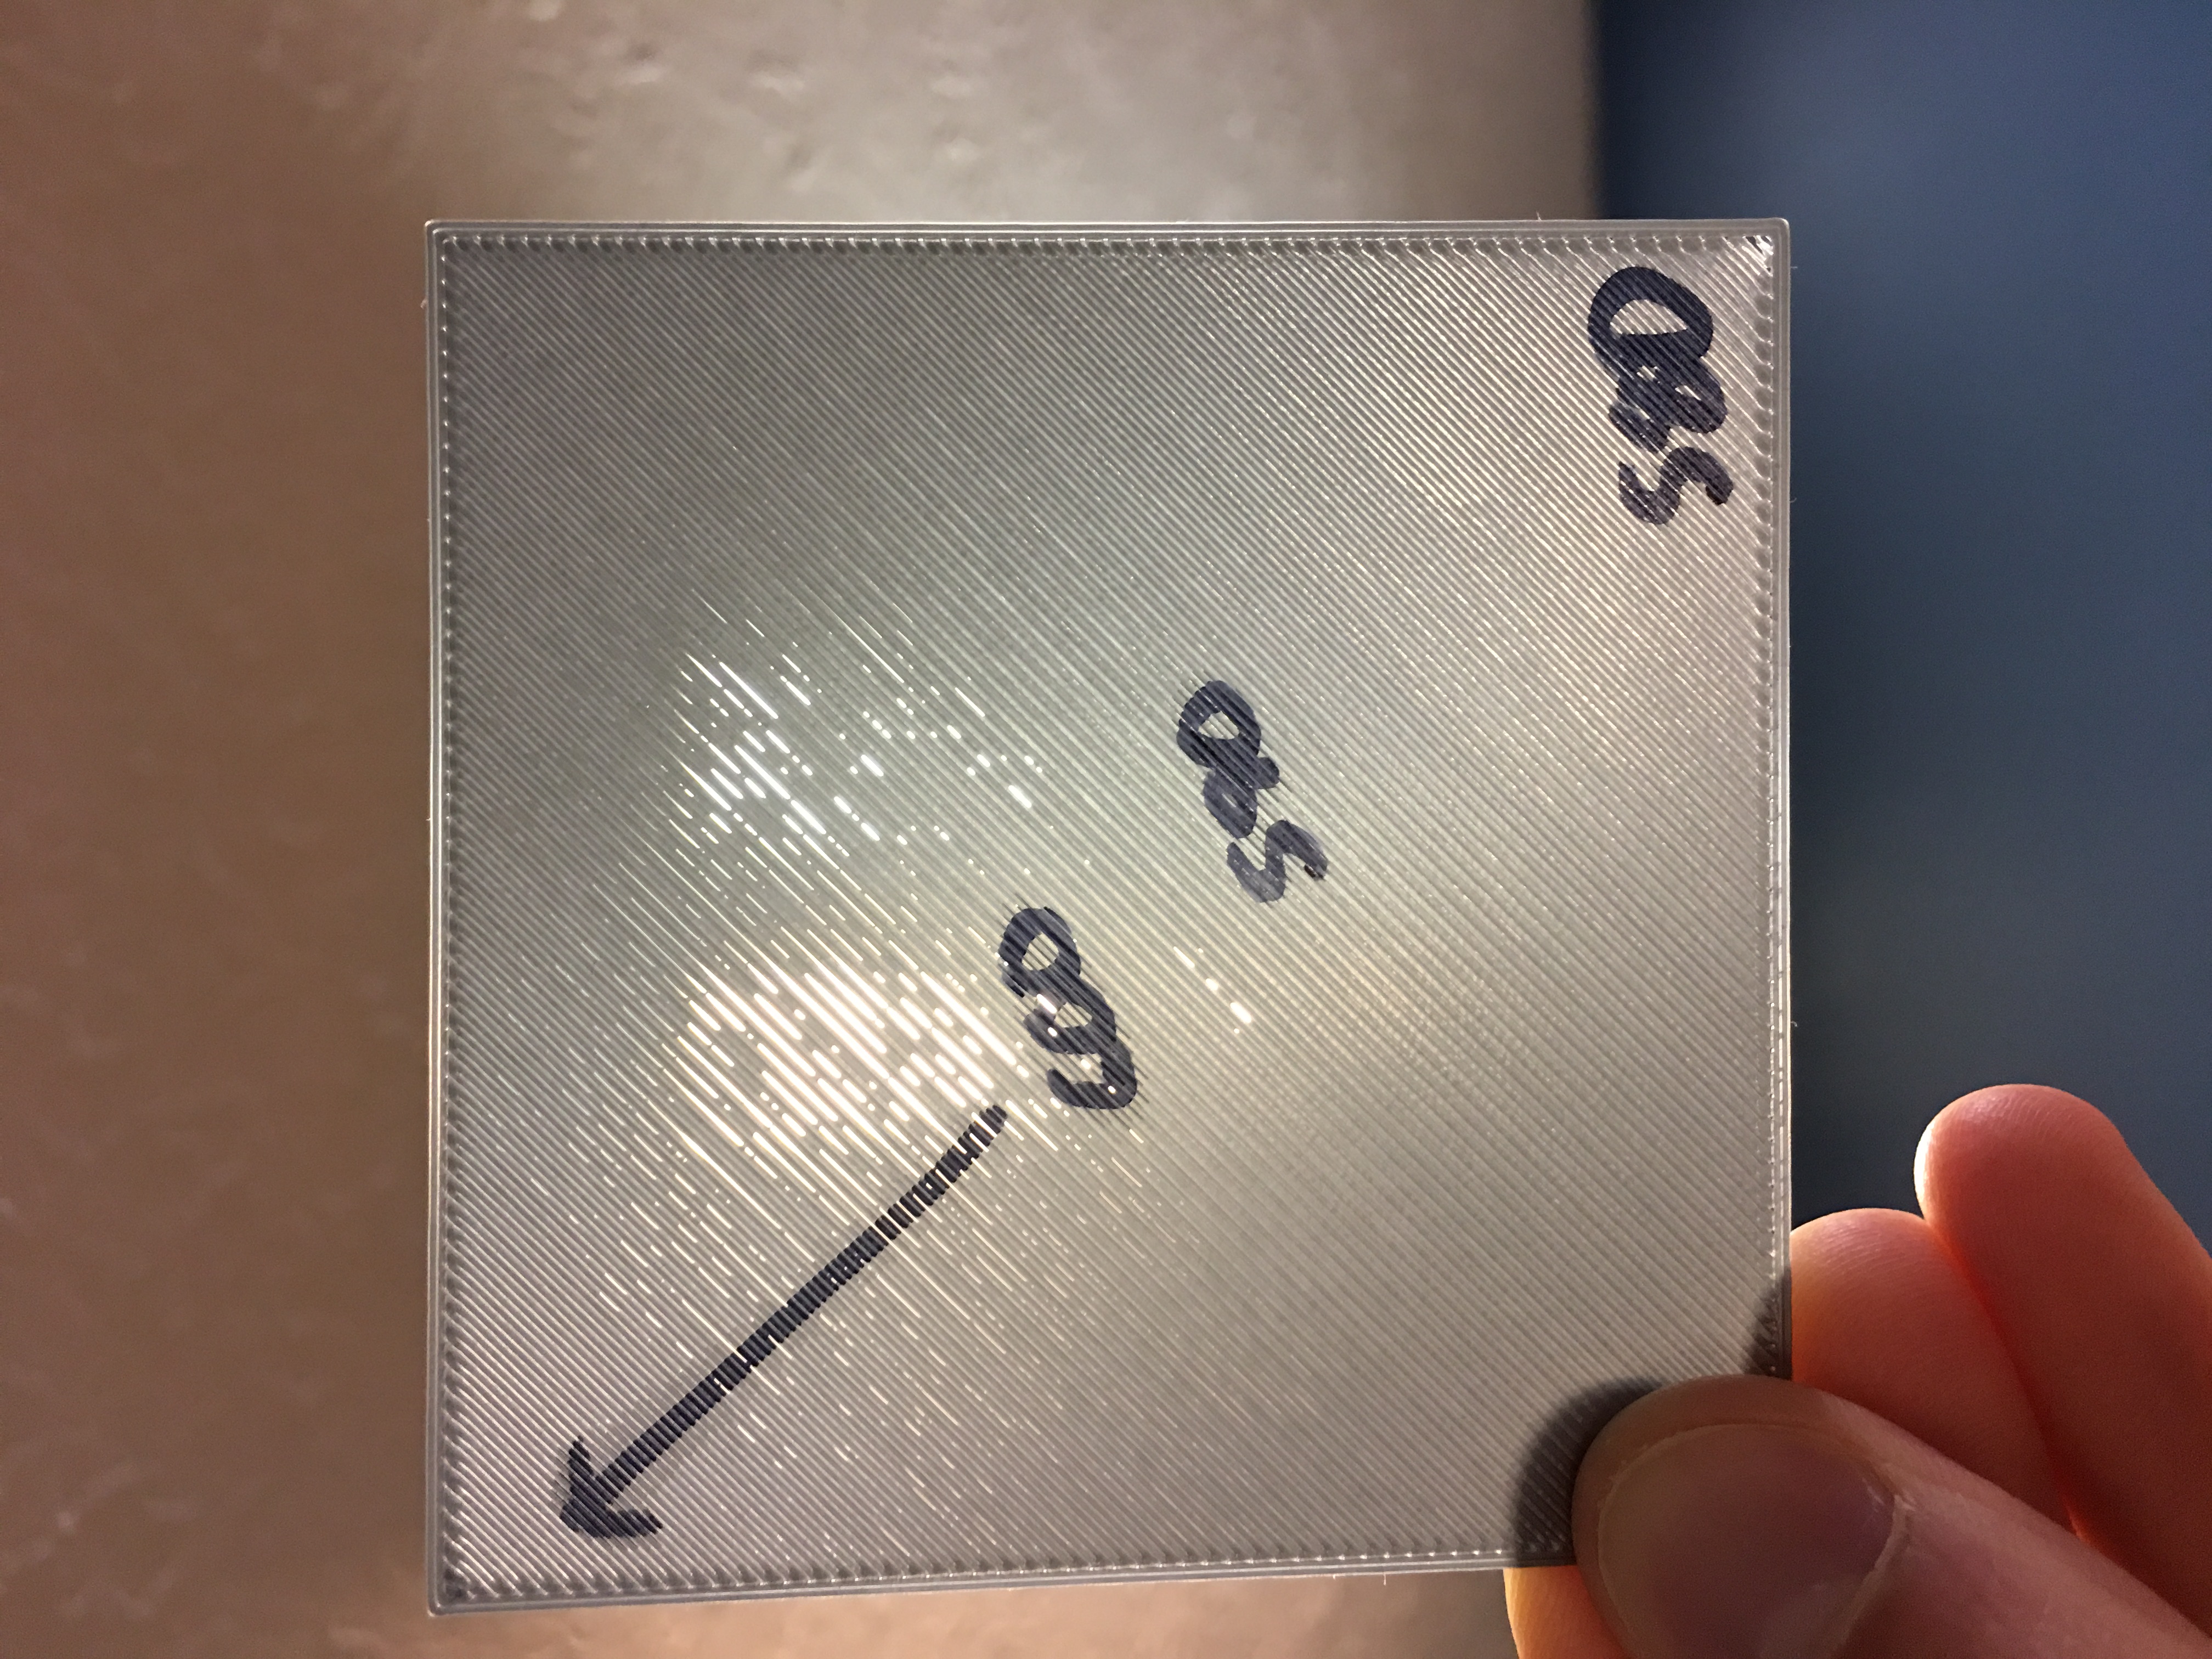
Alright. I did some diailing in before this obviously but here we are on a transition from 580 - 600 from the top right to middle. The middle to bottom left is all 600. It looks like 600 starts to get worse so I stopped there. Looks like the sweet point for me will be at low 580s? Curious what your thoughts are.
Also the printer has started squeaking when moving the print surface. Guess I'll try to oil it per instructions.
Re: New user issues
Congratulations and well done, you seem to have fixed this and it looks really good! If you need to do any more calibration, make sure to do them in very small steps. But, of what I can look at your pictures, you have found your Z-level.
Regarding the squeaking noise, I think it depends on what you are printing, not that oil is needed. Different prints create different sounds which you will discover.
But it's never wrong to lubricate the moving components. For my MK3 I use lithium grease that I brush on moving parts.
Don't forget, a clean bed and a good first layer is a recipe for a good print.
Congratulations once again and Happy Printing!
Bear MK3 with Bondtech extruder
Re: New user issues
Thank you for the z level file. It was fantastic!
And thanks to all others who provided their input over the last few days.


