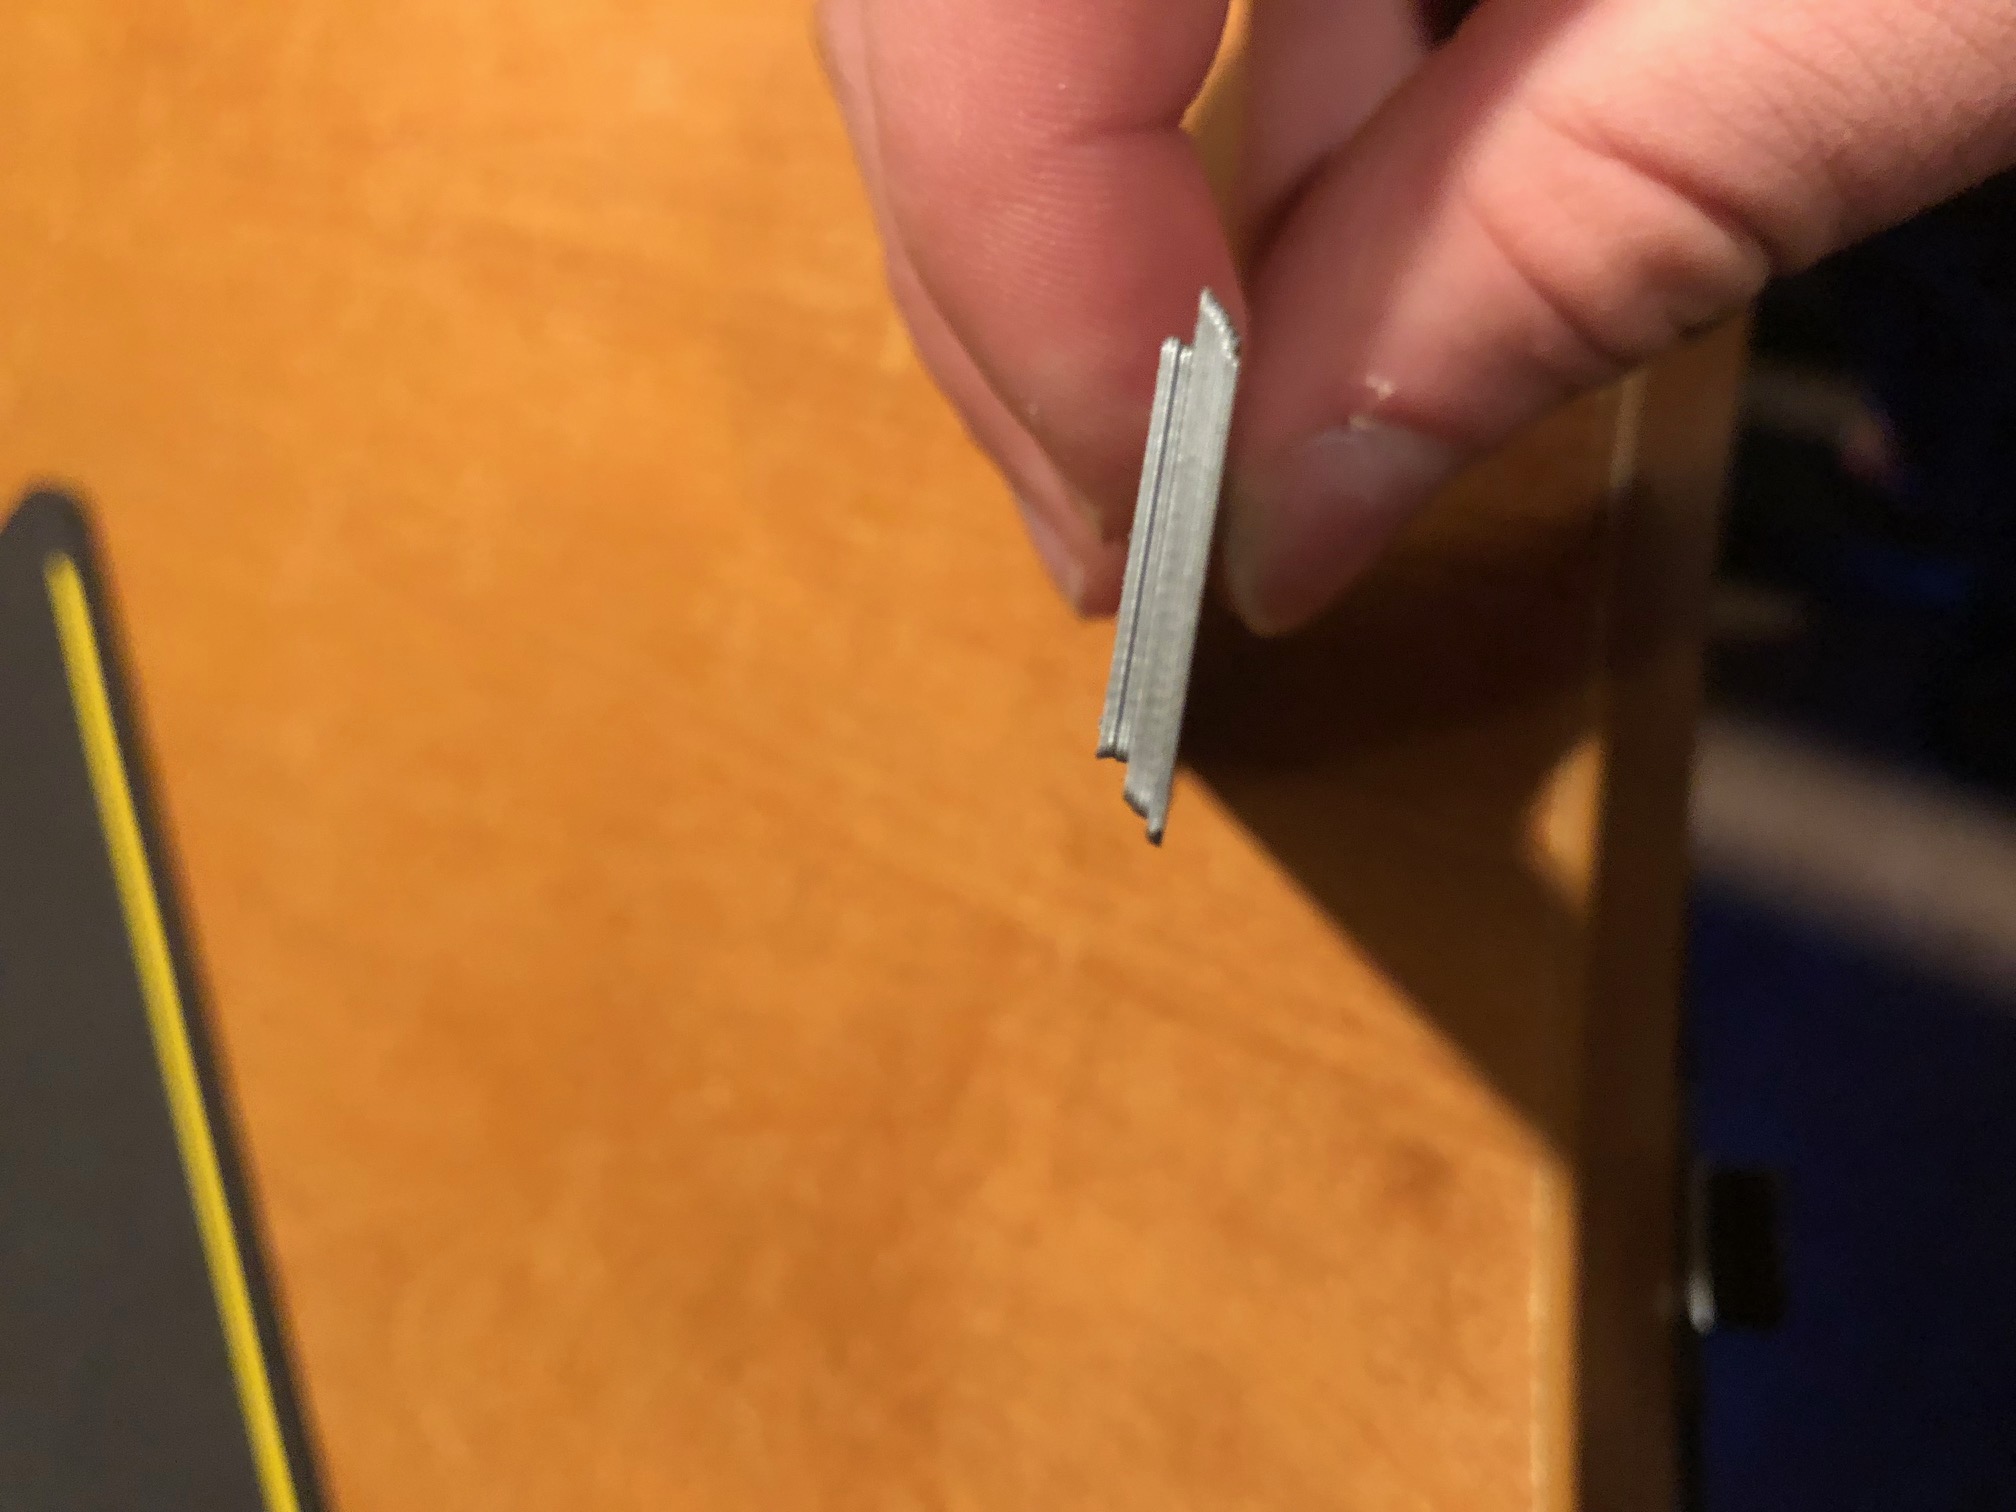
I don't understand this Z-Live calibration
I ran through all of the calibrations and everything was good except the nozzle was rubbing the bed on location 2 (it rubbed some of the printed white text off of the bed). The machine still printed and I had the Z-Live set to -0.560. Tech support said I needed to drop the PINDA and run the calibration again, just make sure I didn't drop it too far. So I lowered it ever so slightly, reran the calibrations and no rubbing this time. Now the Z-Live setting for the first layer calibration is at -0.900 and the first layer looks bad, it still needs to go lower. I thought if the PINDA was lowered the Z-Live would get smaller not higher. I don't know what to do now. Any suggestions?
Thanks
Re: I don't understand this Z-Live calibration
the Pinda measures a relatively fixed distance from the buildplate.
the Live Z adjustment allows you to offset the extruder from the fixed pinda sense distance
the relationship between the pinda probe position and the nozzle position is initially confusing
the Pinda MUST be higher than the nozzle, otherwise it would crash into printed parts
the Pinda is attached to the extruder carriage,
if you lower the pinda in the carriage, the next time the pinda sets the height above the build plate (beginning of bed levelling), the extruder carriage (x carriage) will end up further away from the build plate, because the pinda only senses the distance between it's self and the build plate, it has no idea where the x carriage is . as the extruder carriage is further from the build plate, by default, the nozzle will also be further from the build plate.
this is initially counter intuitive....
if you raise the Pinda relative to the build plate, the extruder nozzle will get closer to the build plate. be careful this may cause nozzle to hit the build plate
the live Z can be greater than 0.9, mine was initially in the region of 1.3mm
once I got the printer working, I readjusted the Pinda, and now (Today) live Z is at 0.460 which is possibly a tiny bit low, but I am doing an engineering part, not a decorative part, and I was too lazy to mess about with the setting.
regards Joan
I try to make safe suggestions,You should understand the context and ensure you are happy that they are safe before attempting to apply my suggestions, what you do, is YOUR responsibility.Location Halifax UK
Re: I don't understand this Z-Live calibration
Hi,
When I got my first i3 I also struggled to get this figured out 🙂
The PINDA Probe triggers at a few mm above the printbed. The distance varies depending on temperature, metal density, manufacturing tolerances etc.
Since you want to make sure the nozzle doesn't crash in to the bed under any circumstances you have to mount the probe so it will always trigger before the nozzle gets too close. The consequence is that the nozzle will always be too far from the bed.
This is where the Z offset comes in: It is the distance that the nozzle gets lowered down after the PINDA triggers.
So an offset of -1.0 means that after the probe triggers it will lower another 1mm.
If you lower the PINDA on the printhead it will trigger sooner and the nozzle will be further away from the bed.
In consequence you have to increase the distance the head moves down after the probe triggers.
=> The negative offset increases.
If you mount the PINDA higher up the nozzle will be closer to the bed in relation to the triggering distance. So the negative offset decreases.
The most extreme case would be an offset of 0. In this case the nozzle would be mounted exactly the triggering distance lower than the PINDA probe.
Hope I could clarify things for you 🙂
Re: I don't understand this Z-Live calibration
Your explanations have helped me understand this process a lot better. Thank you very much!!
Doug
Re: I don't understand this Z-Live calibration
Ok,
Here is where I am.
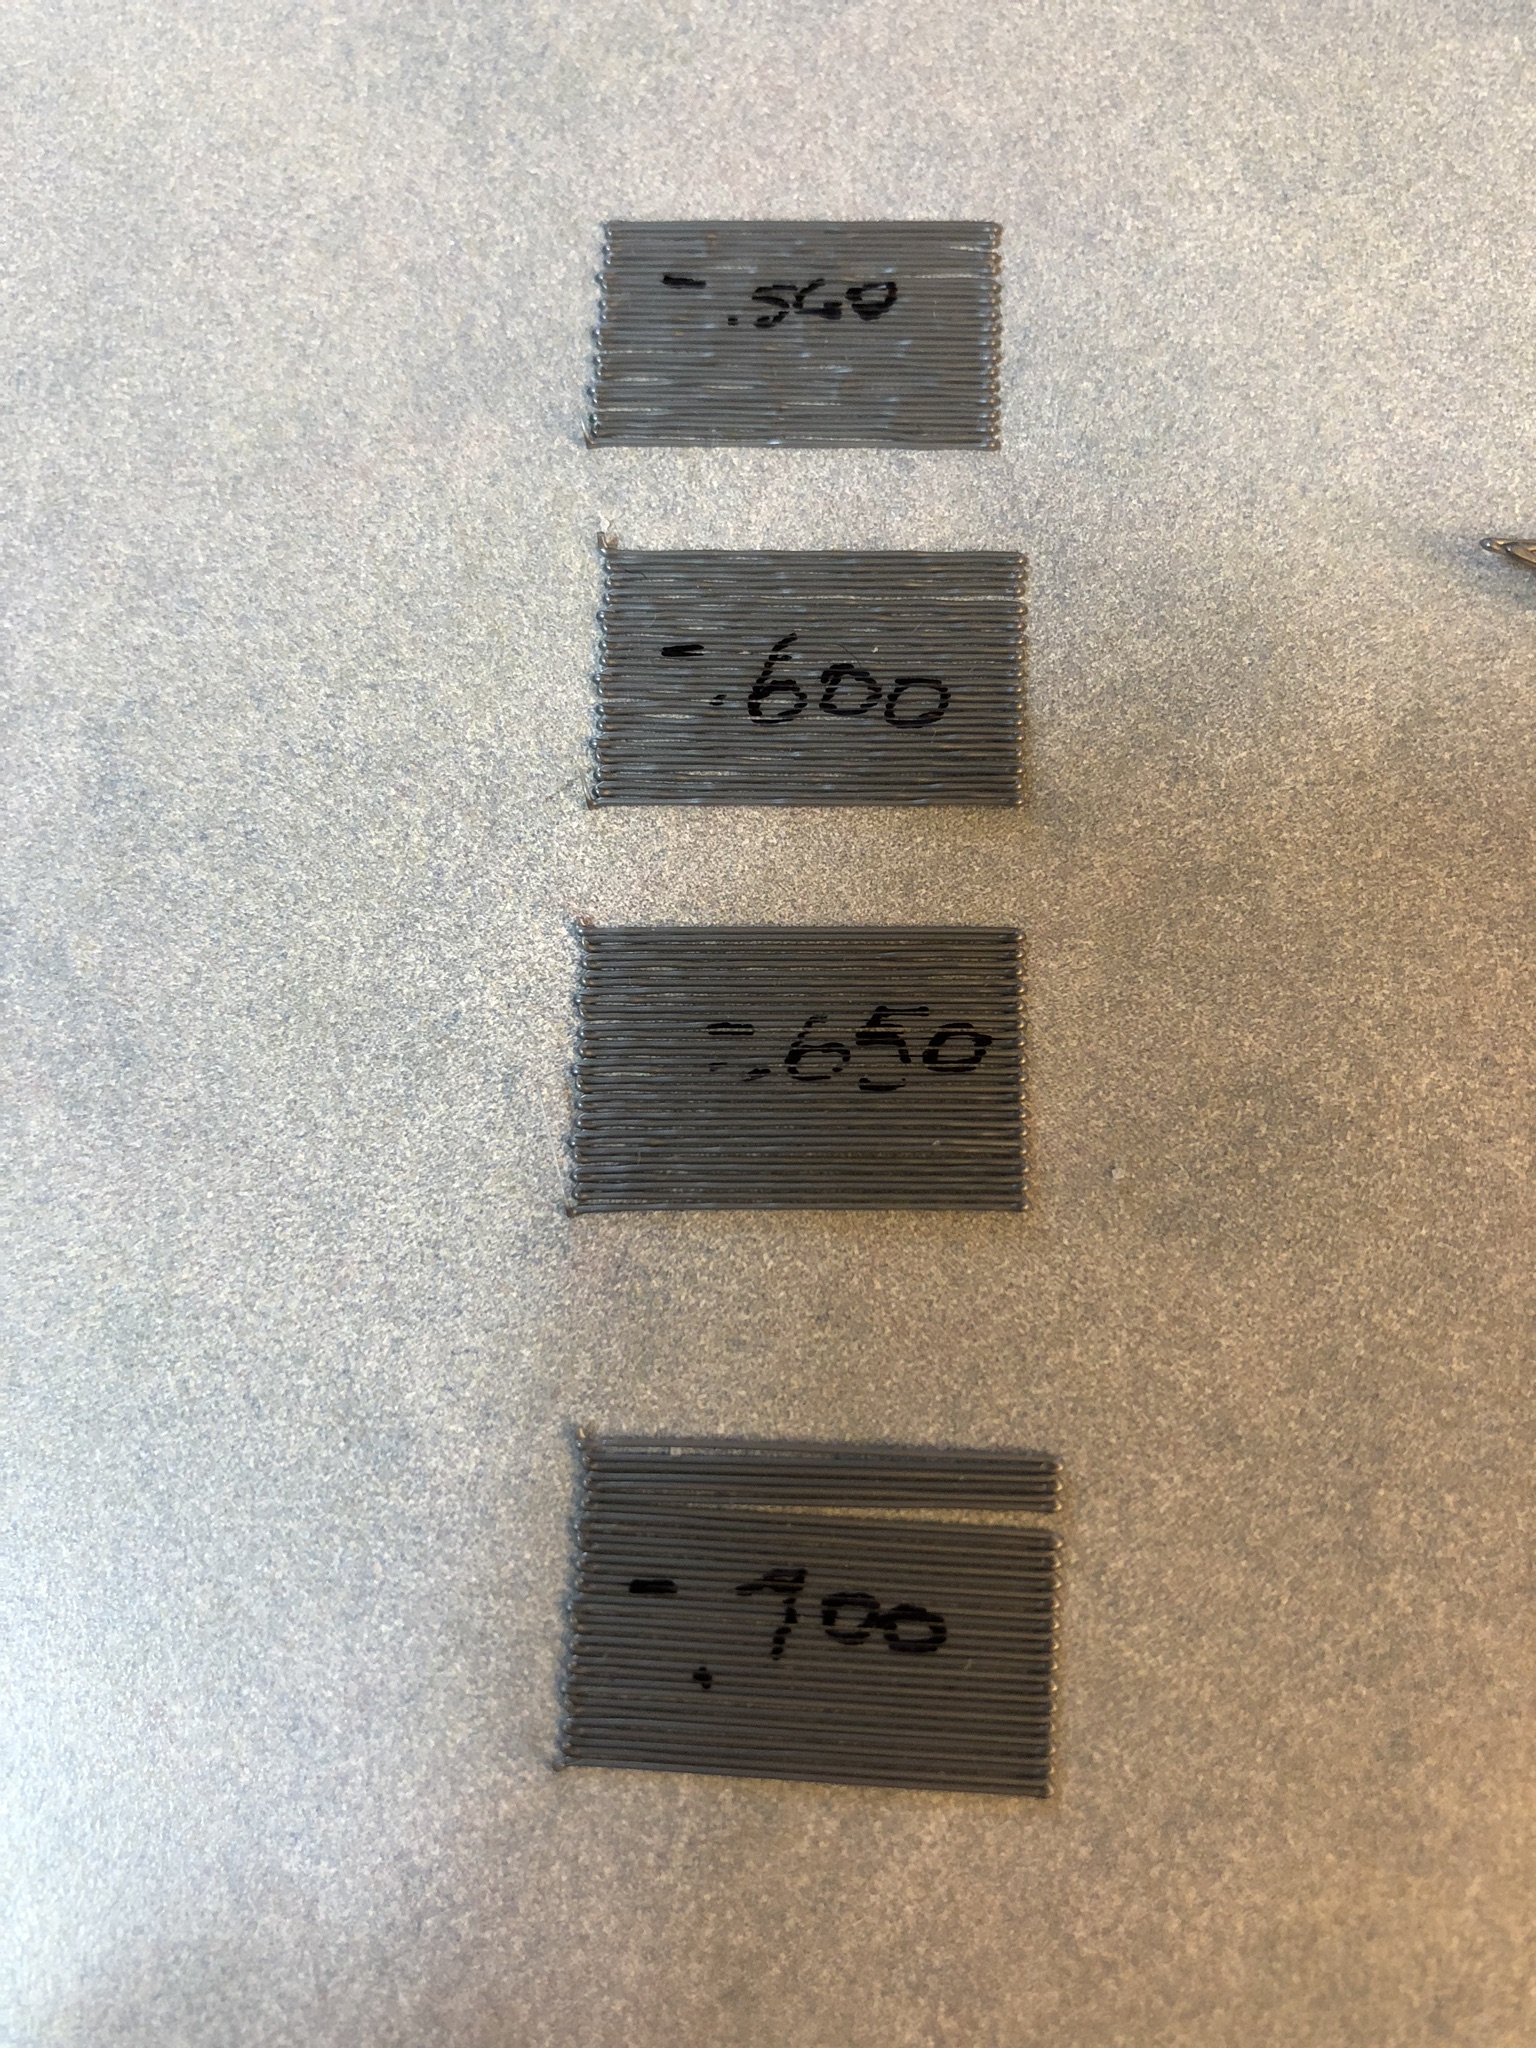
This photo is four of the 1st layer calibration prints. They start at -.560, -.600, -.650, -.700
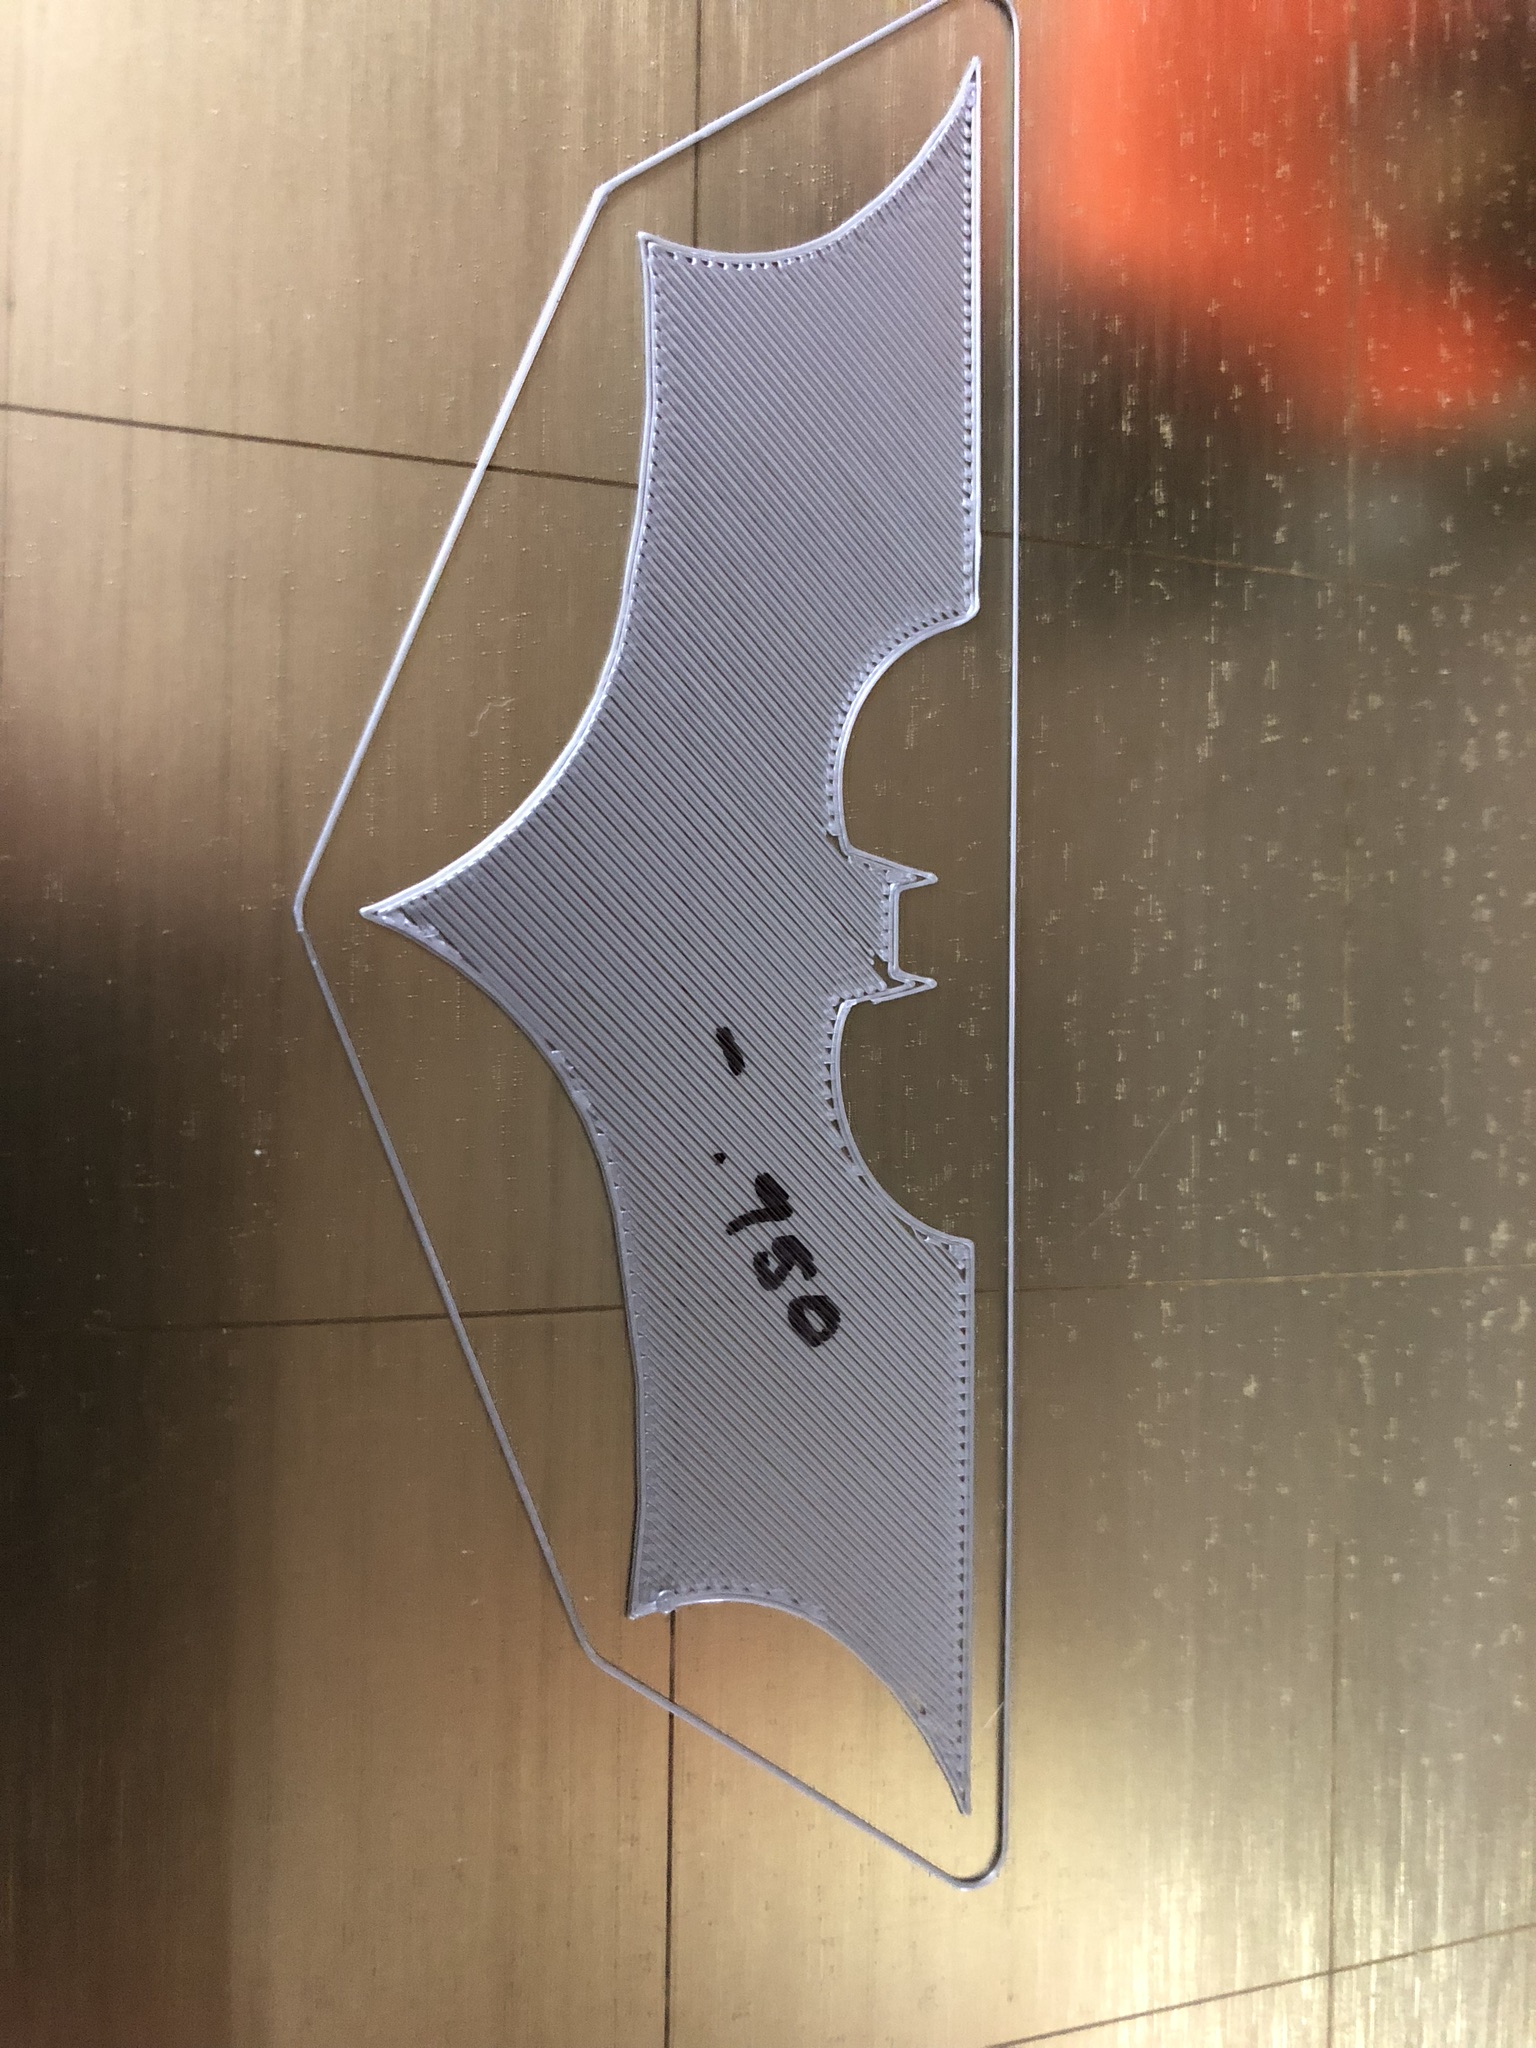
This is the first layer of the Batman logo from the SD card with additional Z modifications before printing.
-.700, -.750, -.800, -.900
This is the first layer of the Batman Logo at -.950
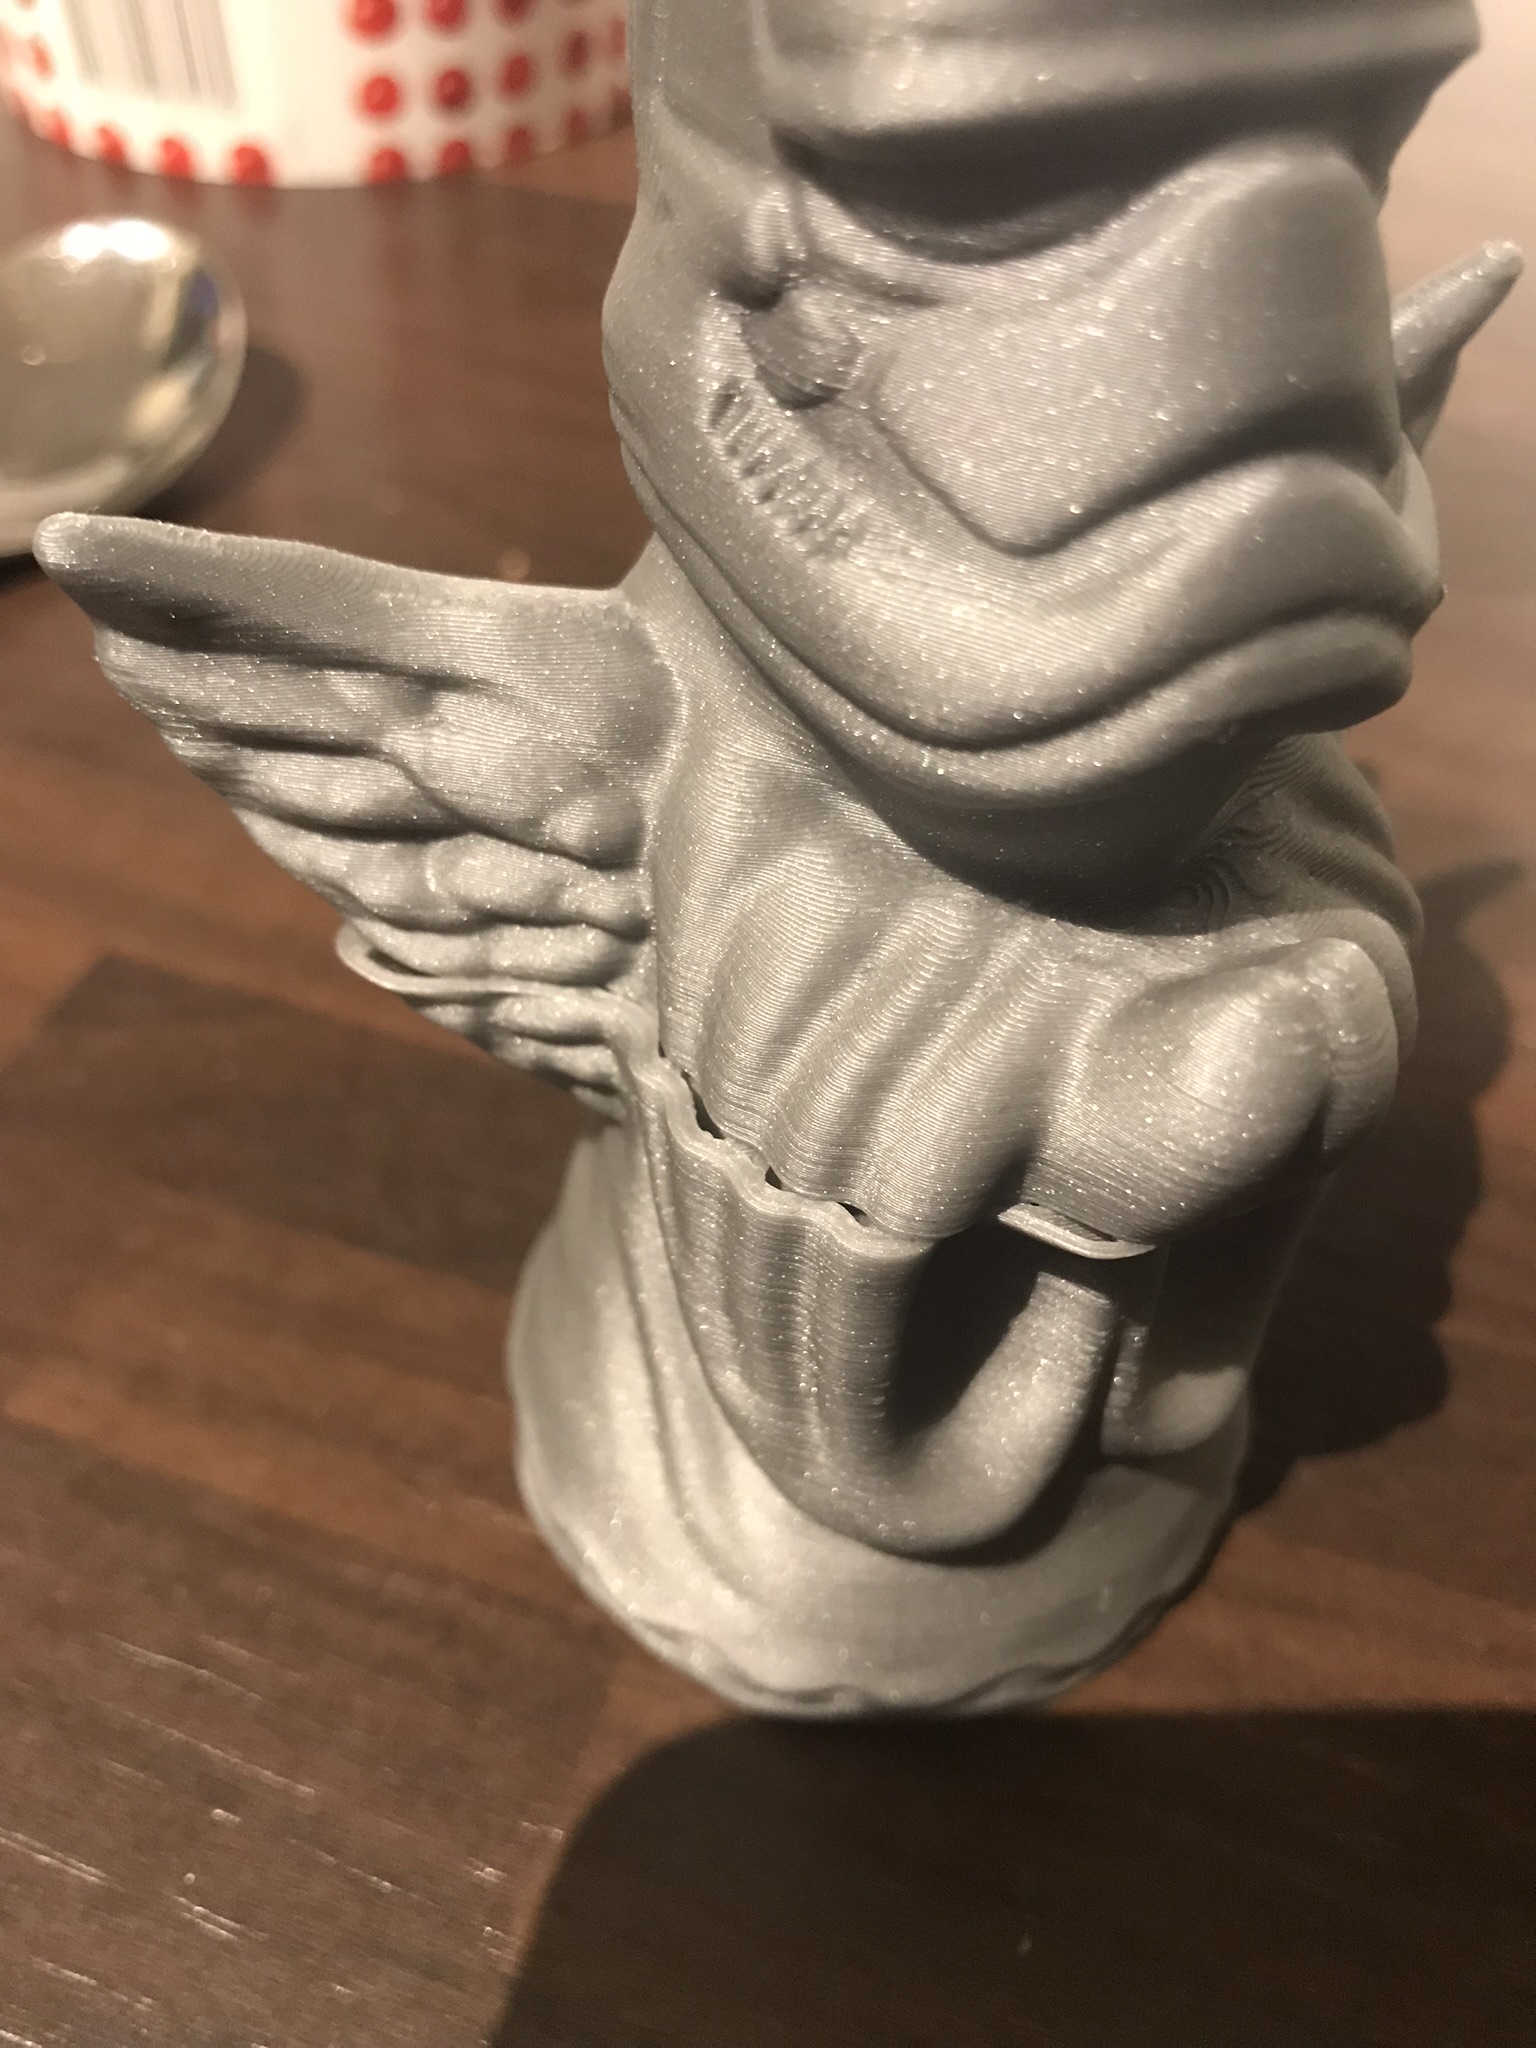
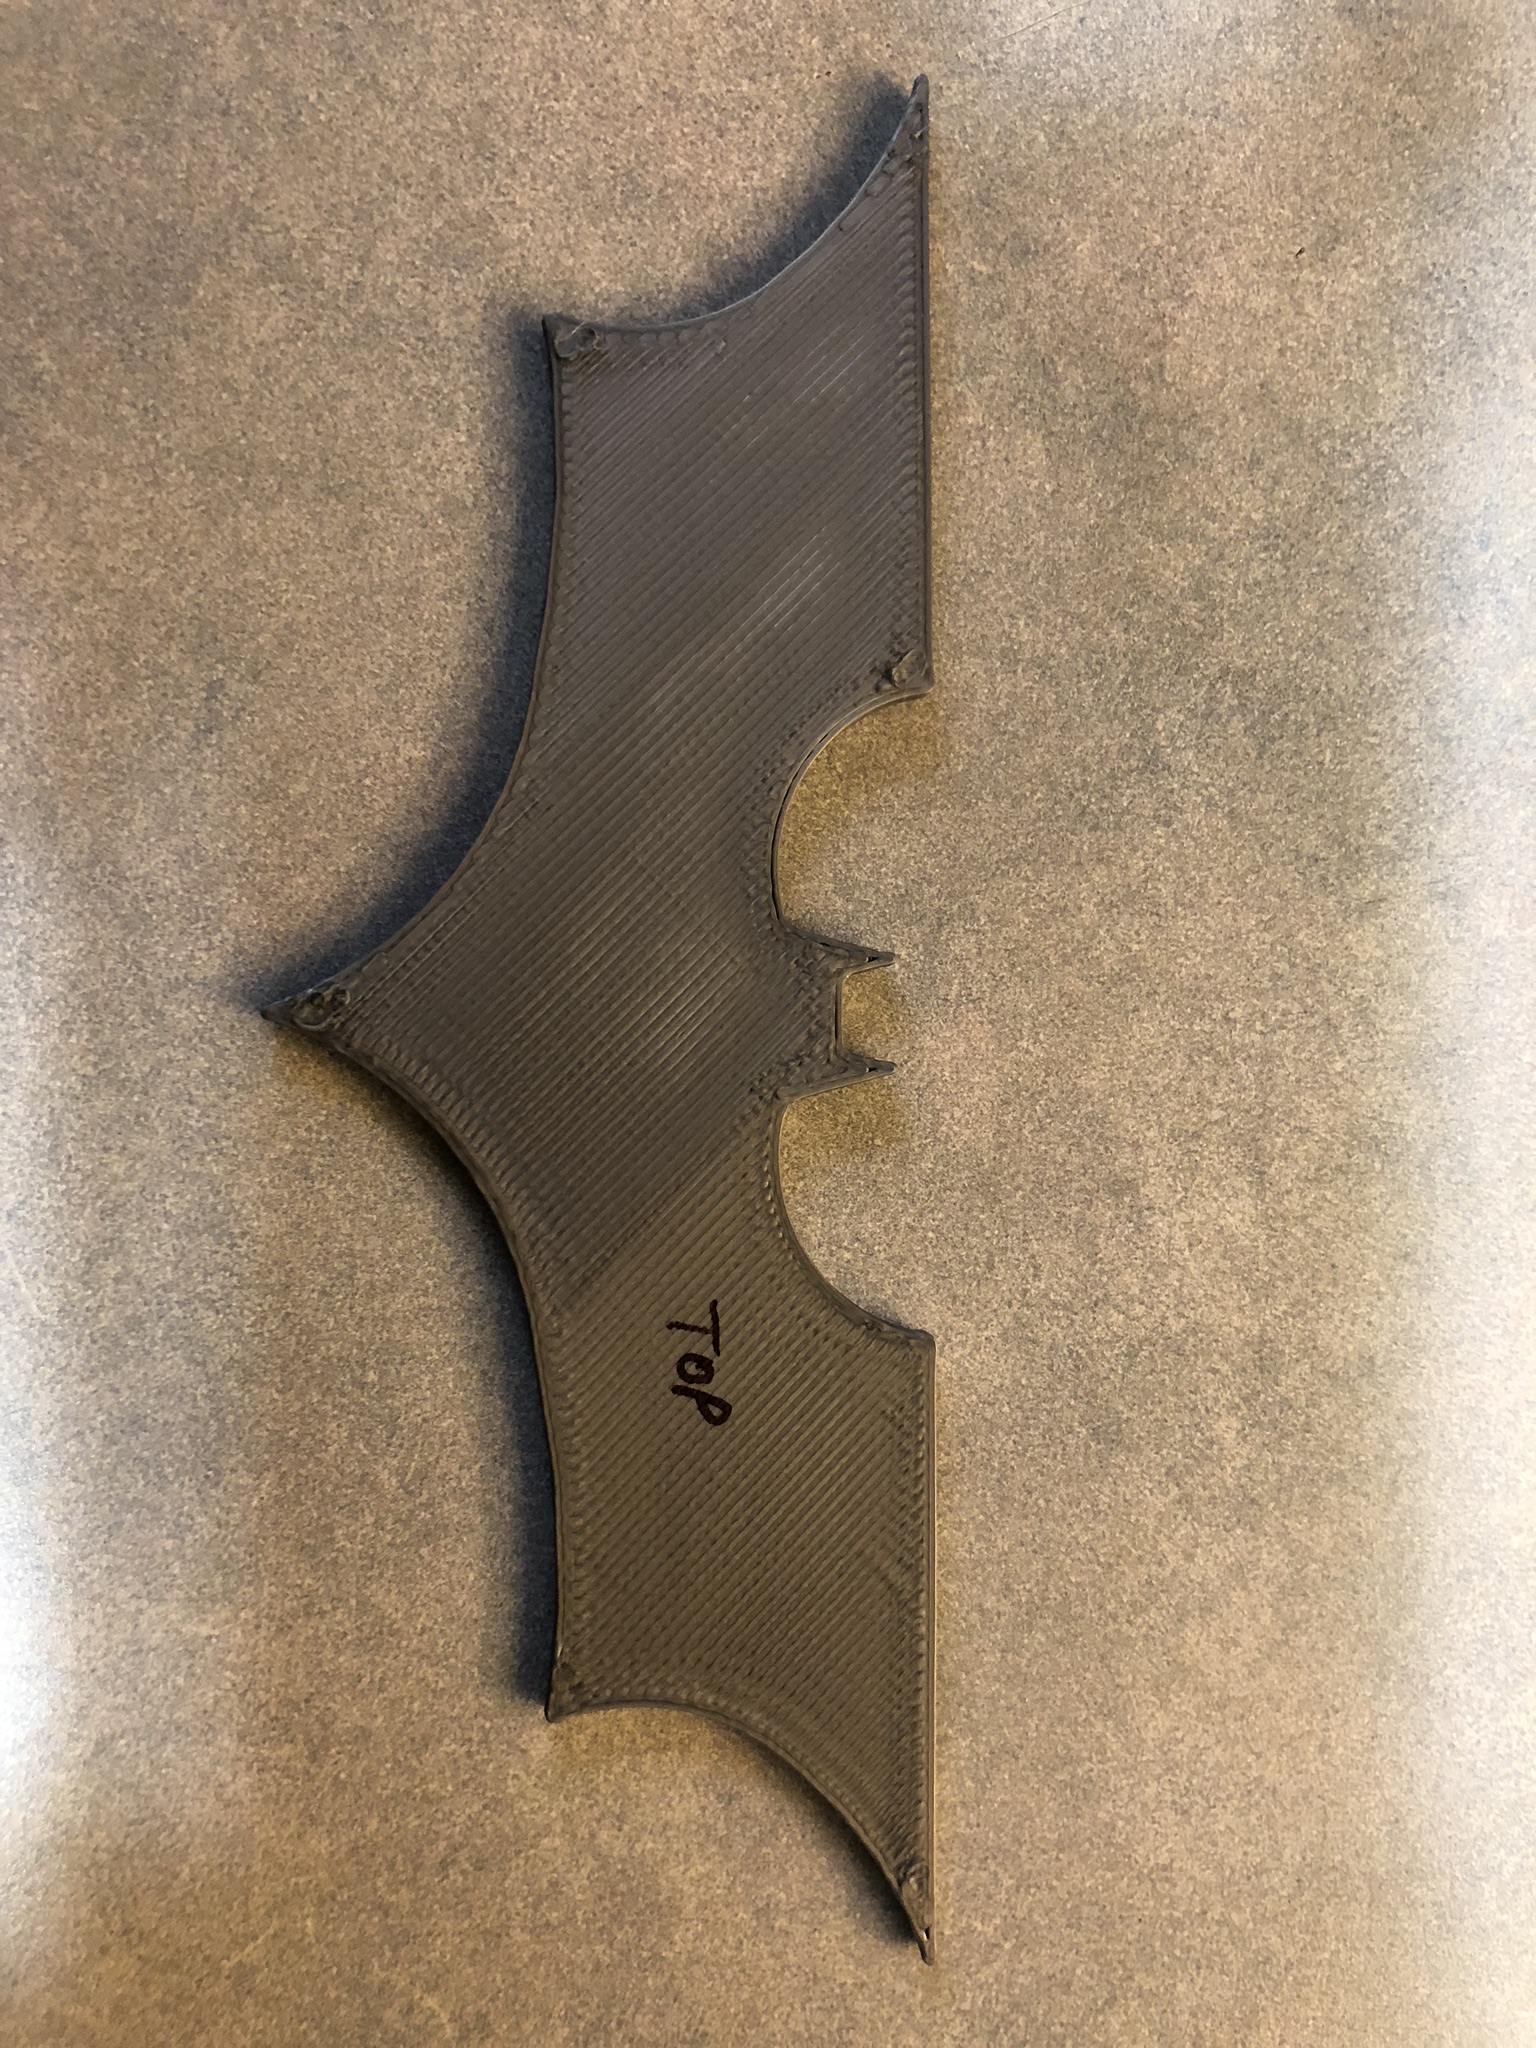
Here is the entire piece printed top and bottom.
Do I need to keep going with tweaking this Z setting?
Thanks
Re: I don't understand this Z-Live calibration
Ok, here is where I am. I just need some advice.
This shows 4 prints of the first layer calibration. They start at -.560, -.600, -.650, -.700
This is the Batman logo at -.700, -.750, -.800, -.900
This is the Batman logo at -.950
Re: I don't understand this Z-Live calibration
When you're adjusting the pinda is the steel sheet on the bed or off the bed? What are you using to measure the distance from the bed to the pinda probe? It looks like you still need a little more tweaking on your Z level.
Re: I don't understand this Z-Live calibration
When I moved it, I powered the unit down, loosened the screw, and dropped it one "thread". I marked it before I moved it so I could tell where it was. The steel sheet was on the bed when I moved it. Once I started the machine up again I ran the XYZ calibration. Everything came out "aligned" then it wanted me to run the 1st layer calibration where it prints the zig zag lines and then the small 1st layer item. That's where I have been adjusting the Z level. I stopped at -.950
Edit: When I ran the XYZ calibration I followed the instructions and removed the metal bed plate when instructed to do so, then added it back when doing the 1st layer calibration.
Re: I don't understand this Z-Live calibration
When I moved it, I powered the unit down, loosened the screw, and dropped it one "thread". I marked it before I moved it so I could tell where it was. The steel sheet was on the bed when I moved it. Once I started the machine up again I ran the XYZ calibration. Everything came out "aligned" then it wanted me to run the 1st layer calibration where it prints the zig zag lines and then the small 1st layer item. That's where I have been adjusting the Z level. I stopped at -.950
Follow the instructions in the build manual. The steel sheet must be removed from the bed, you lower the nozzle until it gently makes contact to the center of the pcb bed. Loosen the screw in the pinda and have it rest onto a zip tie. Your pinda is too high which is why you're having issues. Adjust the pinda according to the documentation provided in the manual.
Corey,
Thanks for pointing my in this direction. I went and found the build manual and followed the instructions. I am in the process of test printing some items now. The first layer calibration is looking much better.
Thanks again.
Re: I don't understand this Z-Live calibration
one of the times when a man actually needs to read the manual LOL 😆 😆
Re: I don't understand this Z-Live calibration
one of the times when a man actually needs to read the manual LOL 😆 😆
Yeah no kidding!! This wasn't a kit so I had not read the assembly manual until yesterday.
First layer is still off a bit on how it adheres to the plate so I'm still tweaking.
Re: I don't understand this Z-Live calibration
Corey,
Thanks for pointing my in this direction. I went and found the build manual and followed the instructions. I am in the process of test printing some items now. The first layer calibration is looking much better.
Thanks again.
Awesome!


