tricky print, welcome arrangement and slicing tips
Hey
My son sent me the model, and the more I look, the more I smell resin, hehe
I've tried a few arrangements with a ebony wood I had on hand, while the requested Black/Purple silk arrived.
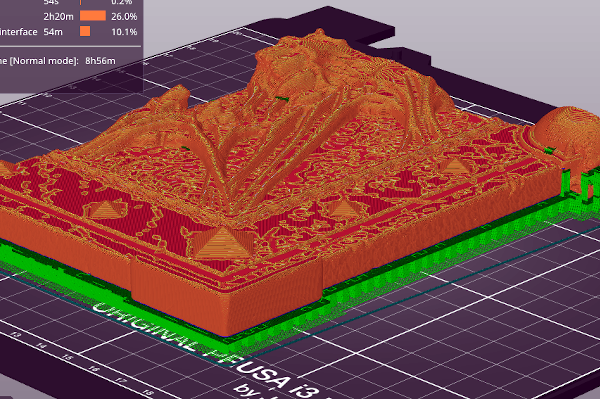
stuck on a true flat, with a brim and disc's aligned with Y...... the part flexed enough to get dancing 2/3 way up.
saw this layback, that finished, with ALOT of help (ever pause a print to tack weld a brace onto the part and supports with a soldering iron?) facepalm self
so, to get the color change to pattern match,.... I have the 2 bottom segments from the front, and back cover arranged with a 15deg layback, and plan to set the interface to 0.hope. Ugly on the back is ok, strength is first.
On the ugly note, I had travels from the face of one leaf to the back of another, leaving unneeded strings on the face.
the point touching the bed can't be dived a millimeter for grip, its textured etc.
So, I'm going get this cooking
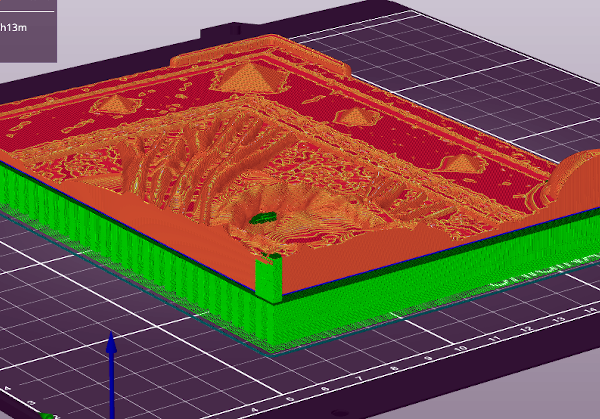
raft, normal contact
paint seams to the inner rear corners
paint 3 support buttresses along the back with physical contact support
rotate them to be along the Y.
Start from a known point on the color change, and preserve the end point to start the top 4 leaves.
Would love to hear from anyone whose done a similar object, and learned from mistakes I'm about to make 😏
RE: tricky print, welcome arrangement and slicing tips
If you will post the .stl files (remember to zip them) I'll be glad to play with it and see what I can do.
RE: tricky print, welcome arrangement and slicing tips
there is a zip tool in the desktop send to:
proly been there for decades,.....huh
RE: tricky print, welcome arrangement and slicing tips
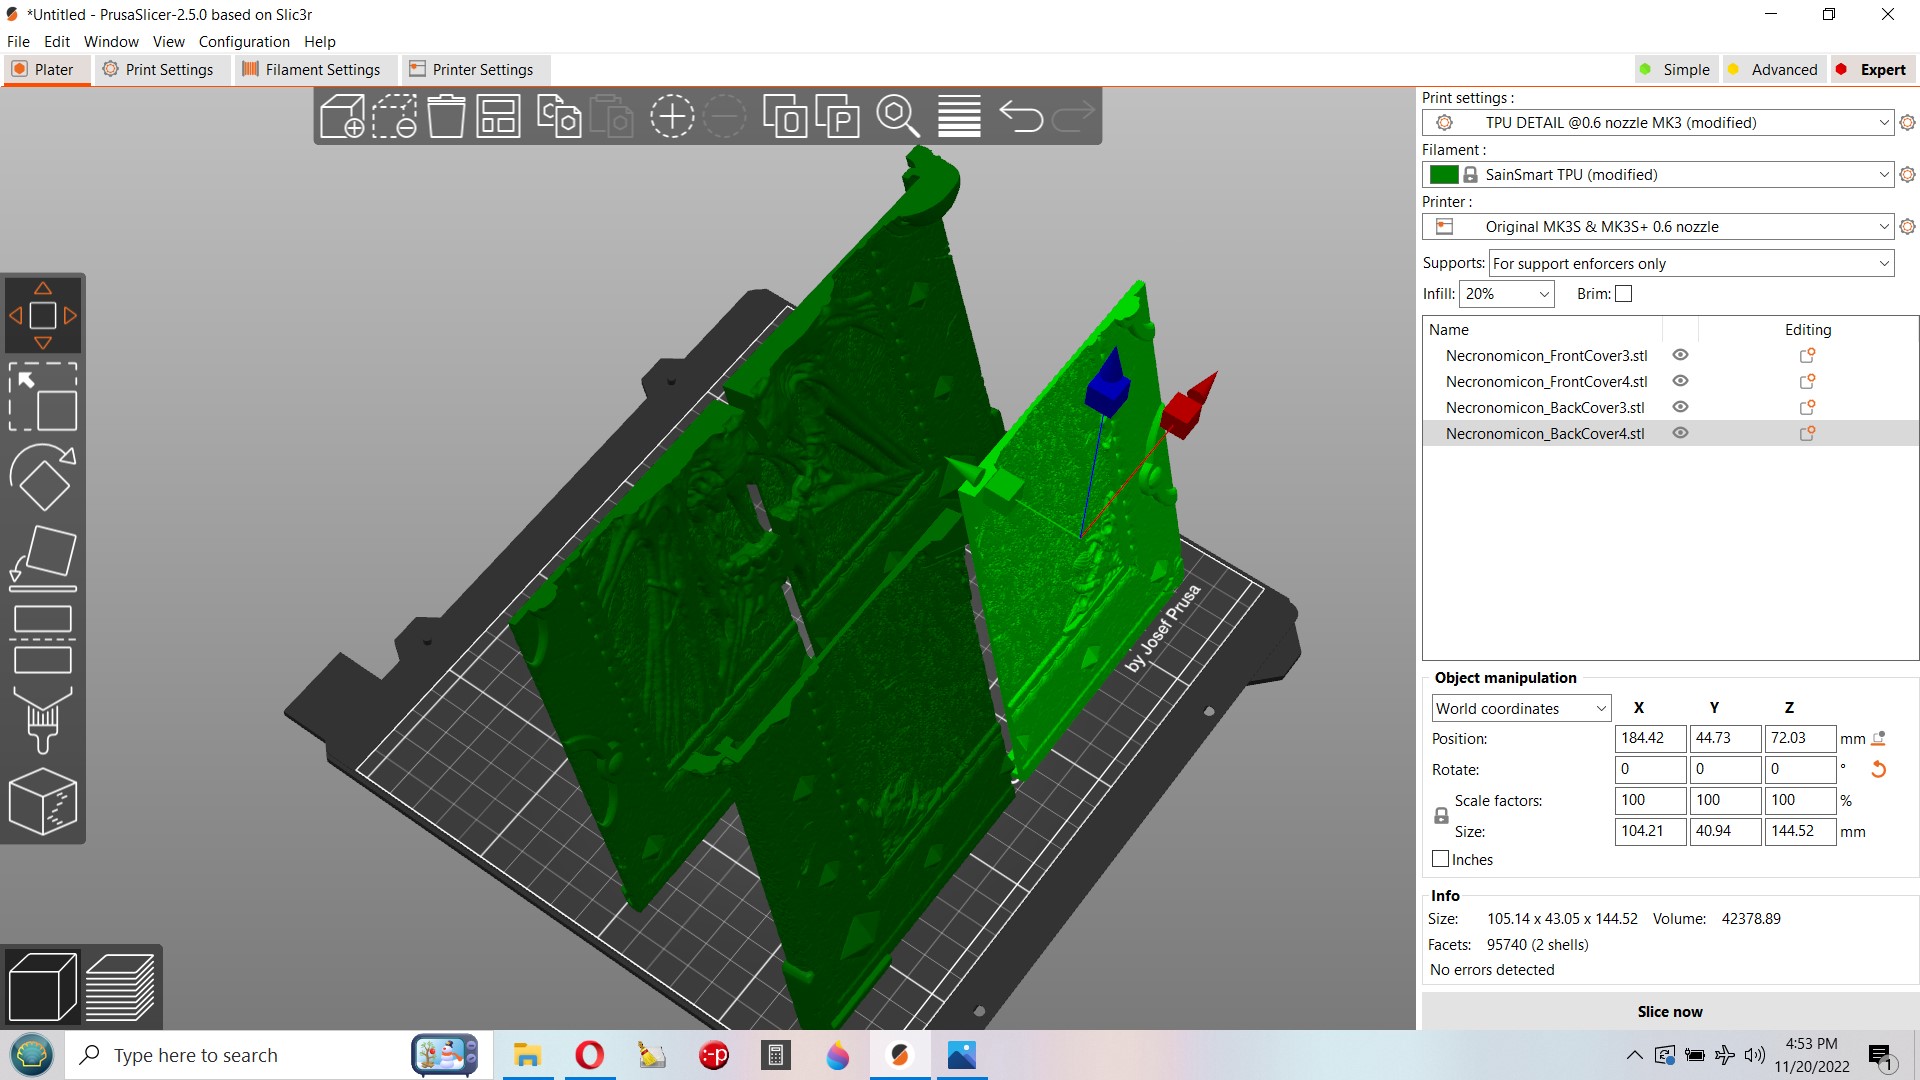
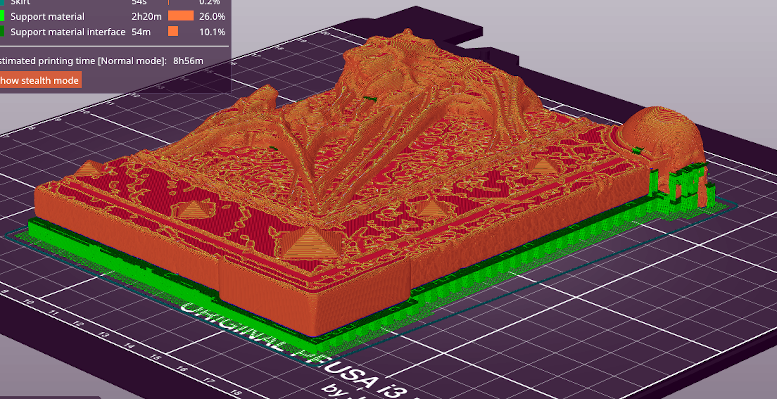
This is cooking overnight, and of note, the chosen filament is not changing color, its a flipflopper, so what I have to contrain is orientation fixed on the plater, and the deviation from that, by the observer viewangle, after assembly.
12:45 0.4LH, 3 per, 90%infill .6noz
do a .2 detail just to see the model thinness and quirks first

RE: tricky print, welcome arrangement and slicing tips
If I were doing this, I would want the most detail I could get out of the images, and therefore, that means printing them detail side up.
When printing them flat, detail side up, they will need support, and break-away supports will use a certain amount of filament, but the four large pieces can be printed 'greasy side down', where the support removal blemishes will not show.
That is the way I would print this.
You could use support blockers to remove the small auto-generated support sections which appear on the faces of the prints.

RE: tricky print, welcome arrangement and slicing tips
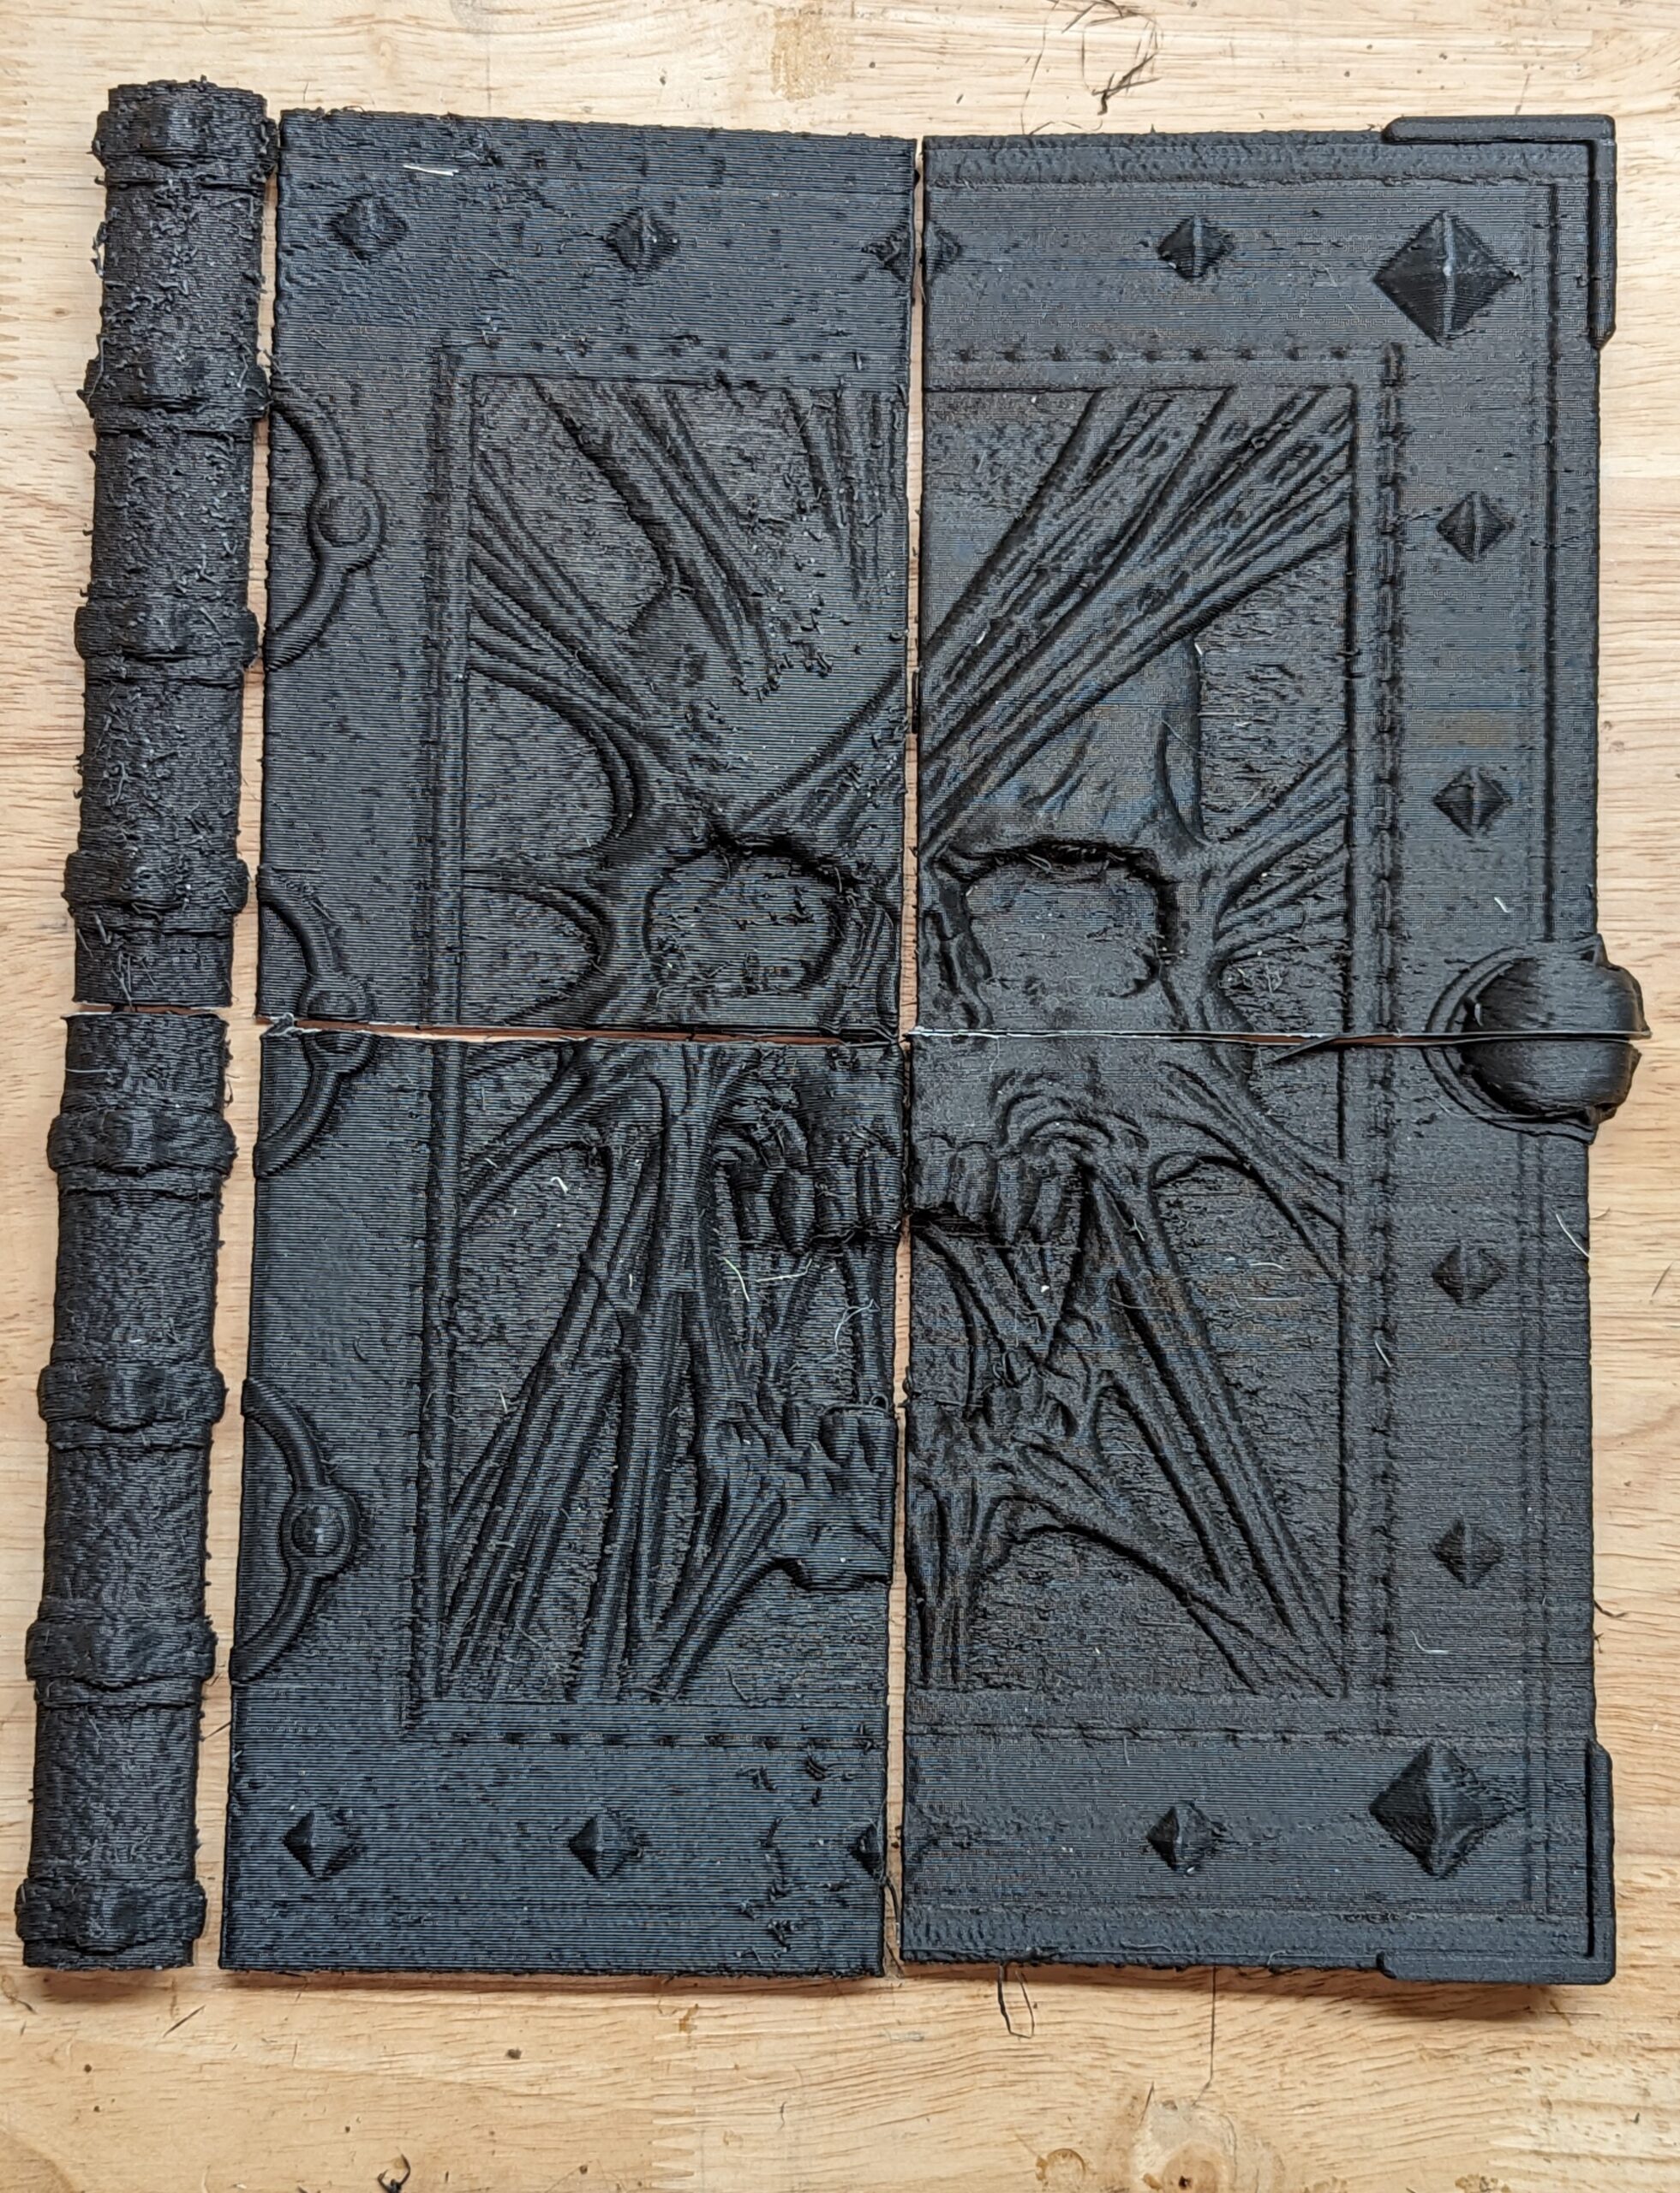
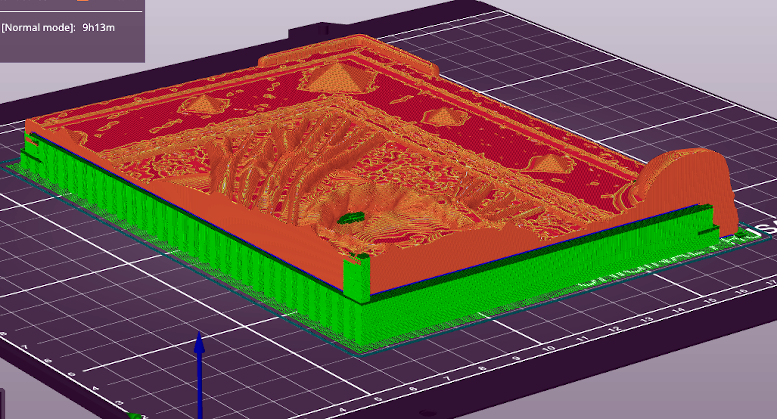
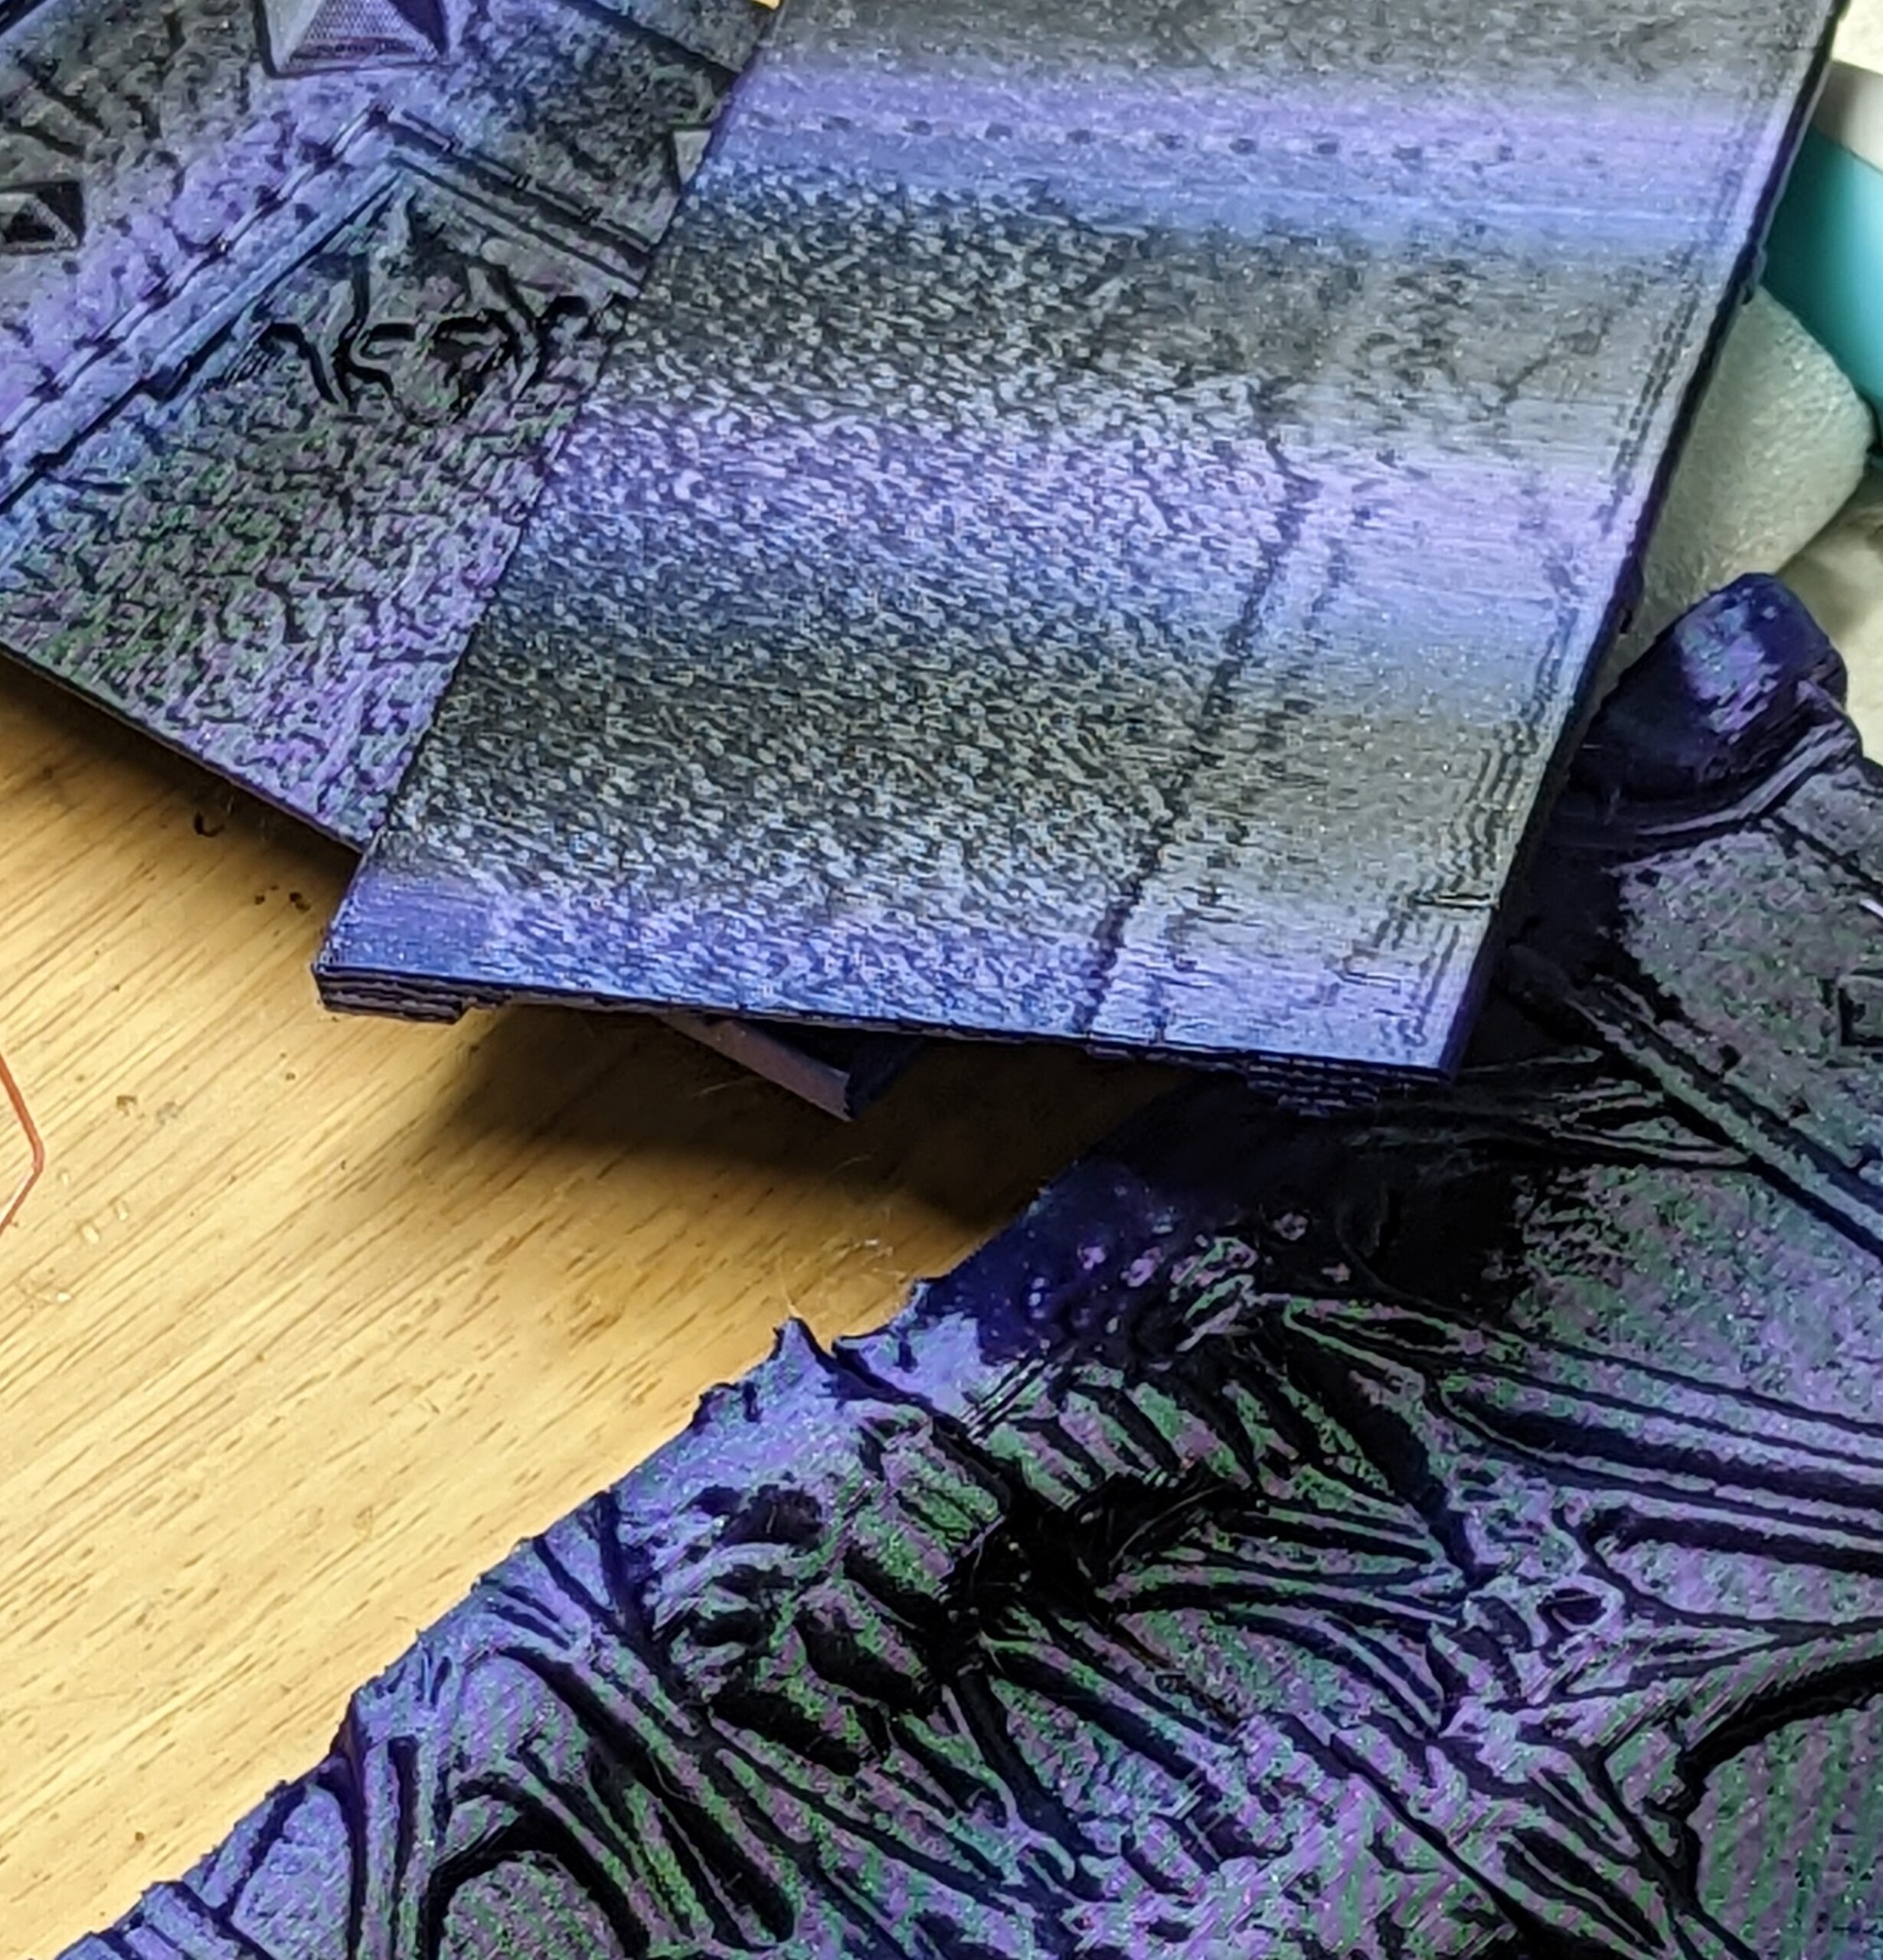
well, they finished, andd look much better. but still moving during the print.
the fronts, are thick enough on there own to hold still, but the backs were still, as seen by the rippled area, are still moving inside the support structure.
there is an xy spacing setting, it was 80% I set it to 10
I'd set the top Z to 0, but, I'd have issues getting it off the raft/base support then yeah?
anyway, the second batch is running, and as you can see, it is, a color changer, not a flipfloper.
I hope the raft doesnt eat up to much, the 2 runs seam against each other there
RE: tricky print, welcome arrangement and slicing tips
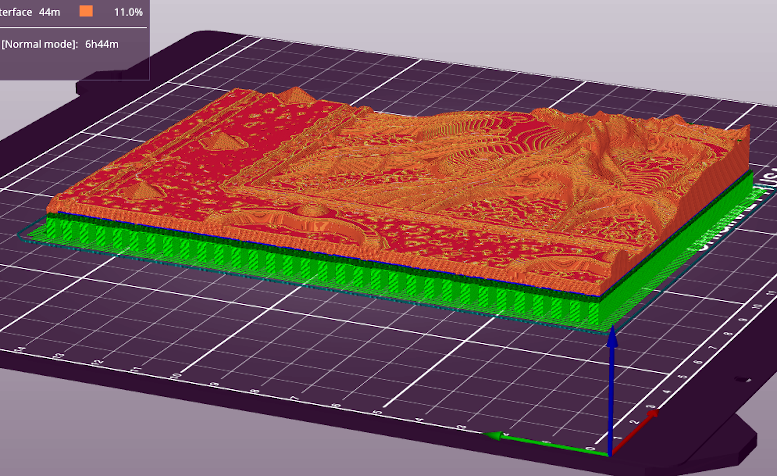
wel they are not going to wiggle around that way, are they.
I have not had good success with silks as the bend around to a top surface area, seem to do best when the layer edges are even
If I were doing this, I would want the most detail I could get out of the images, and therefore, that means printing them detail side up.
When printing them flat, detail side up, they will need support, and break-away supports will use a certain amount of filament, but the four large pieces can be printed 'greasy side down', where the support removal blemishes will not show.
That is the way I would print this.
You could use support blockers to remove the small auto-generated support sections which appear on the faces of the prints.