Surface Problem with big plate
Hello Everybody!
I have successfully assembled my MK3S+ and have printed nearly without any problems: benchy, a complex and high comic figure (about 14cm tall), a very big horse (about 19cm tall) with lots of support and many others.
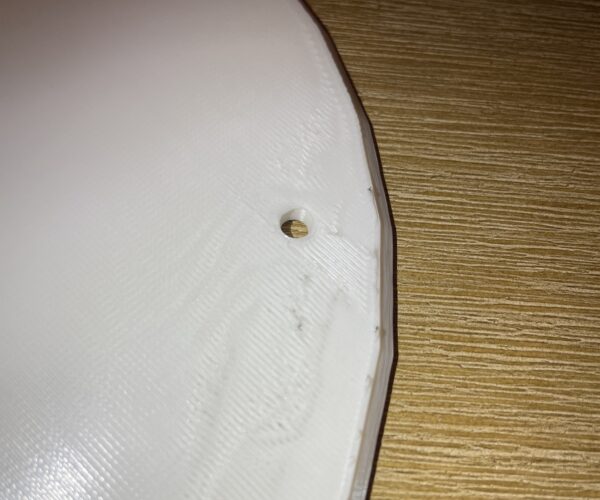
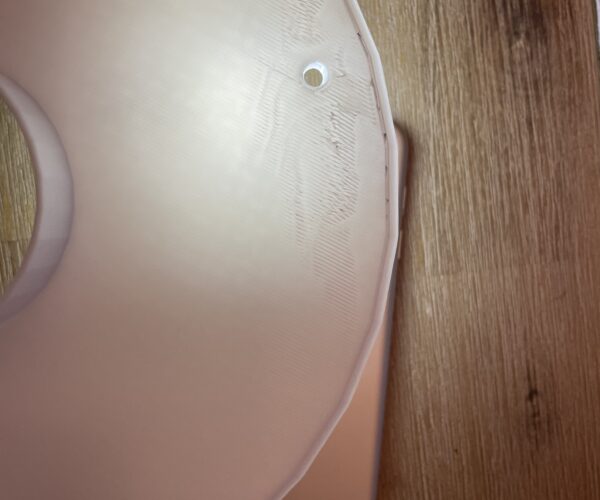
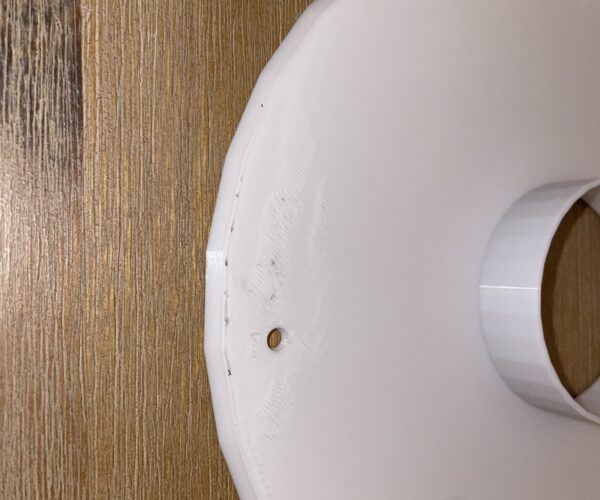
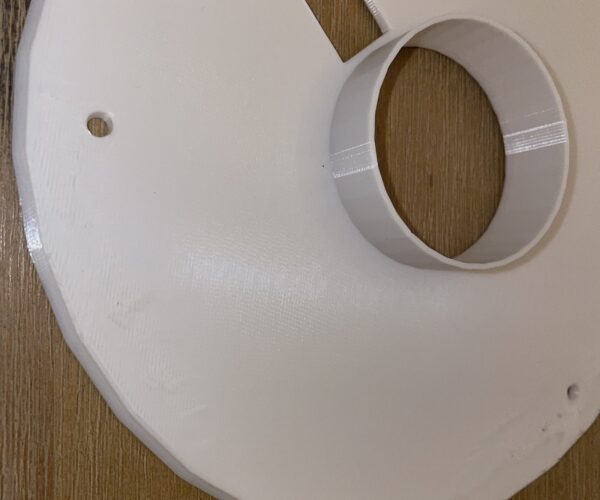
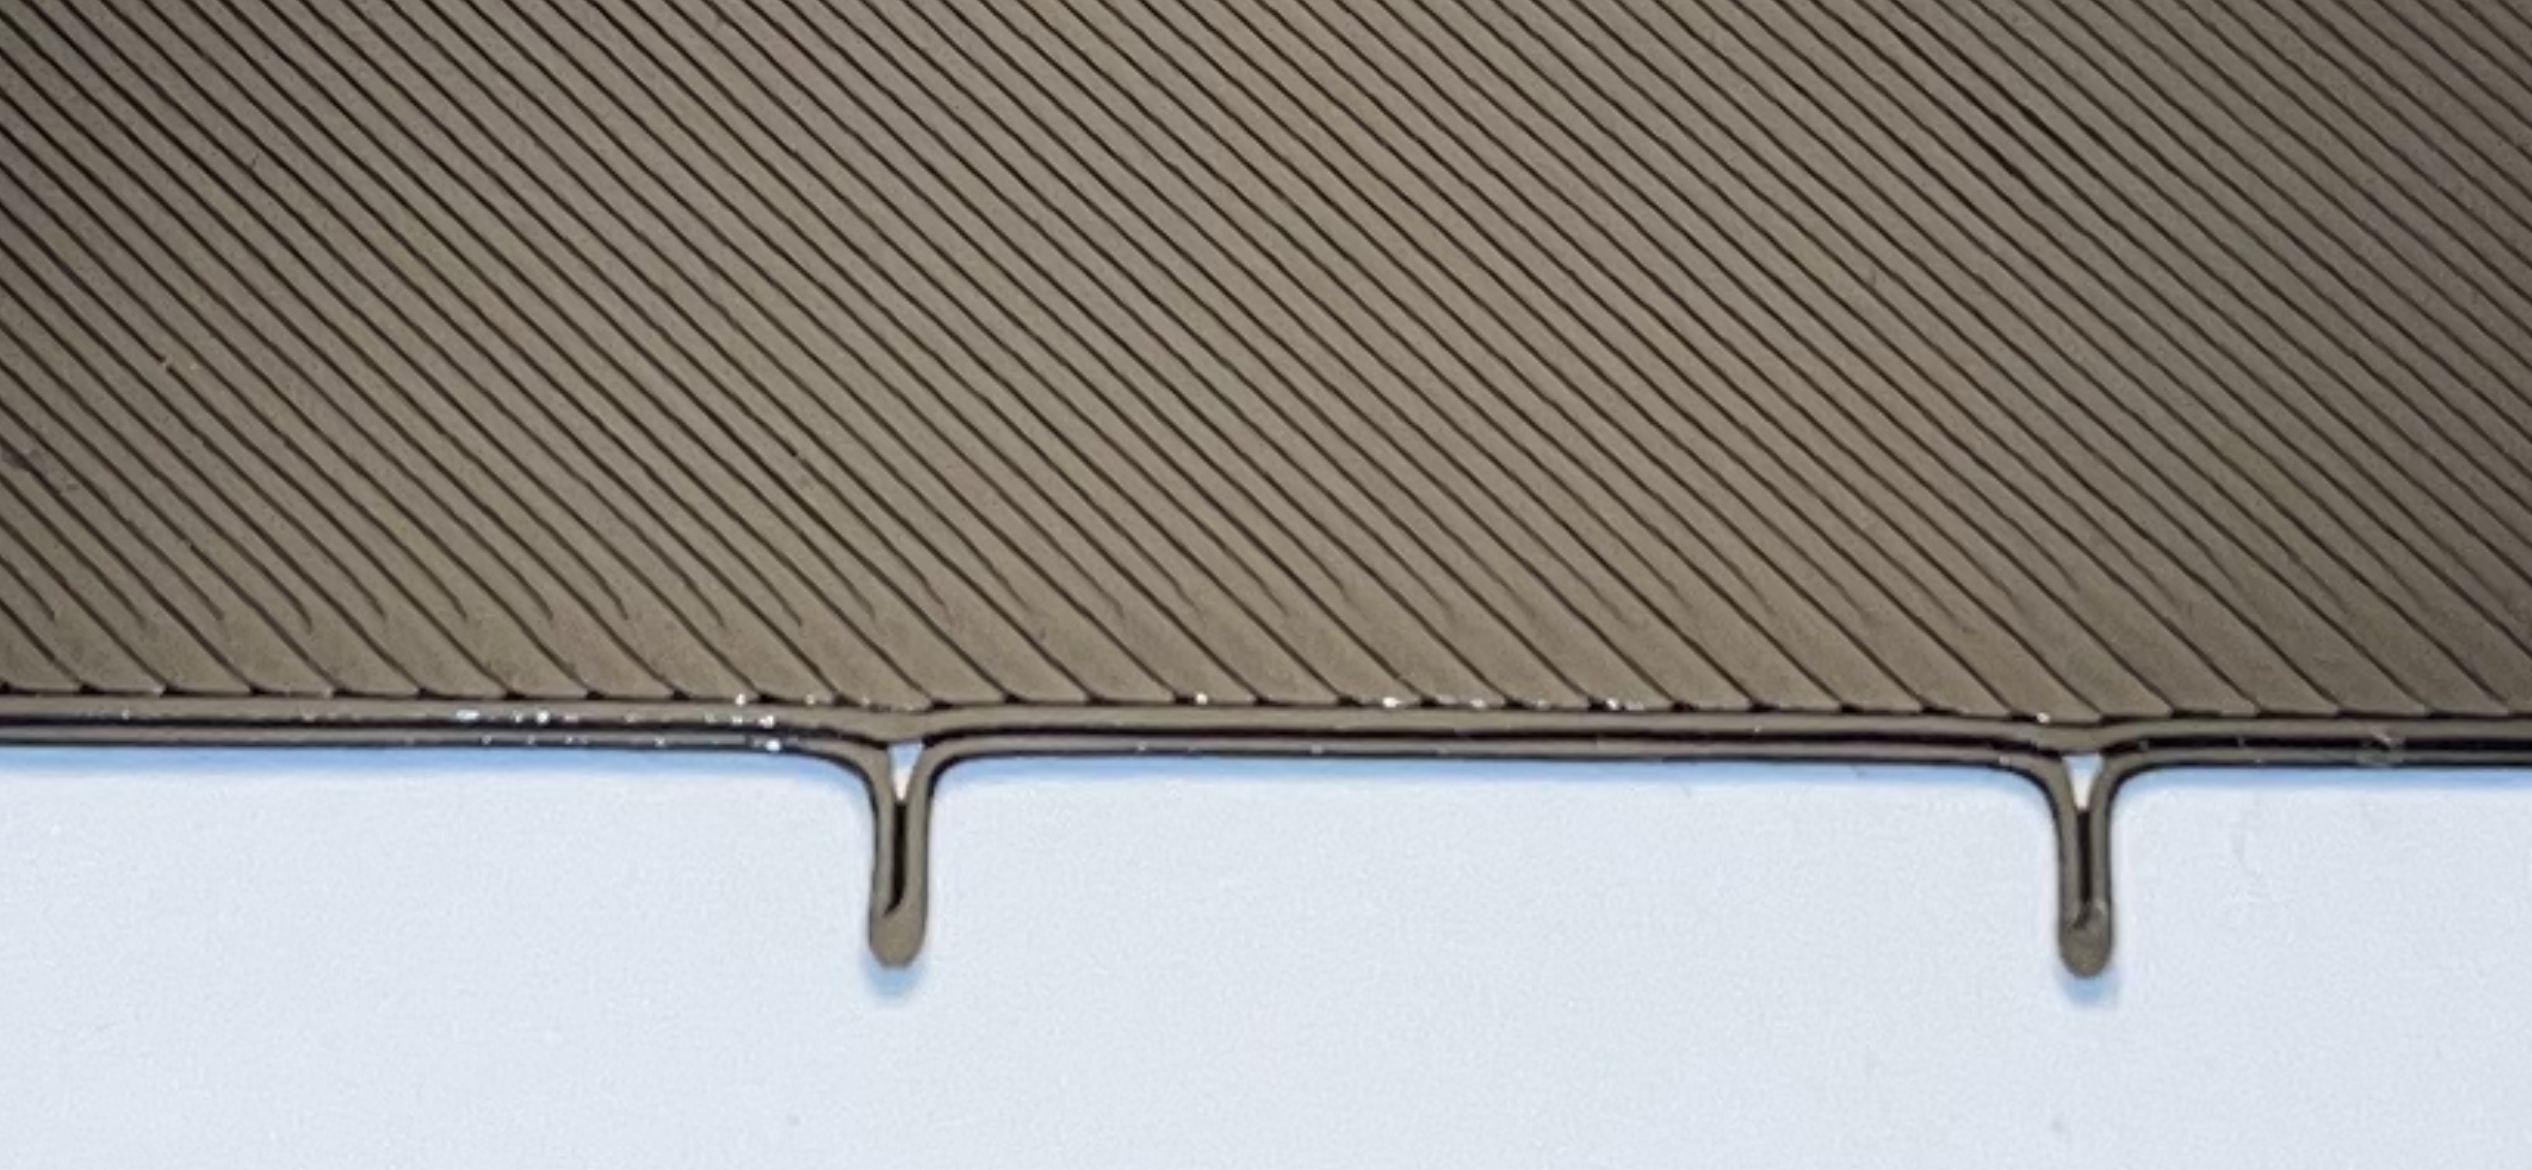
Only Problem I seem to have is/ was with a cylindric plate (about 18cm diameter) and only at two points: see pics. I am not sure whether this is a problem with the infill or only the surface… The downside (first layer) is perfect.
Any help would be appreciated, thank you!
RE: Surface Problem with big plate
No pictures attached. Also when people say "first layer is perfect" half the time it's anything but, so lease attach a picture of the first layer as well.
Formerly known on this forum as @fuchsr -- https://foxrun3d.com/
RE: Surface Problem with big plate
Pictures were attached but are “awaiting moderation”. And for first layer problem is: the plate has been mounted already to the ceiling it was supposed to… sorry.
RE: Surface Problem with big plate
Here you can find a time lapse video where the first layers print can be viewed:
RE: Surface Problem with big plate
For first layer diagnosis most folks here prefer to see a large single layer square or a strip such as https://www.printables.com/model/105404 anyway, rather than the bottom of a print or the built-in square.
Formerly known on this forum as @fuchsr -- https://foxrun3d.com/
RE: Surface Problem with big plate
I’m sorry but I don’t know how to have a conversation providing helpful informations (pics/vids) when half of my posts are held back because of “awaited moderation”…
May I purpose you read this topic again tomorrow when it’s fully viewable?
RE: Surface Problem with big plate
It may be that your print warped upwards slightly at that edge of the print, causing the deformations that you see on the top layer.
This is sometimes not obvious at all and unless you examine the bottom of the part carefully, it’s easy to miss. This is not unusual for a larger print in PLA, in particular.
Cheers
RE: Surface Problem with big plate
Thank you for your answer!
So it is because the frist layer warped upwards if you say that it comes from the bottom?
RE: Surface Problem with big plate
This is either underextrusion or your z-offset is off by quite a bit. If you used Prusa slicer standard profiles for that specific filament I would think it is the first layer calibration. Repeat first layer calibration, you will need a more negative value of the z-offset until the area is filled out completely, without those empty ridges.
Mk3s MMU2s, Voron 0.1, Voron 2.4
RE: Surface Problem with big plate
The infill should be a completely unbroken smooth layer. Your Live Z adjustment on the printer can be brought down quite a bit (ie made more negative).
You are aiming for something more like 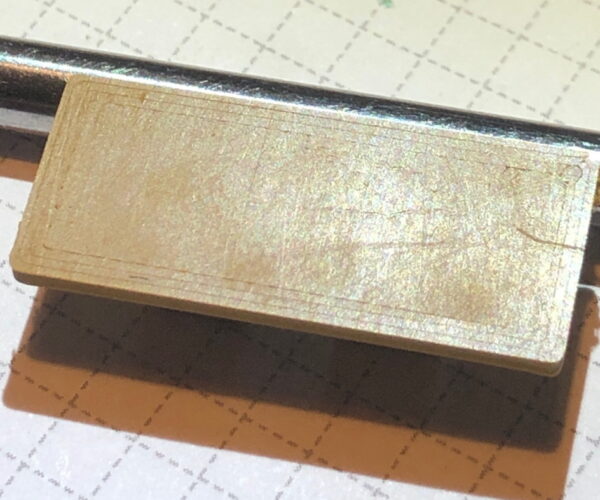
When your first layer is correct then part adhesion is vastly improved (as long as the print bed is grease/oil free). When your parts adhere then the chances of warping up are much reduced. That sorts out all sorts of common problems.
RE: Surface Problem with big plate
As the others have said, live z looks way too high, there shouldn't be any gaps between the lines in the calibration strip. It is very common by new owners of Prusa printers to be concerned about hitting the steel sheet and not bringing live z down enough.
The other thought I would offer is to make sure your infill is high enough on large surfaces like this. While I usually go with 10 or 15% (gyroid or adaptive cubic) infill, I up it to 20 or 25% for larger flat top surfaces.
But I'd try to optimize live z first. While absolute values are meaningless, with a properly installed Pinda, the value should be somewhere around -1.000. If you're getting close to -2.000 I'd reposition the Pinda a bit higher. A popular tool to get the correct height for the Pinda at installation is here https://www.printables.com/model/57192
Formerly known on this forum as @fuchsr -- https://foxrun3d.com/
RE: Surface Problem with big plate
Hey there,
thank you all very much! You all helped me a lot!
😍
I really wasn't aware that there is any z-offset problem at all because all prints went well (execpt the mentioned plate) and "looked good to me". But as I see now this is a relative and subjective personal impression as I had no comparison at all!
RE: Surface Problem with big plate
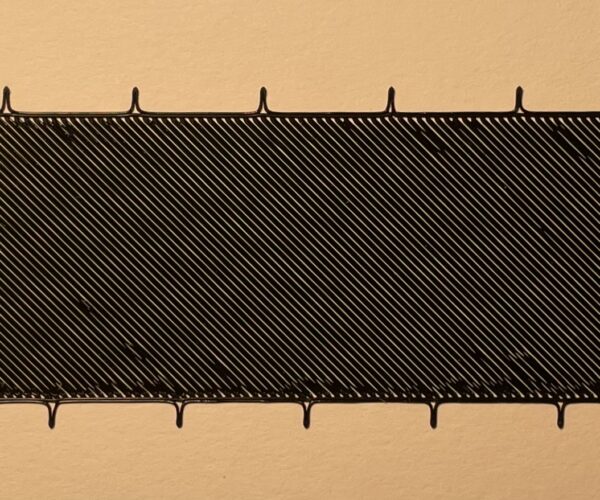
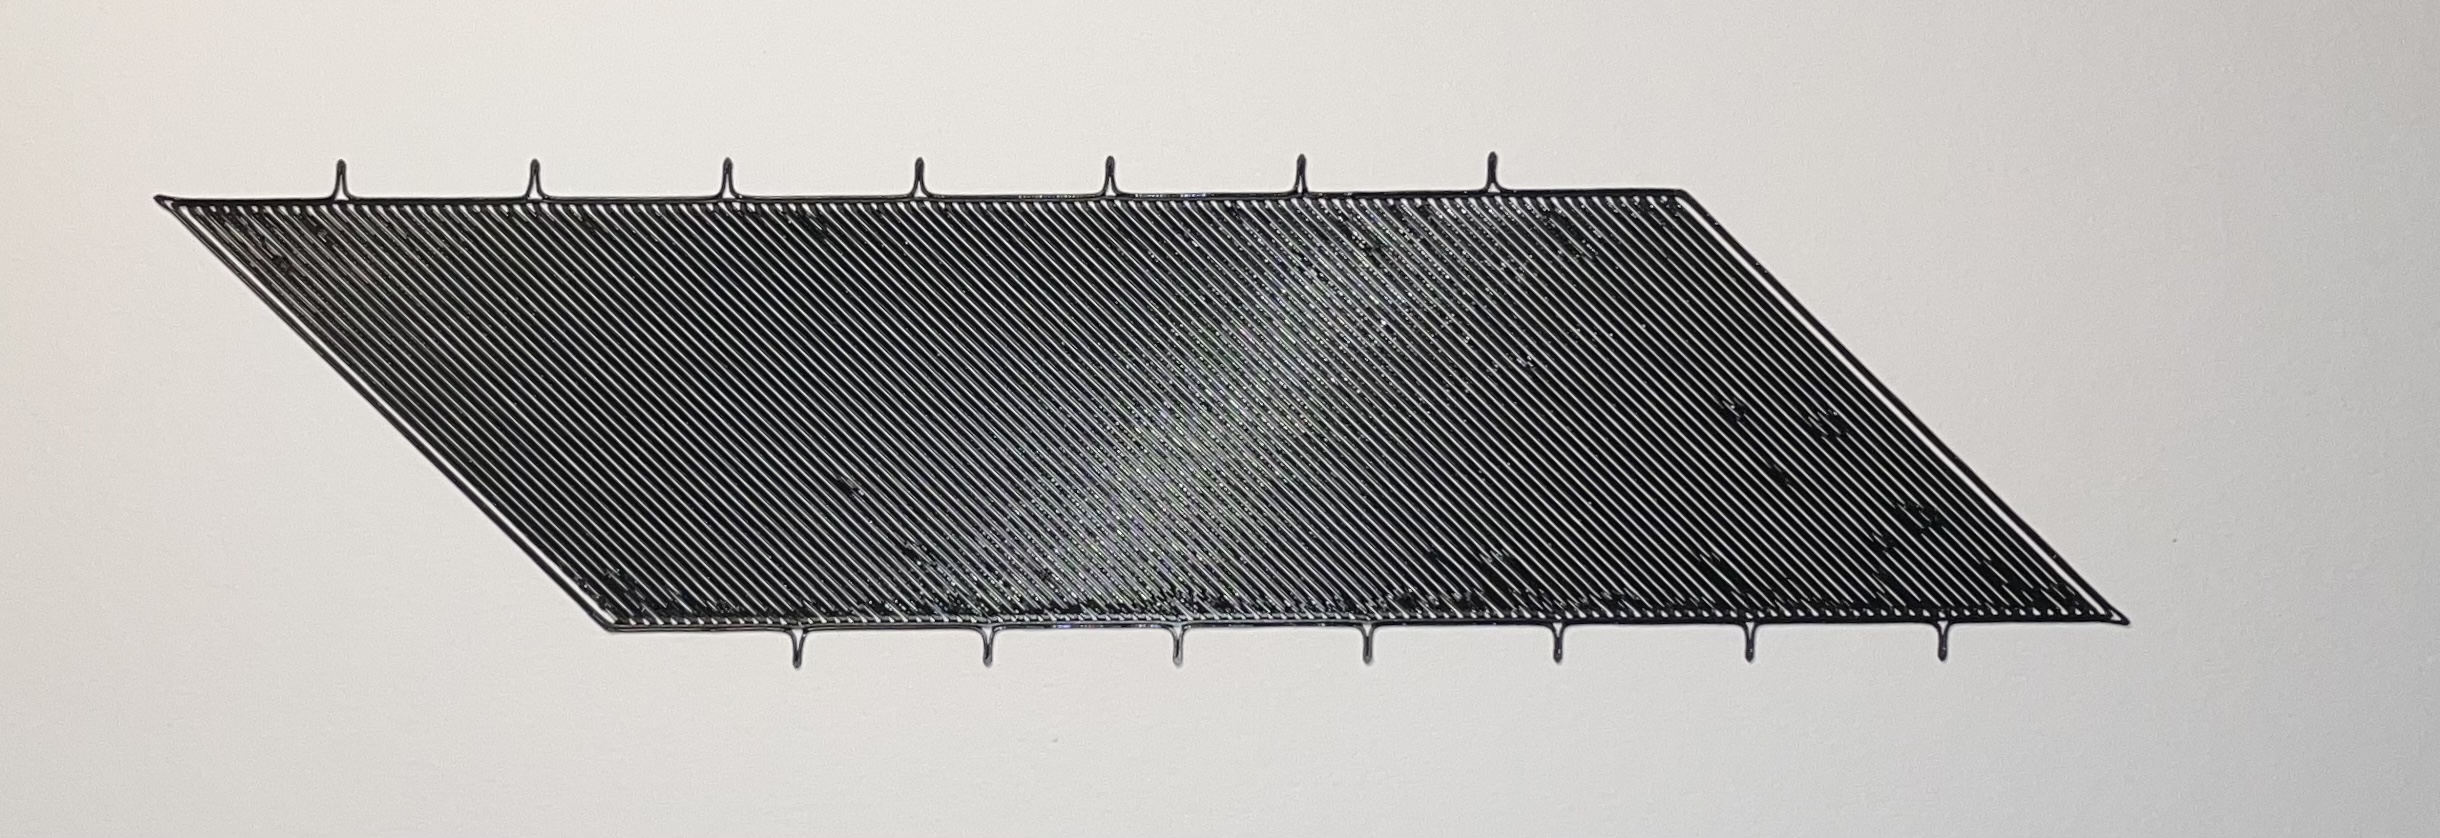
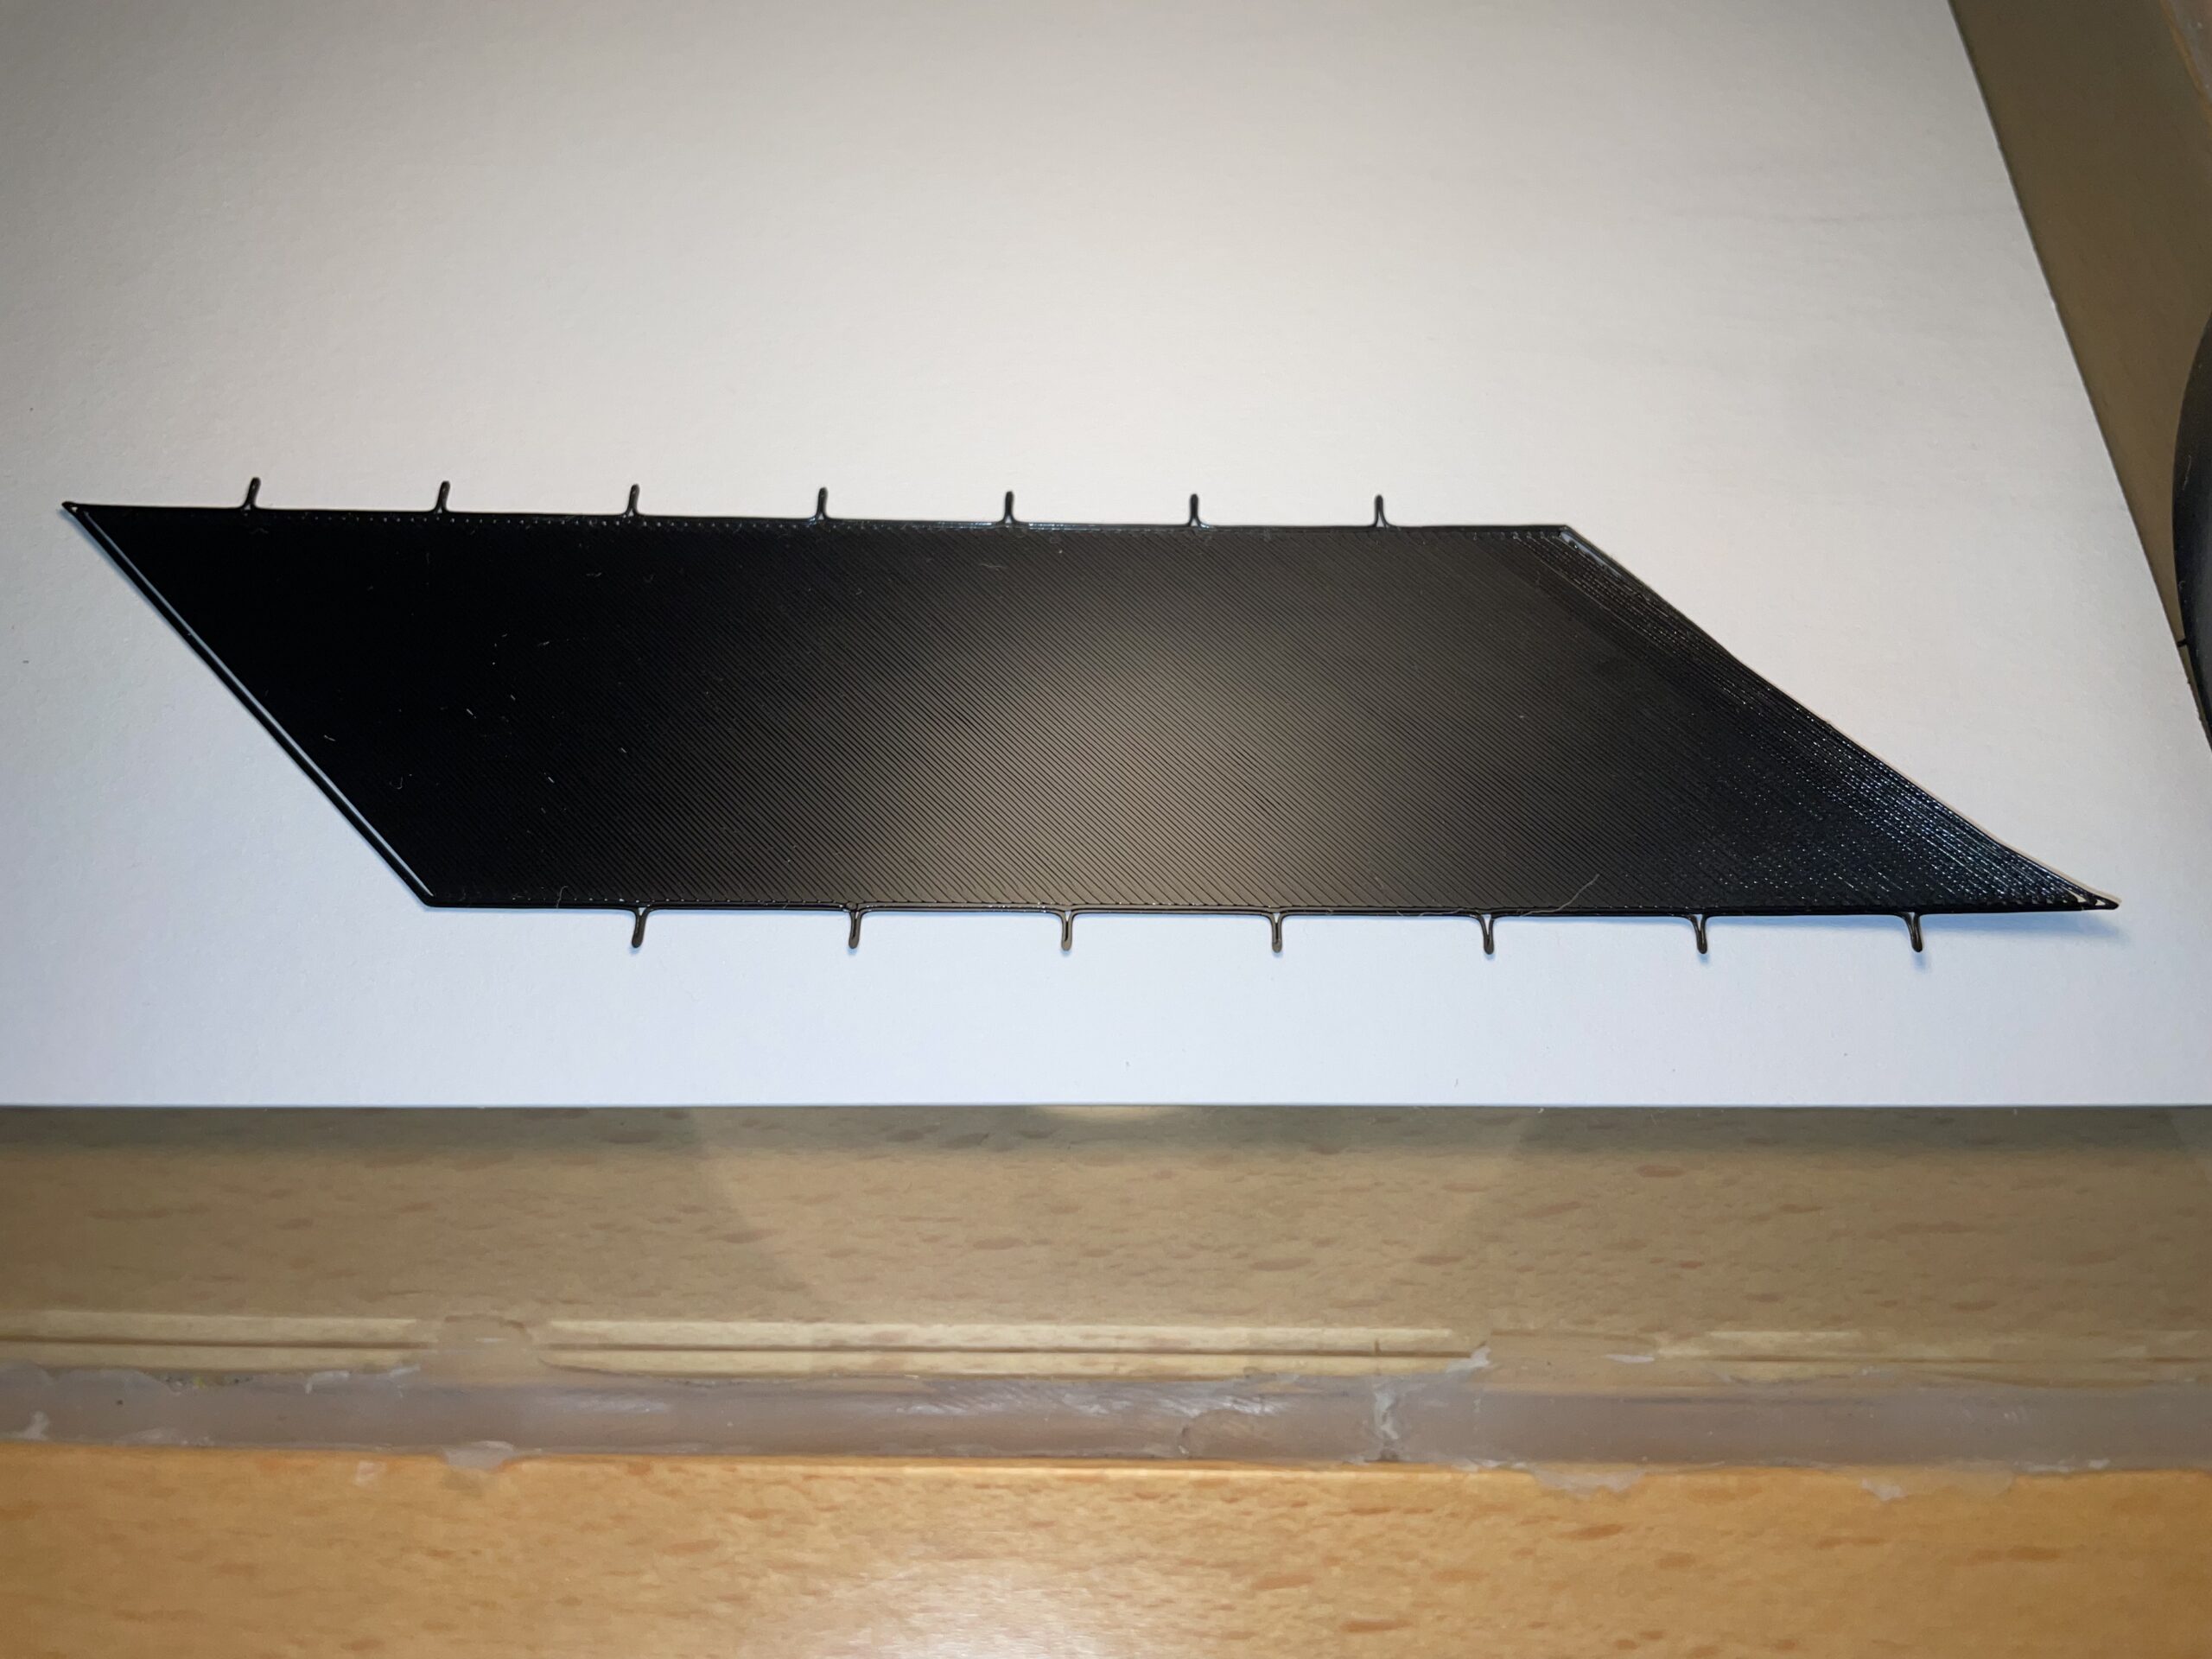
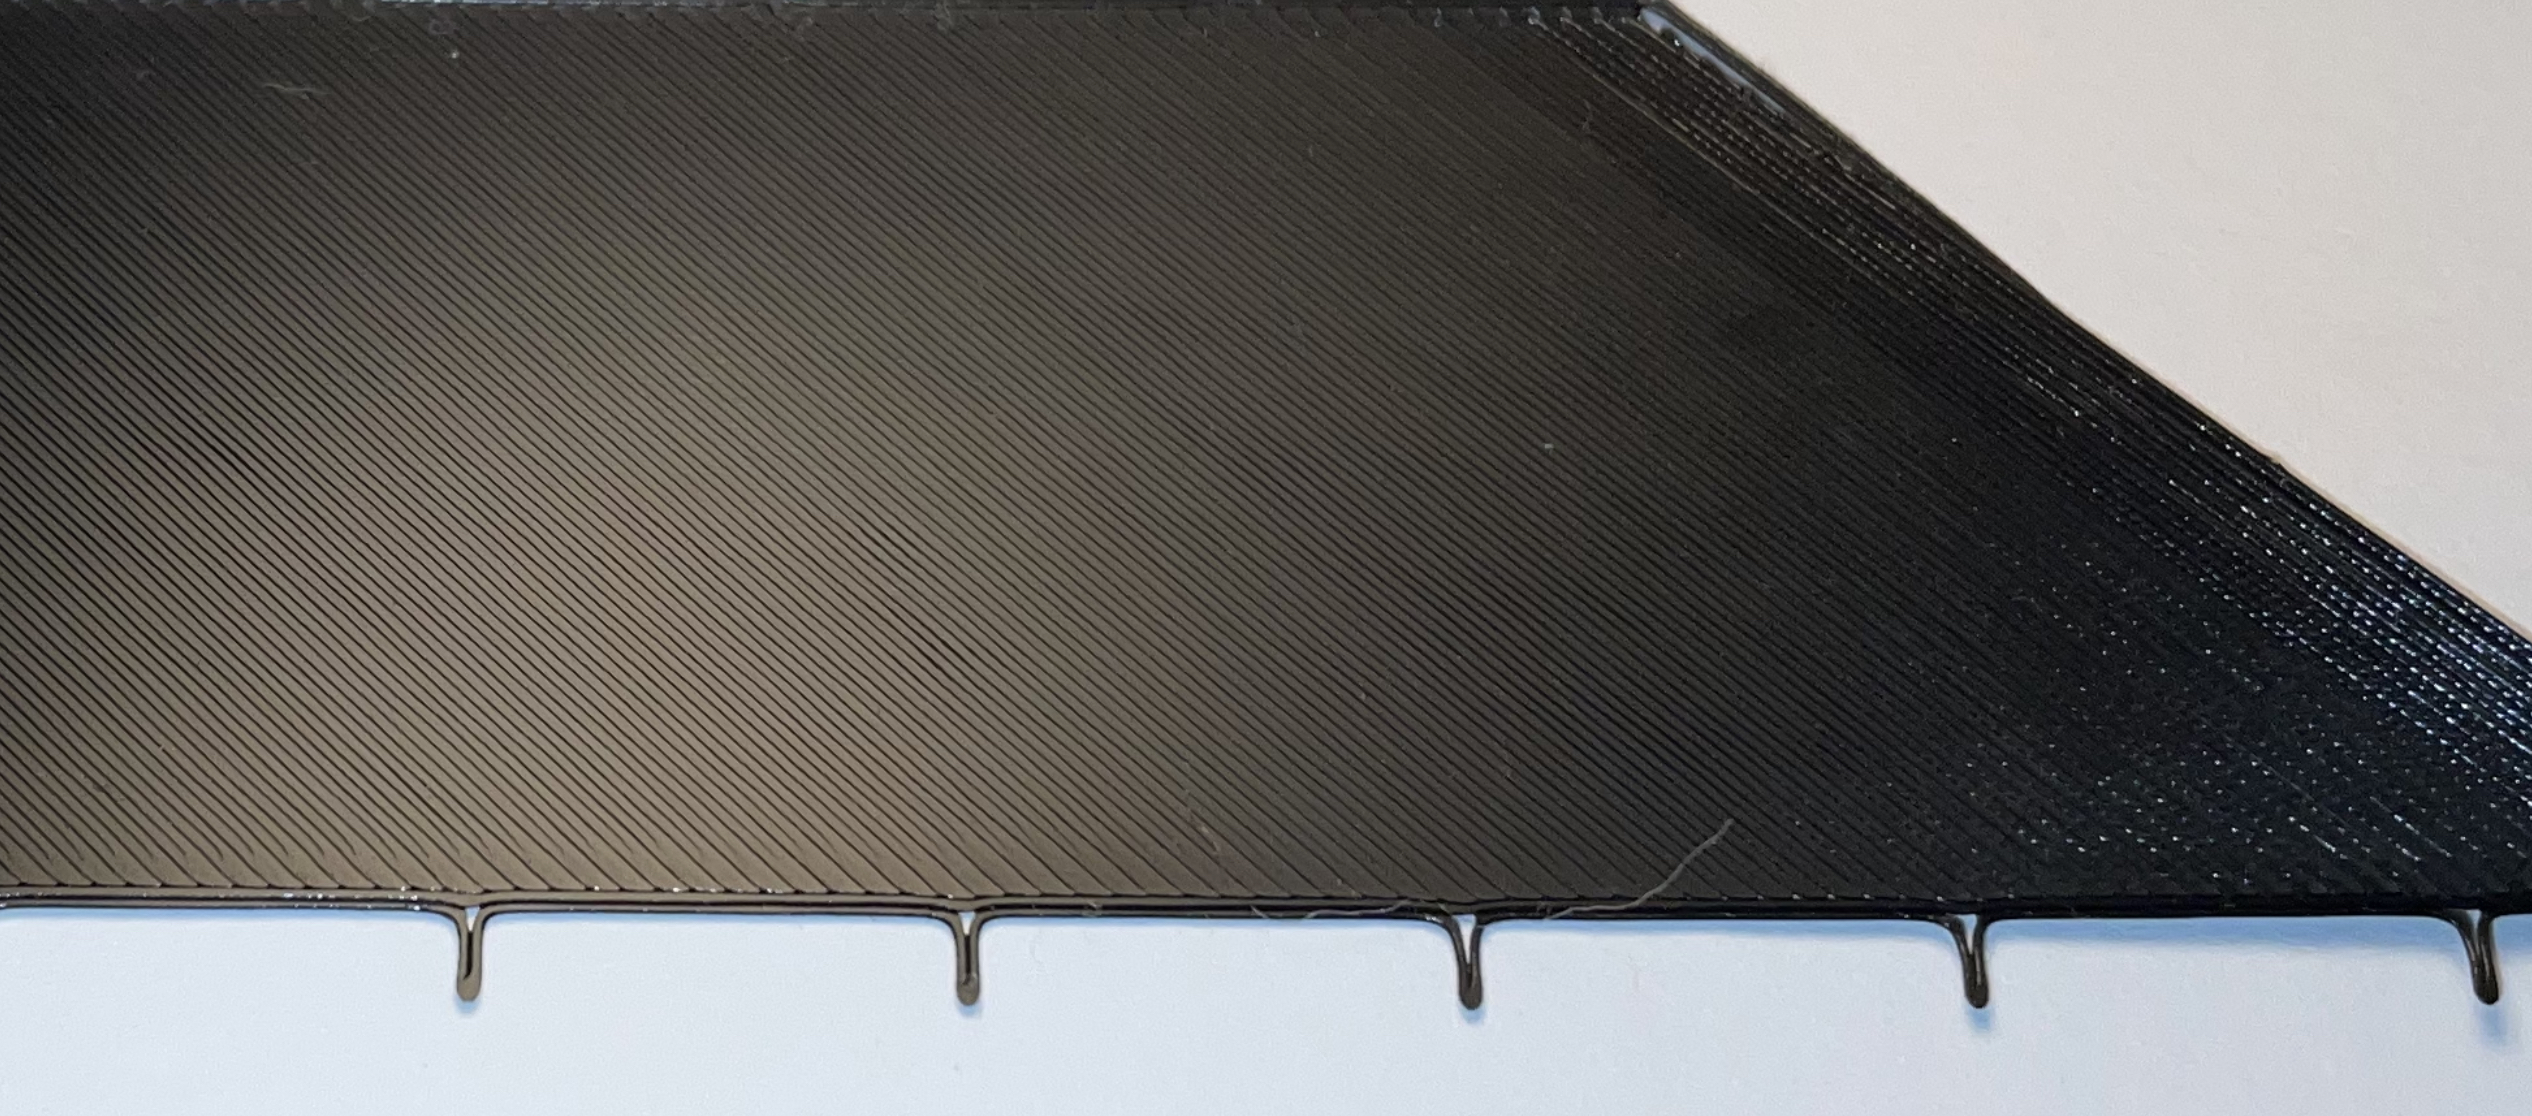
Printed the fuchsr template several times until I got this result: on the right side you can see still the printed PLA lines not sticking together.
lowered then live z-axis again to the result on the left: although PLA-lines can be seen on the pics I can not feel any irregularity - it feels totally even: is that enough or should I go on lowering Z?
RE: Surface Problem with big plate
Keep lowering the Z height until you start to see the surface getting uneven and looking like wavy lines. This means you’ve gone too far and it’s time to start backing off.
You’ll soon find the optimal Z height as you dial back upwards. It may take a couple tries but you’ll get there..
RE: Surface Problem with big plate
Okay, thank you Randy for your reply and detailed description.
As I can’t identify the slight differences while lowering when printing is in progress, I used to check the bottom afterwards.
Actually I got to exactly -1.000 to close the single PLA lines to a continuous smooth surface: do you have a suggestion in what interval steps I should go on lowering to the described “wavy lines”?
Just not to throw away kilos of PLA while lowering only the smallest “baby intervall” possible, resulting in dozens of prints …
🙈
Thank you again!
RE: Surface Problem with big plate
As I said in the details section of that model, I usually try to optimize it in steps of -0.020, running 8 different settings across the length of that calibration strip. Some folks will argue that steps of -0.010 or even -0.005 may show a difference, and while that may be the case in some situations, I found the 0.02 steps to be good enough most of the time.
Formerly known on this forum as @fuchsr -- https://foxrun3d.com/
RE: Surface Problem with big plate
@fuchsr/@RandyM9
Thank you both for your detailed stepwise descriptions: now I’m good to go and will tell you later about the results!
