RE: Print contracts below Bridge
I'm going to have to throw the towel in on this idea, still get drooping, tried everything including a hollow centre.
I'm afraid it's going to have to be supports all the way, maybe the settings I used will help a bit, but not totaly.
Normal people believe that if it is not broke, do not fix it. Engineers believe that if it is not broke, it does not have enough features yet.
RE: Print contracts below Bridge
I think were going to have to watch Tim 😏 - Next thing well be reading about him and Wikileaks.... 🤭
@Tim, Can you fix the forum? - What's that?, Nothing is impossible, miracles take a bit longer...
👍
Normal people believe that if it is not broke, do not fix it. Engineers believe that if it is not broke, it does not have enough features yet.
RE: Print contracts below Bridge
I seem to remember a recent thread here where someone had something similar with long, drooping bridges. As I recall they seemed to get good results by using supports with zero interface layers , zero contact distance, and pattern spacing fairly large (1cm or so). This created easily broken off thin walls similar to the supports under a long road bridge span.
Wasn't that @tim-m30?
I half thought it might have been you...
I finally found it, and yes it was @tim-m30. Here is a link to the end of one thread where he discusses this. https://forum.prusa3d.com/forum/original-prusa-i3-mk3s-mk3-general-discussion-announcements-and-releases/poor-surface-above-supports/#post-161549
See my (limited) designs on:
Printables - https://www.printables.com/@Sembazuru
Thingiverse - https://www.thingiverse.com/Sembazuru/designs
RE: Print contracts below Bridge
Yeah - guilty - while the approach works here, there is something really unusual happening I can't explain. In my experience PLA doesn't shrink as much as I am seeing on this part. But I see just as much distortion on the 10 mm part as the 20 mm part.
RE: Print contracts below Bridge
Here's as far as I've got with slicer settings & filament calibration:
Managed to knock my printer out of action for the night, so more testing will have to wait.
RE: Print contracts below Bridge
When I don't get a strand break, I get about as good as Bobstro, but trying to get better I get too many strand brakes on the bridge section, never the bridge perimeters, but to never get the perimeters to break, I'm using a lower extrusion ratio which leaves less strength causing the first bridging layer to get slightly pulled in by layers above the bridge, even if I print the complete suspended section hollow.
I will have to try using supports as I cant get bridging without drooping, although the first two bridged layers are laid perfectly flat, the subsequent layers on top with the heat from them and the contraction cause the lower layers to sag, but I don't have the sides sticking out like in the original but there must be some pulling in of the sides, else I wouldn't get the sagging, so when I get home today, I'll see what happens with supports.
Normal people believe that if it is not broke, do not fix it. Engineers believe that if it is not broke, it does not have enough features yet.
RE: Print contracts below Bridge
My 5 mm part looks almost as good; no detrimental shrinkage; so Bob - post up a 10 and 20 mm version using your settings.
ps: though to self: proof read BEFORE clicking post ...
pps: thought to self: proof read BEFORE clicking post ...
RE: Print contracts below Bridge
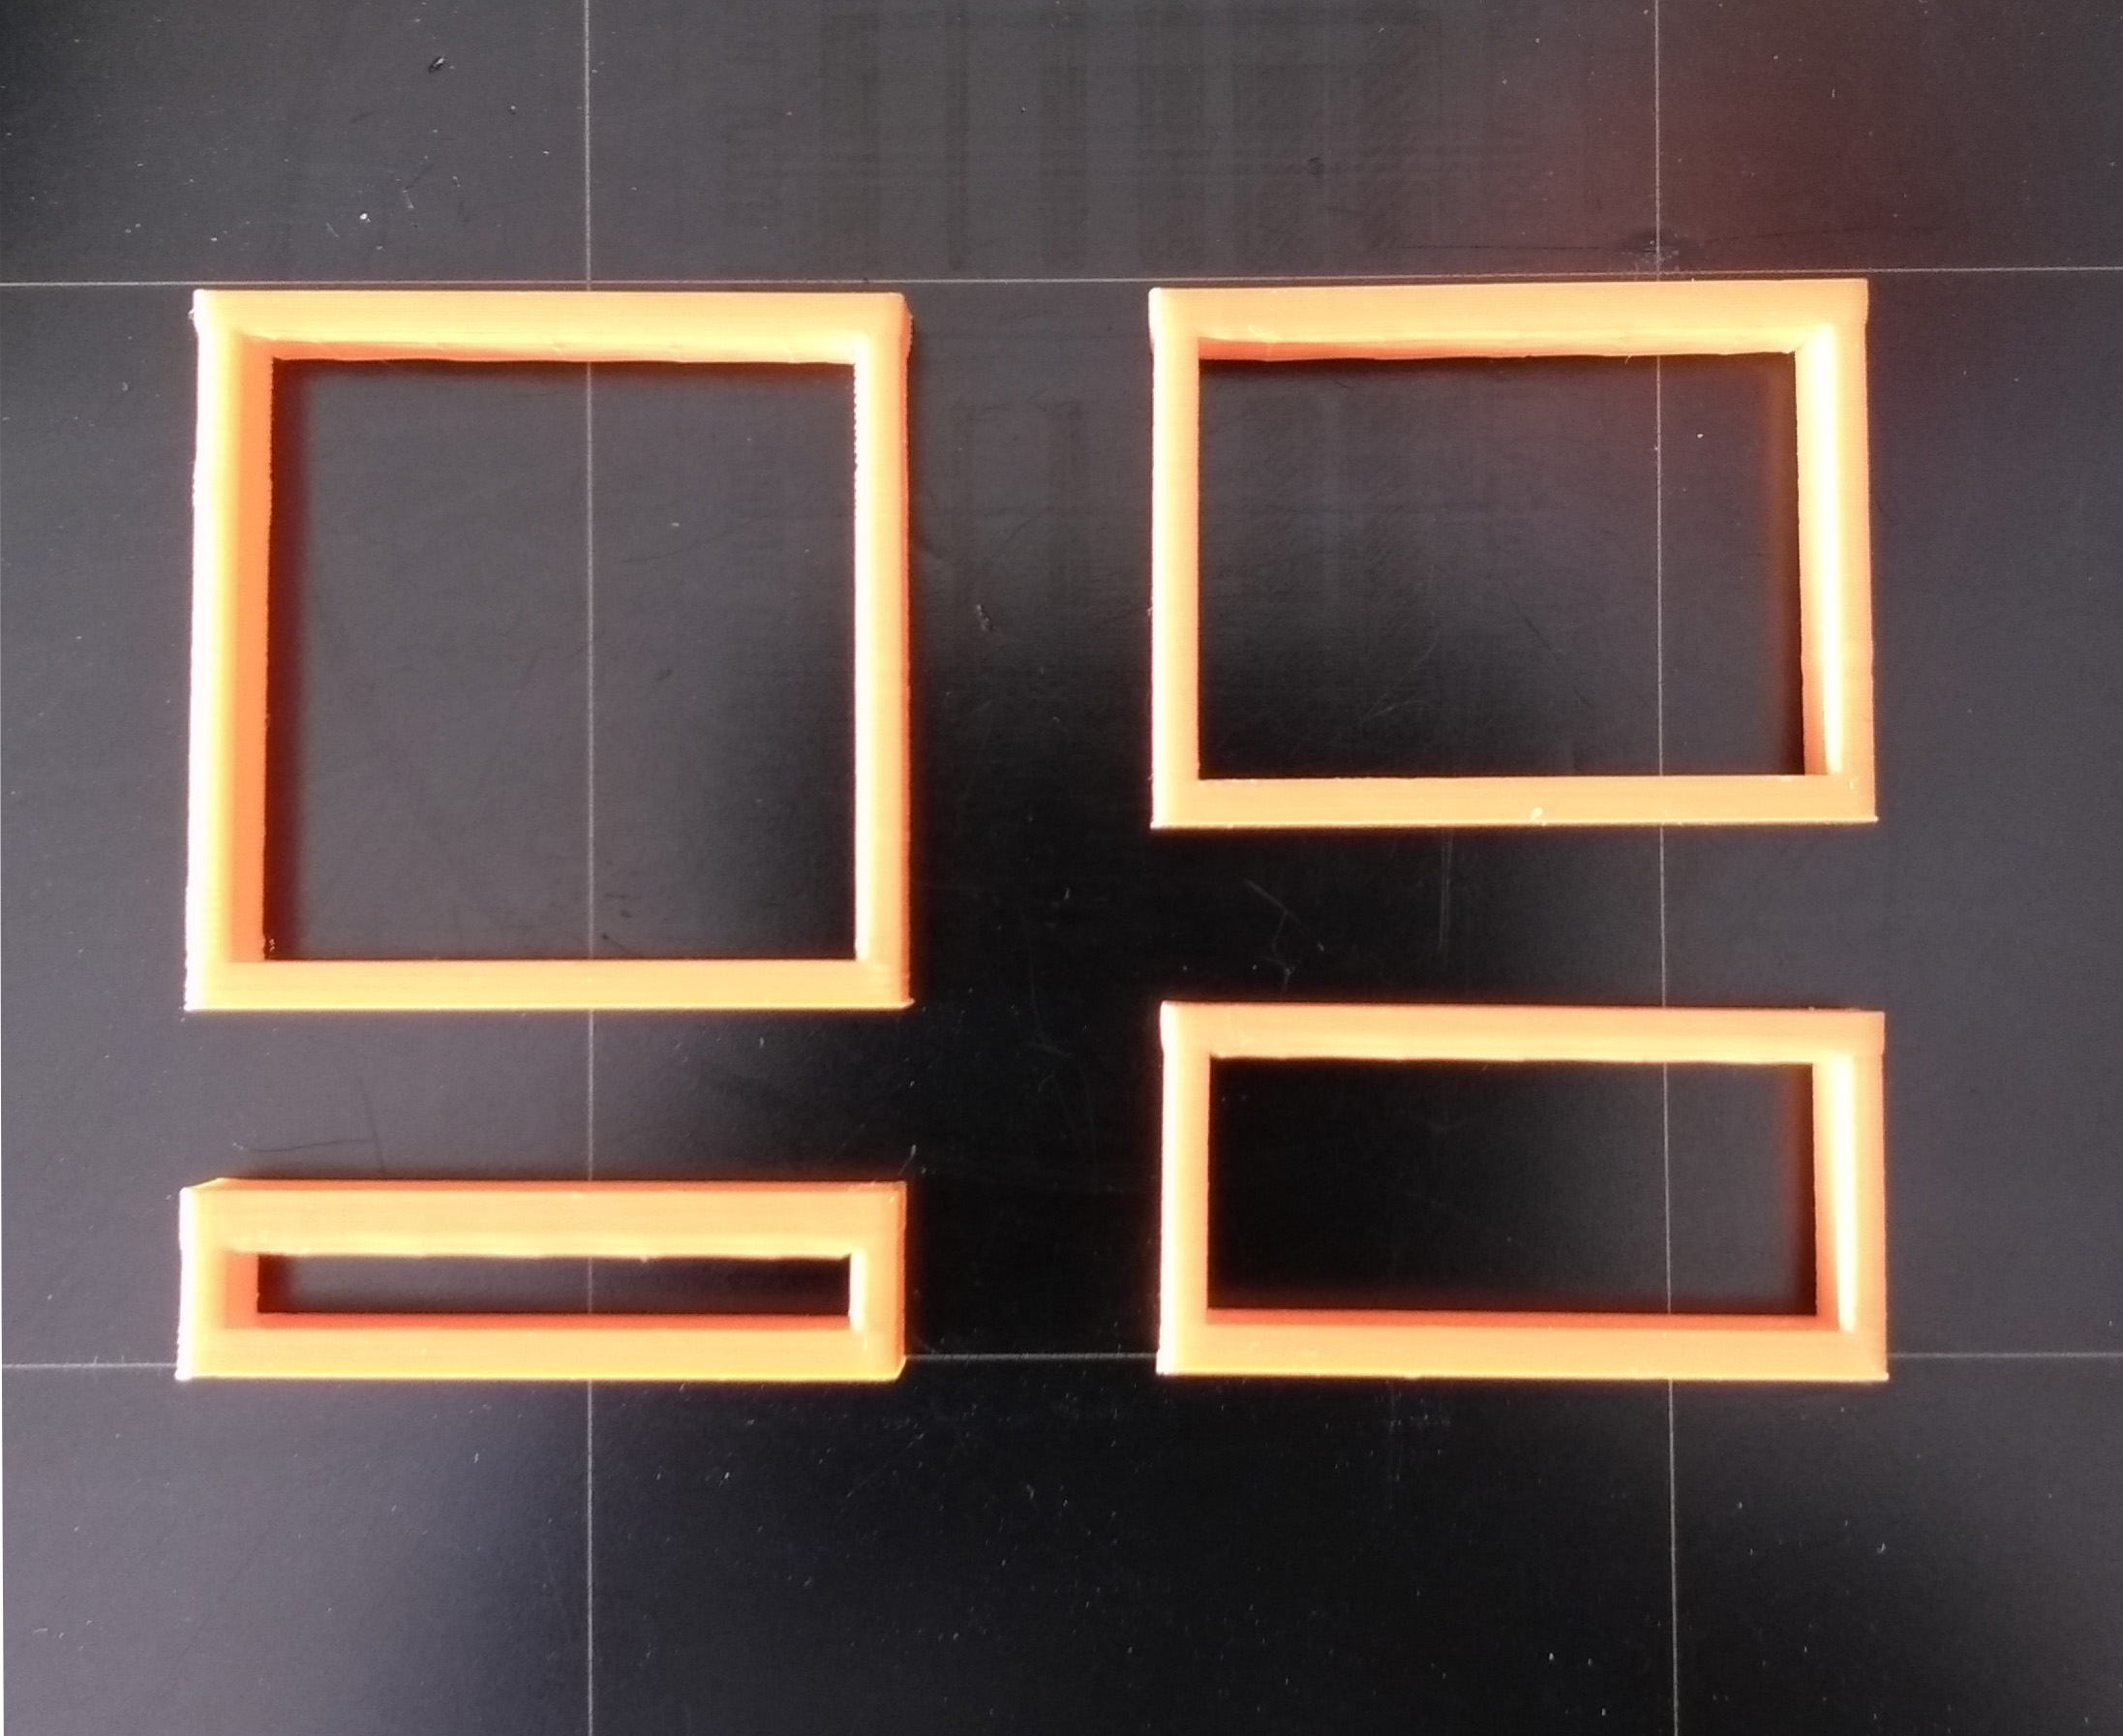
Here's what I've got for the SURFACE FINISH issue with slicer adjustments. I think the bridging quality issue is separate, so will post on that separately. The material is Polyalchemy PolyLite PETG. I used maximum volumetric speed (MVS)=1 on the batch at left, MVS=8 (Prusa default for PETG) on the batch at right:

You can still see a bit of the bump at the top layers, but it's very little. I noticed that the "dogbone" effect of insufficient LA was exaggerating the corners, so bumped that up a bit for these prints. These were printed in sets of 4. If you look carefully, you can see a slight variation in the walls on the taller pieces at the same layers as the crossbars on the shorter pieces. Cooling and layer print time seem to be part of the equation.
Results on a cut-down version of the original box are also pretty good:

The layers aren't perfectly even from top to bottom, but pretty good for some quick tests.
RE: Print contracts below Bridge
When I don't get a strand break, I get about as good as Bobstro, but trying to get better I get too many strand brakes on the bridge section, never the bridge perimeters, but to never get the perimeters to break, I'm using a lower extrusion ratio which leaves less strength causing the first bridging layer to get slightly pulled in by layers above the bridge, even if I print the complete suspended section hollow.
I'm still tuning bridging, but I'm definitely seeing the same results.
I will have to try using supports as I cant get bridging without drooping, although the first two bridged layers are laid perfectly flat, the subsequent layers on top with the heat from them and the contraction cause the lower layers to sag, but I don't have the sides sticking out like in the original but there must be some pulling in of the sides, else I wouldn't get the sagging, so when I get home today, I'll see what happens with supports.
I followed up on your post in the other thread about bridge direction. The results are interesting:

I tried using a modifier to increase the infill-perimeter overlap, but unfortunately that isn't applied to bridge features. Where the 90 degree pattern adheres to the initial bridge lines, it results in a smoother underside, but there is ugly sagging where it misses. Of course, PETG is hardly fun stuff to bridge with, but I'm having fun seeing how far I can get. After staring at the bridging moves, I agree with your assessment: The initial 2 bridge lines are excellent. It's the subsequent overlaying layers that cause the sagging. Some thoughts:
- It would be great to have separate infill angle, extrusion width and number of initial "suspension cable" lines used for bridging.
- Some bridge "infill" adjustment would be helpful, especially where infill is at a different angle. In watching closely, I think simply extruding the initial 3 suspension lines between surfaces would suffice for the bridge layer. Print normal perimeters and infill atop that and I think a lot of the sagging would disappear.
- Allowing more time for the initial lines to cool would be helpful. Even with 100% fan, they start to sag as layers are laid on top, even if they're near-perfect when 1st extruded.
- A separate layer height for bridges would be useful. When using high layer heights, you don't want a heavy suspension strand. Allowing bridge heights some variation would be useful.
I did some quick bridge tests with Cura and Simplify 3D and the results were all pretty close. I think there's an opportunity for some significant tweaking in the slicers.
RE: Print contracts below Bridge
I did several tests, from 15 mm/s to 50 mm/s speeds (for everything) and none turned out with an even wall where the bridge starts. I can't see how reducing vol-flow to 1 can help unless it makes print speeds less than 15 mm/s ...
ps: and the only significant thing that happened at 50 mm/s for everything was some stringing.
RE: Print contracts below Bridge
I did several tests, from 15 mm/s to 50 mm/s speeds (for everything) and none turned out with an even wall where the bridge starts.
We're probably at the point where it would be worth developing criteria for success. I'm getting results that result in sub-mm deviations at the transition between thin walls and solid layers, but if a mirror finish is the goal, FFF may be as much of an issue as specific features. I'm not having corresponding issues with inner clearances which was the original concern. Linear Advance helps with the quality of corners, and moving the Z-seam away from corners helps keep them consistent throughout the print.
I can't see how reducing vol-flow to 1 can help unless it makes print speeds less than 15 mm/s ...
The goal was to see if variations in extrusion rates made much of a difference. They don't appear to be the primary issue, although the deviations on adjacent prints where those layers start are interesting. I started playing around with Volumetric E and autospeed settings, but the feature doesn't seem to be mature (dating back to Slic3r). The idea is that speeds are varied to keep the flow rate consistent throughout the print.
ps: and the only significant thing that happened at 50 mm/s for everything was some stringing.
My infill speeds are roughly 90mm/s and non-external perimeters speeds are roughly 50mm/s for the big square piece. I slow it down to 25mm/s for external surfaces for best finish.
RE: Print contracts below Bridge
And... of course enabling printing of external perimeters 1st helps. Forgot about that option:
I'll try the full-size part and update tomorrow.
RE: Print contracts below Bridge
Of course, PETG is hardly fun stuff to bridge with,
Have you tried Polycarbonate?, I use or should that now be used, Rigid.Ink clear Polycarbonate, and basically gave up with bridging.
Still have 1 and a half rolls left.
Normal people believe that if it is not broke, do not fix it. Engineers believe that if it is not broke, it does not have enough features yet.
RE: Print contracts below Bridge
Bob - that's a short box, right? Not the open bridge test?
The tall box will exhibit the bridge contraction effect if the walls are weak enough, I'd guess. But I'm still struggling with PLA or PETG shrinking percentage points. Enough to warp, sure, but a measurable difference seems, well, wrong. Yet here is is on three heights, the same shrinkage pulling in the same distance.
RE: Print contracts below Bridge
Here's the extent of tests trying to reduce the contraction. A supporting truss is best, but not practical; printing rather fast does the best.

My prints are showing loose belts and bearings (pillar corners not as square as they should be). And the frizz on the fast print was a surprise (50 or 80 mm/s everywhere - no records ... lol).
The two lower right prints were VMF at 1 (yields ~7.5 mm/s) and another slowed print (15 mm/s).
RE: Print contracts below Bridge
@tim-m30
Concratualtions to solving the problem.
Can you please post all your parameters and the oucome in pictures. Your last posts are sparse.
Cheers
Volker
RE: Print contracts below Bridge
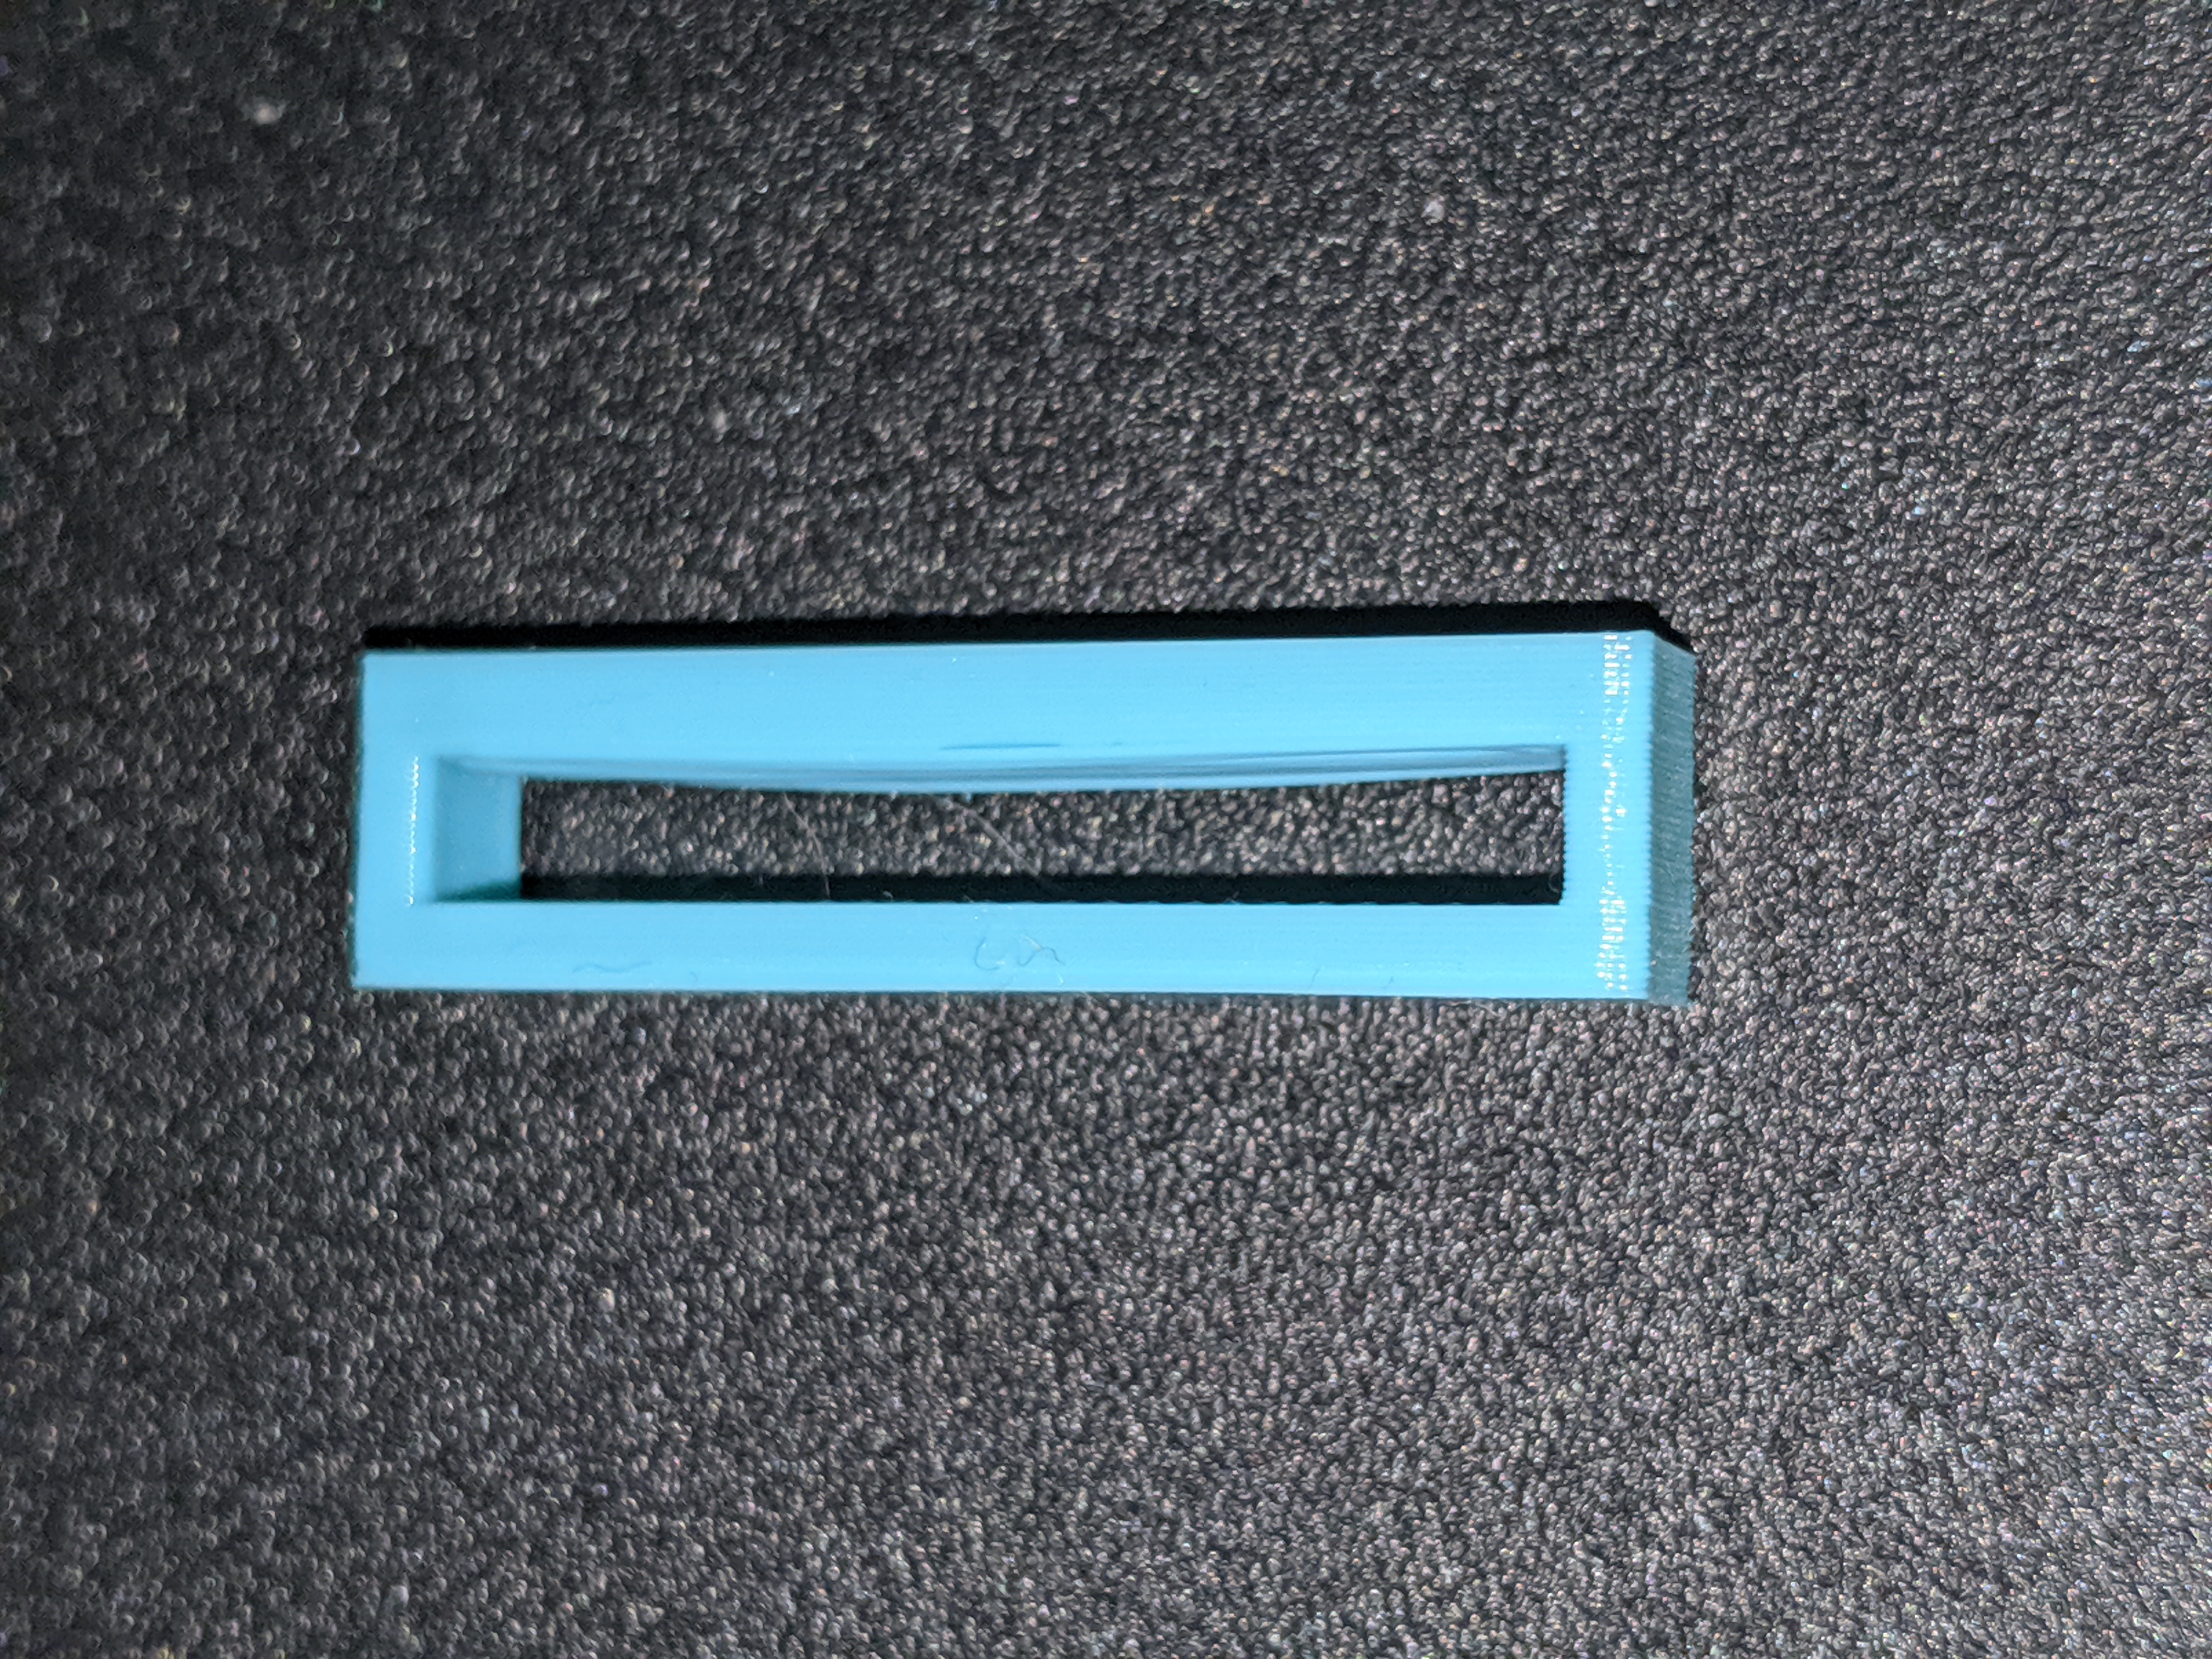
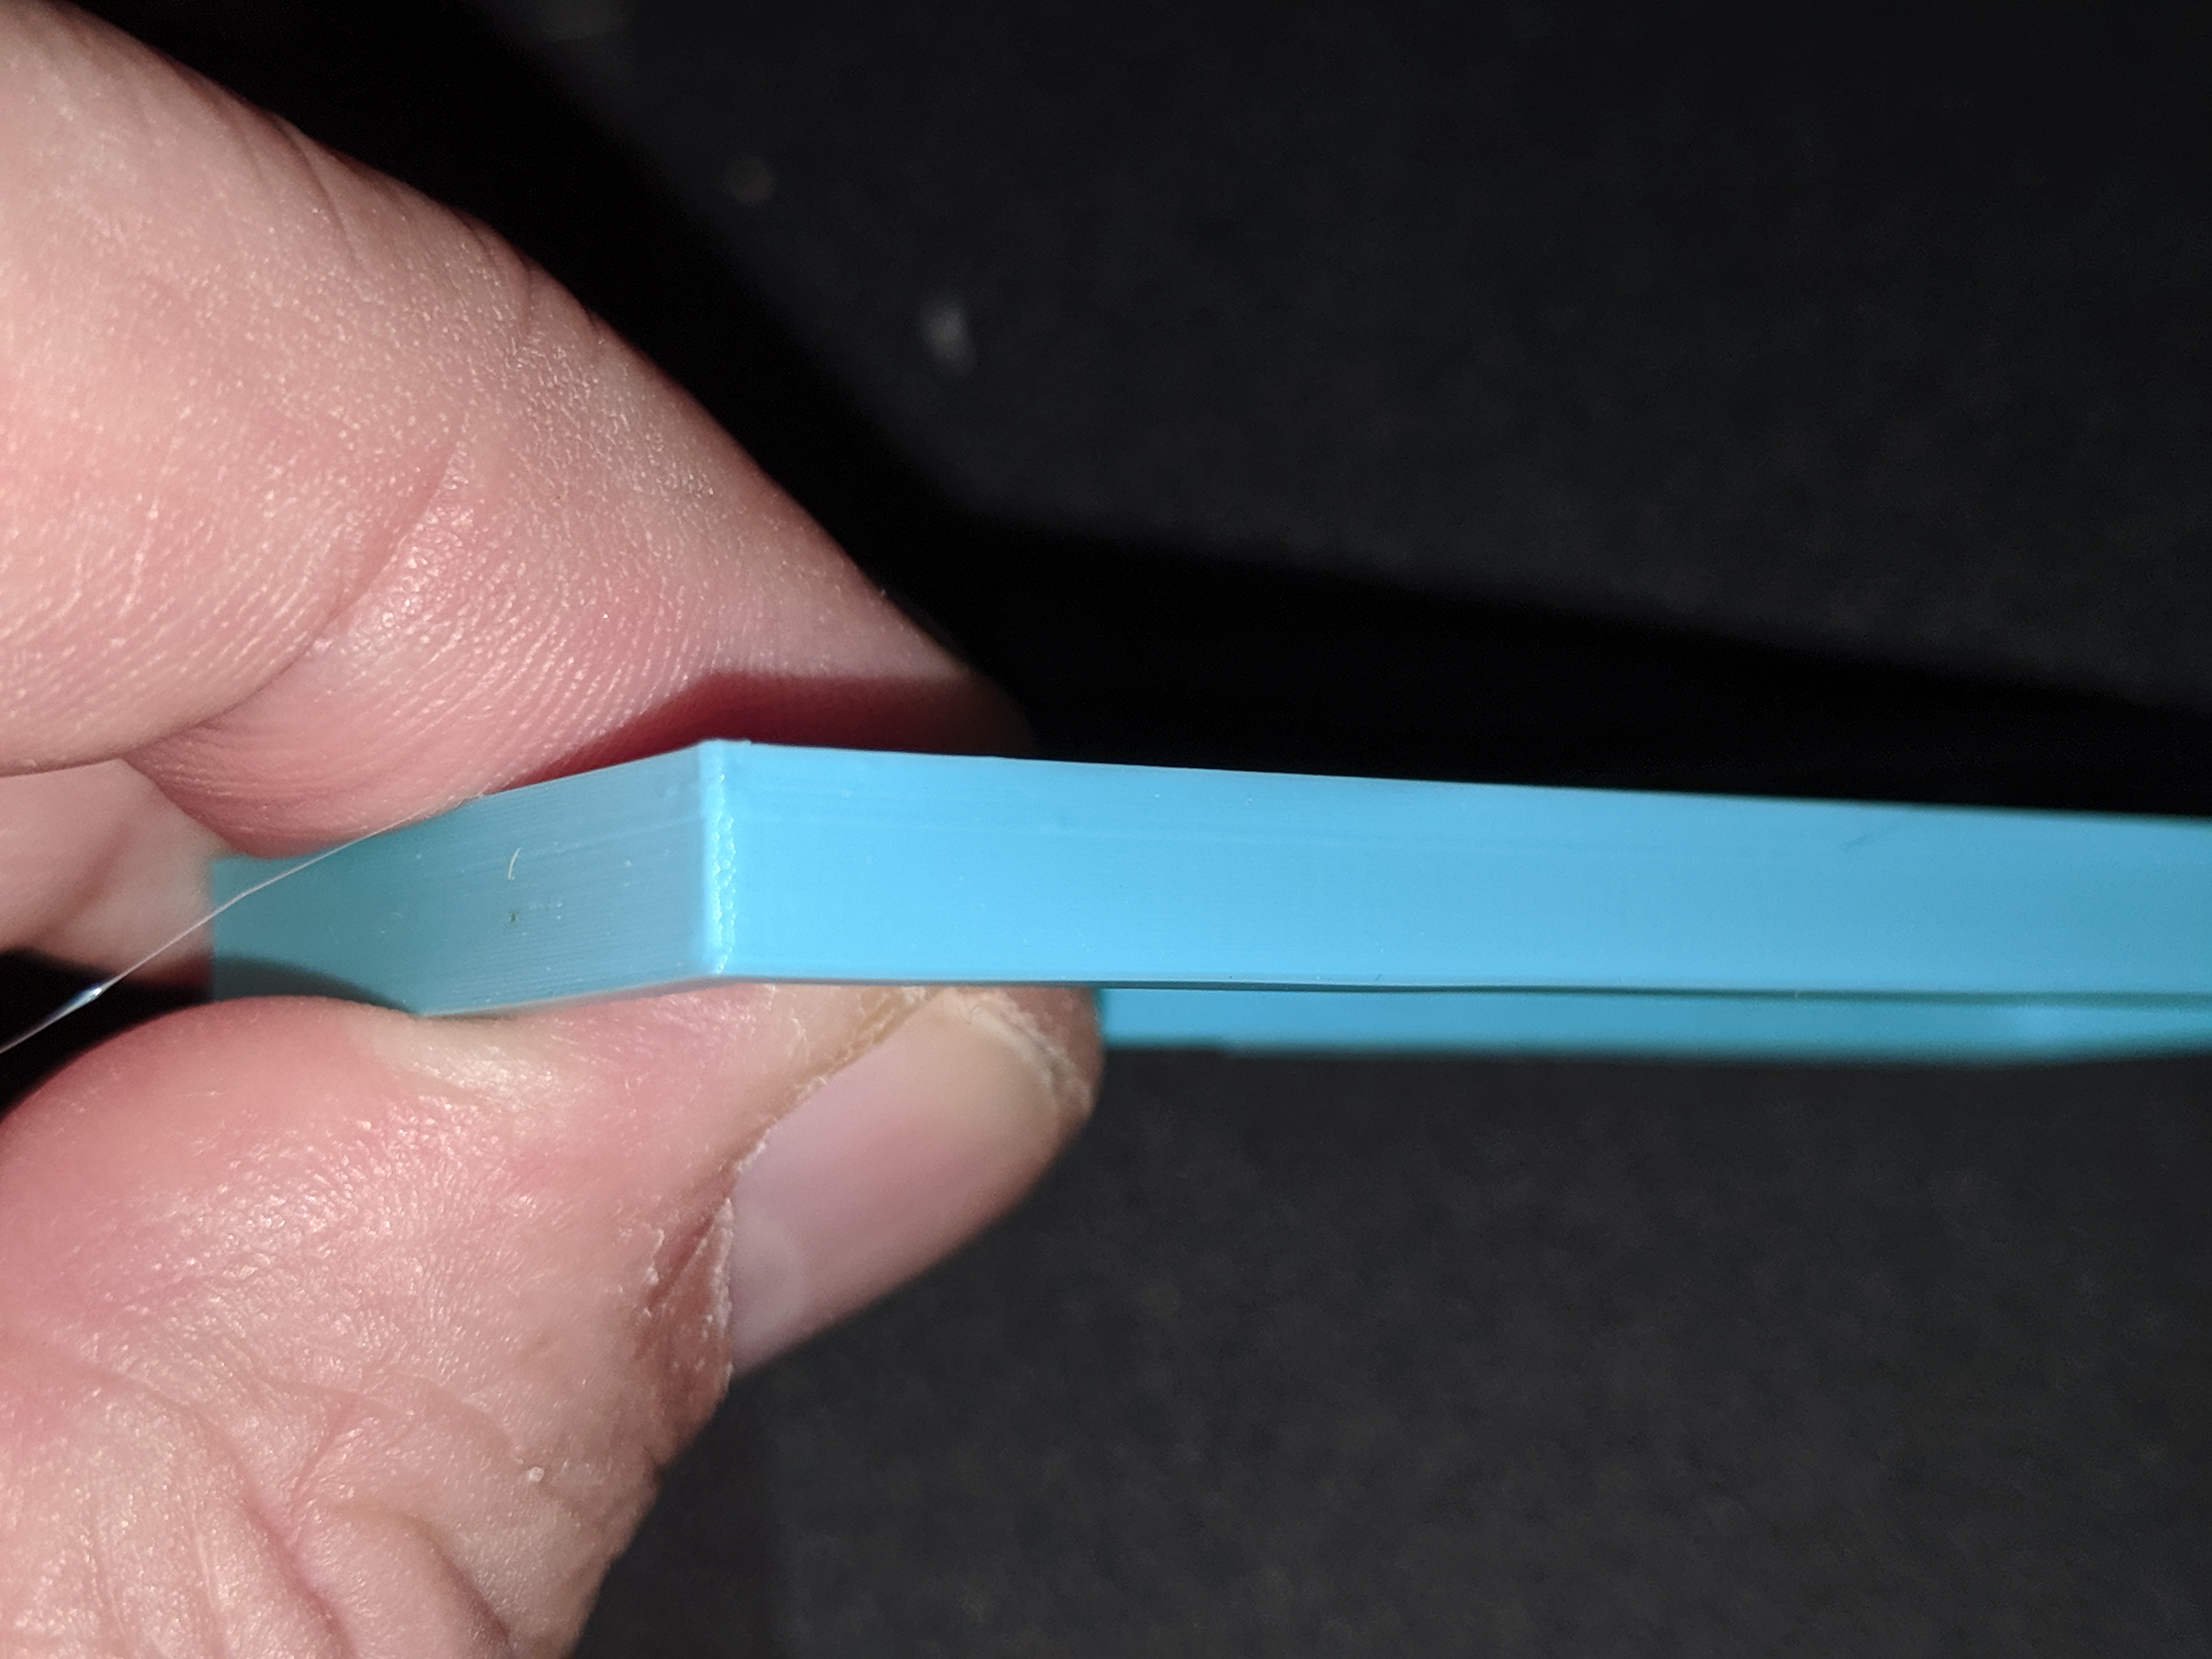
Just a quick wrap-up from my end. With filament calibration and a bit of fiddling with settings, I was able to minimize the "Shinto Gate" effect on the bridge tests, but not completely eliminate it.
I decided to try a few strategies to reinforcing the thin walls:

Using a few techniques, I was able to reduce the variation from about 0.3mm (top-left) to 0.2mm, but not eliminate the visual effect. I did have some fun experimenting with different bridging and wall strengthening strategies.

I quickly found that using PETG over several days is a great way to demonstrate the effects of moisture absorption. The stringing has gotten pretty nasty at this point, and I really don't want to burn off an expensive spool doing any more testing. I'll continue to twiddle with PLA, then apply any lessons learned to PETG.
RE: Print contracts below Bridge
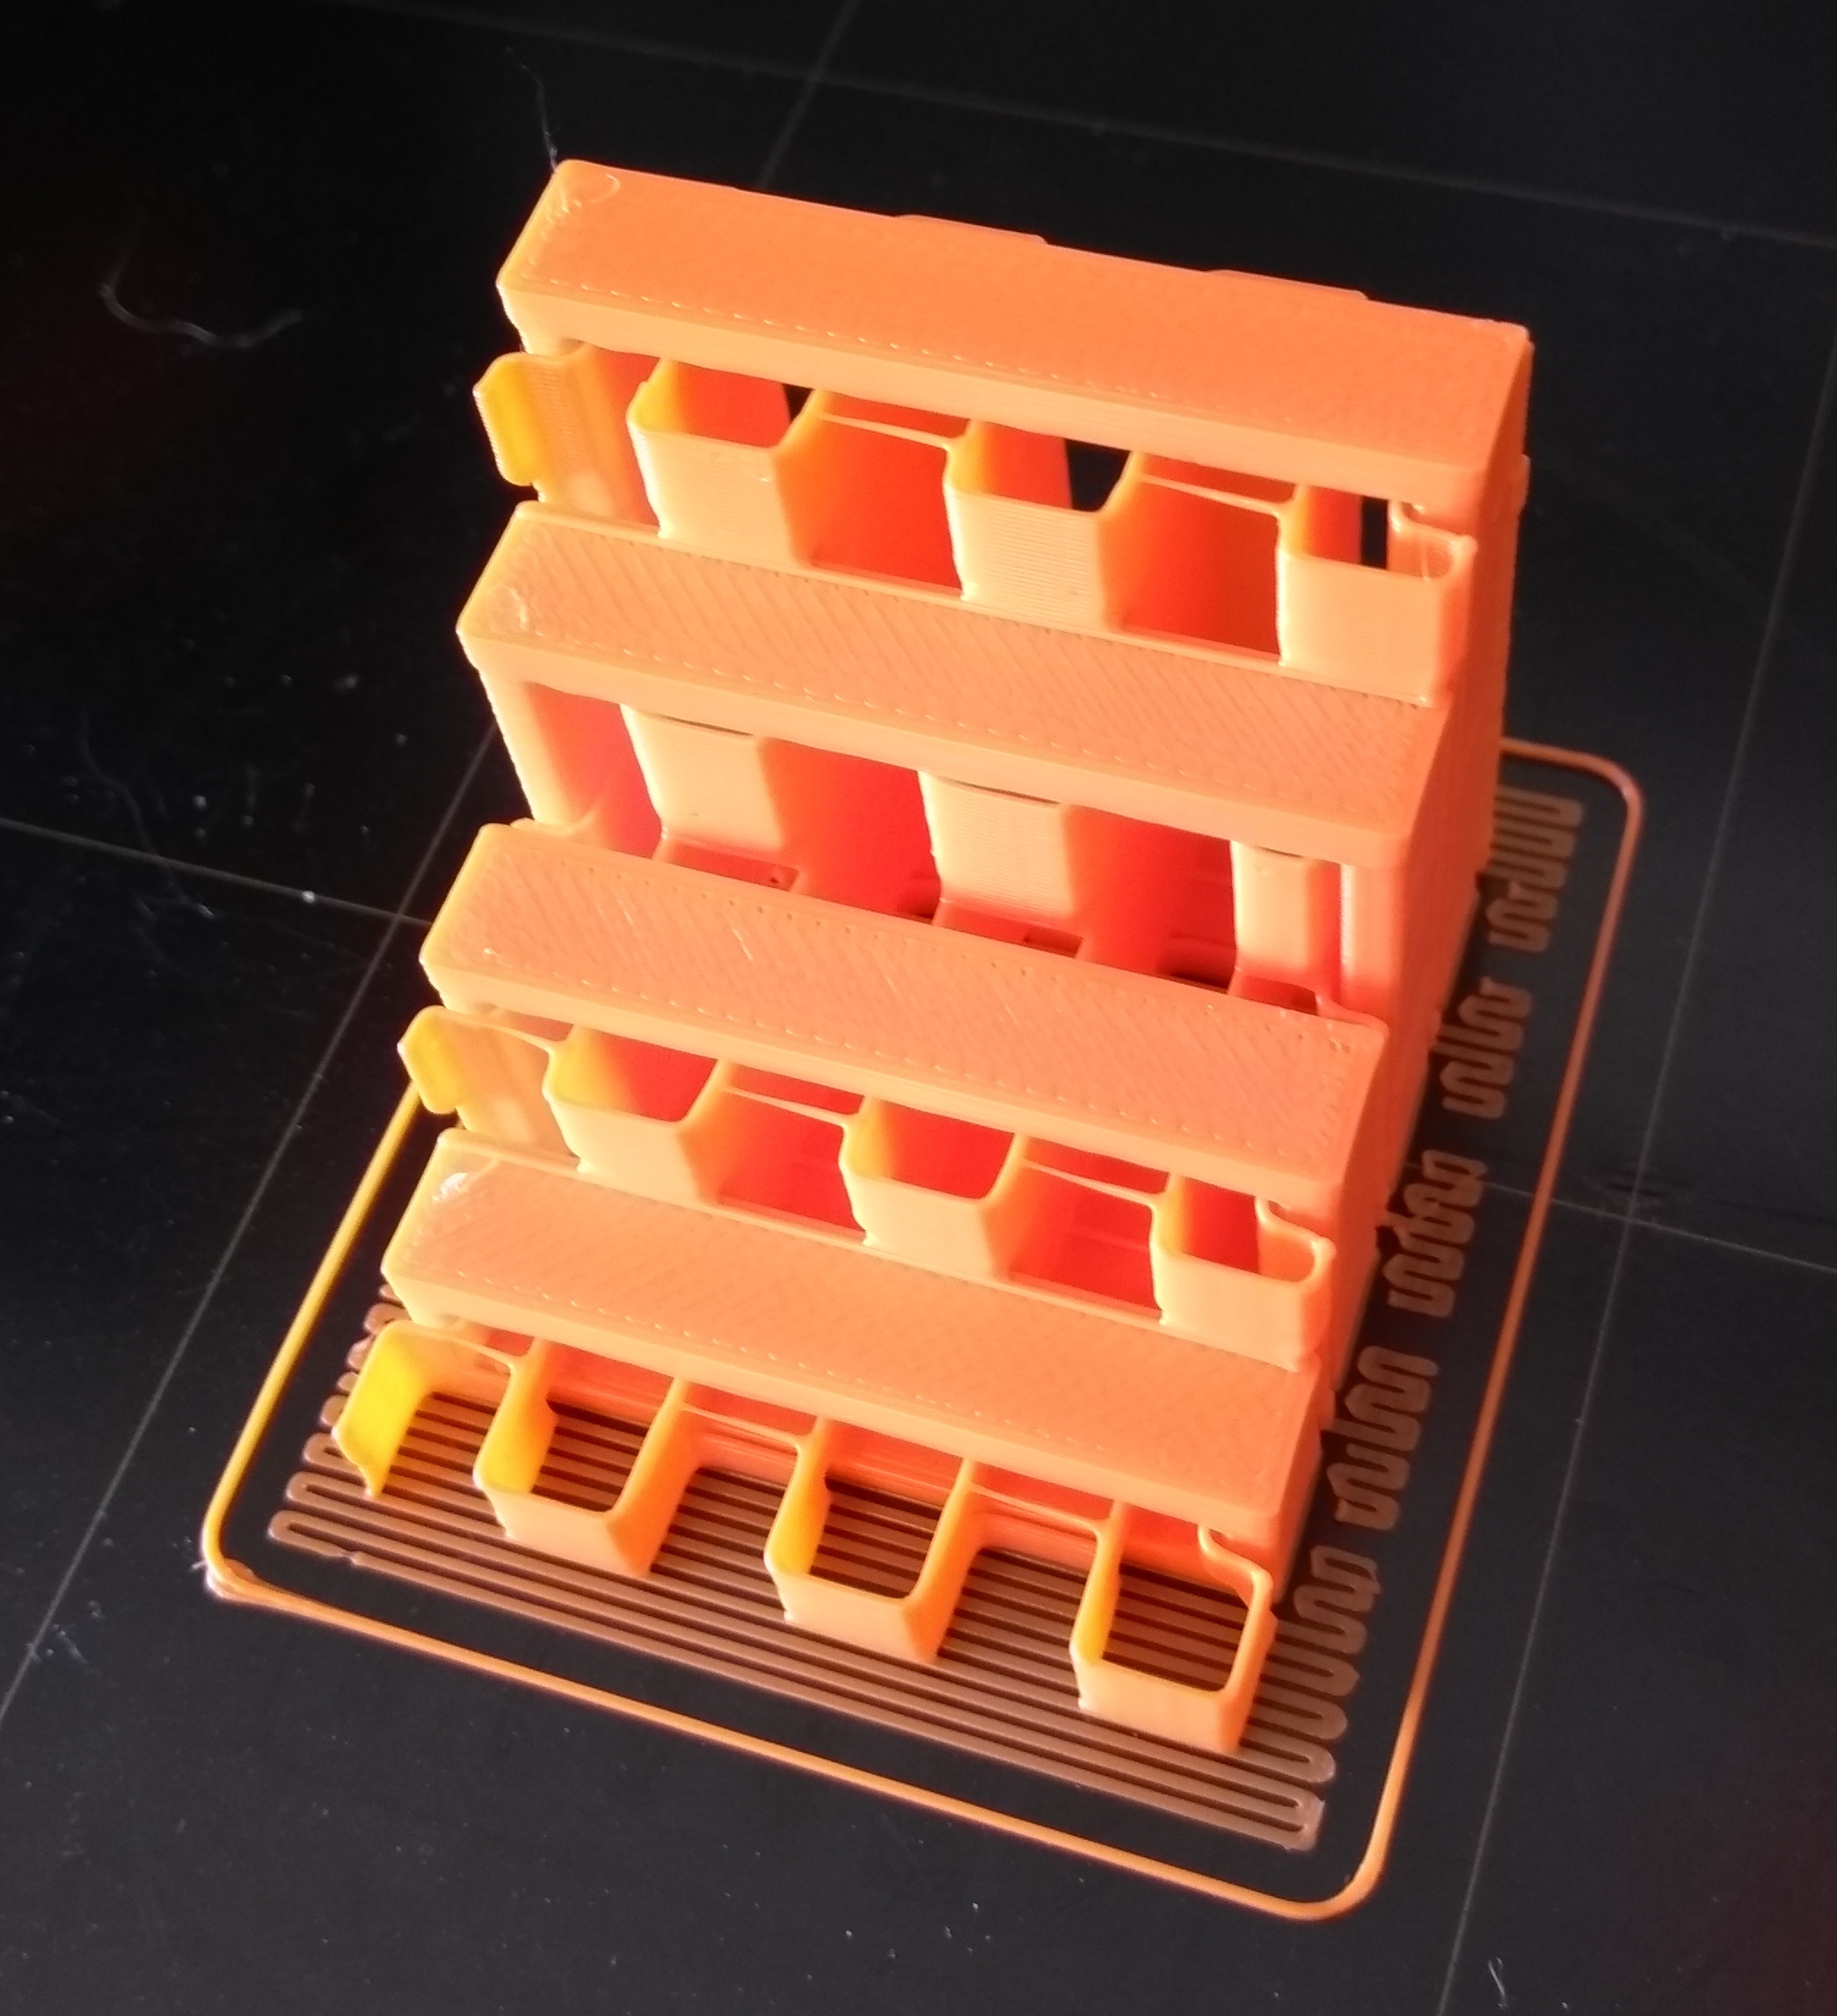
I also experimented with reducing the effect on larger prints. I found I was able to reduce the lip at the center of the top surface.

In extreme light, all seem to be pretty bad (and the 602 effect is clear), but in normal lighting, some results are pretty good.

The view from below shows the techniques I tried.

The lower two methods (5mm chamfer along inside top corners [top in previous pic] and 3 reinforcement "beams" [bottom in previous pic]) yielded the best results. Once again, this PETG seems to suck up moisture, so I'm going to call it quits at this point.
I give up on using images with this forum software. Right-click and view in new tab for correct image dimensions.
RE: Print contracts below Bridge
You can achieve even better bridges using supports and full contact. I'll try to do a box with photo today.