Possible issue with Slicer G Code Directions
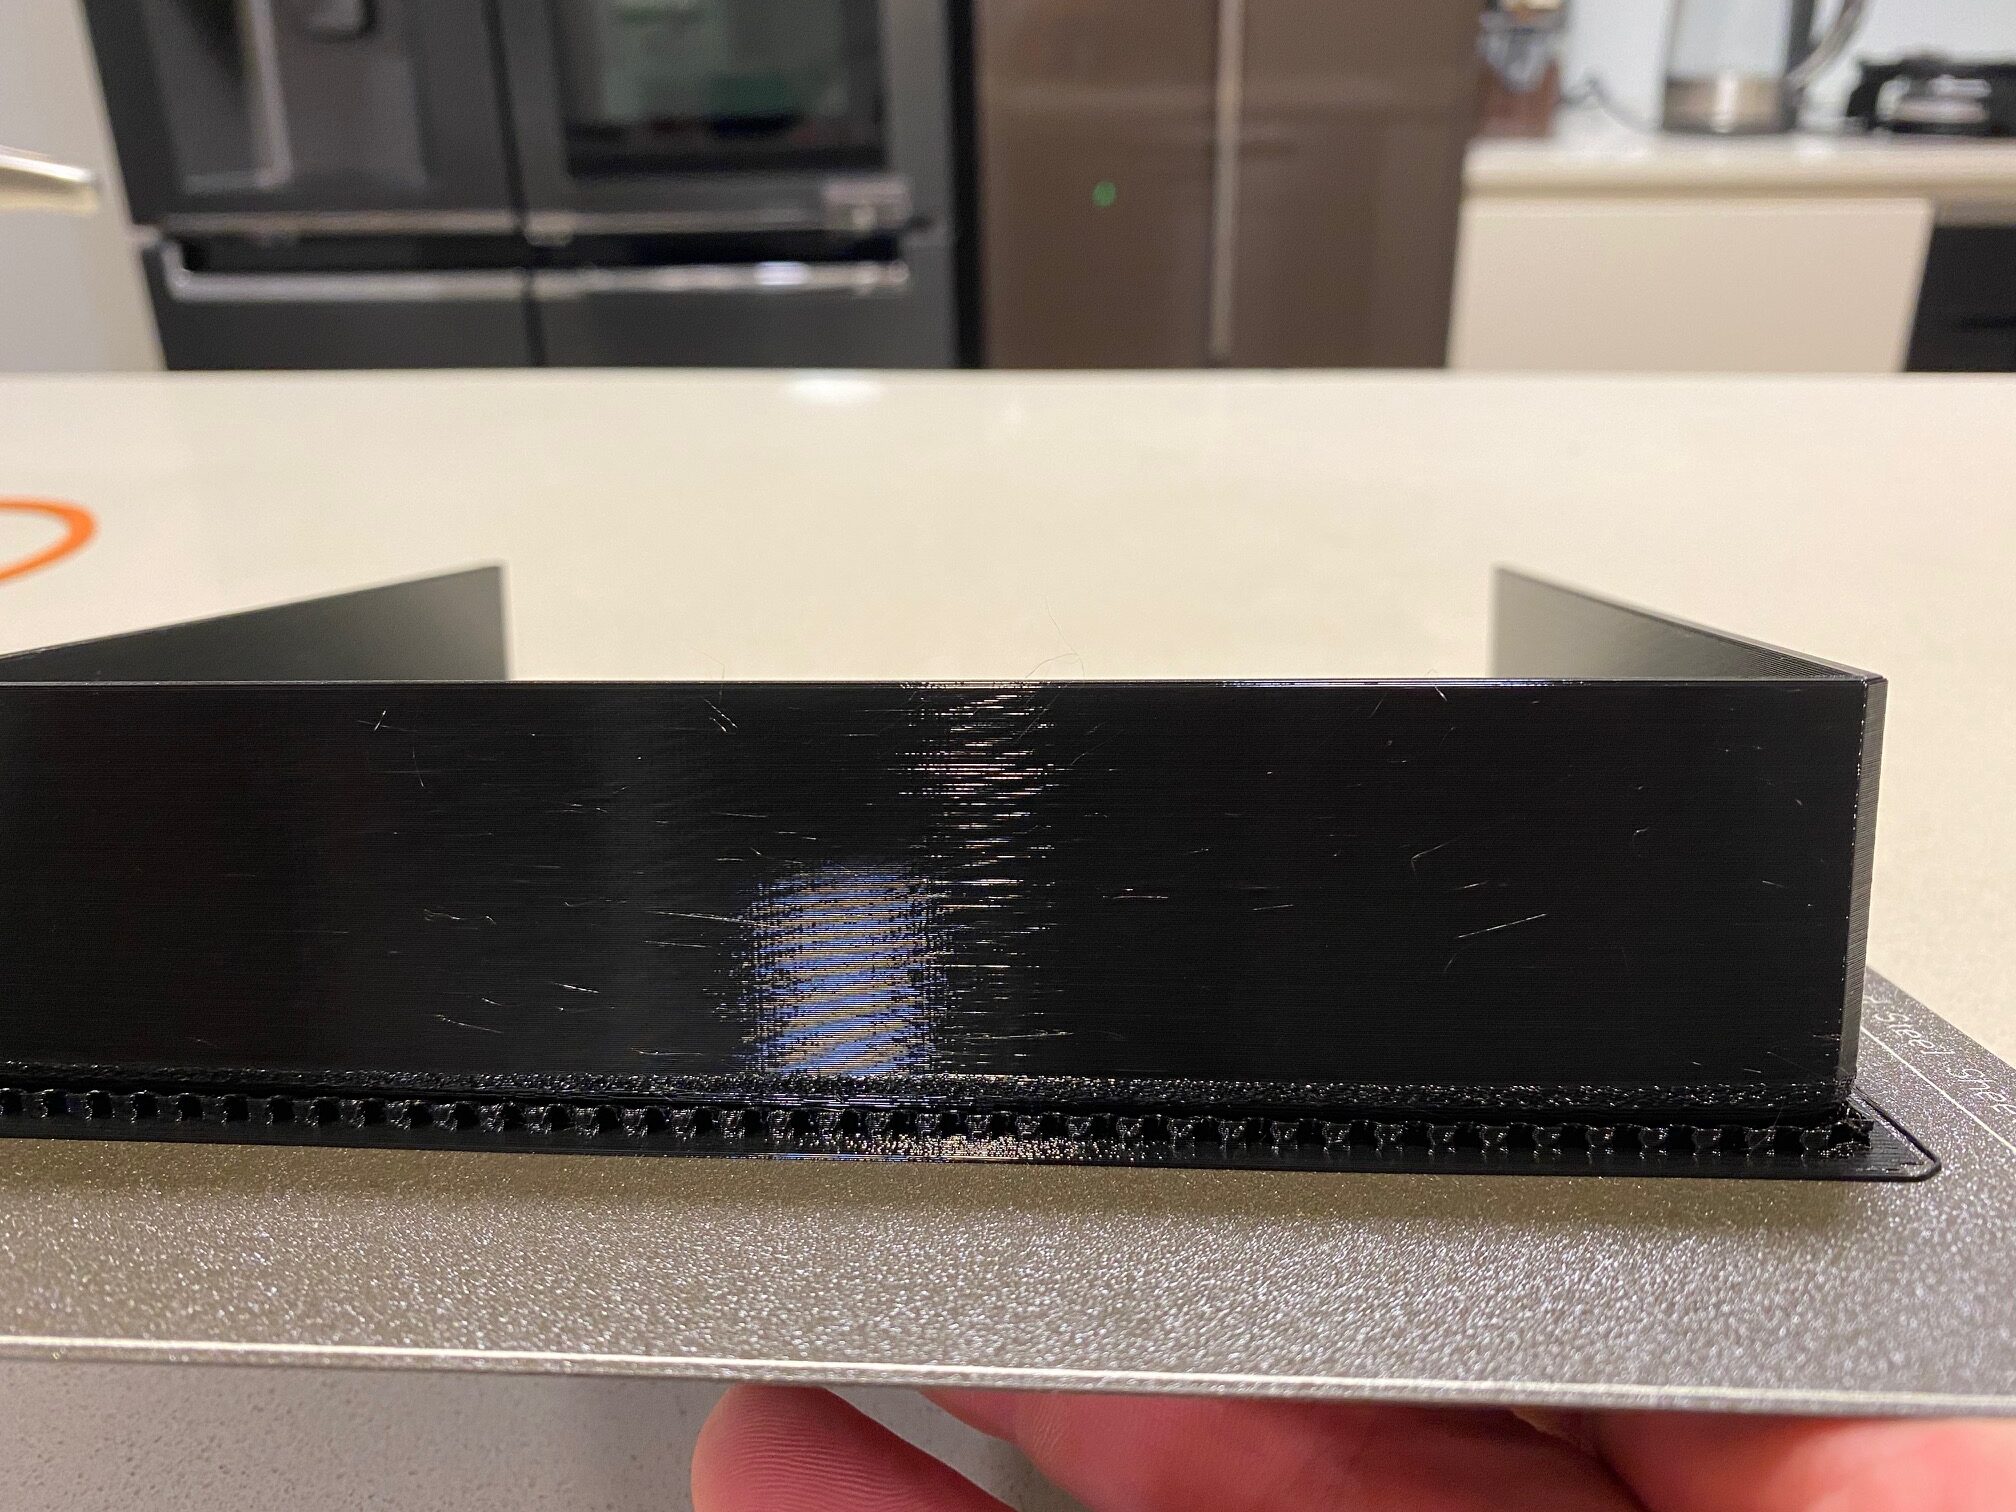
I'm a bit stumped on this one, i've printed a fair bit of PETG and haven't had any issues with this 600 grams of this roll, and i'm getting these lines above a Chamfered edge, It starts off with none to slight on one end, and rises up around 3-4mm on the other end, it did it on both parts that i printed that had this chamfered edge
This print does have a support, although i'm not sure i need it for the chamfer.
There is a matching chamfer on the inside of this print, with matches were the issue is happening
When i was watching it, it looked like the printer was backtracking next to where it had just printed on the higher end with the issue, i noticed this issue this on all three edges of these prints..
Could this be because i've got the seams aligned?
As for Wet Filament, i can't see that being the case, i dry my filament in my modified Sunlu dryer until its down to around 20%, store it in AirLock vac sealed bags, then dry it before use again and then it is sitting in a mounted Sunlu dryer during the print.
Anyone come across this?
thanks in advance.
Best Answer by Swiss_Cheese:
@bryn23
To start with, this is a large print and I can see from your image that your experiencing some warping. If you have the ability, printing in an enclosure can help with this, also fine tuning the temperatures of the bed and hot end, along with proper cooling. As well using products Such as Layerneer Bed weld, and Magigoo can help. The warping in the image "as I can see it" doesn't seem to extreme and should be fairly easy to mitigate.
I don't believe any supports are needed for this to print successfully.
The slicer view is showing that you have 7 perimeters selected, I wouldn't try to use so many, I might use 3. If however you wish to continue to use 7, I want to point out that in the area your image is showing the edges messed up, there is a transition happening, turning what amounts to 14 perimeters, to a transition into 7. It's my experience that this kind of transition promotes various states of overlapping in these perimeters and can cause the type of blemishes your seeing. It can be tuned out using various combinations of modifiers and extrusion widths, or in this case you could use 3 perimeters.
Other things of note, the infill of 30% seems a bit high, I might use 15%, Although I'm getting the impression from the project file, that your shooting for a solid object through and through. I don't know the intended use for this print, but I think it could be strong and print well with less perimeters and Infill.
Hope this helps.
Regards
Swiss_Cheese
RE:
@bryn23
If you can post a Zipped up .3mf project file exported from PrusaSlicer, I'll take a look and see if I can help. The .3mf file should be setup as you would when trying to print the part and will allow us to see all the settings as they pertain to the model in your project.
Note: if you do not Zip the file the forum server will not allow it to be posted.
As well please list the brand of filament and any pertinent information about the printer such as modifications
Regards
Swiss_Cheese
The Filament Whisperer
RE: Possible issue with Slicer G Code Directions
Thanks Swiss Cheese, any help would be appreciated.
The filament is Sunlu Black PETG, i've used around 5 rolls of this before, along with their Red and Silver, at 225C, i've used that as that was the best result for stringing from temp towers for this product and printing little test objects.
The printer is Mk3S+ with a Revo 6 HotEnd that i installed around 50hrs ago, the printer is in a spare room with no drafts, i start the print, make sure the first layer is good, then close the door, check the webcam and grab it when its finished.
the fact it happened with both front and rear prints at the same area is odd to me.
RE: Possible issue with Slicer G Code Directions
@bryn23
To start with, this is a large print and I can see from your image that your experiencing some warping. If you have the ability, printing in an enclosure can help with this, also fine tuning the temperatures of the bed and hot end, along with proper cooling. As well using products Such as Layerneer Bed weld, and Magigoo can help. The warping in the image "as I can see it" doesn't seem to extreme and should be fairly easy to mitigate.
I don't believe any supports are needed for this to print successfully.
The slicer view is showing that you have 7 perimeters selected, I wouldn't try to use so many, I might use 3. If however you wish to continue to use 7, I want to point out that in the area your image is showing the edges messed up, there is a transition happening, turning what amounts to 14 perimeters, to a transition into 7. It's my experience that this kind of transition promotes various states of overlapping in these perimeters and can cause the type of blemishes your seeing. It can be tuned out using various combinations of modifiers and extrusion widths, or in this case you could use 3 perimeters.
Other things of note, the infill of 30% seems a bit high, I might use 15%, Although I'm getting the impression from the project file, that your shooting for a solid object through and through. I don't know the intended use for this print, but I think it could be strong and print well with less perimeters and Infill.
Hope this helps.
Regards
Swiss_Cheese
The Filament Whisperer
RE: Possible issue with Slicer G Code Directions
Thanks Swiss Cheese for your input.
I was thinking about it yesterday, and came across a thread about perimeters causing bulging with overlapping, so i was going to reslice with less perimeters layers. as it does appear that what you describe could be the case.
I think i get away with reducing the layers and infill on this part, i'll have to give it ago once my new filament stock arrives.
I appreciate your time and help.
RE: Possible issue with Slicer G Code Directions
It took a while to track down some more of the filament I have been using for this project, I reprinted with less perimeters and less fill, i got a better result, it’s not perfect, but I can live with it.
thanks for your help Swiss cheese